I’ll be the first to admit that I am ‘manicure challenged’. In fact, most times I’m ‘pedicure challenged’ too. Growing up I spent all of my allowance on Wet ‘N Wild nail polish and changed my nail color daily. Miraculously this never improved my painting skills.
Now as an adult, I have been on a hunt for the best manicurist in Old Town. (You can view my Yelp reviews for the worst manicurist. Unfortunately I’ve come in contact with many.) I’m obsessed with nail art, but have only been able to find one, maybe two people who are decent at it. Both of who are over a 30 minute drive away.
You can imagine my excitement when Amy Groenhof of Jamberry Nails reached out to me with this DIY, at home application of nail shields. They come in 300, yes 300 different designs! Has Amy cured me of my self-manicure faux-pas and my extensive hunt for a nail artist? Follow my DIY at home application journey…

Day 1: 8/11/14
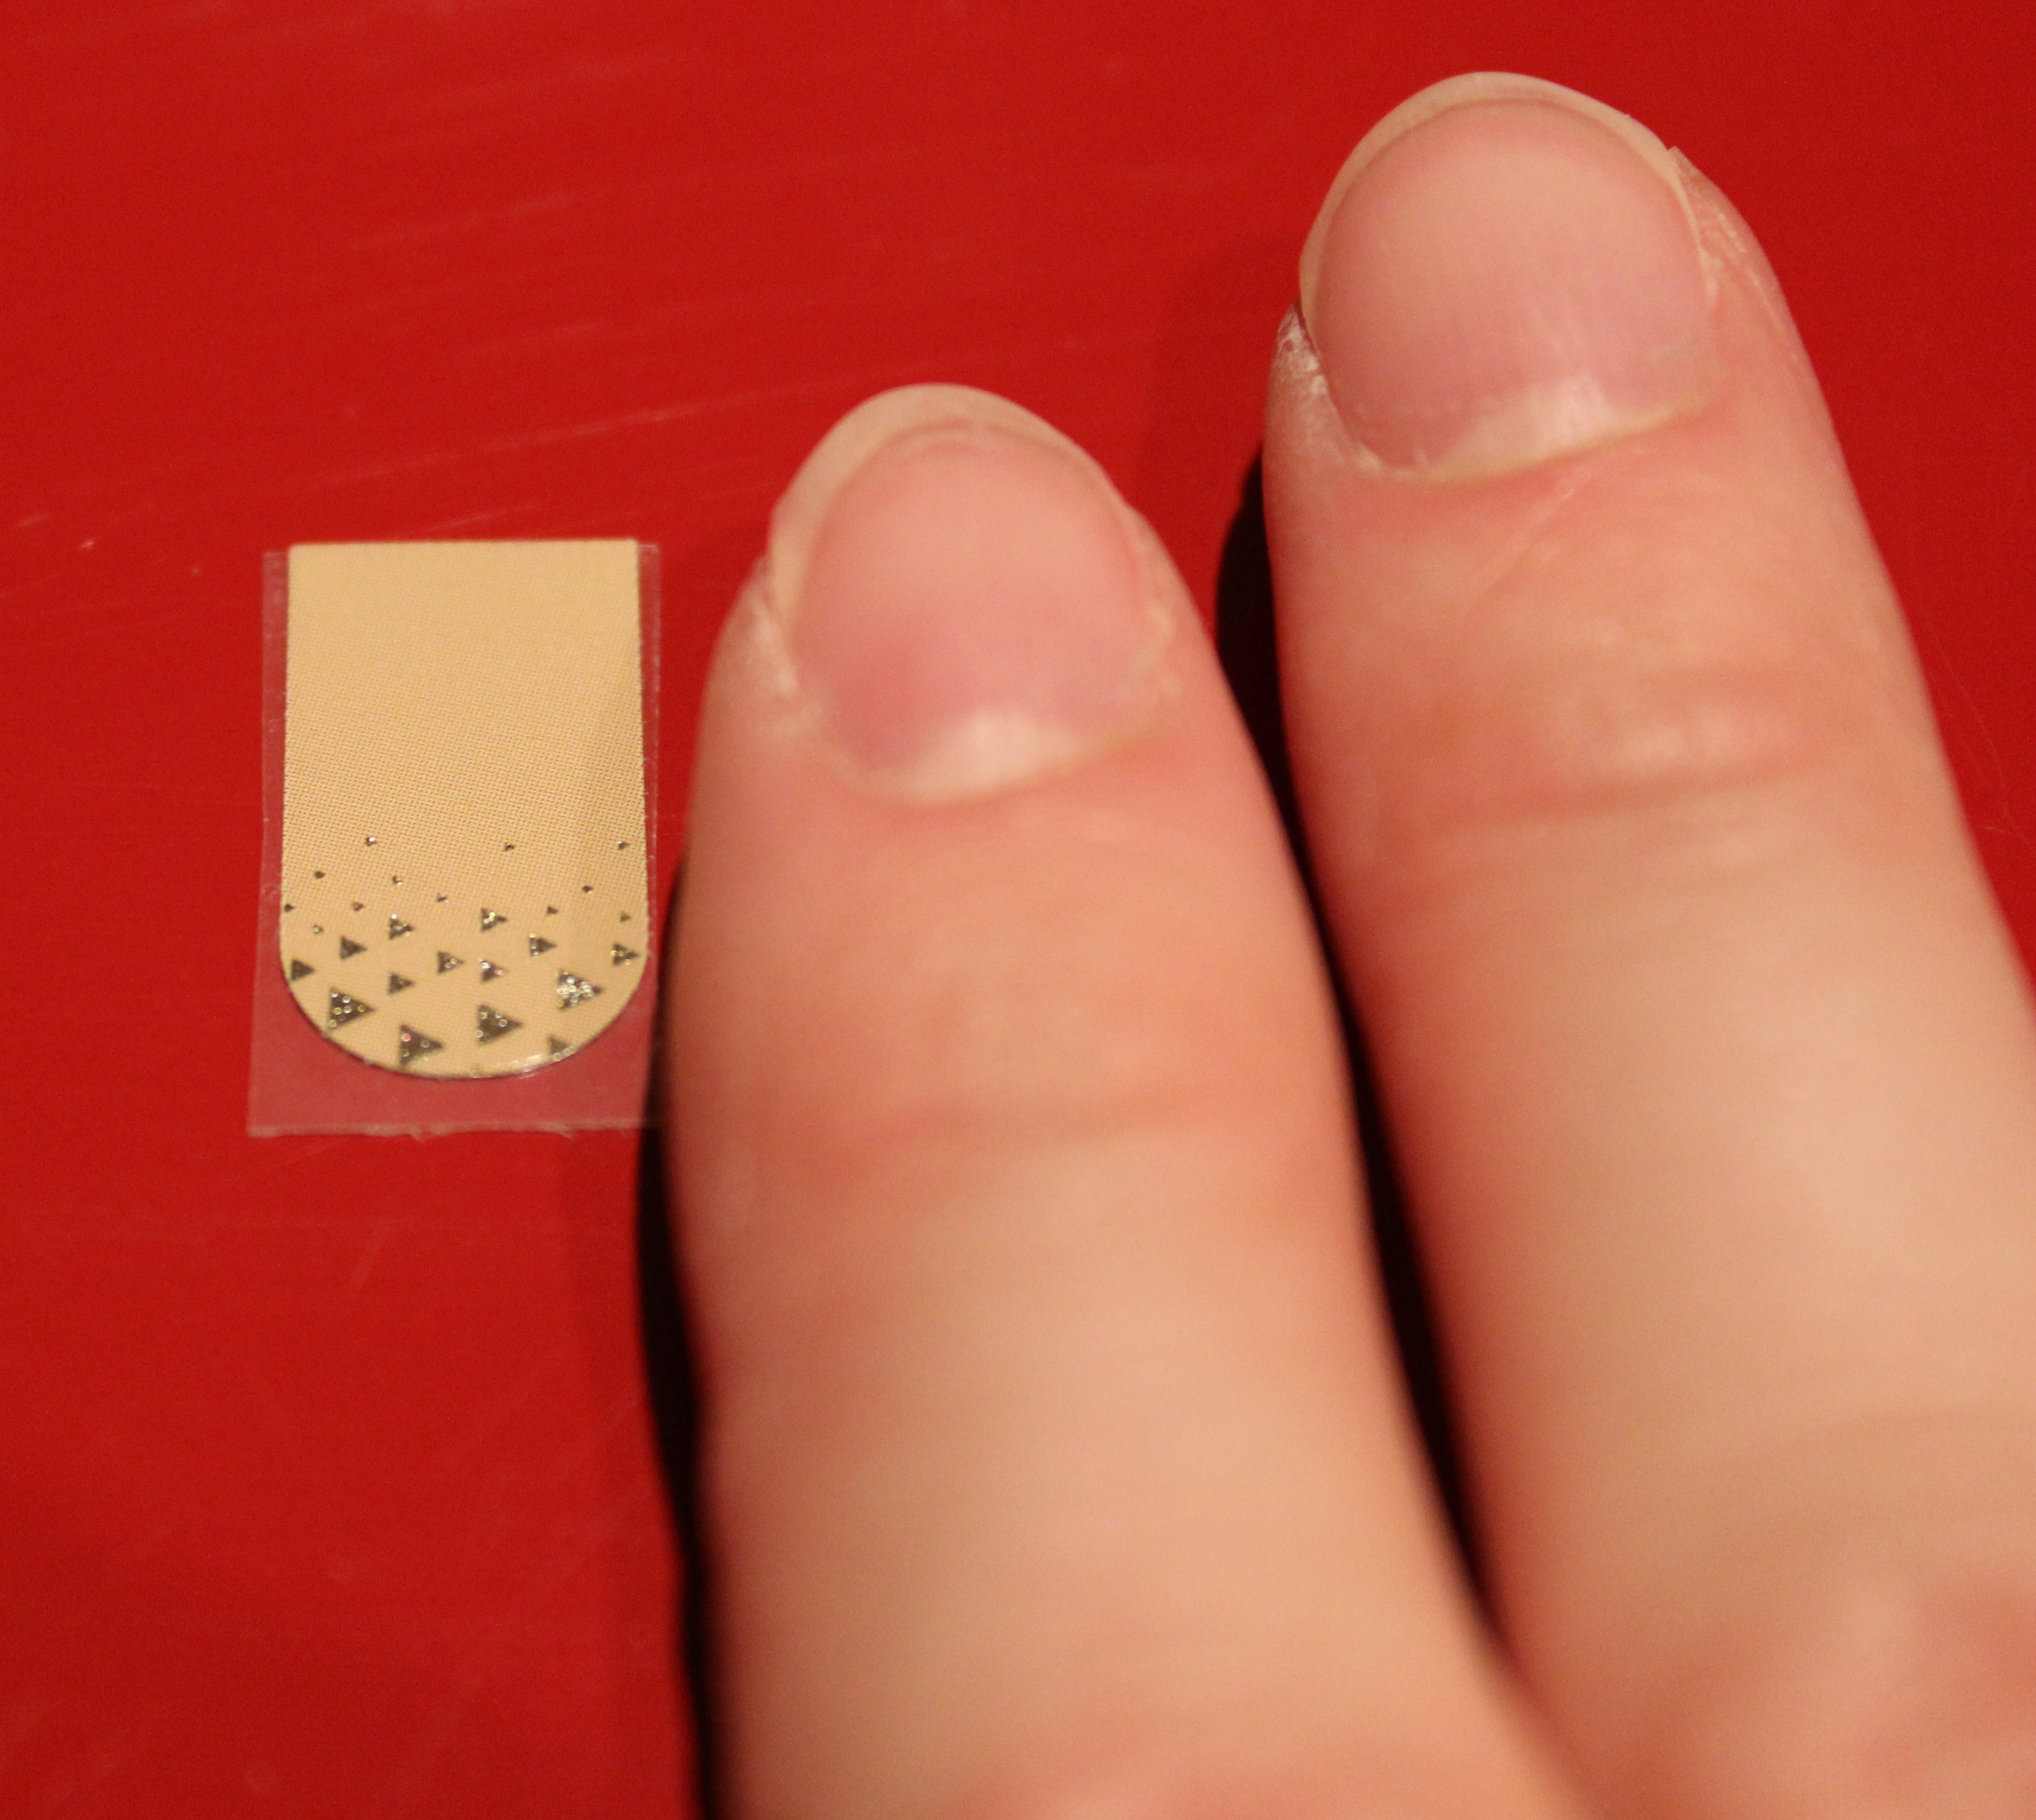
I have started by removing any nail polish that is currently on my nails, followed my filing, shaping and buffing. I do one last wipe of nail polish remover just to make sure that my nails are clean.

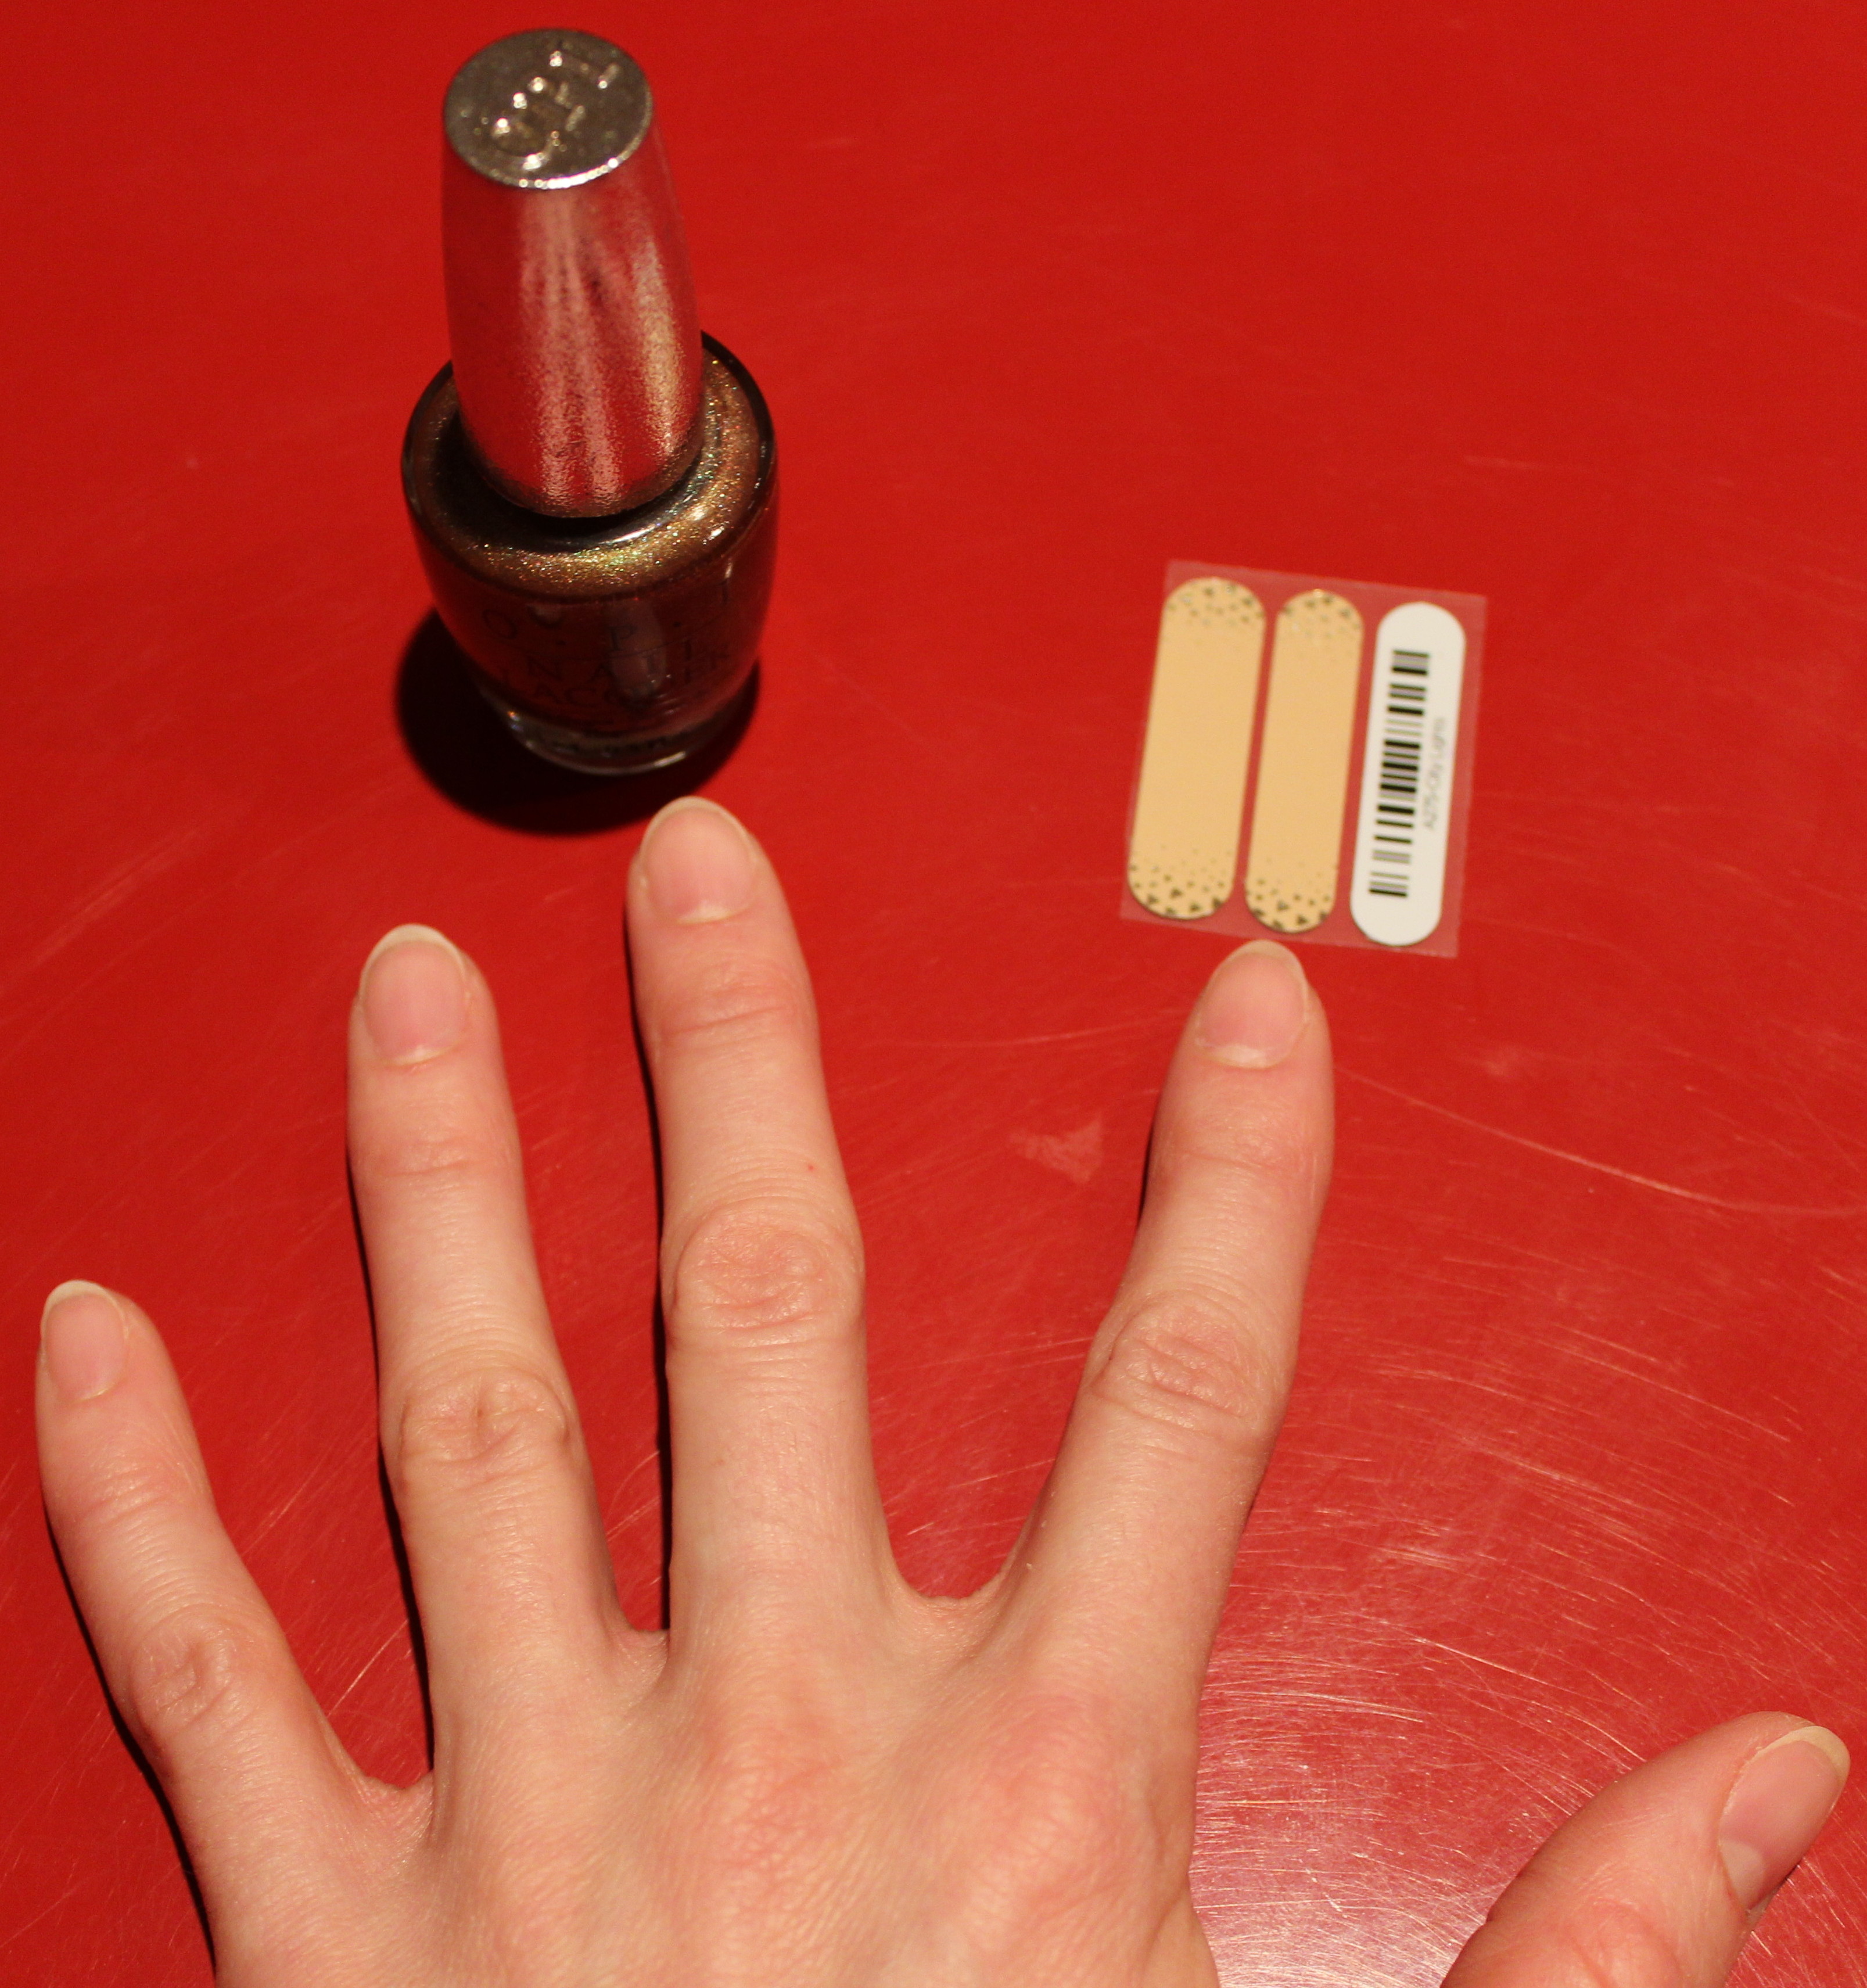
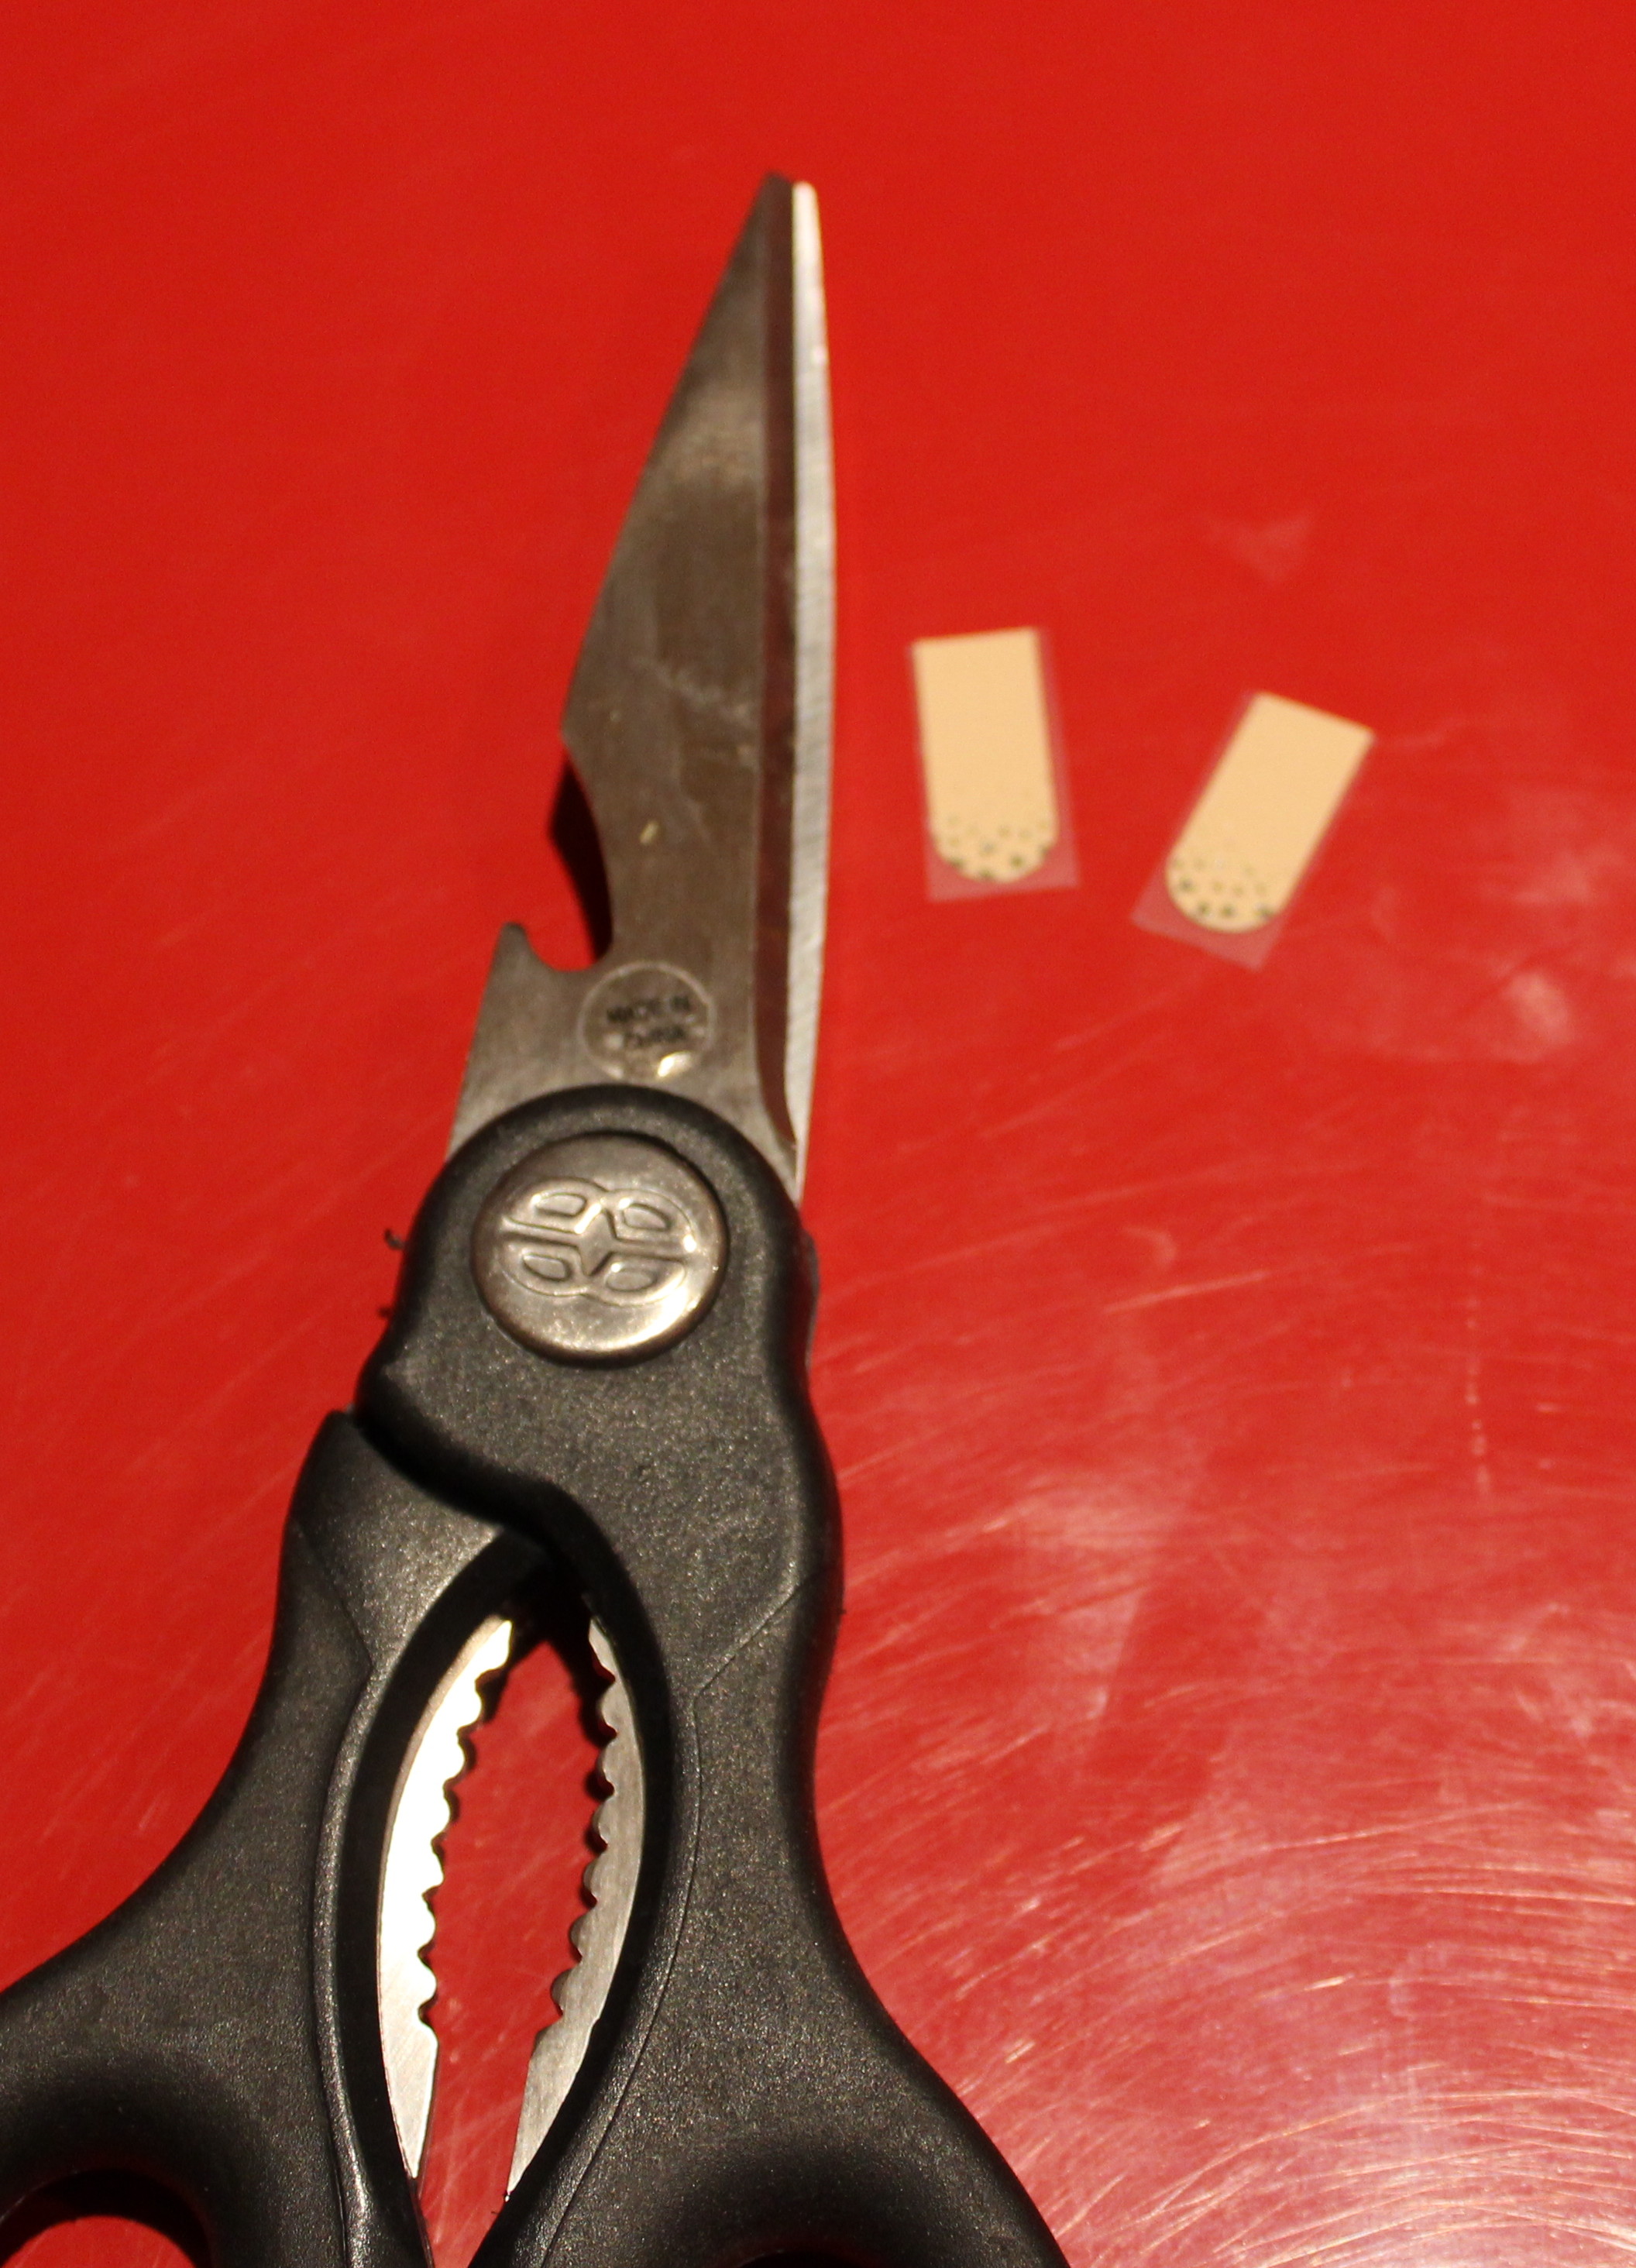
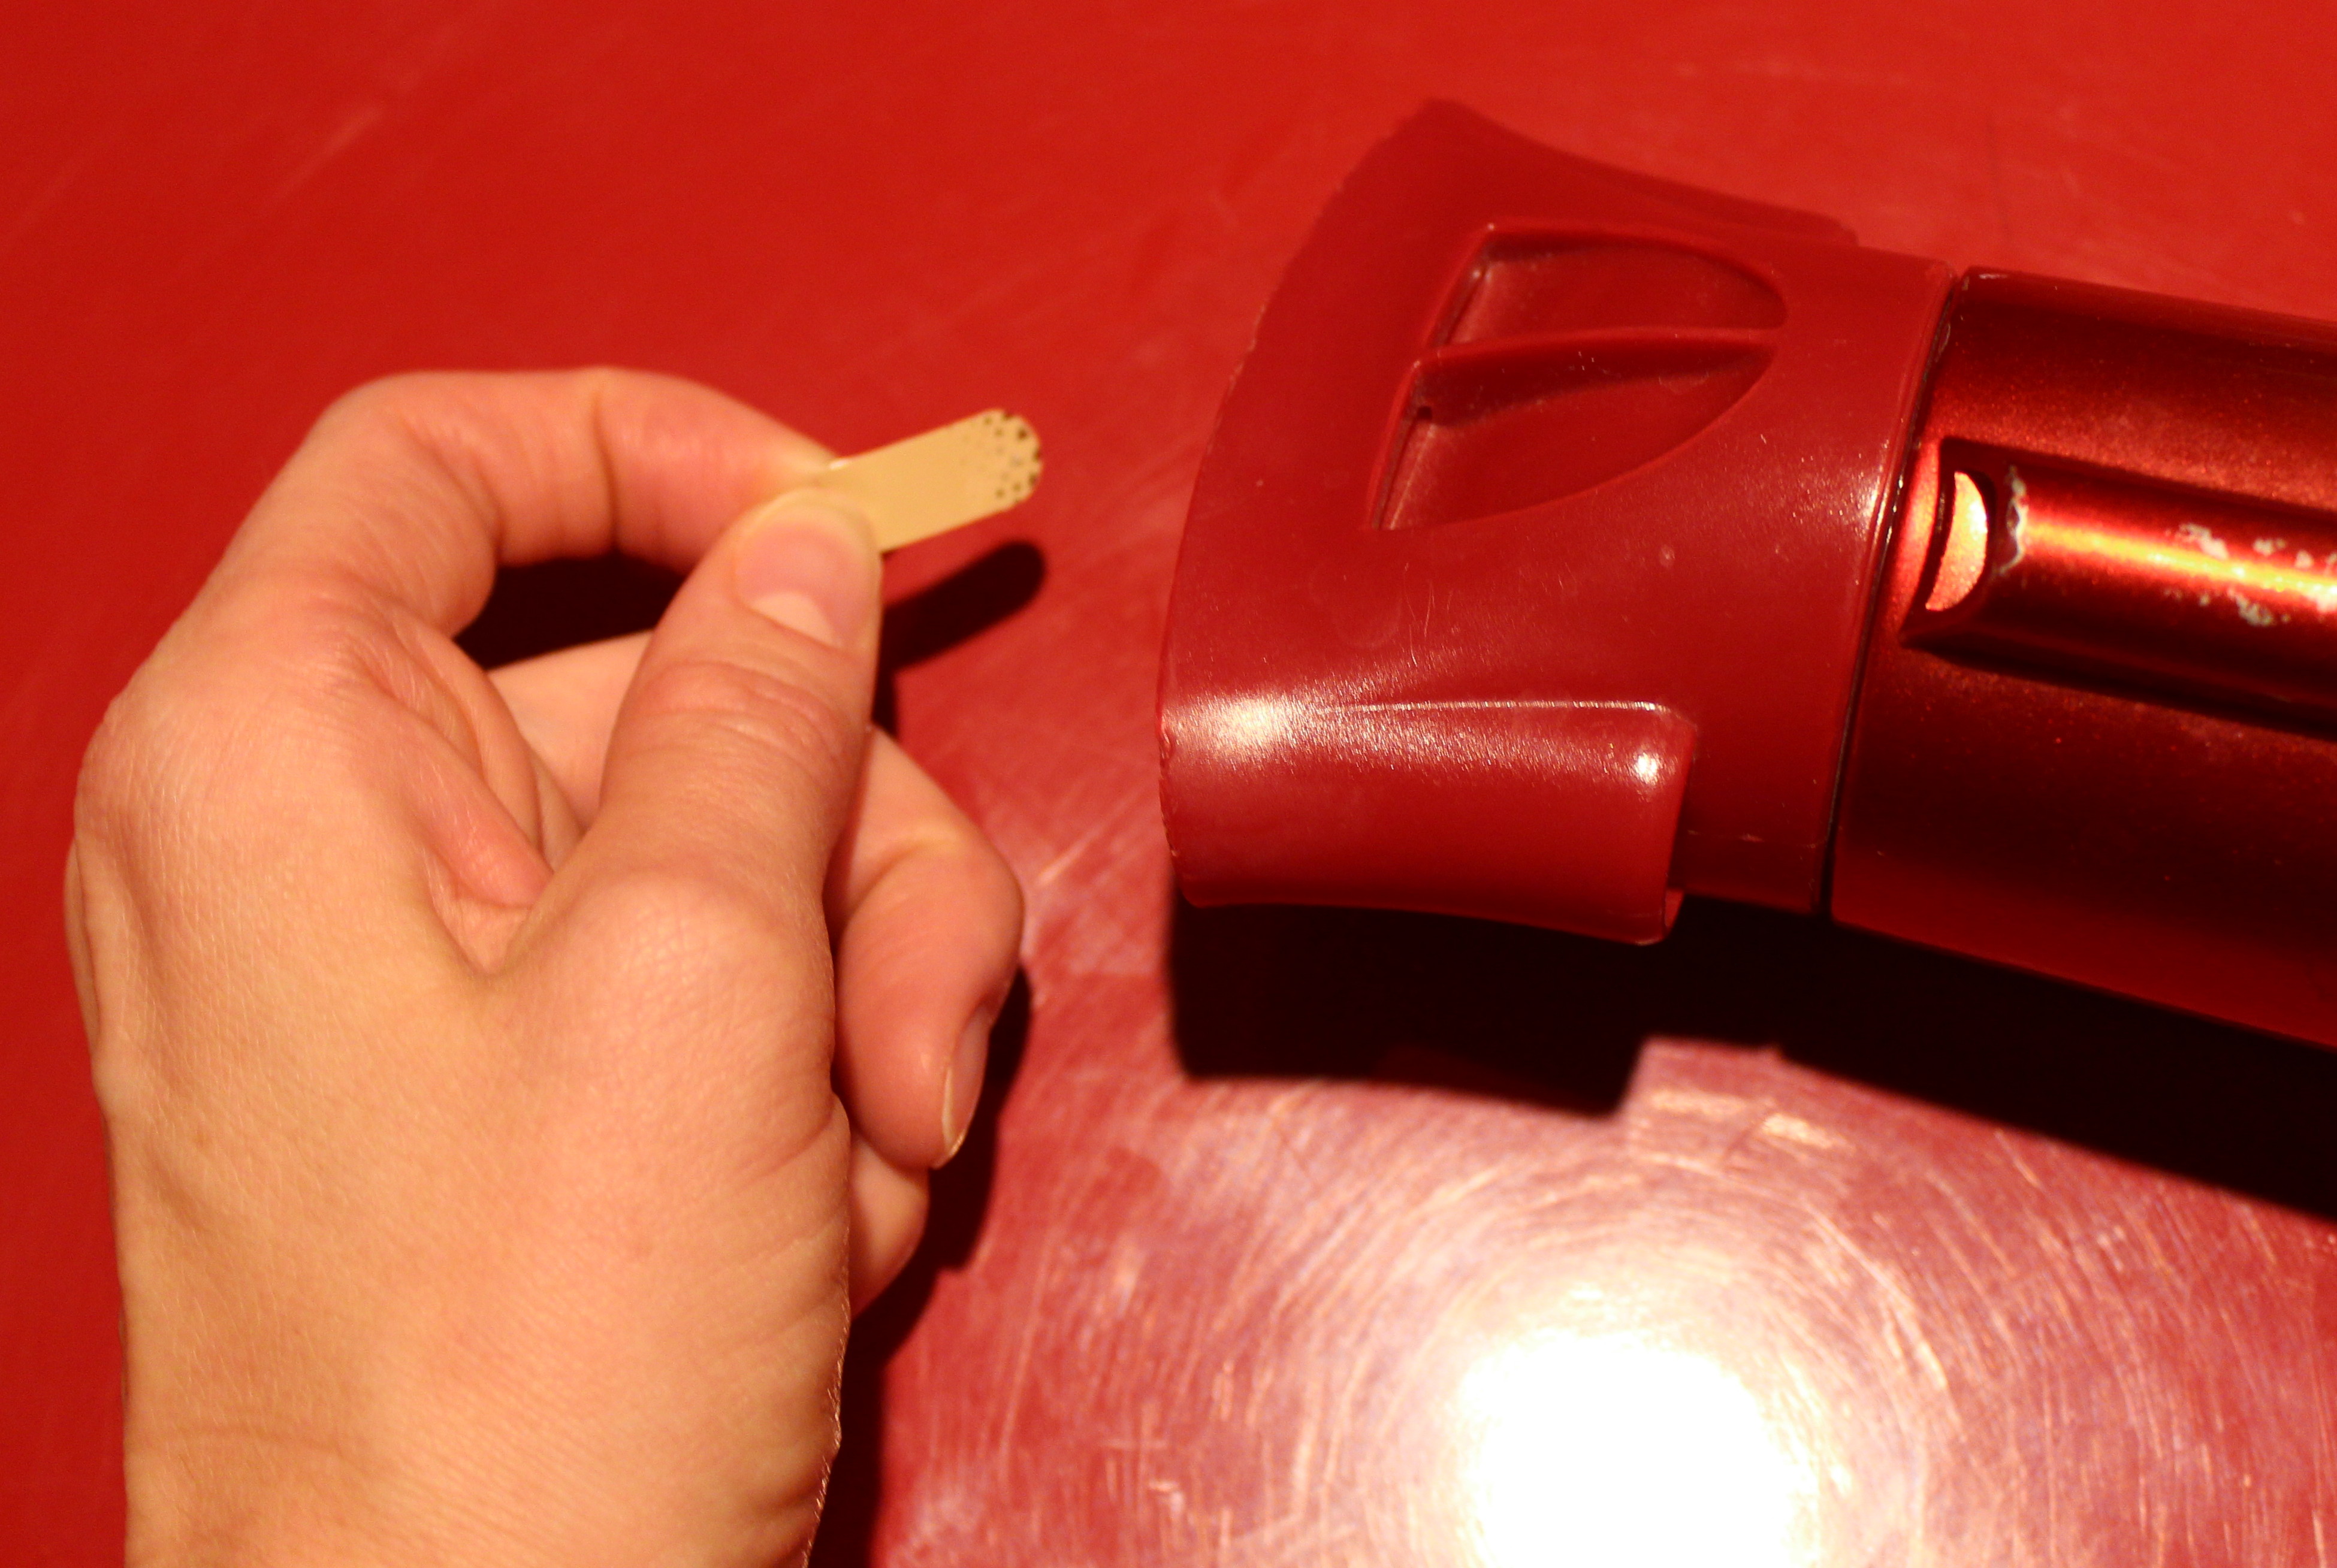
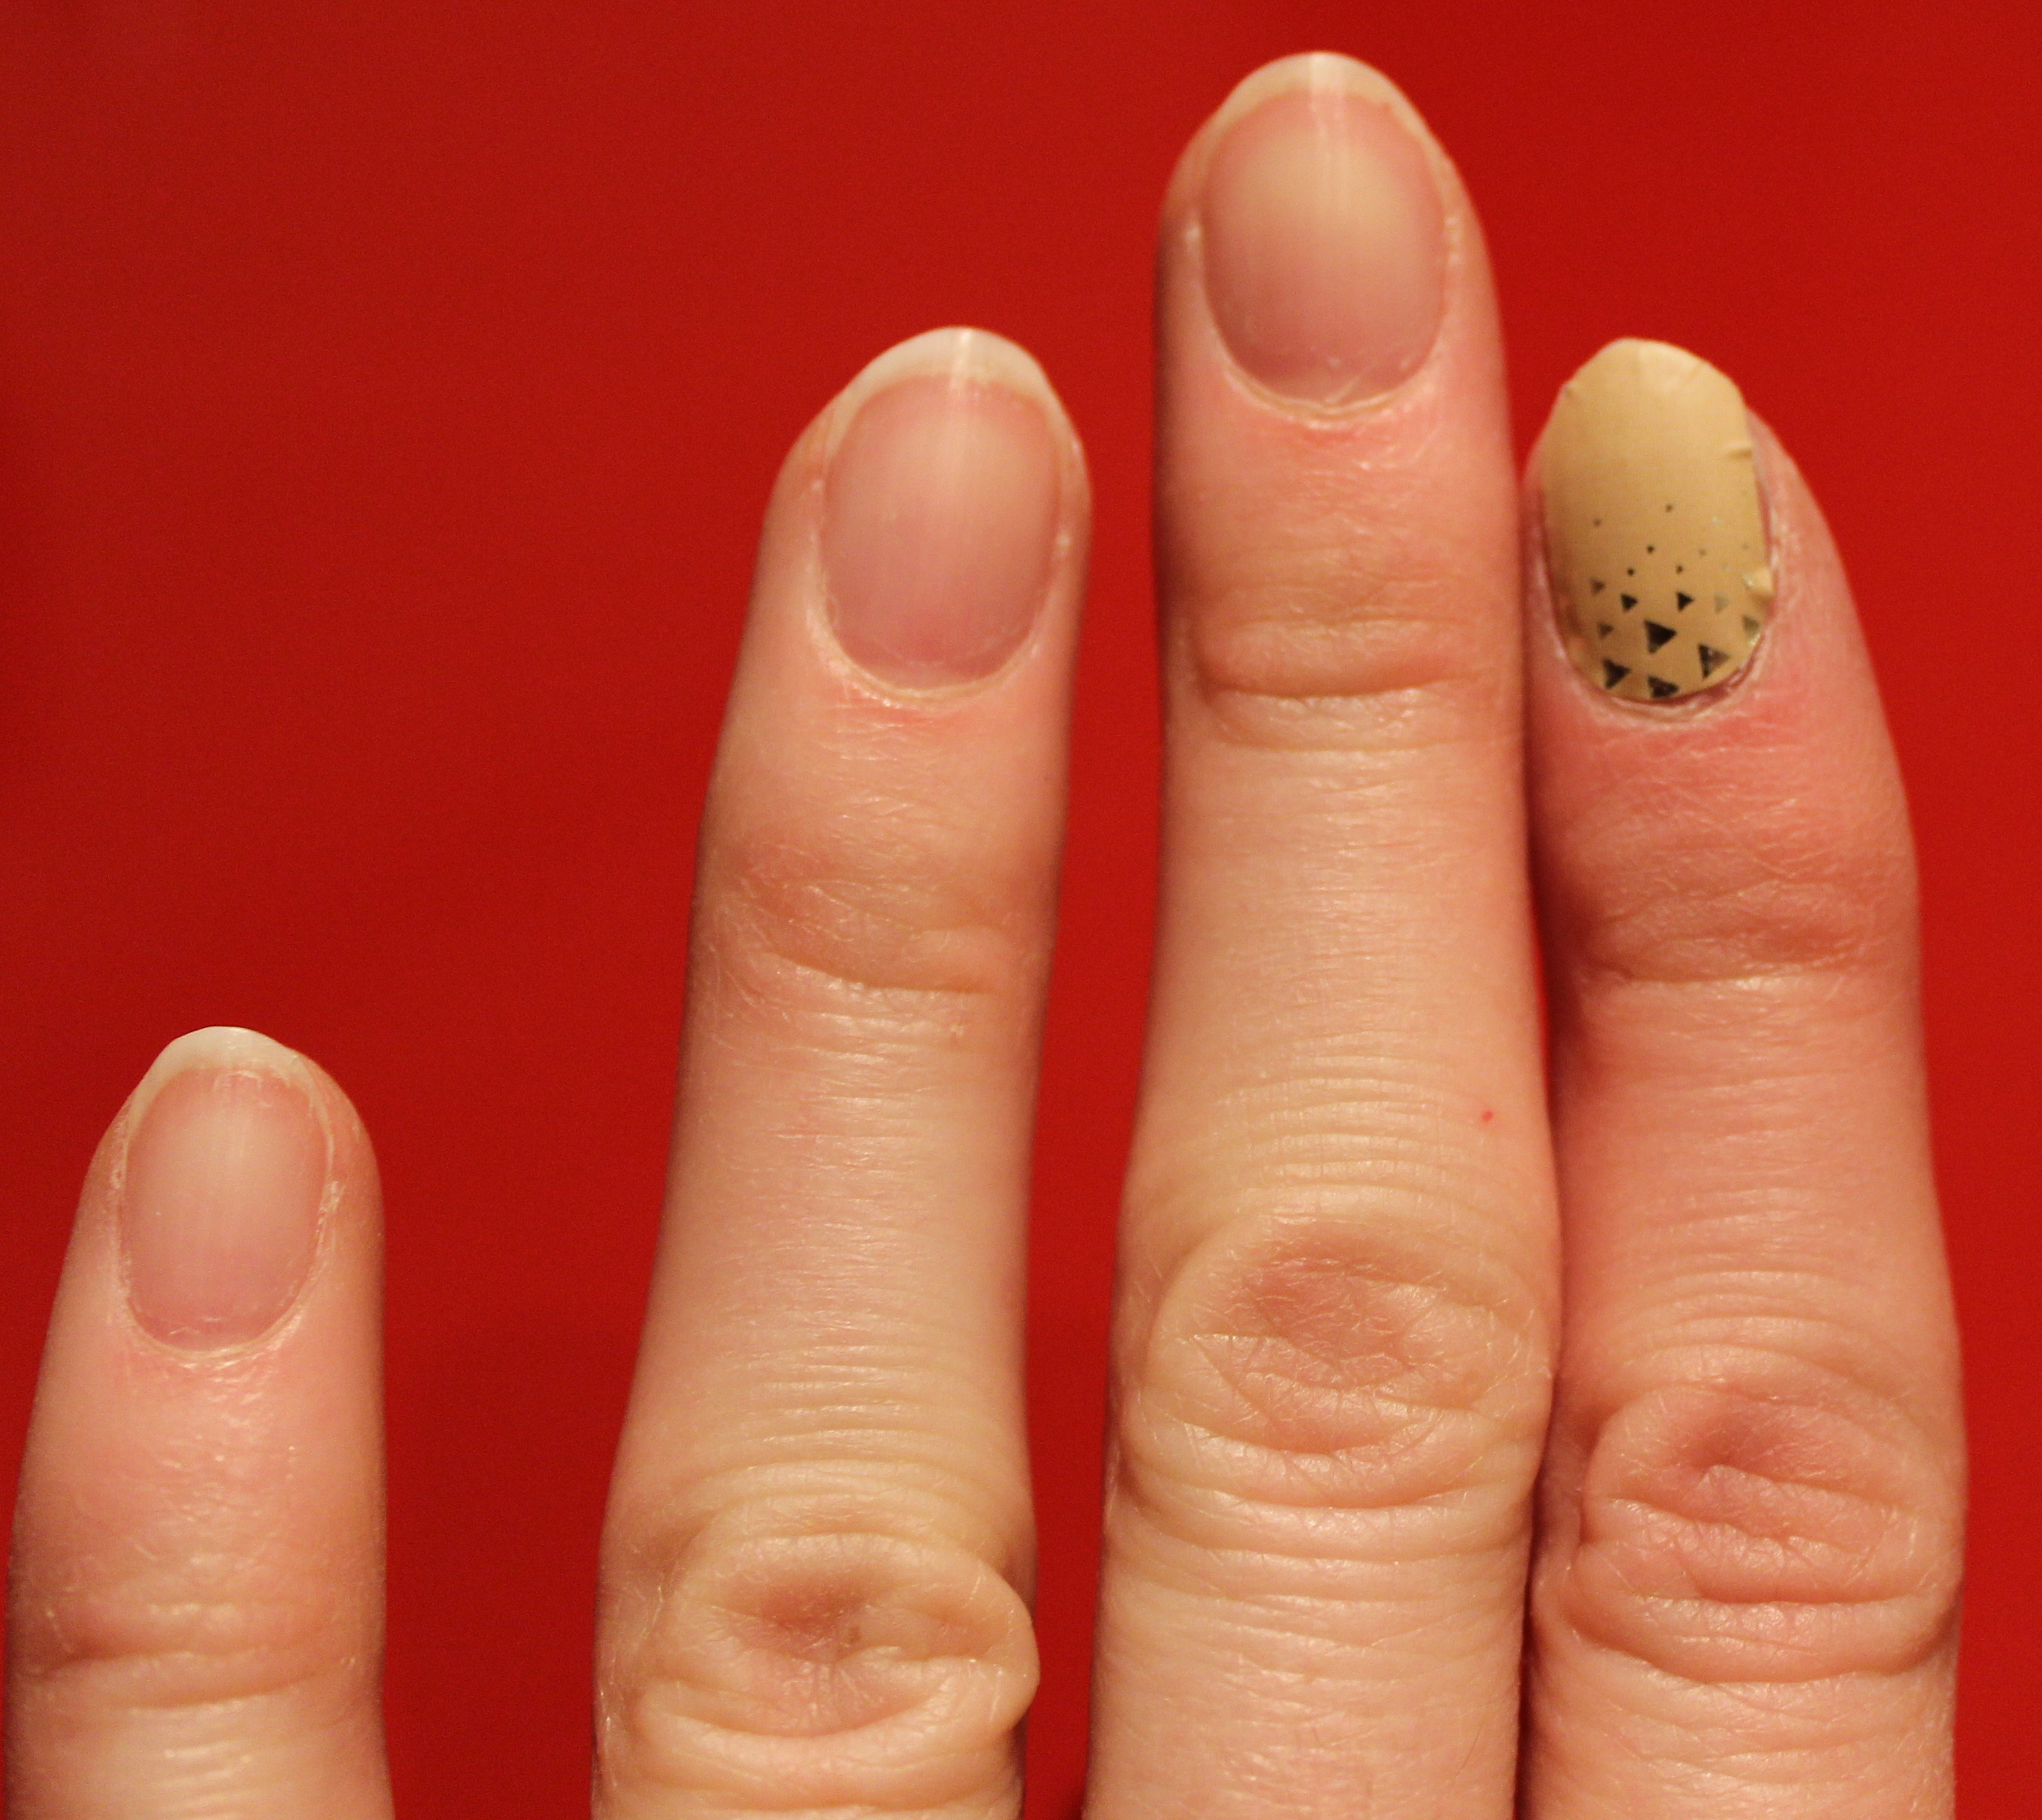
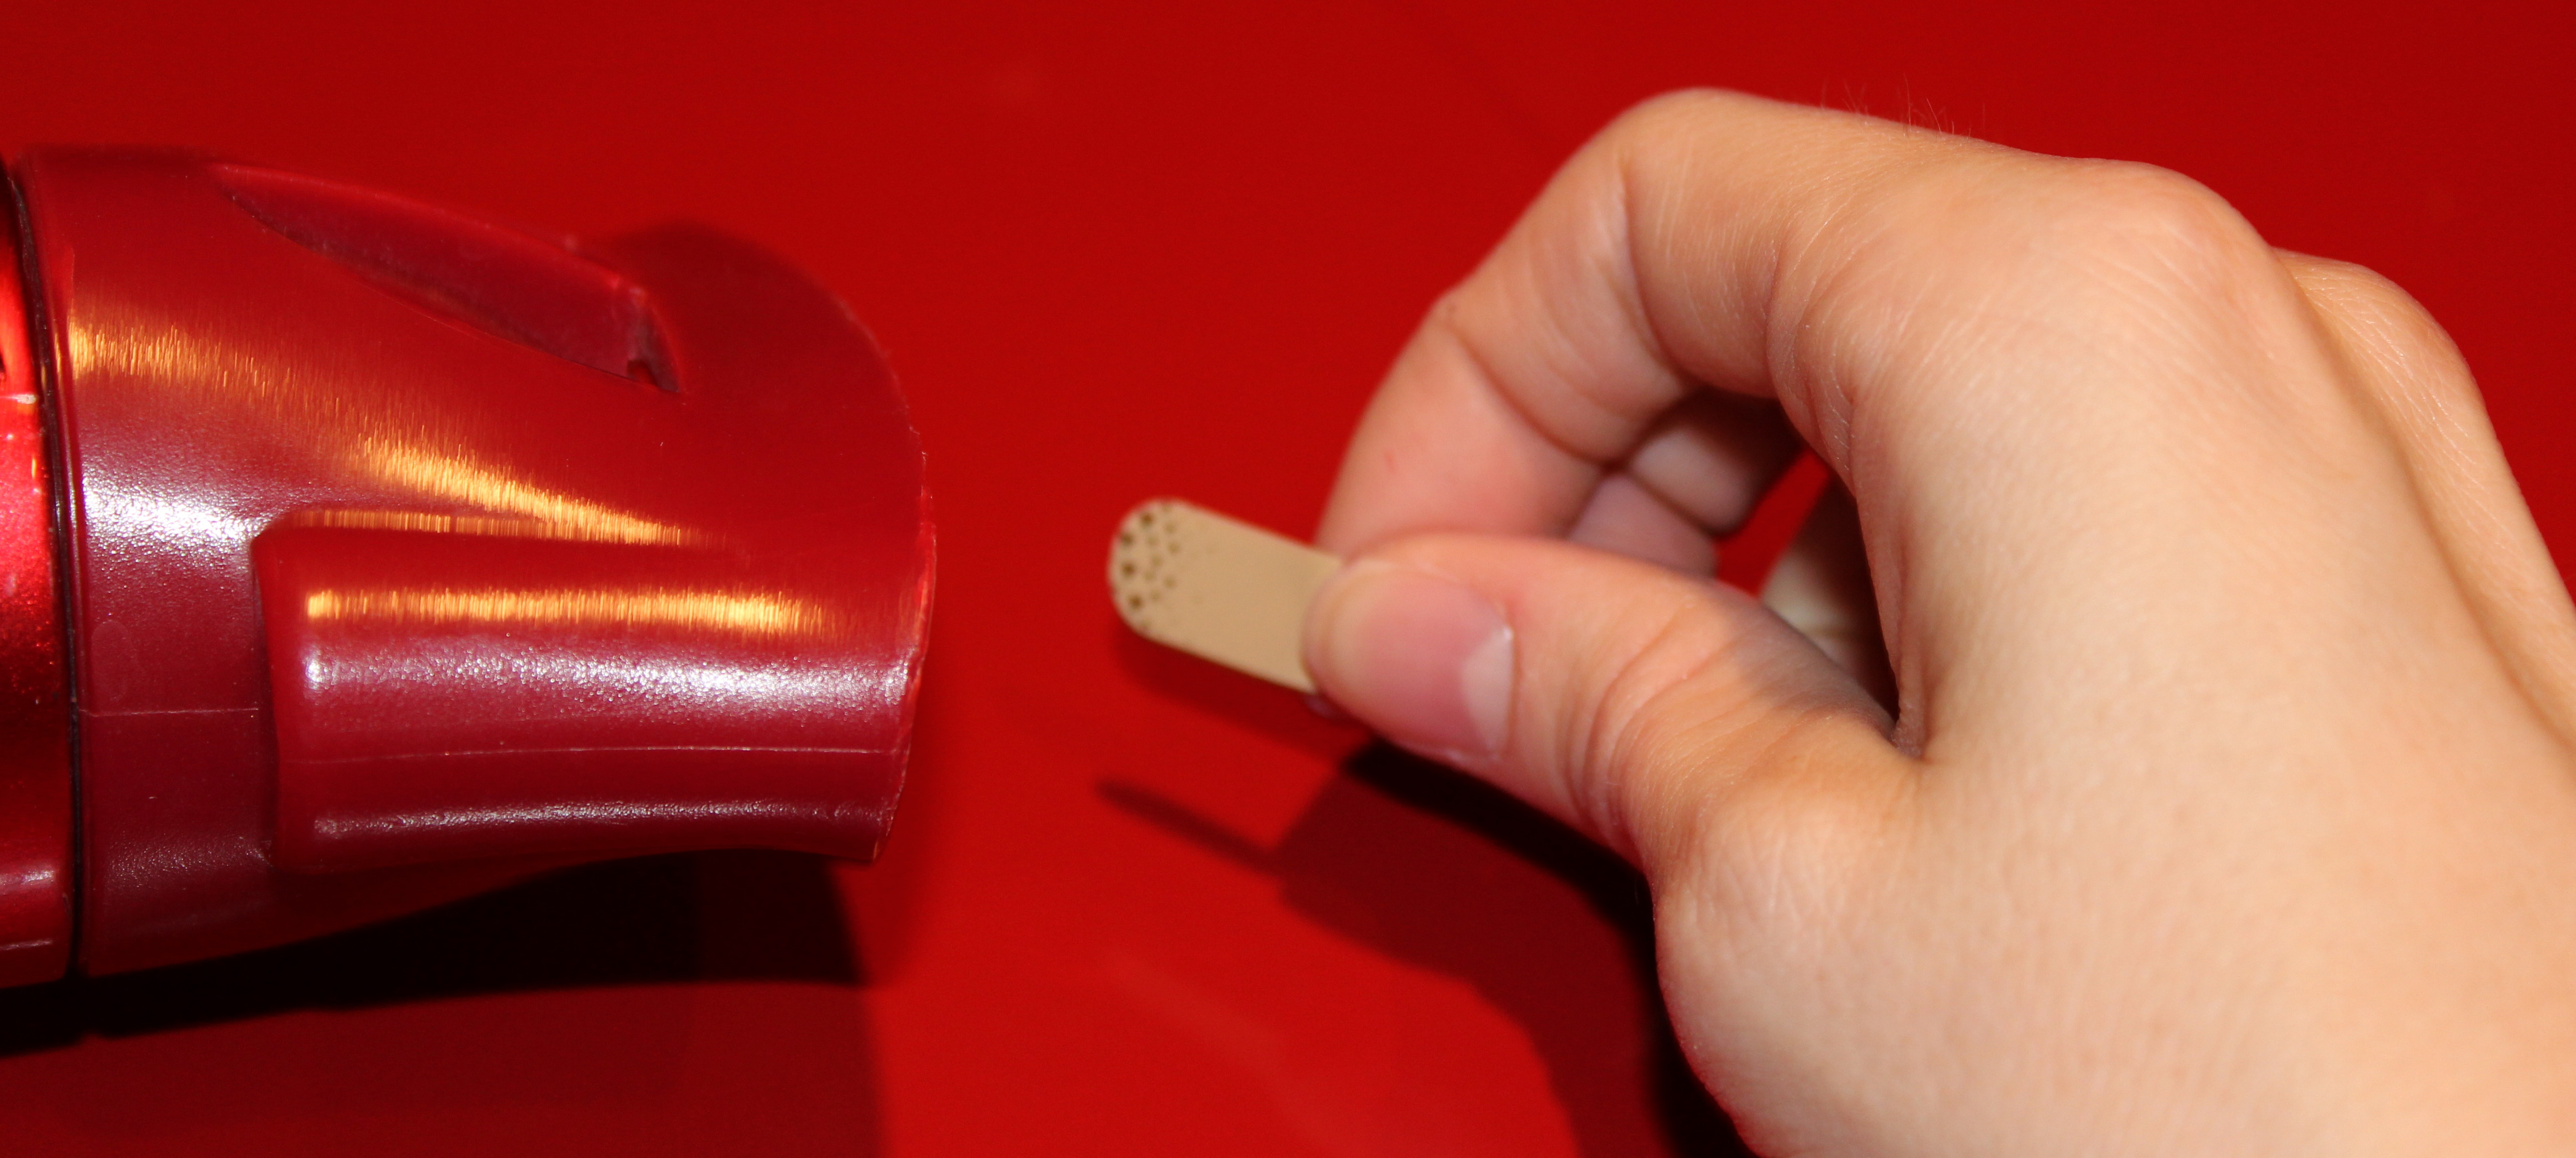
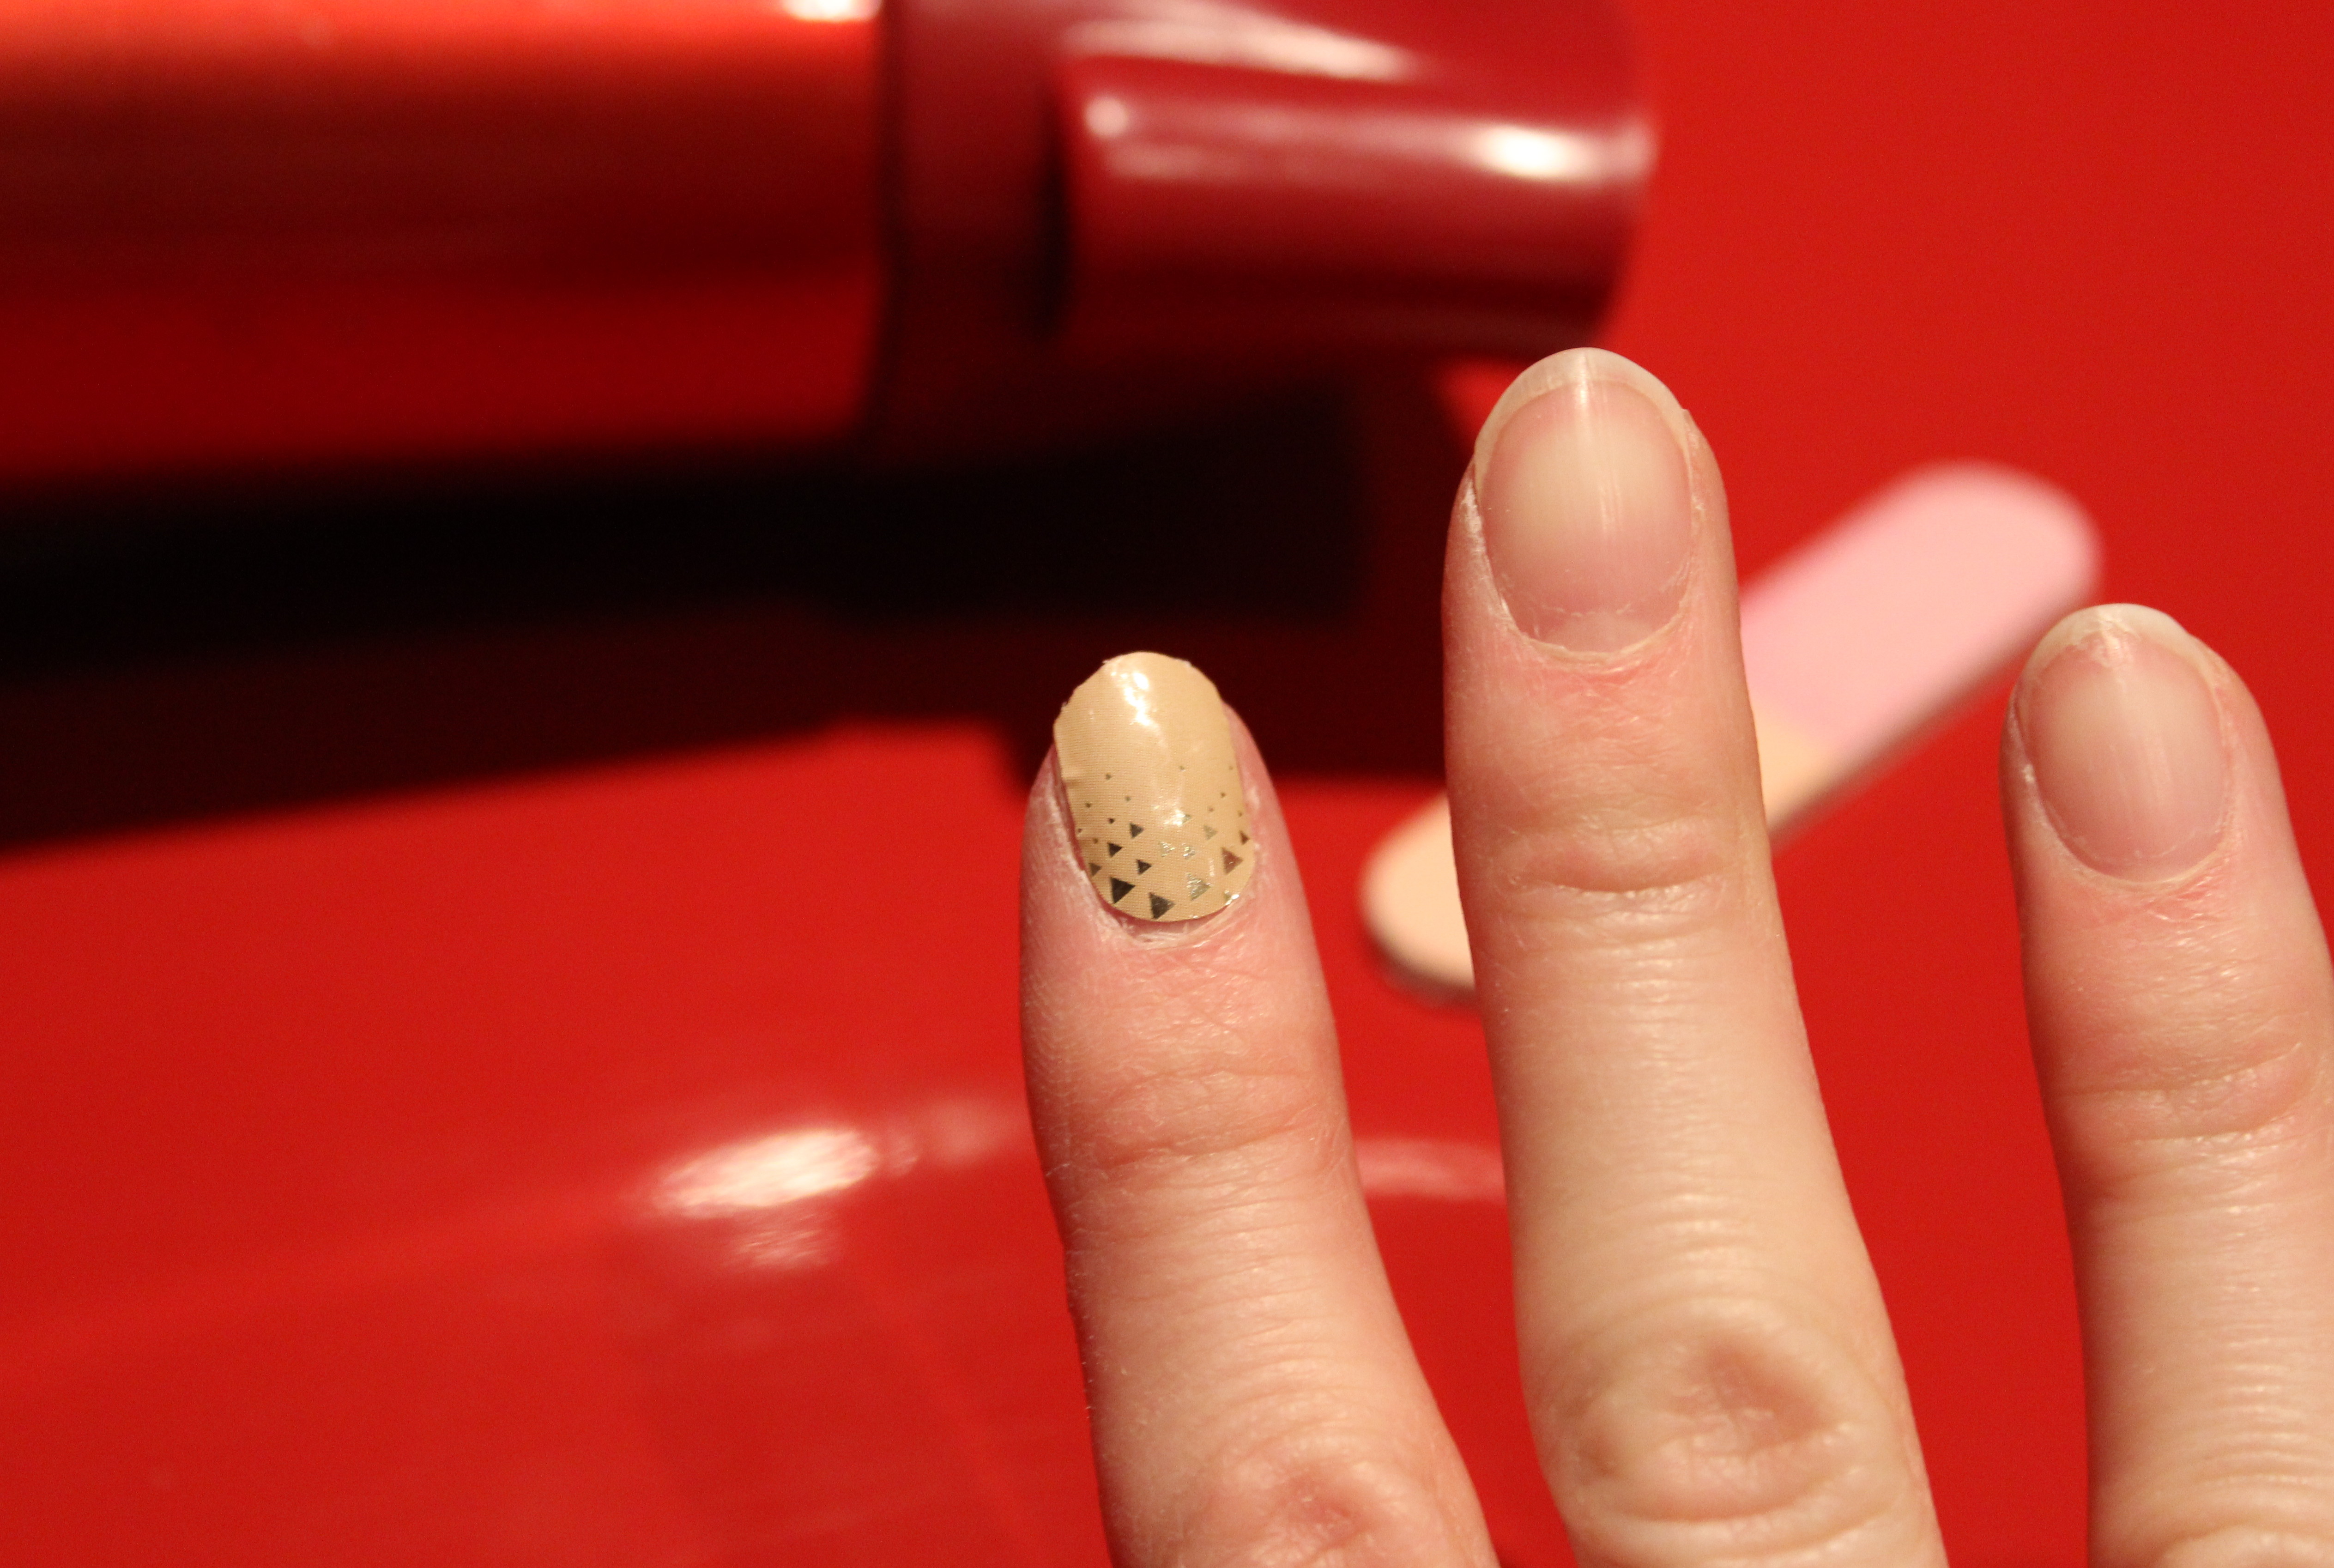
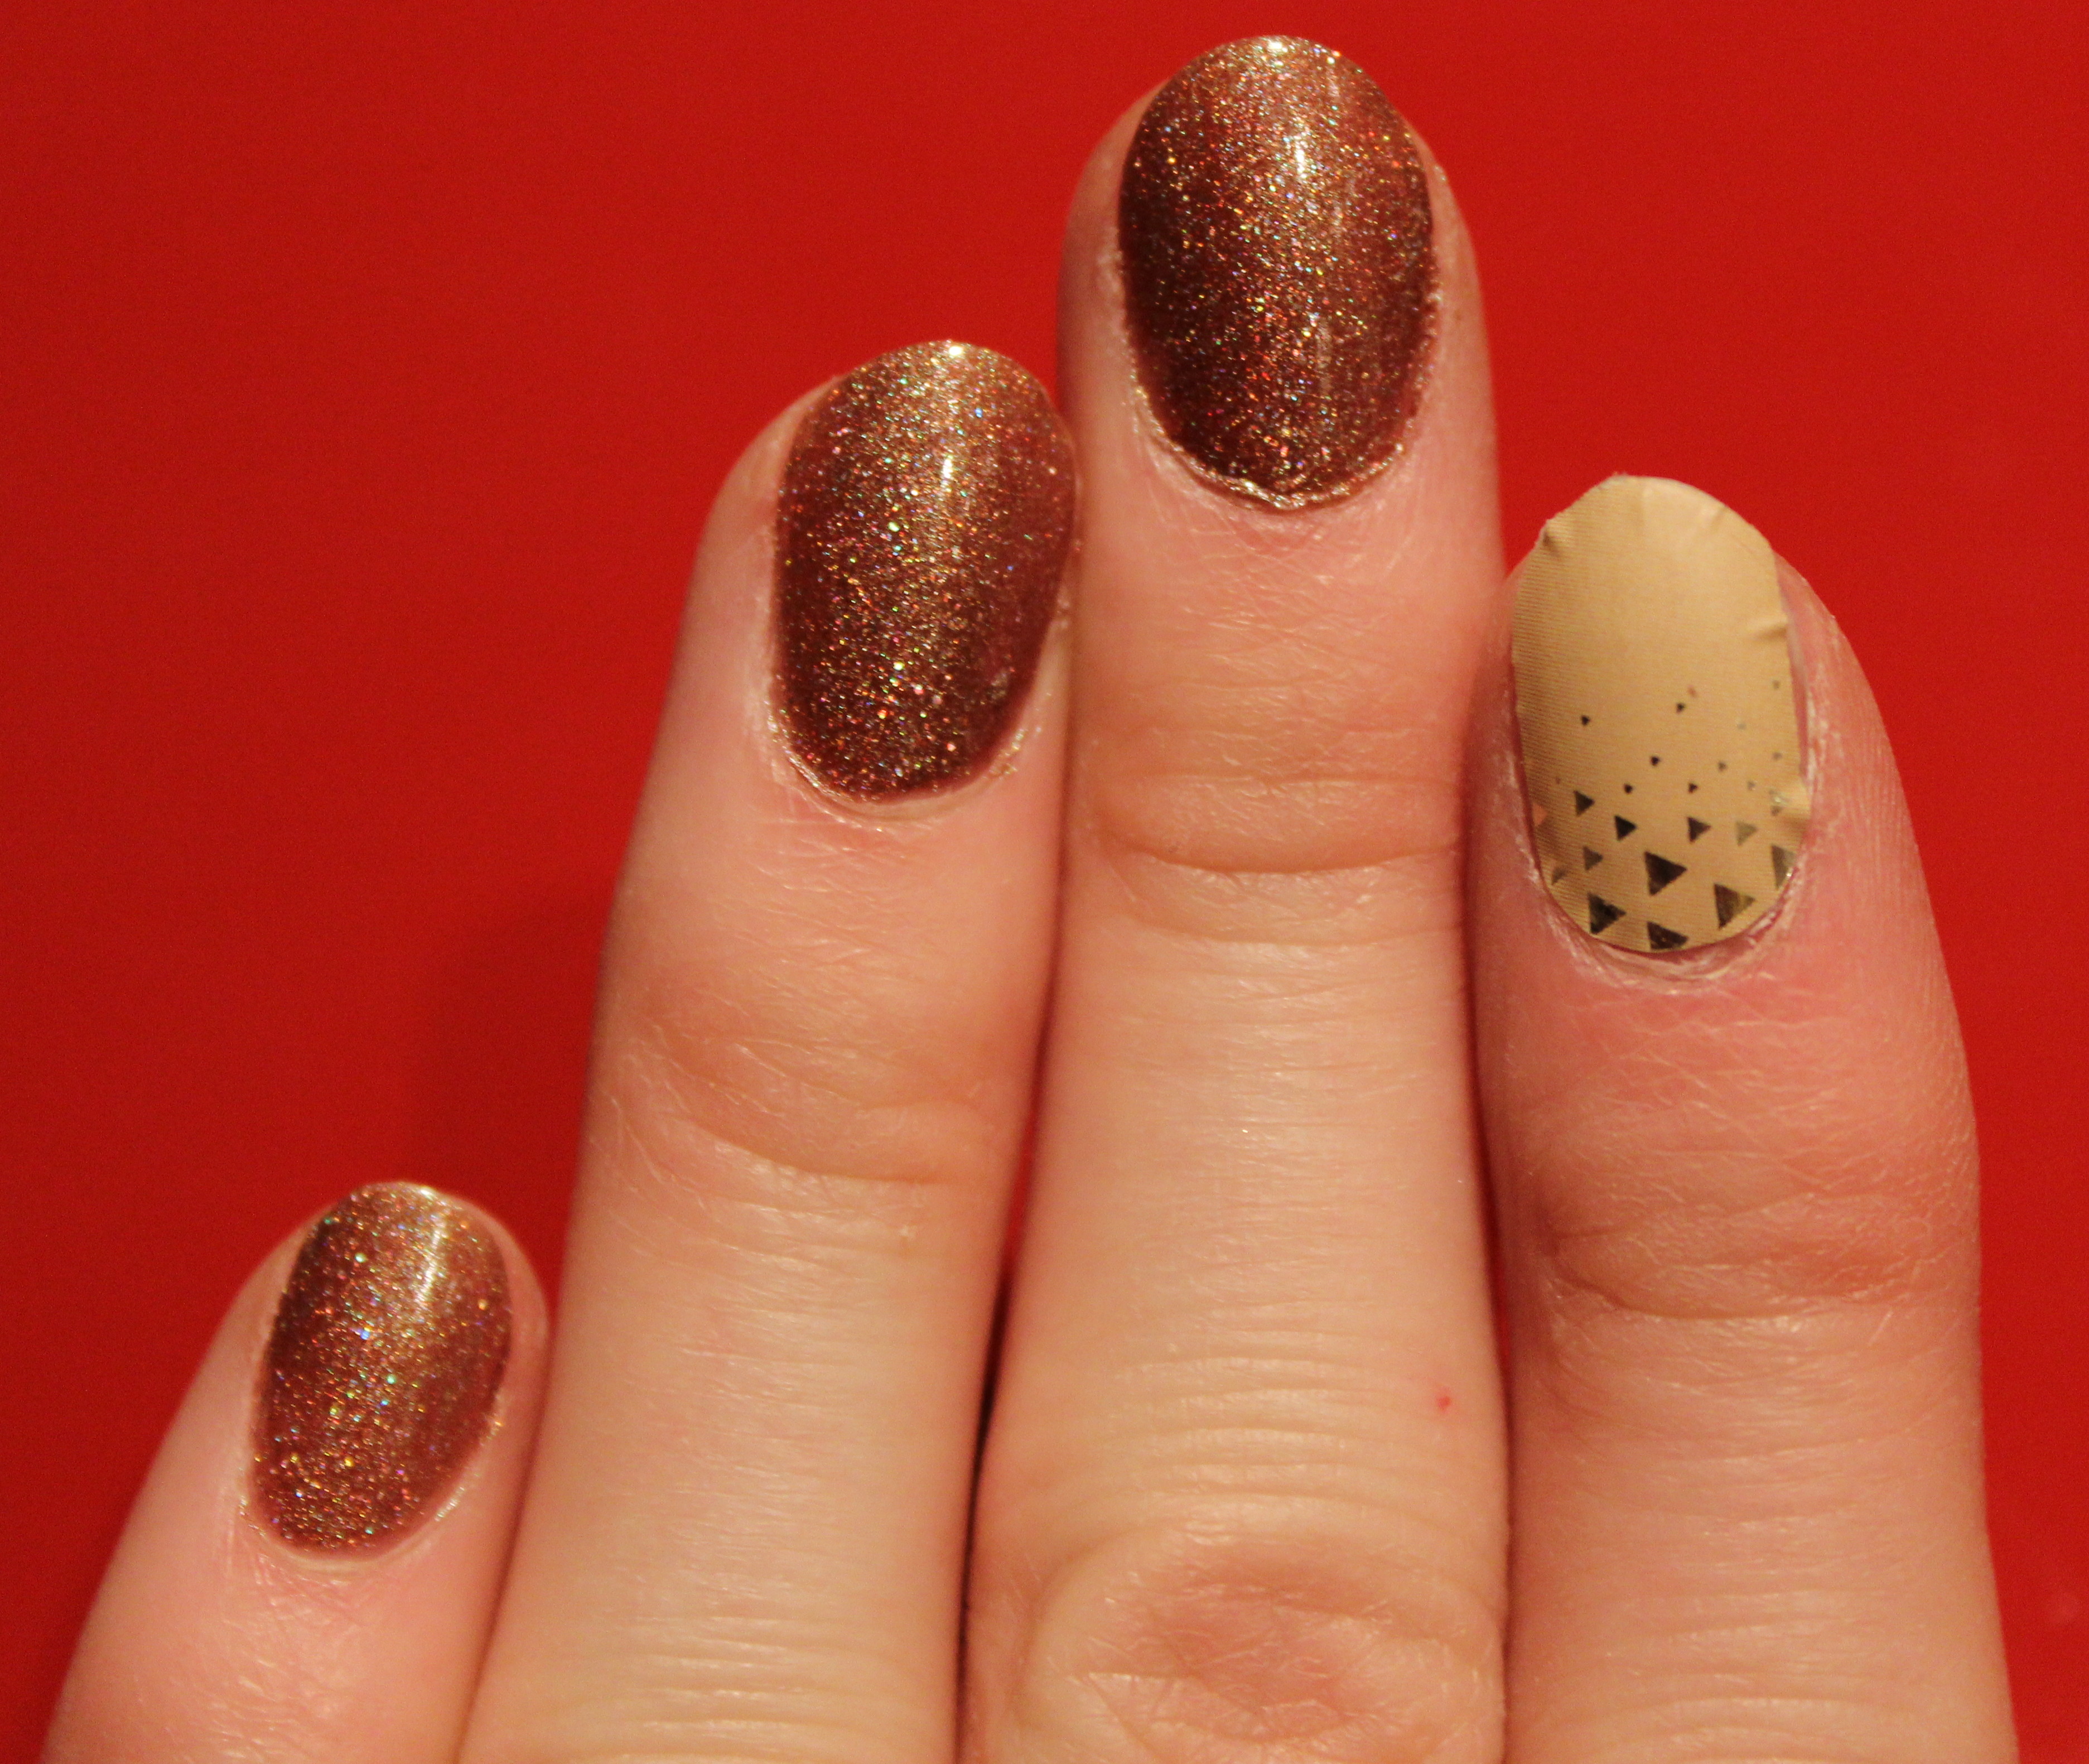
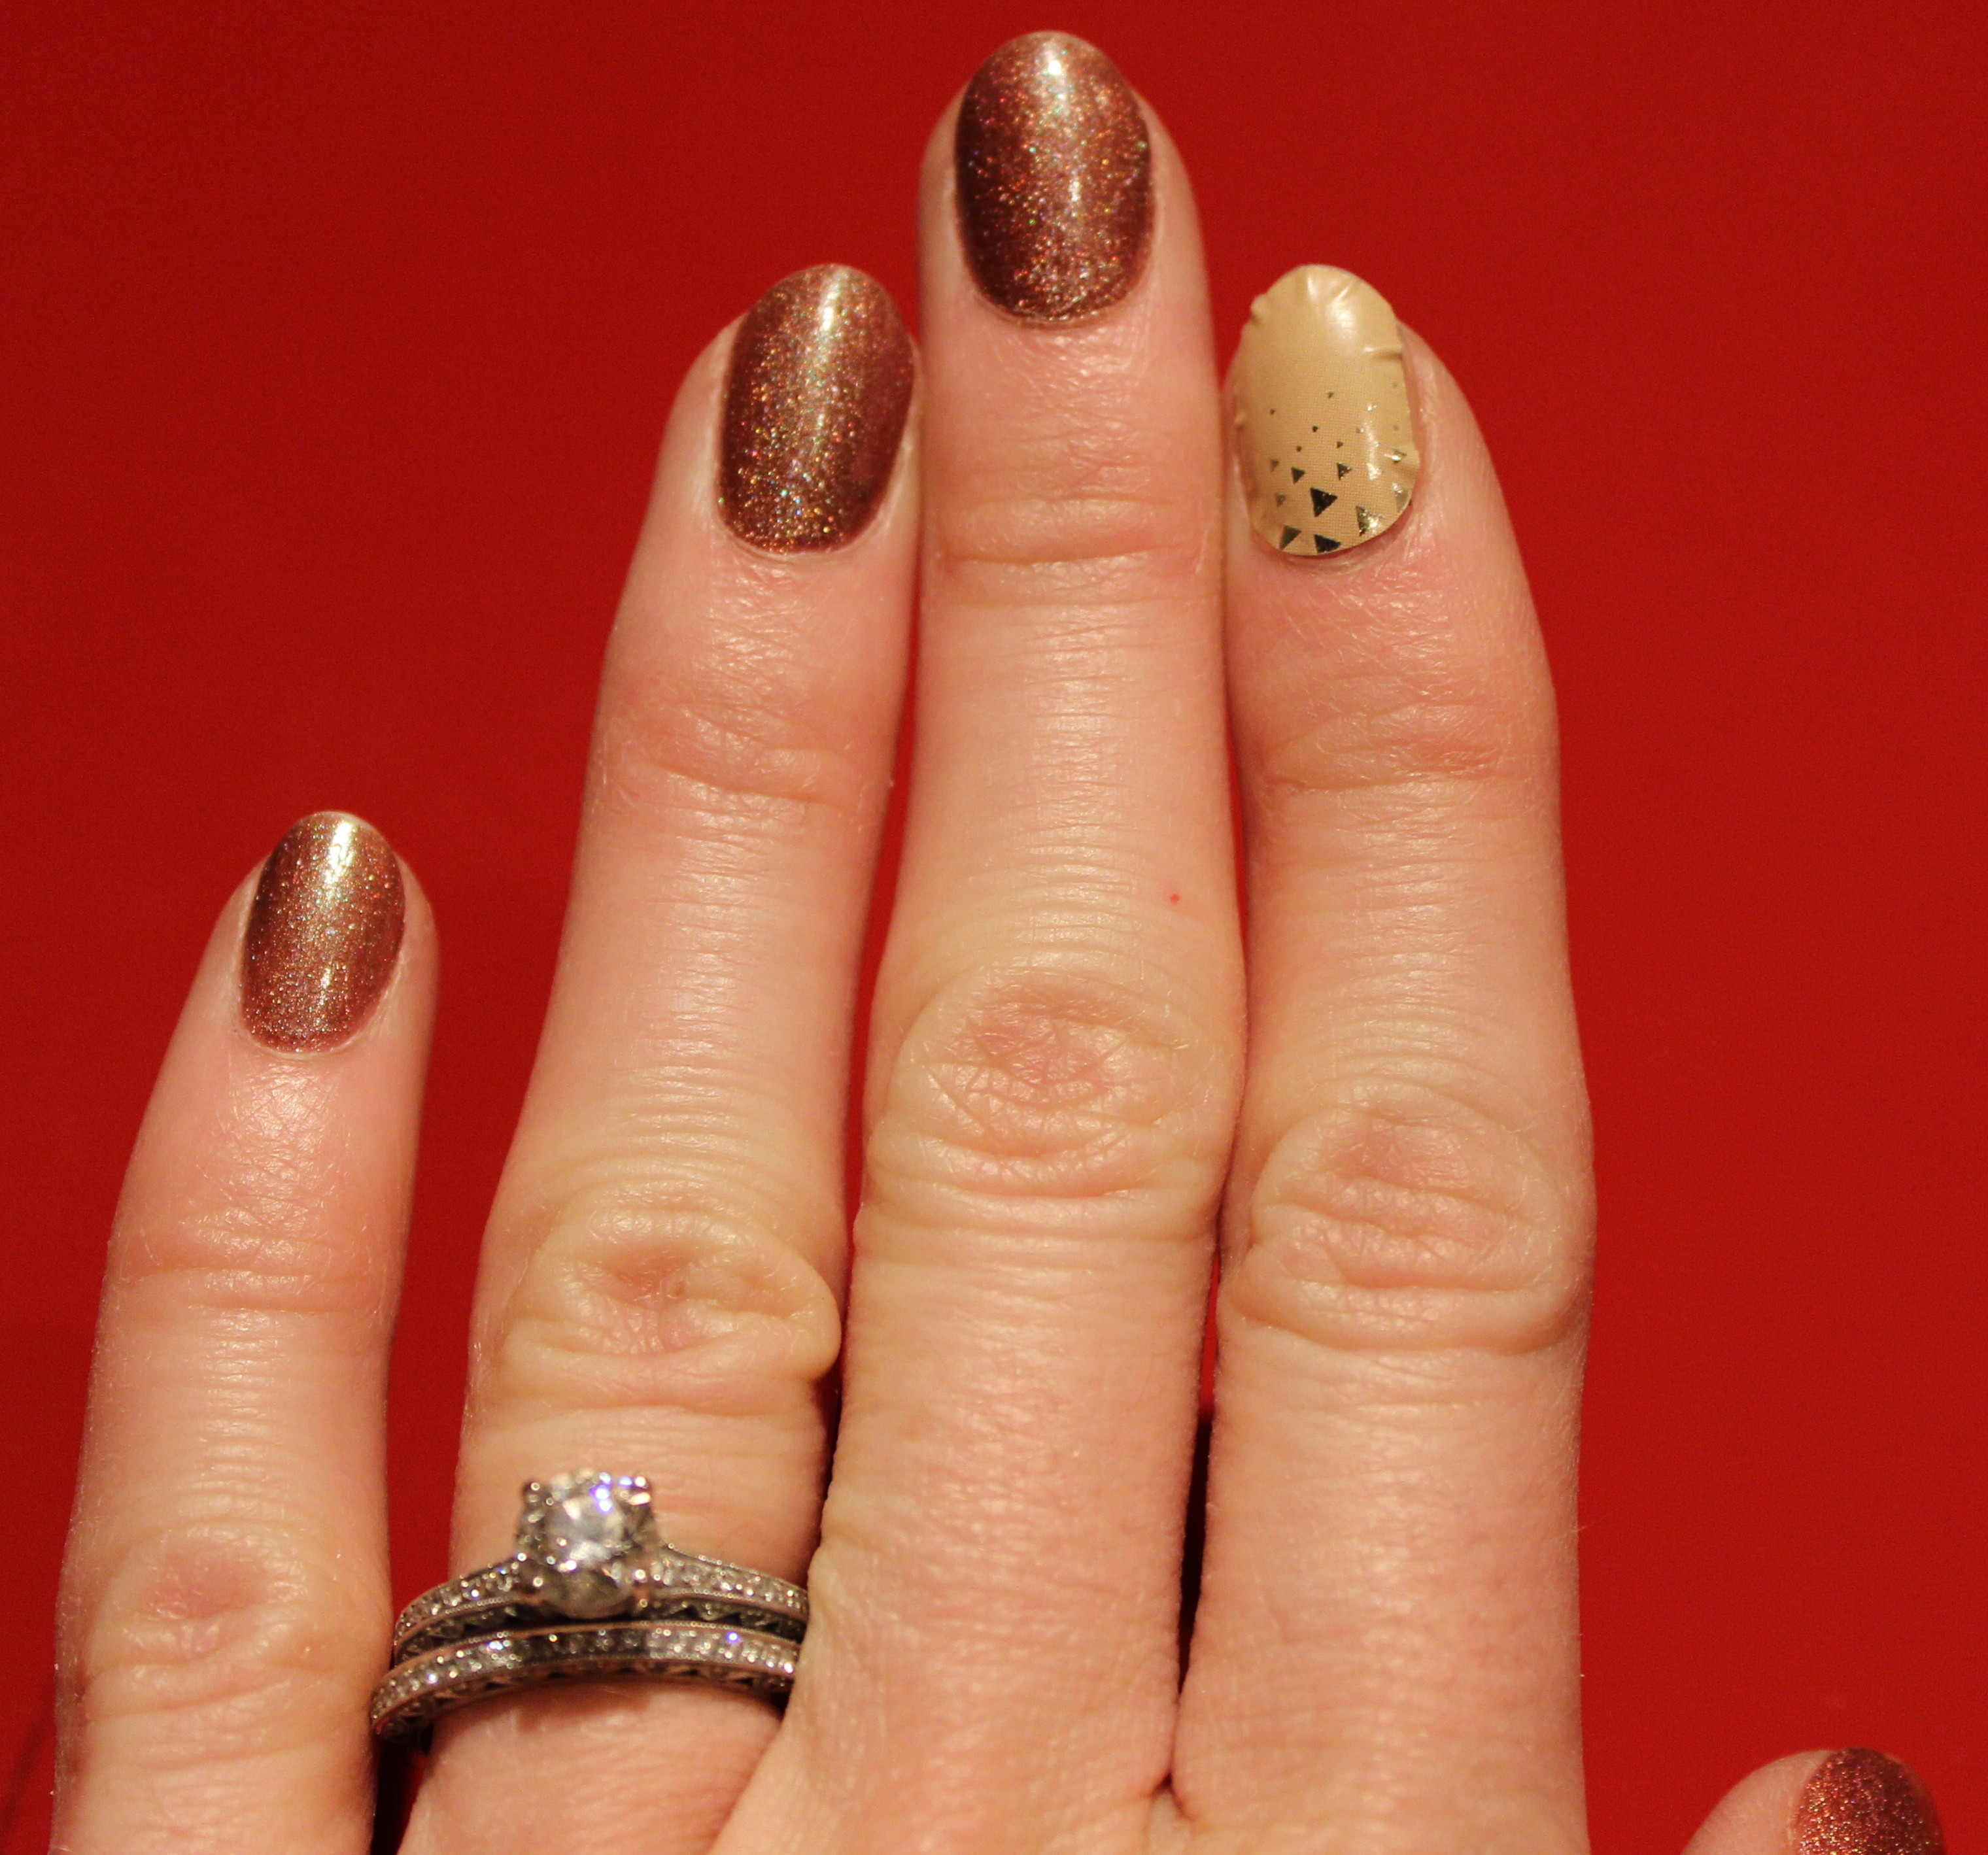
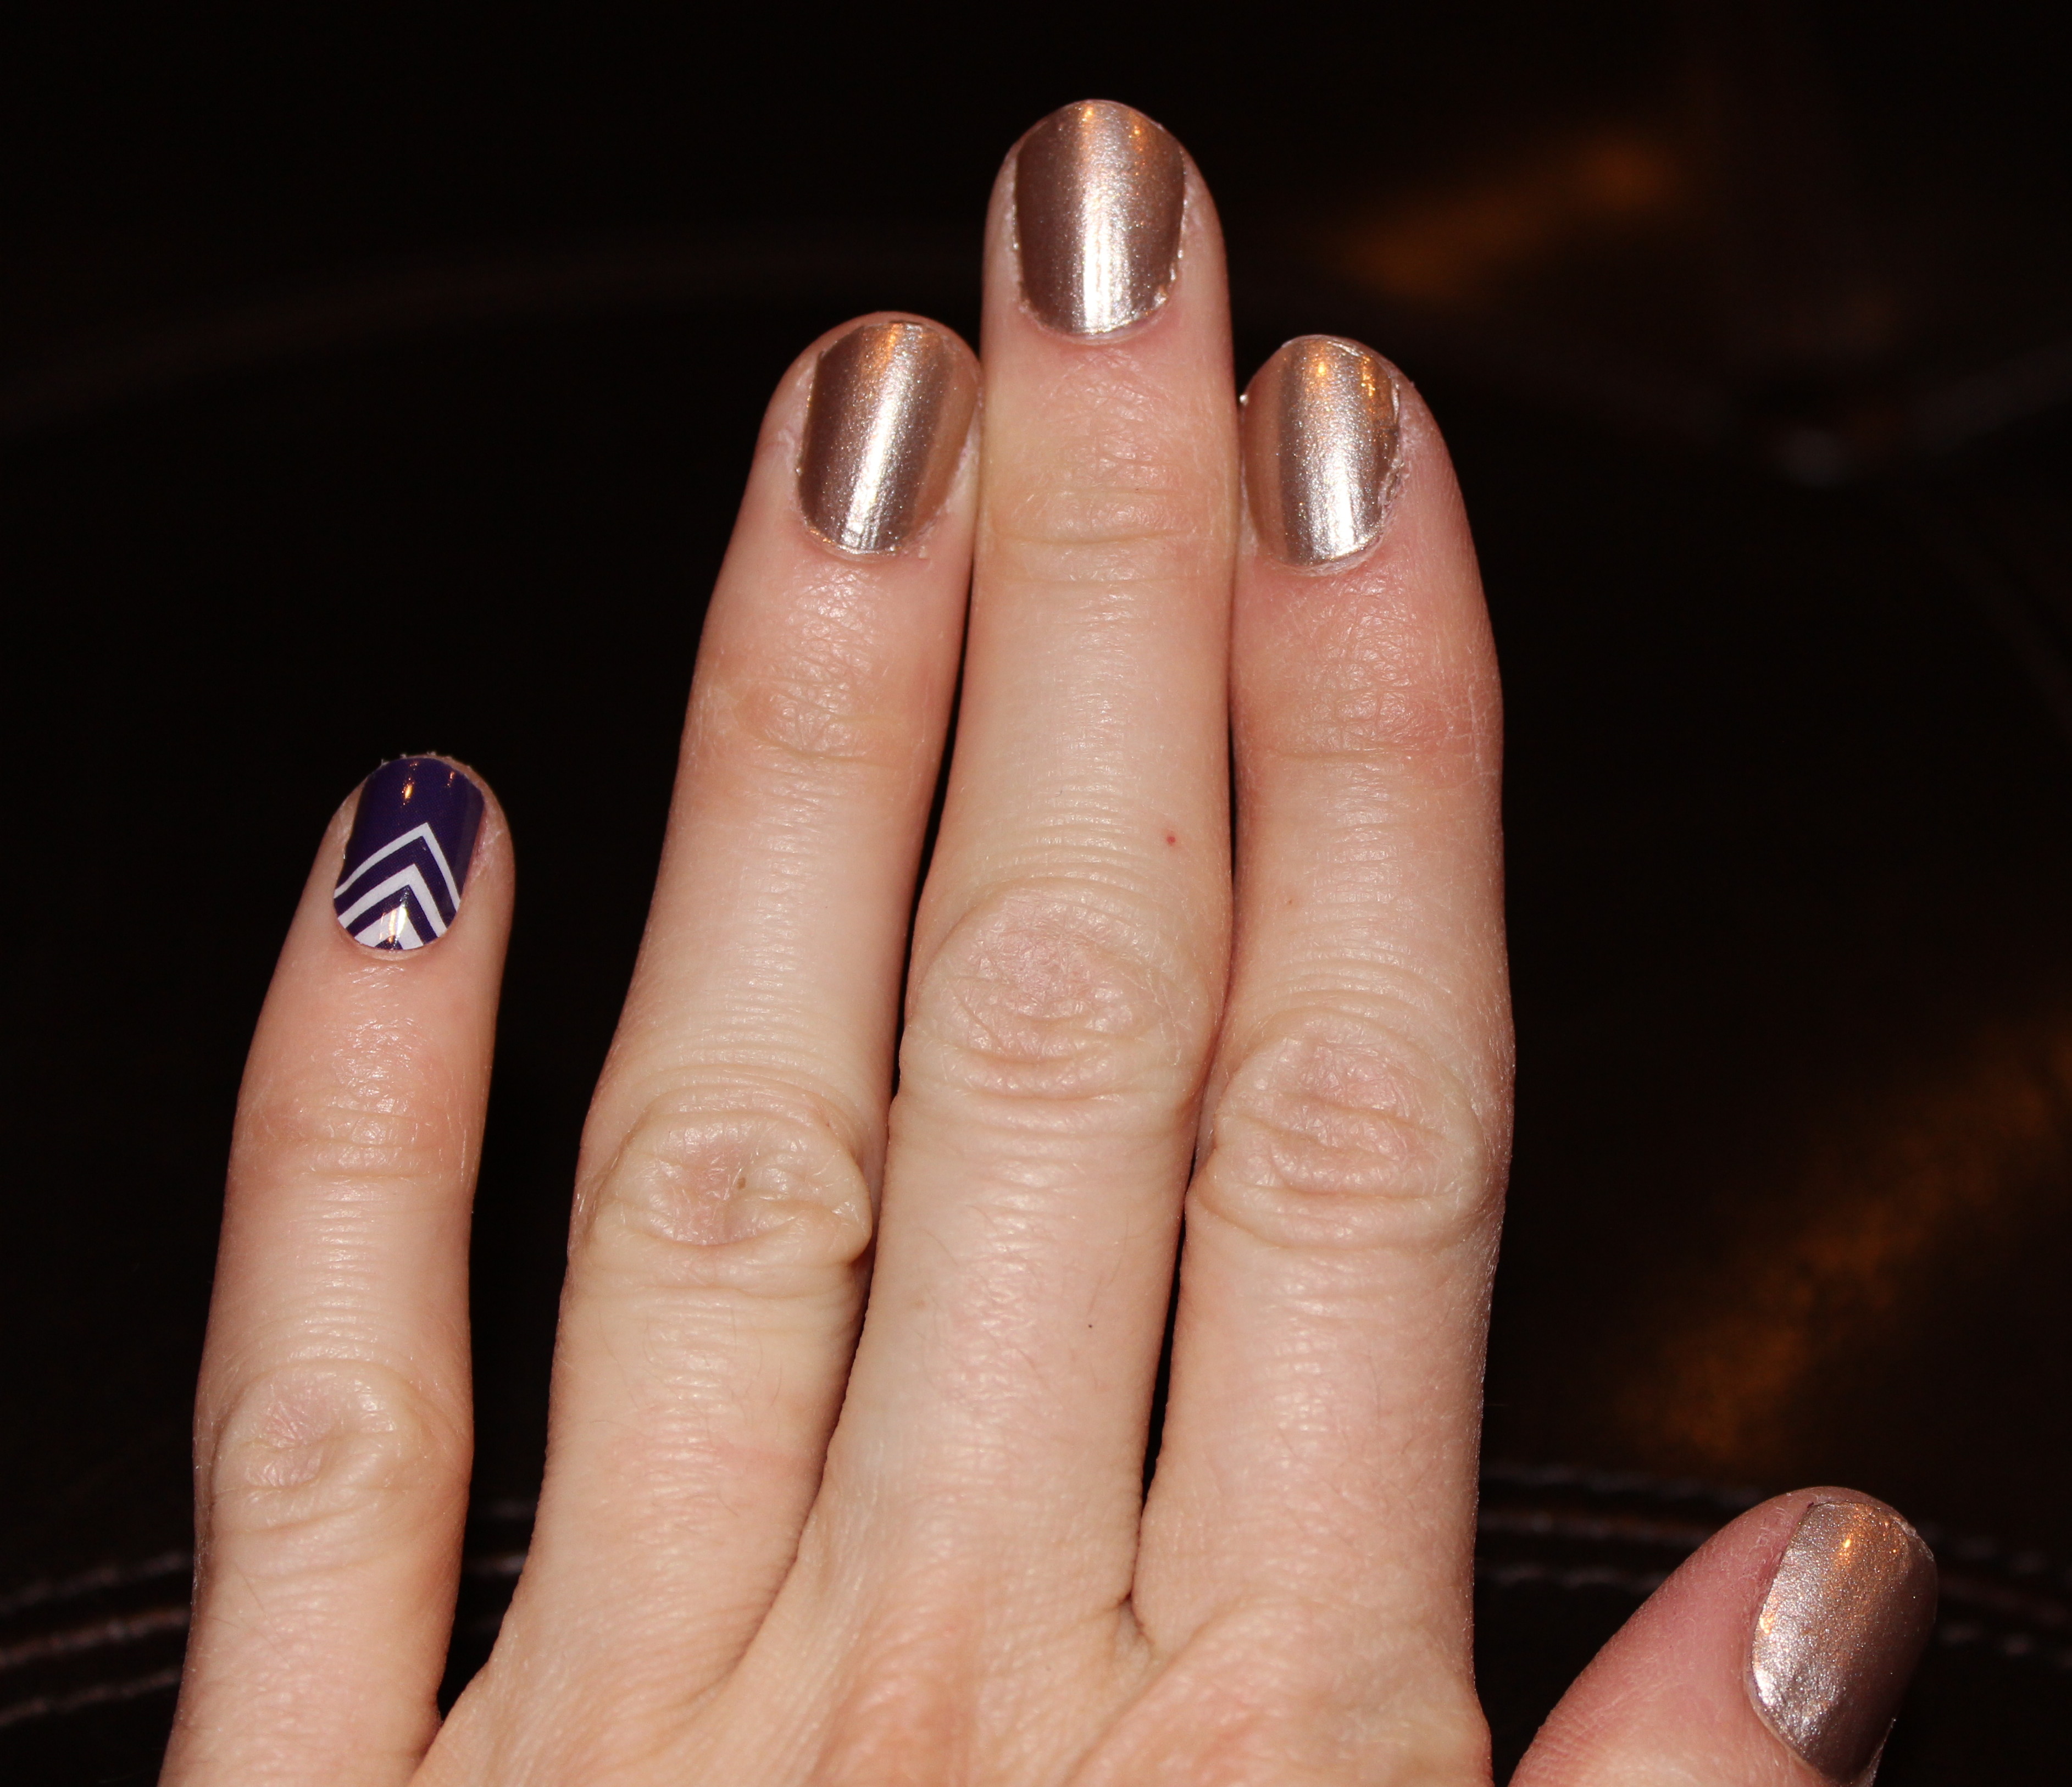
After finding the nail art that I want to use today and match it up to my pointer finger I go ahead and heat the shield with my blow dryer for 15 seconds. I apply the shield to my left pointer finger, take it off because it’s crooked and apply it again. At this moment I realize that the base of my nail bed and cuticle is not round. It’s the awkard “V” shape and there seems to be a slight gap between the shield and the cuticle. Oh well, I convince myself that no one can tell and I move on. Then I take the cuticle pusher and push the shield tightly to my nail, cut the extra shield and push the shield down on the tip of my nail. I have to reheat my finger a couple times with the blow dryer and push it down to get rid of the small bubbles. There are a couple near the edges, but no big deal.
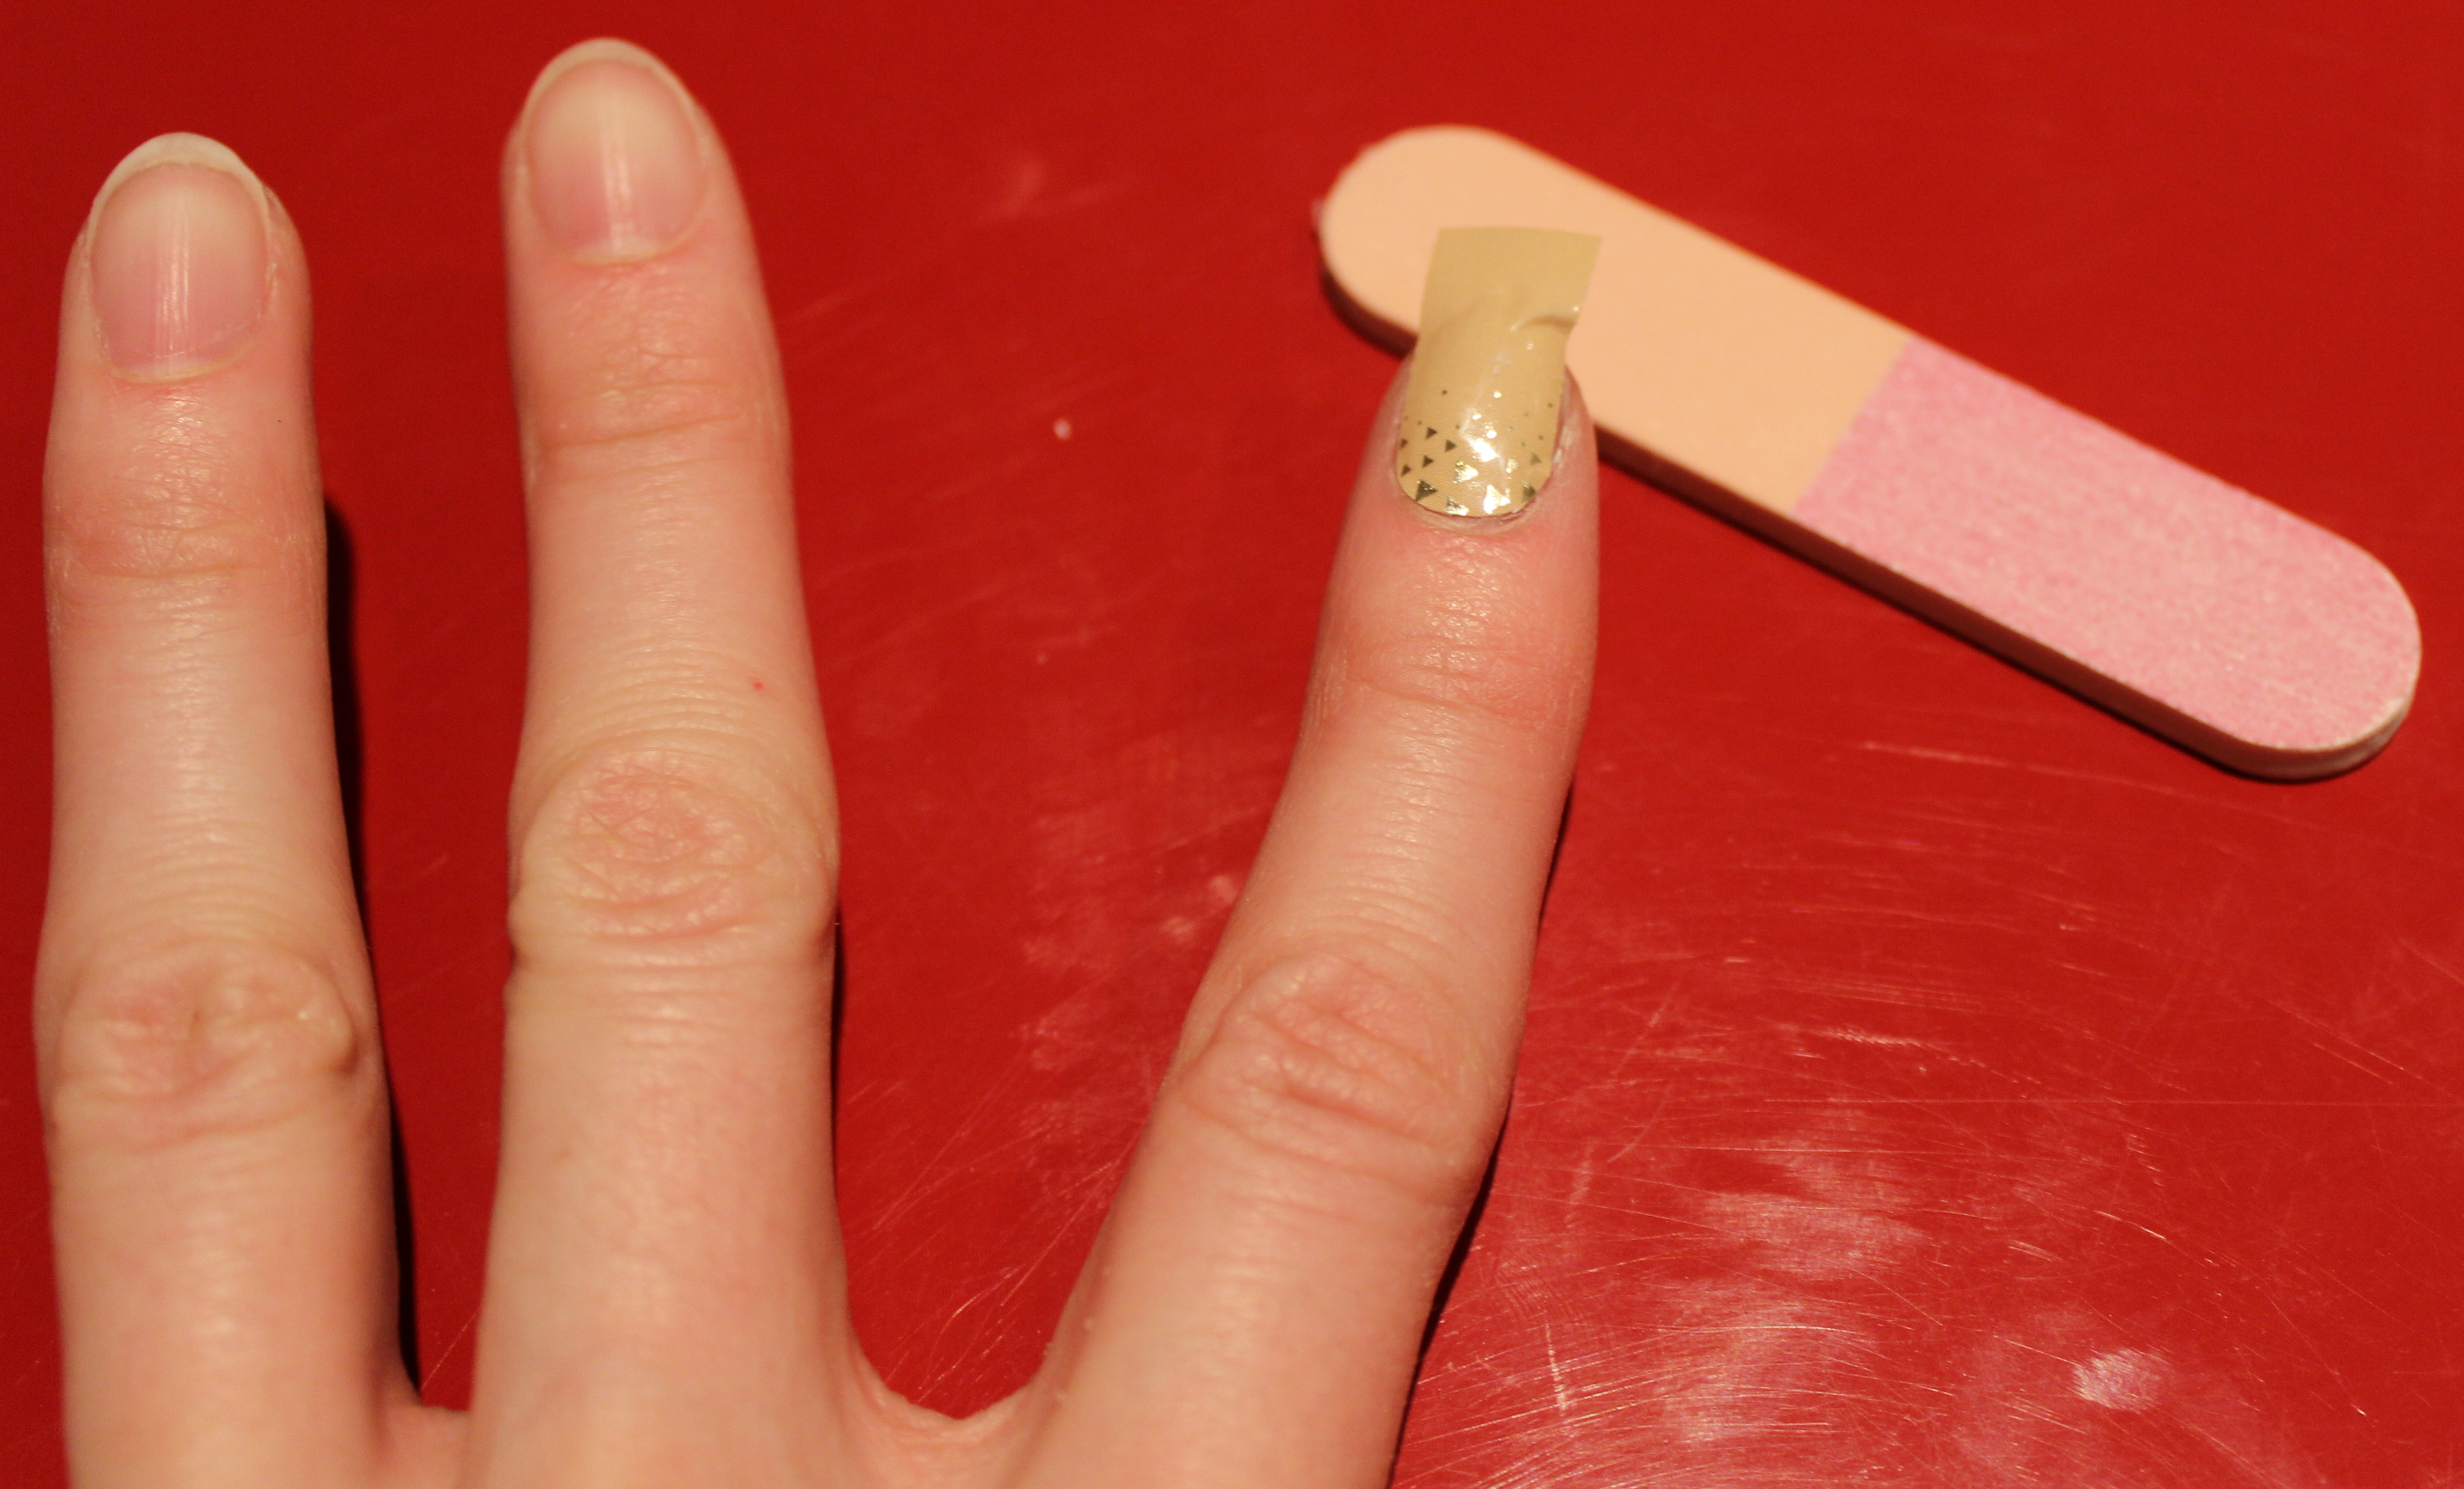
I repeat this process on my right hand. The right hand is more difficult to do since I am right handed. This time I am aware of my oddly shaped cuticle and position the shield slightly higher. As I’m pushing it down, I realized that my nail is slightly wider than the shield on this hand (who knew my finger nails are so asymmetrical). There is a slight gap on either side of the shield and the sides of my nail. Even though it’s hard to file down the end of the shield on this hand, I am pleased that there are less bubbles.
Lastly, I paint my left hand with a base coat, nail polish and top coat. And then my right hand. I can’t wait to see how long the Jamberry Nails last on my two pointer fingers compared to my nail polished finger nails.


Thoughts: From my first and only use, I think this is a cool product. I love the different design options. I suggest using Jamberry Nails if you are wanting nail art. The graphics are not something that a nail artist will be able to paint. I also suggest using Jamberry Nails if you are a perfectionist and are ‘manicure challenged’ like myself, which means you can’t paint within the lines, you smudge your nails within seconds from finishing and you don’t have time to change your color so you end up rocking half painted nails for two weeks.
However, I don’t suggest using this product if you don’t want to spend the time applying the shields to your nails. If you have the money to go to a nail salon every two weeks and you look forward to that relaxing time, then keep your standing appointment. If you want nail art, you can always ask your nail artist BFF and see if she would apply Jamberry to your nails for you (or even just one nail).
To be honest, I am a little bummed that my pointer finger nail beds are so oddly shaped. Also, I think my nails bed might be bigger than average, because most of the samples I received only fit my pinkie.
Day 2: 8/12/14
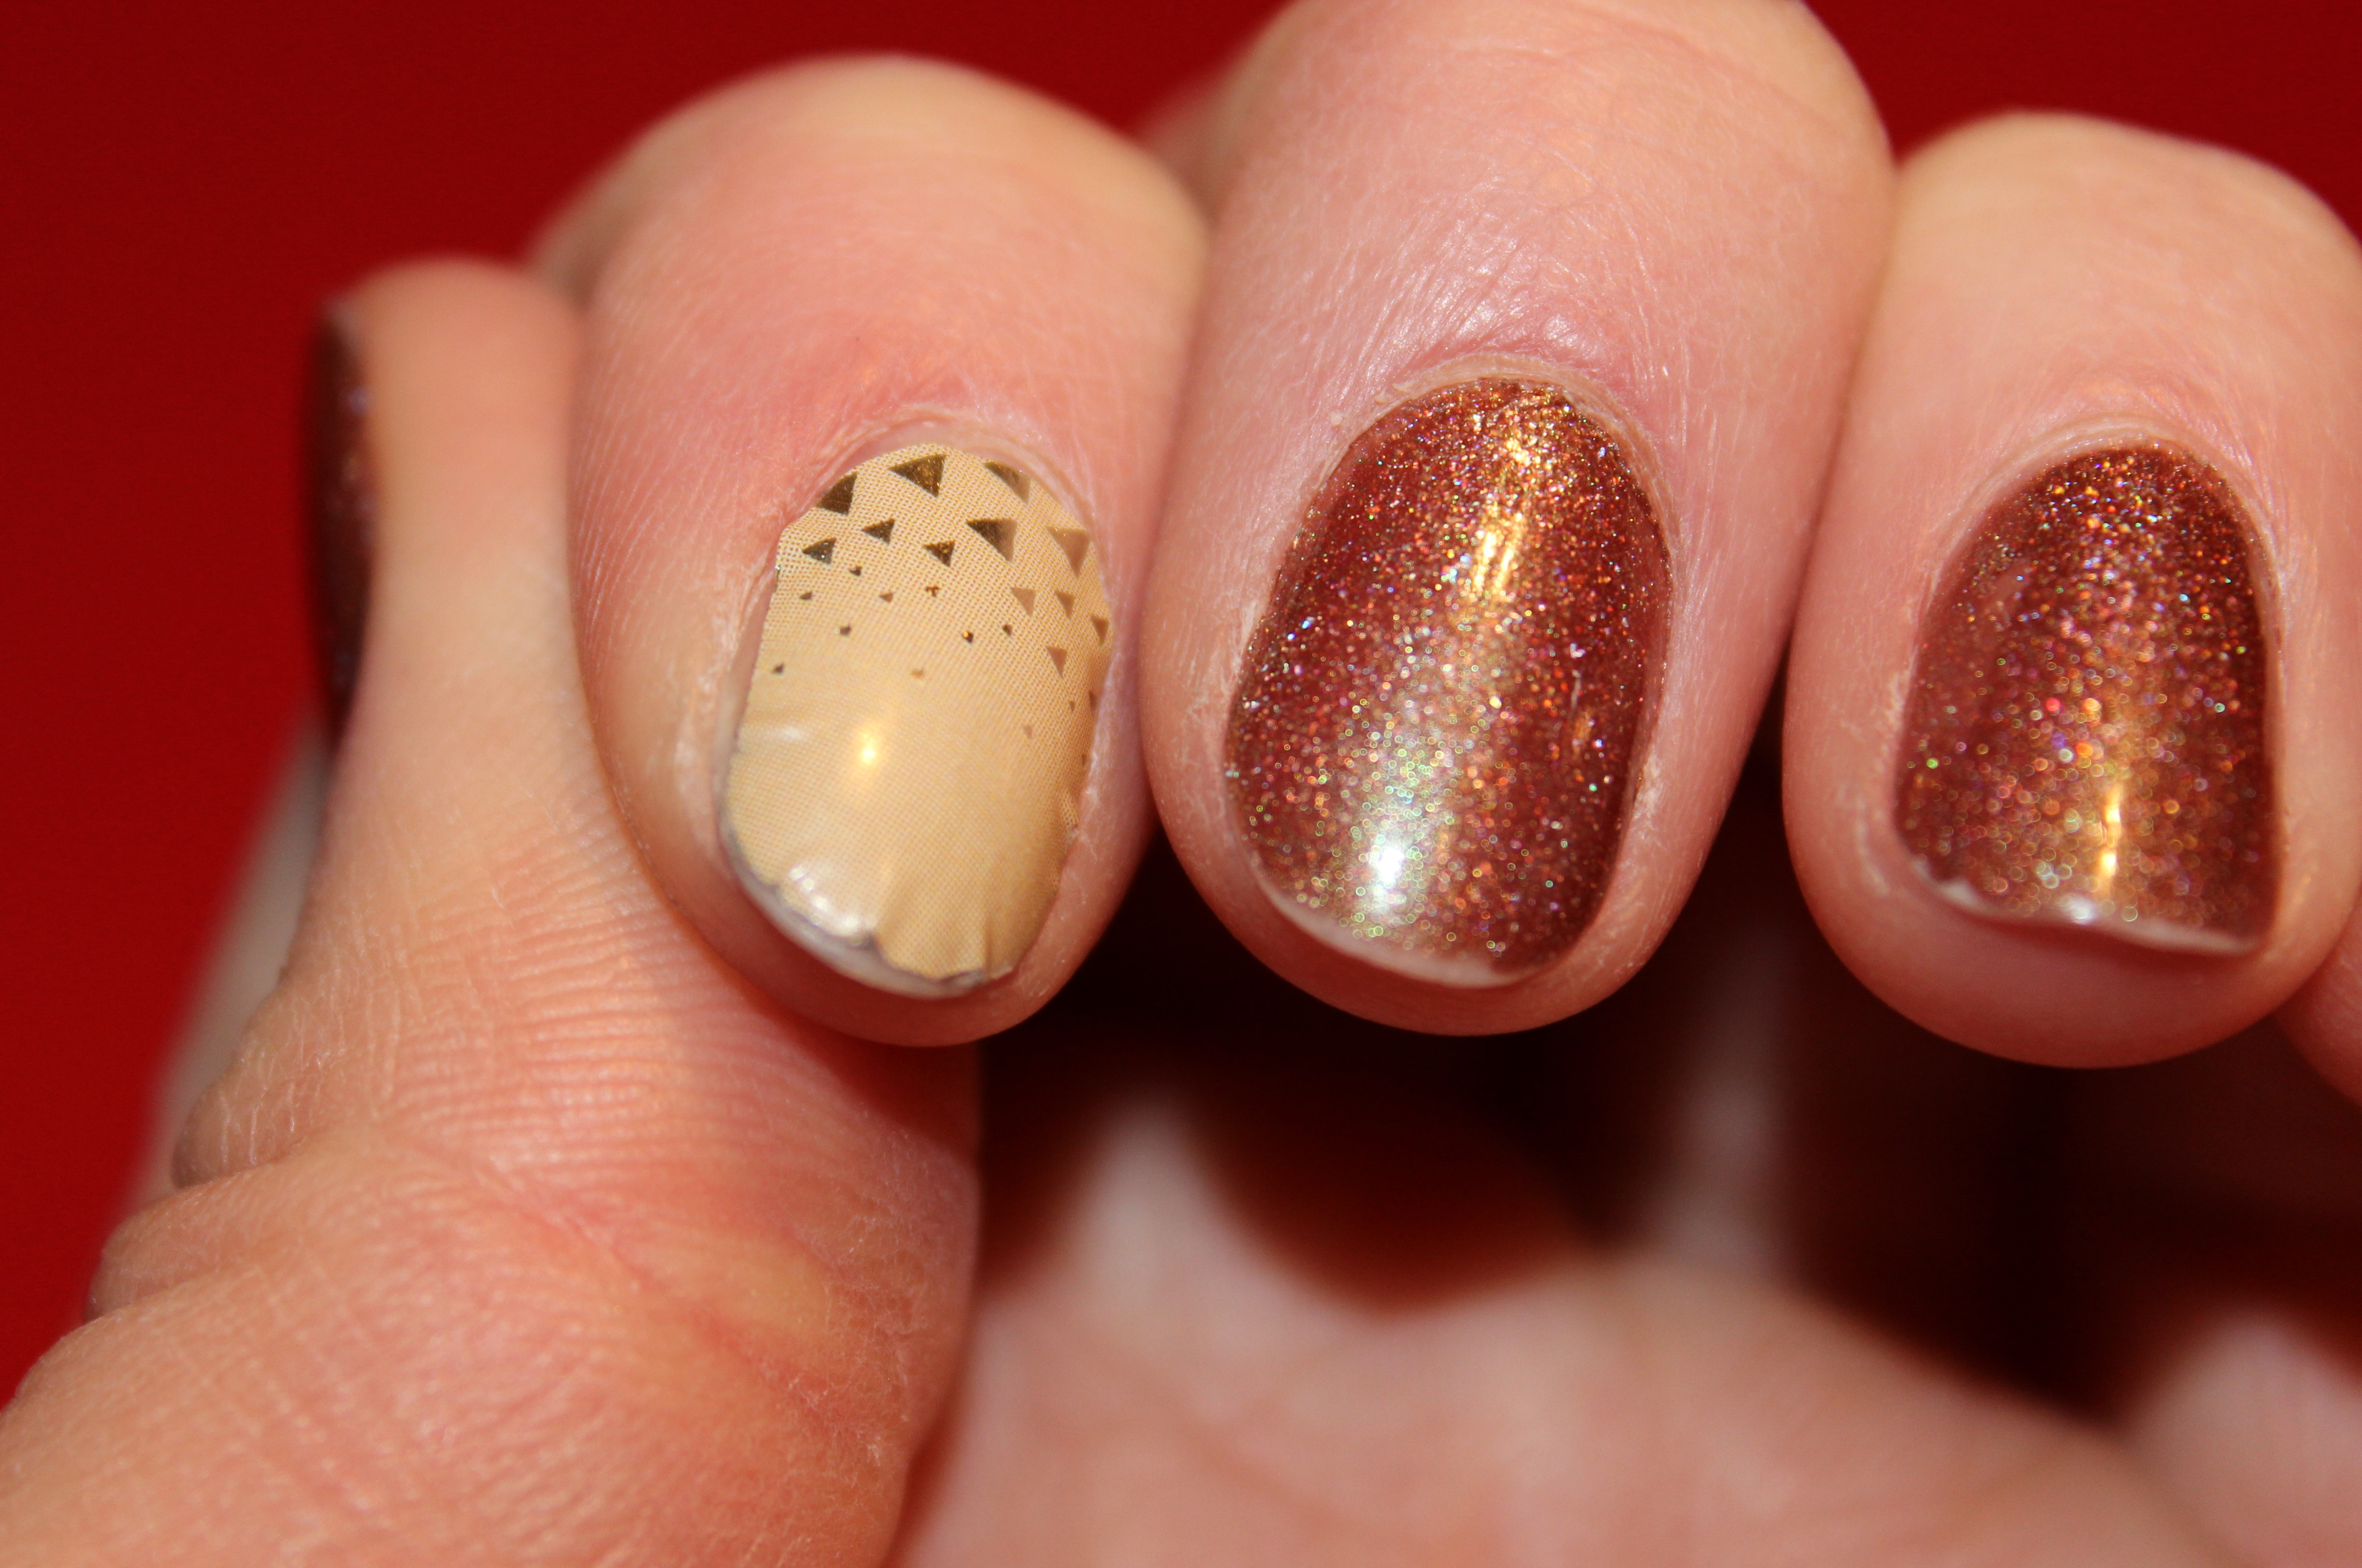
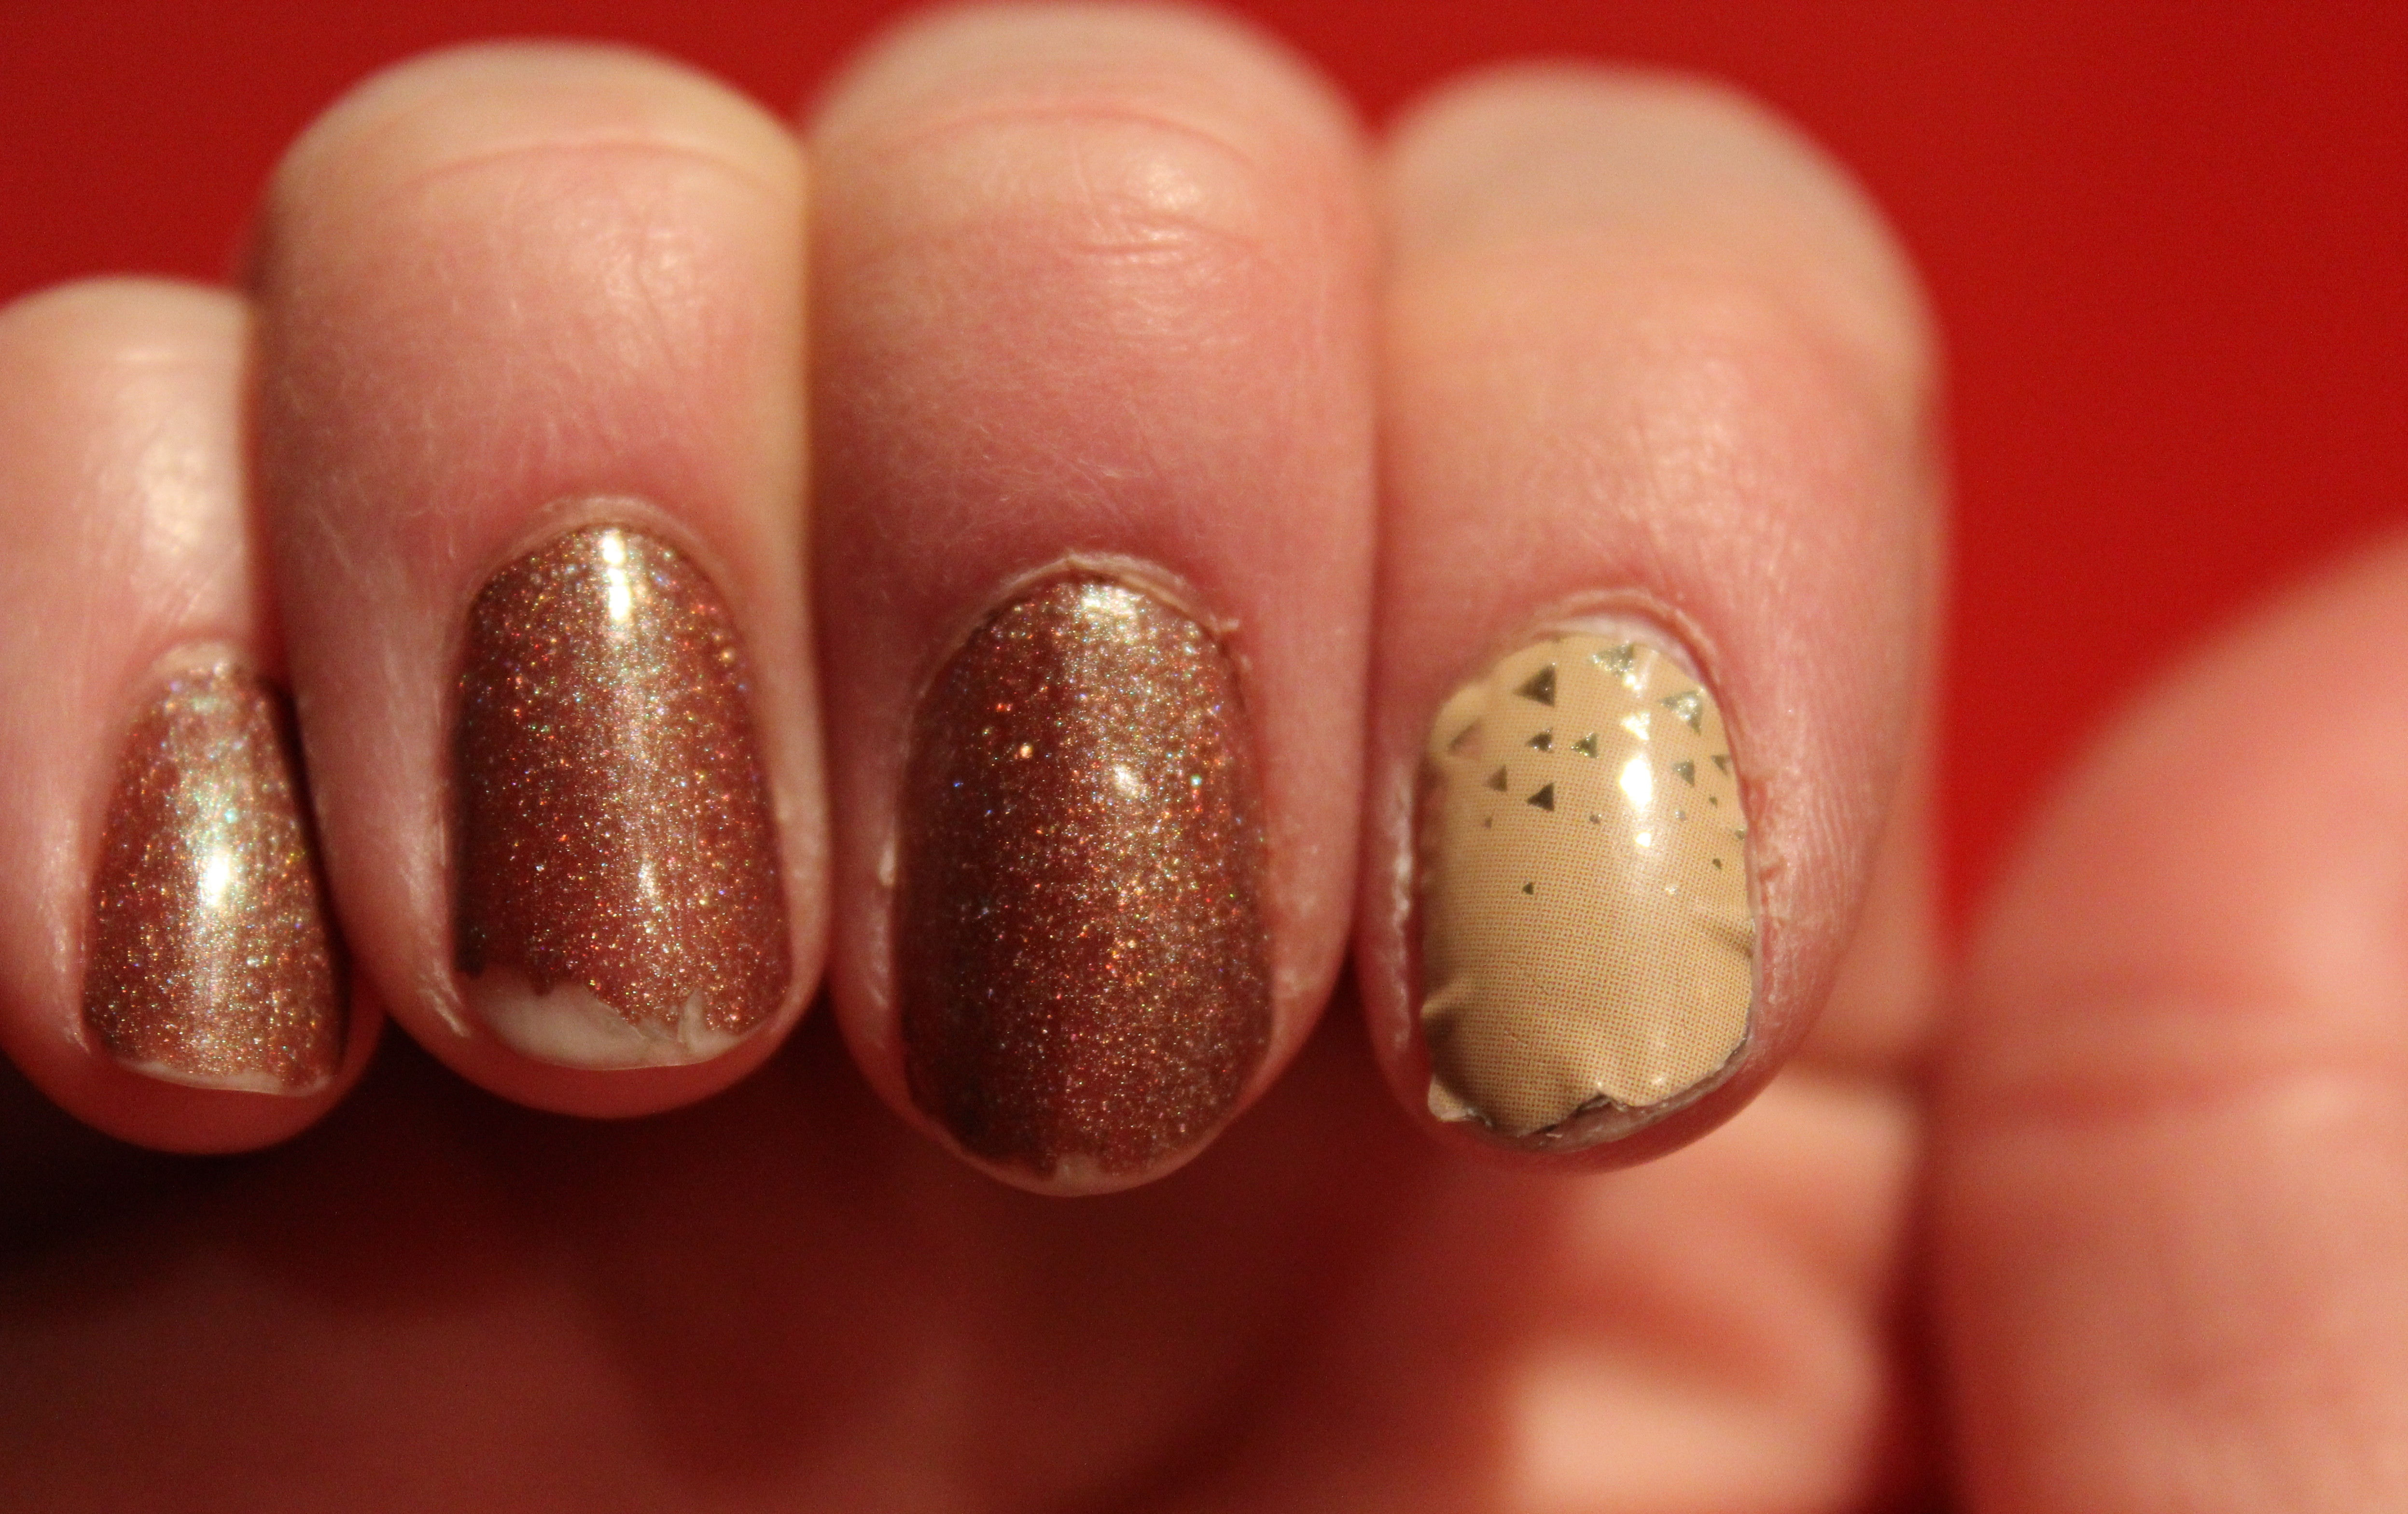
Today, I’ve found myself touching the edges of my Jamberry nails quiet often. I’m not used to the feeling and I’m a little surprised that the nail shields haven’t peeled off from how often I touch them. They are a little rubbed off at the very tips of my nails, which I think is from having a desk job and typing all day long. My nail polish has already chipped on a couple nails. So far, Jamberry is winning!

Day 3: 8/13/14
Today is the last day that I’m leaving the nail shields and the nail polish on my nails. Since I choose a lighter color for the nail shields I think it’s more noticeable on the edges that it’s starting to rub off. The nail polish is already a disaster. I’m leaving for New York City tomorrow, so I must remove the nail shields and nail polish before my trip. The nail shields are super easy to remove. I simply peeled them off. The official instructions recommends blasting some heat on them with your blow dryer, similar to how you put them on. Typically I believe the nail shields last longer, but I think that with practice the application will get better and I won’t find myself picking at them as much.
Jamberry Trial #2 Teaser…. It’s been a week since I originally tried Jamberry Nail shields for the first time and now I’m testing them to Sally Hansen’s product, Salon Effects real nail polish strips. The best thing about these products is that I’ve barely applied them and already I’m typing away on my computer without smudging my nails! Here’s a spoiler…. 2nd time around is much easier, looks better (I chose a better color) and I can already tell that it’ll last longer! Tune in next week for Mani Monday to get the FULL update.
In the meantime, check out facebook.com/amybernicejamberrynails or amybernice.jamberrynails.net for more designs and how to purchase! You can also reach her at amybernicejams@gmail.com and at 480-695-3011.
Today’s a good day for a good day,
The Foxy Kat
 Visit The Foxy Kat’s profile on Pinterest.
![]()


