The photo above is a BEFORE photo and was taken by Avi Valencia, @always.avi. Below is the finished product AFTER our tile backsplash renovation was complete. 

After
After
After

Aaron and I always knew we were going to do renovations on our brand new, newly built home. Even before we put in an offer we talked about the possibility of doing a couple projects ourselves after moving in. I know that sounds crazy and I’ll be the first person to tell you that it’s not ideal. You’re probably thinking right about now, why go through the trouble of doing construction on your new build home right after you move in and get settled? In case you haven’t read the blog post titled, “Our New Build Design Experience & Options“, I’ll tell you why. 

First, I’d like Aaron to tell you why and then I’ll fill in the gaps. Side note: I emailed Aaron five questions that I asked him to answer in order to help me write this blog post with accurate information (you’re welcome). He is the person who did the work, so I didn’t want to pretend like I know what I’m talking about because I don’t. In true Aaron fashion, he sent me a bulleted response with just enough words. I can appreciate his efficiency. Here is his response to why we did this project:

  • Loved the look
  • Had it in our old house
  • Very expensive and limited options from builder

He’s 100% right! When we met with our builder for our initial design appointment, we quickly confirmed our expectations that we weren’t going to love their tile/backsplash options as opposed to sourcing it ourselves. If you saw our first home that we renovated together then you would see that we have a very specific style. The blog post is titled, “Fox Hole Renovation” if you want to check it out. Plus, the cost associated with the backsplash tile that was available to us didn’t make sense based on our level of love for the tiles. Aaron is pretty handy so he knew that if he dedicated time to this project he’d be able to do the work himself and it would save us money in the end. If the builder had a backsplash that we loved then we definitely could have made the case of electing that design option for our new build. Even if you don’t want the builder to add a backsplash, they have to add a lip of the quartz that matches the countertop, which Aaron removed before starting this project and repurposed for our windowsill. 

Before
Before
After
After

Style:

In our last house we used regular sized white subway tiles with a black grout. We love the contrast of a dark grout! For this house, we really wanted to do an accent tile behind the hood and love the look of ceramic printed tiles, but it is very challenging to both agree on a tile print and also commit to something so bold now that you’re not sure how you’ll like in 3 months to 10 years. I love herringbone and Aaron agreed that he could accomplish that pattern so we decided to incorporate our favorite interior design color (other than grey) and purchase skinny/long subway tiles in a light blue and a deep blue.

Time:

The amount of time to dedicate to this project is 40 total hours. Aaron said that is for a single person with a good understanding and some experience. It’s important to note that Aaron removed the lip of the quartz on the wall, created a pattern/layout, cut and adhered the tile/trim, grouted and cleaned the tile, created a windowsill, removed and replaced outlets and the hood, painted the kitchen and baseboards, and replaced cabinet lighting. Even though this is a “tile backsplash” project, it’s never just creating a backsplash. There’s always a few other things to do as well! These other things, like painting and replacing lighting, didn’t happen the same week that Aaron tiled. Since he did the work himself, he had the luxury of time and spaced it out accordingly.

Skill Level:

The pattern we chose was a bit more advanced, but patterns that require less cuts and planning are good for beginners. 

Before
Before
Before
After with 2700k lights
After with 2700k lights against 4000k lights
After with 4000k lights

Process: (just to be clear, this was written by Aaron in the 1st person)

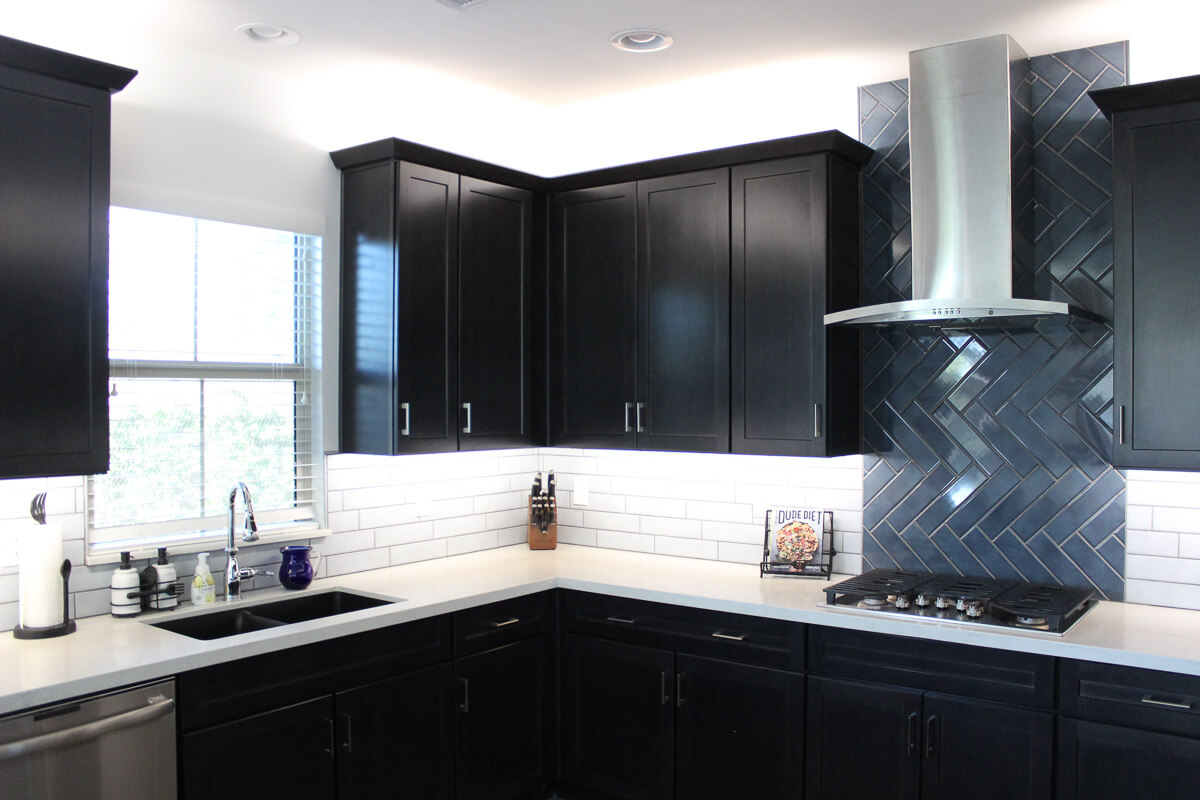
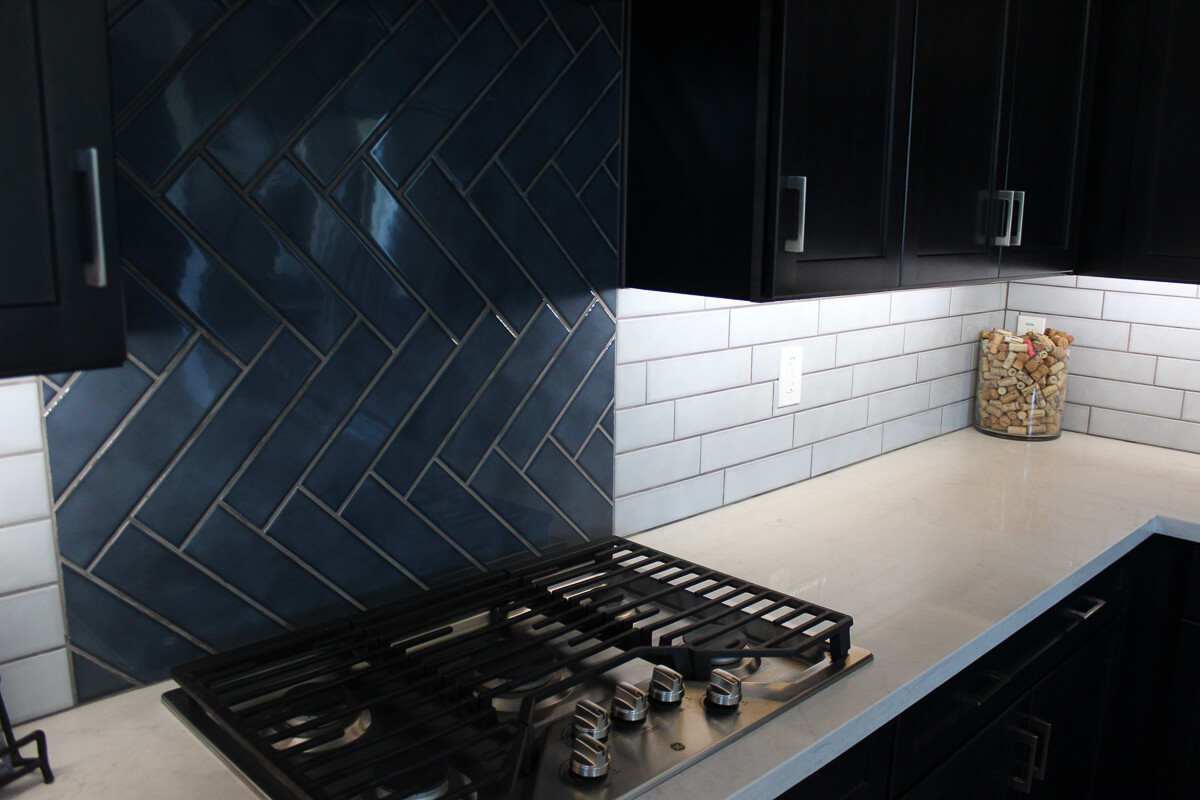
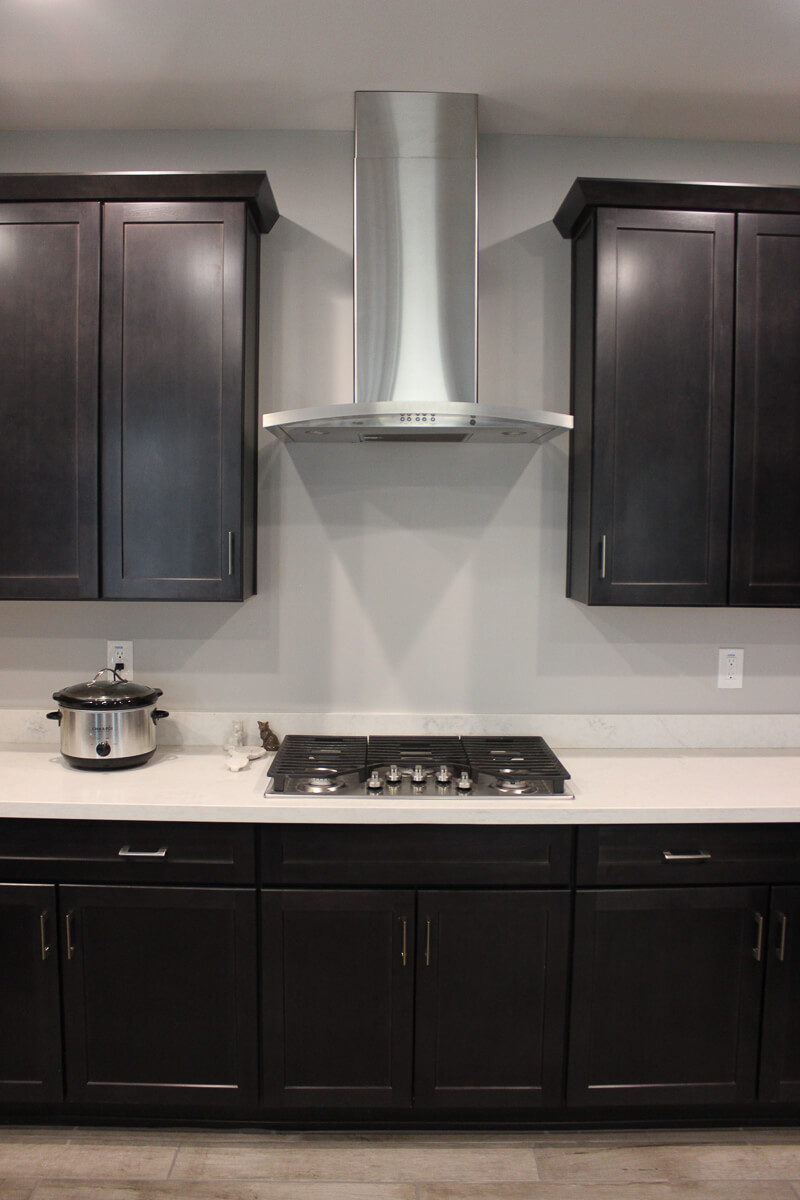
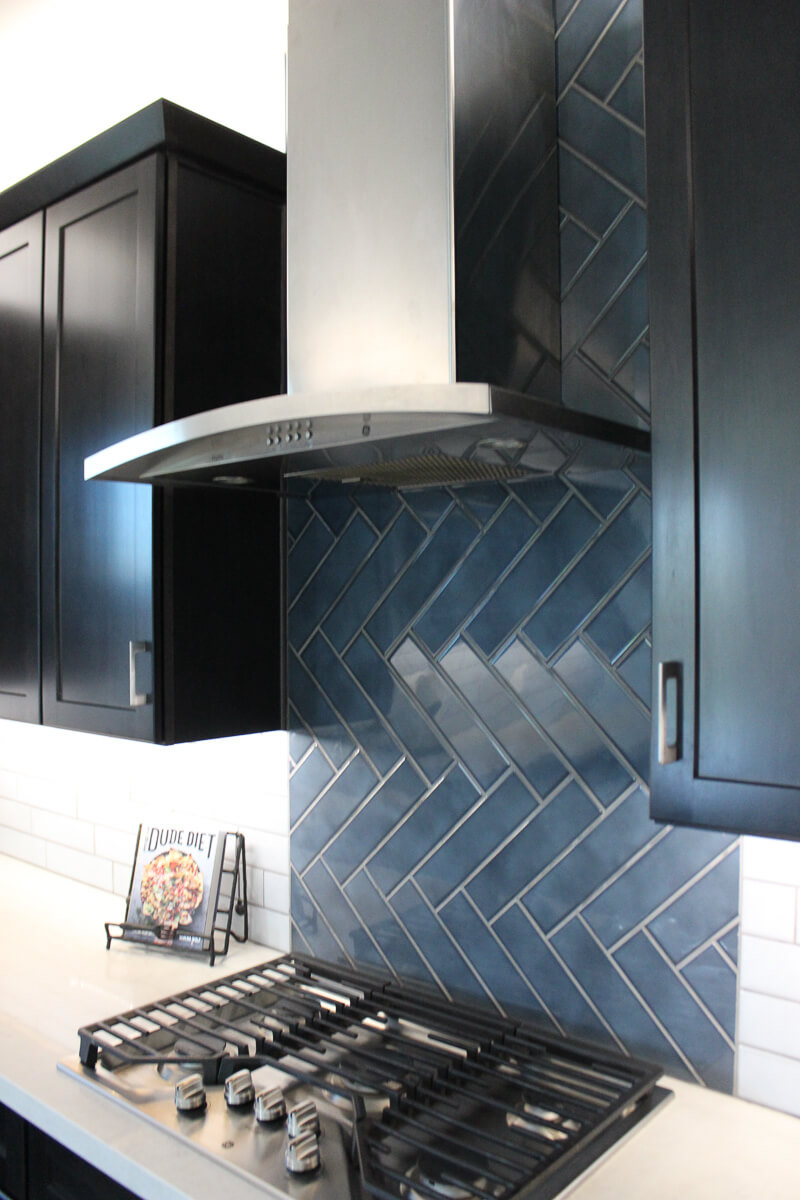
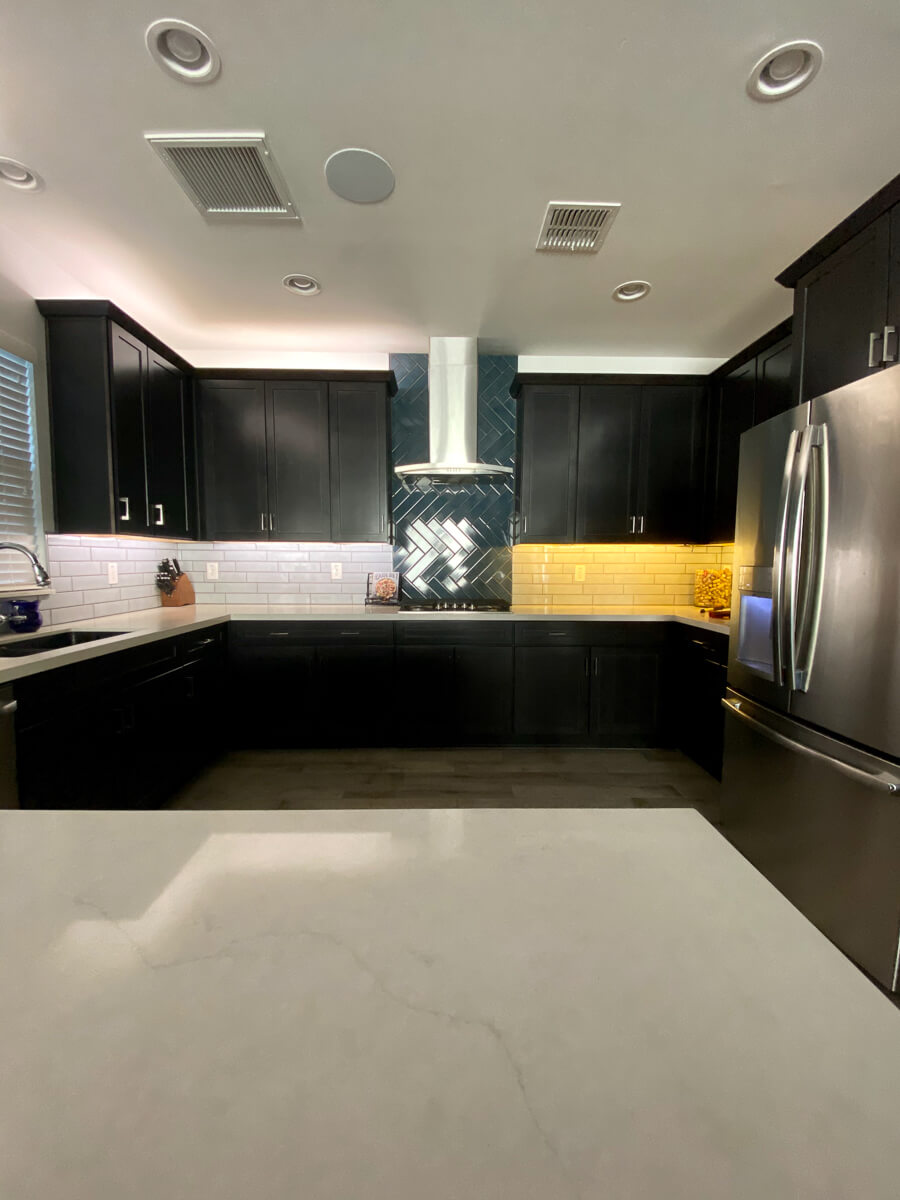
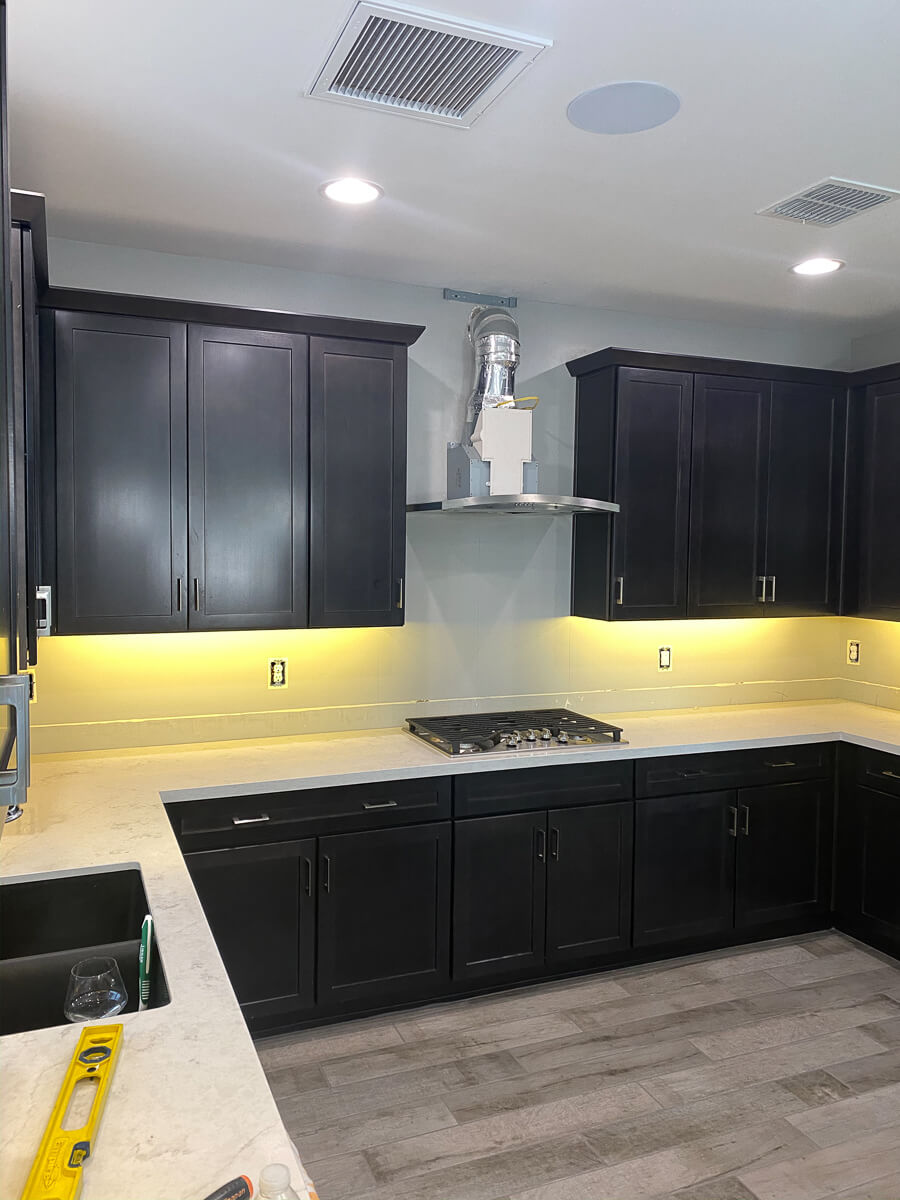
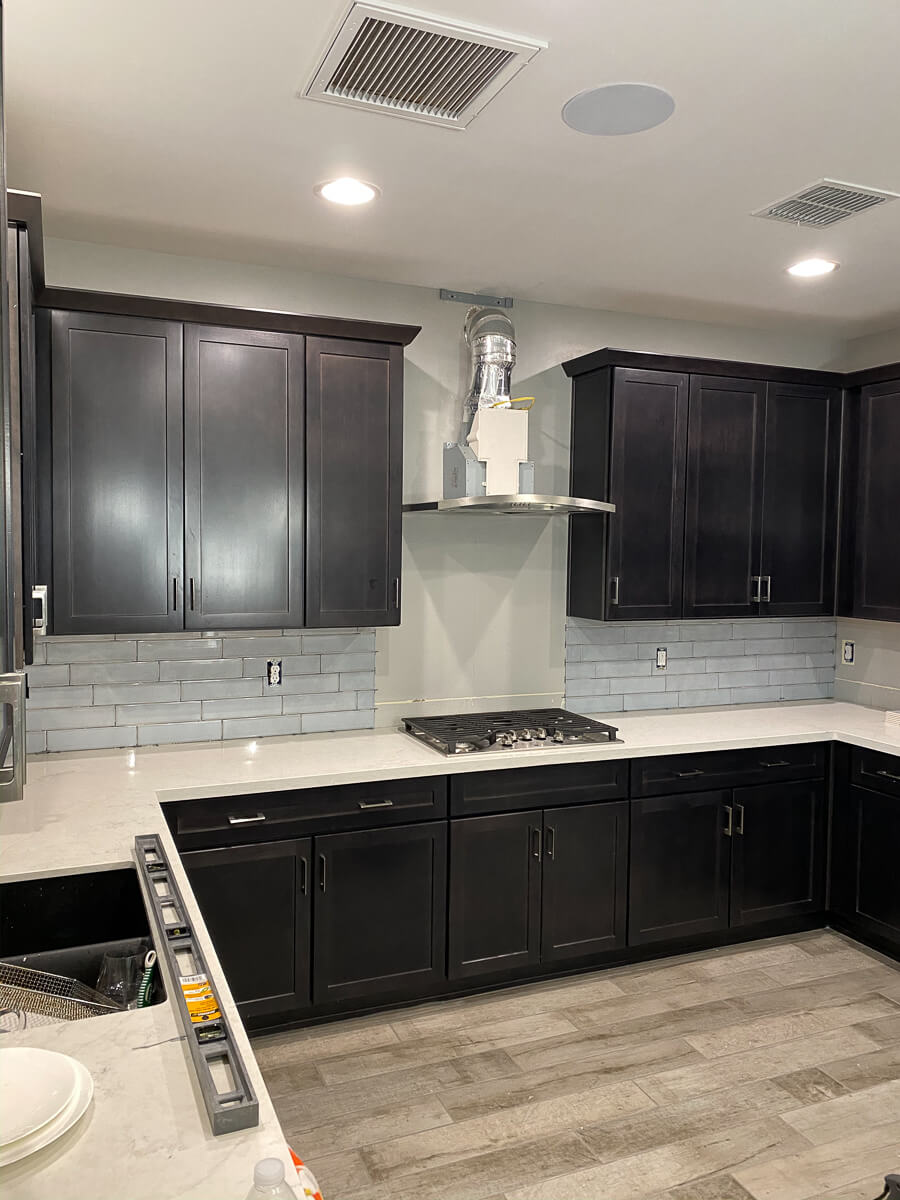
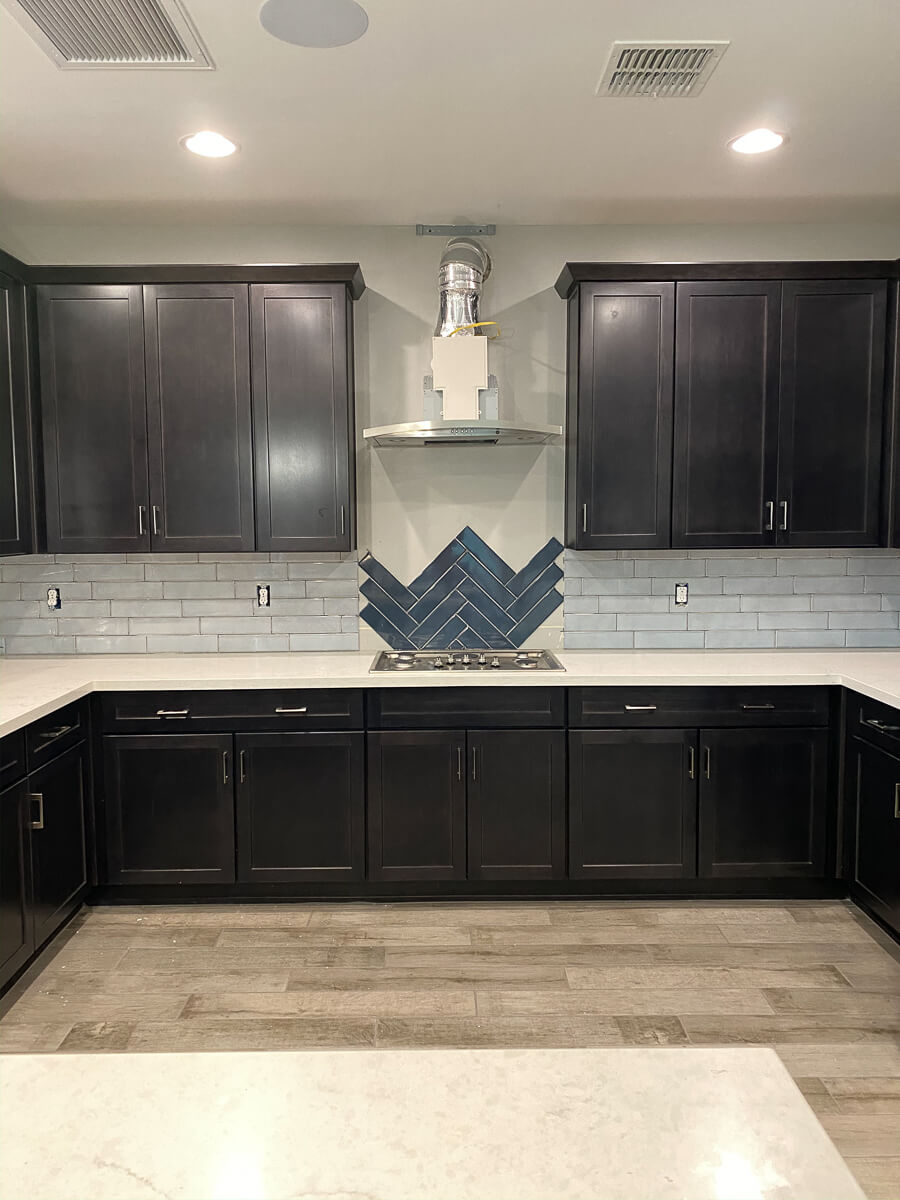
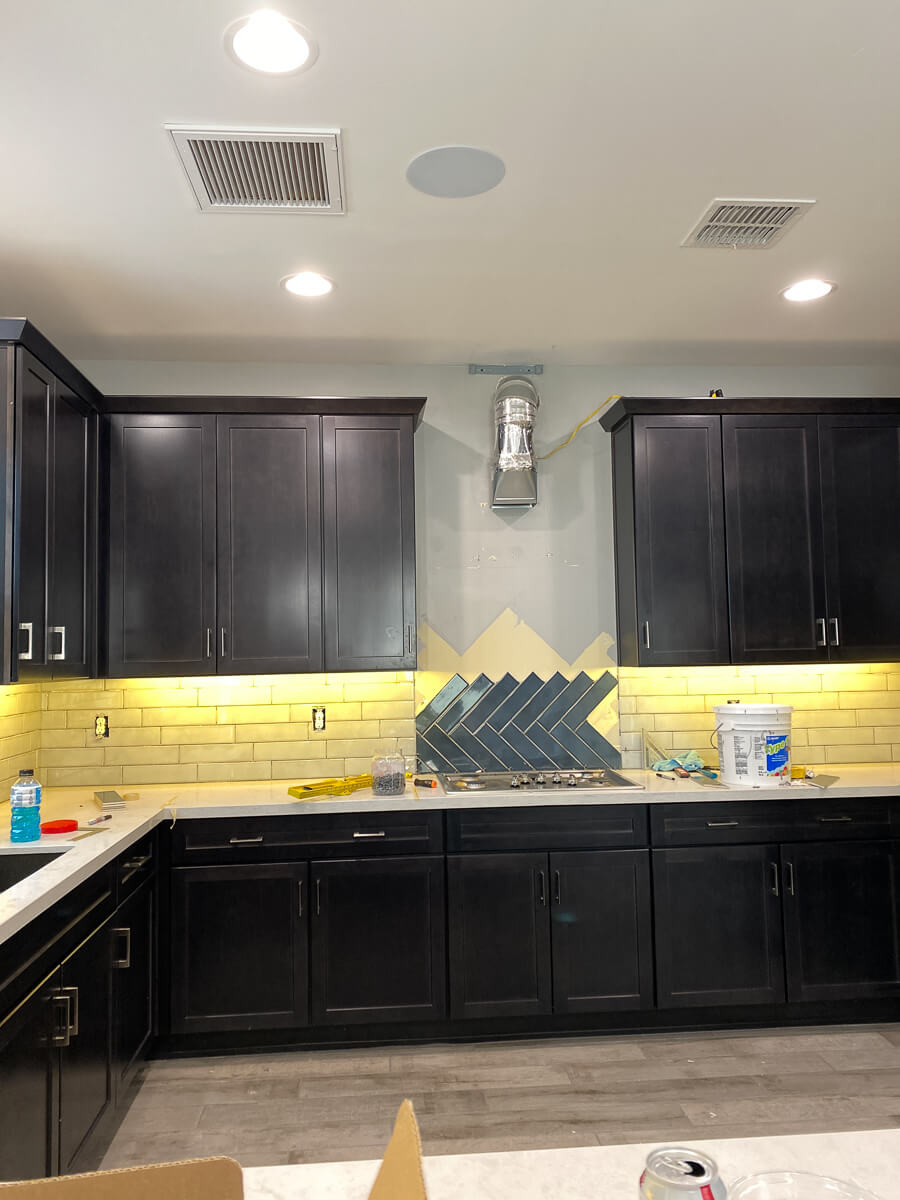
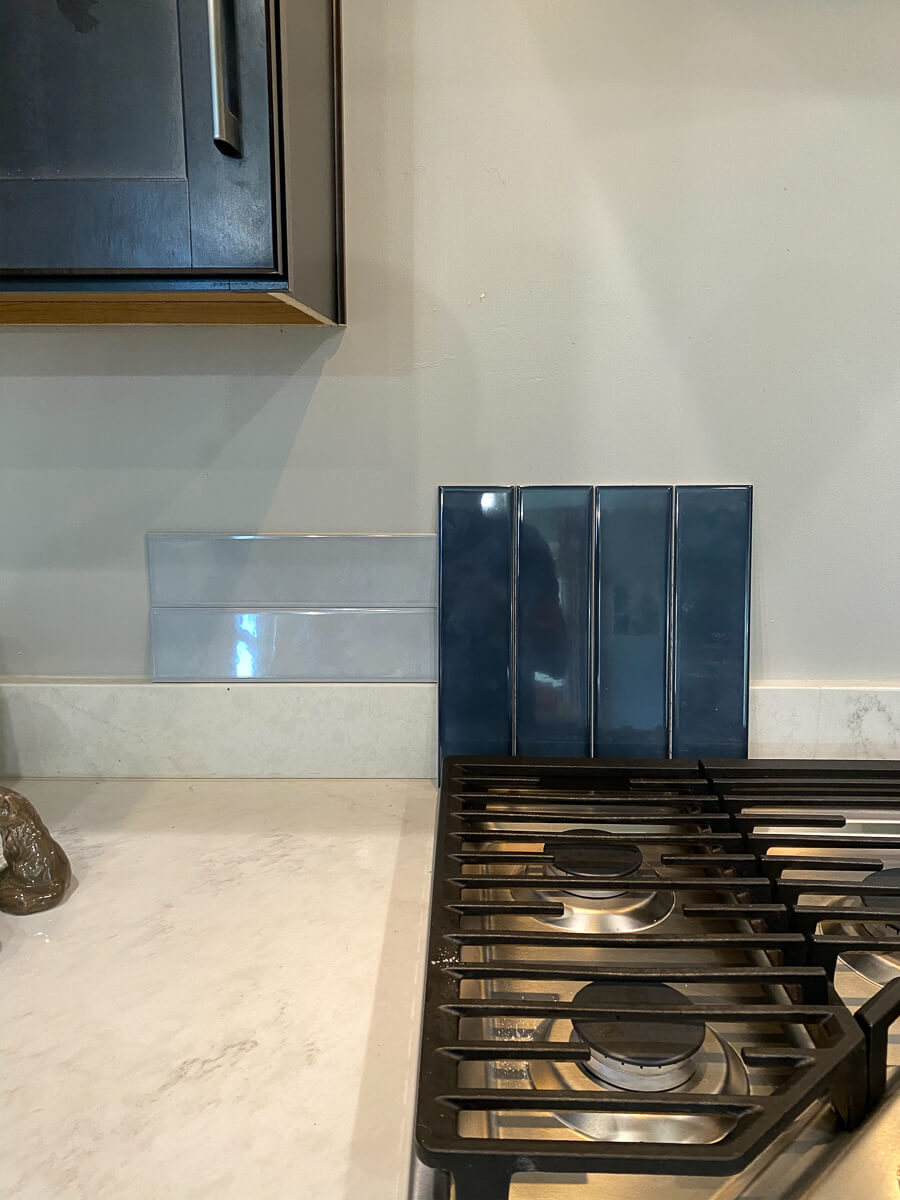
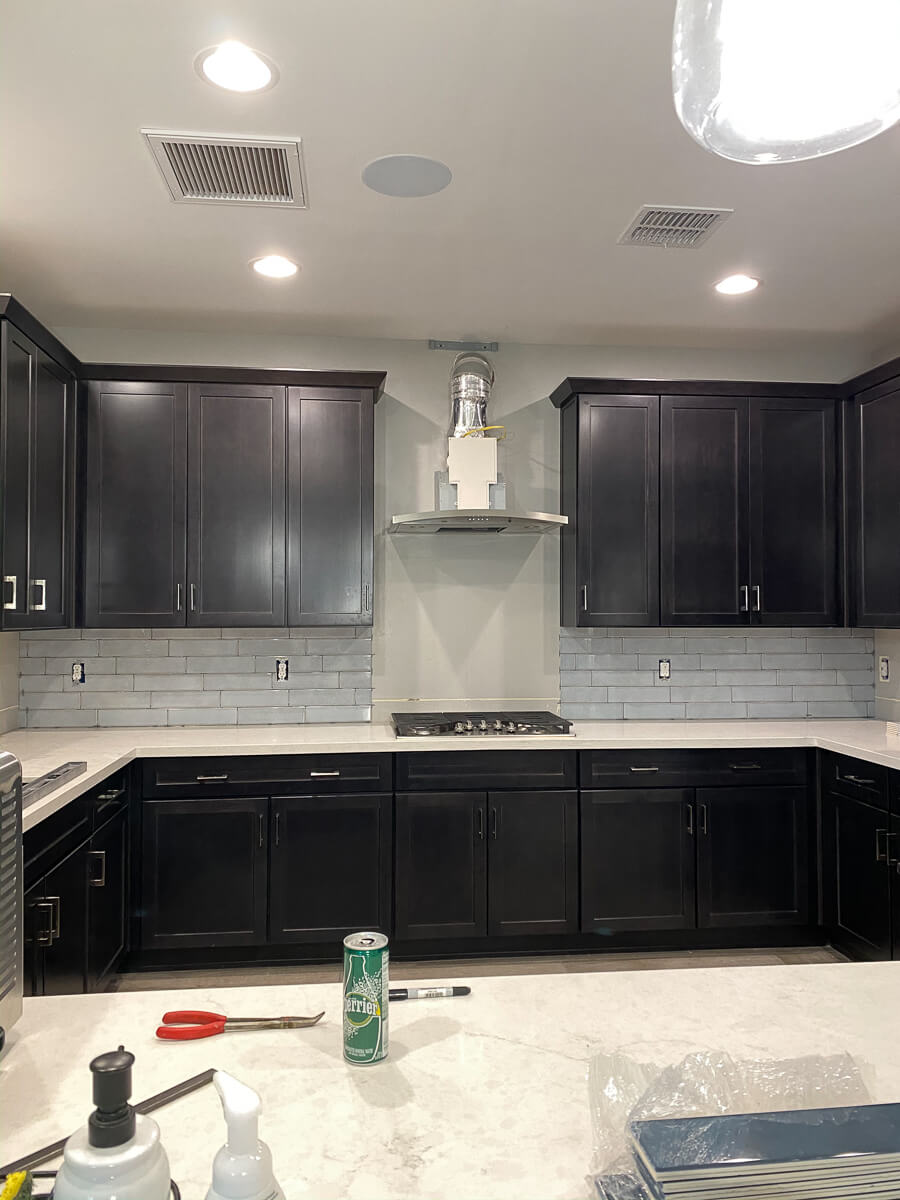
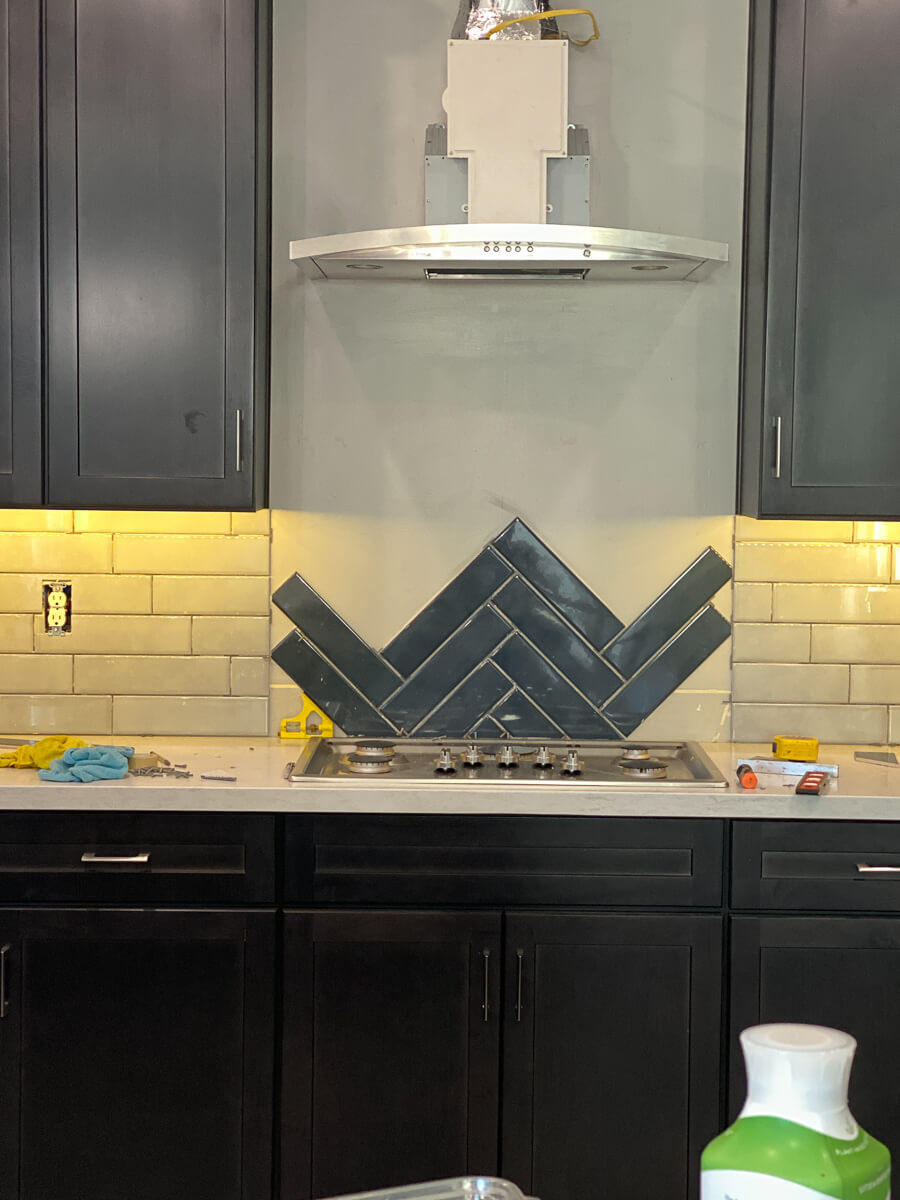
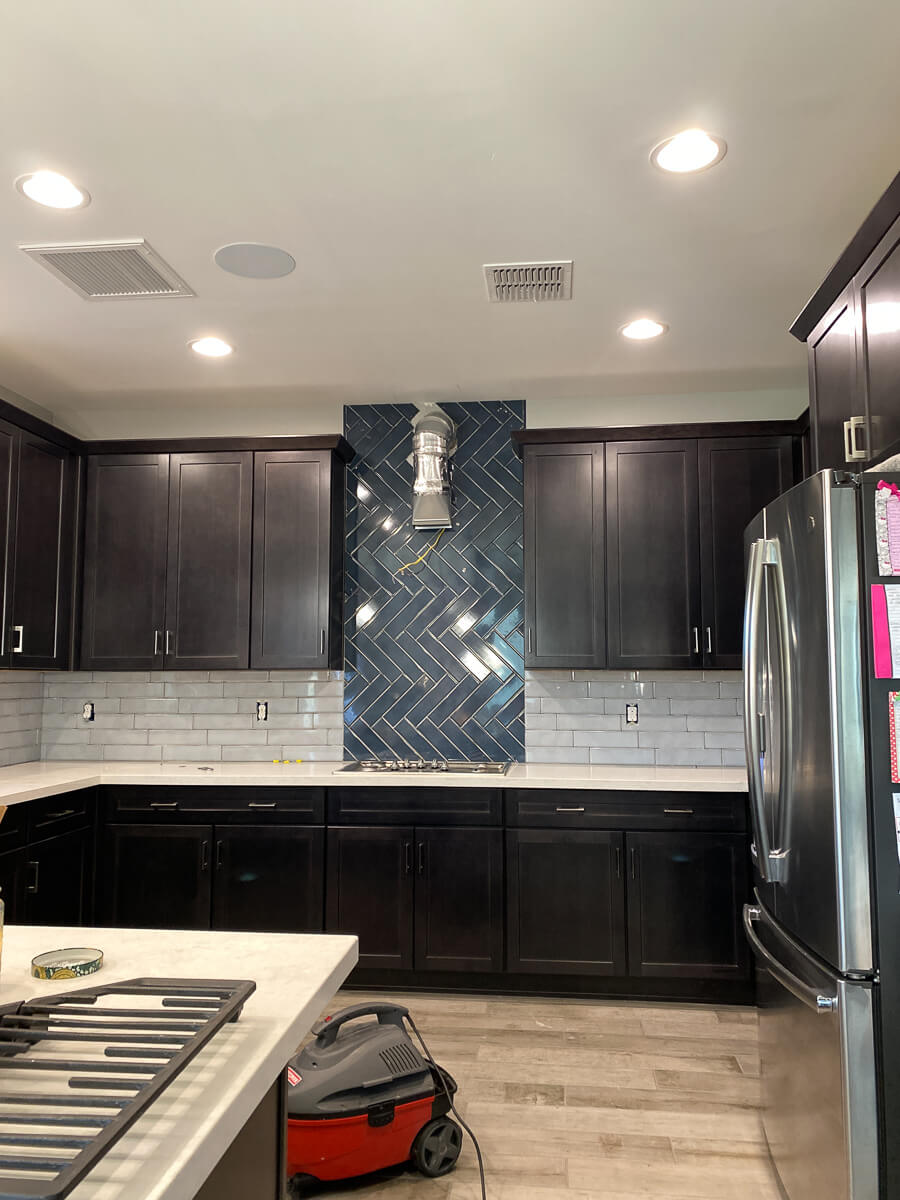
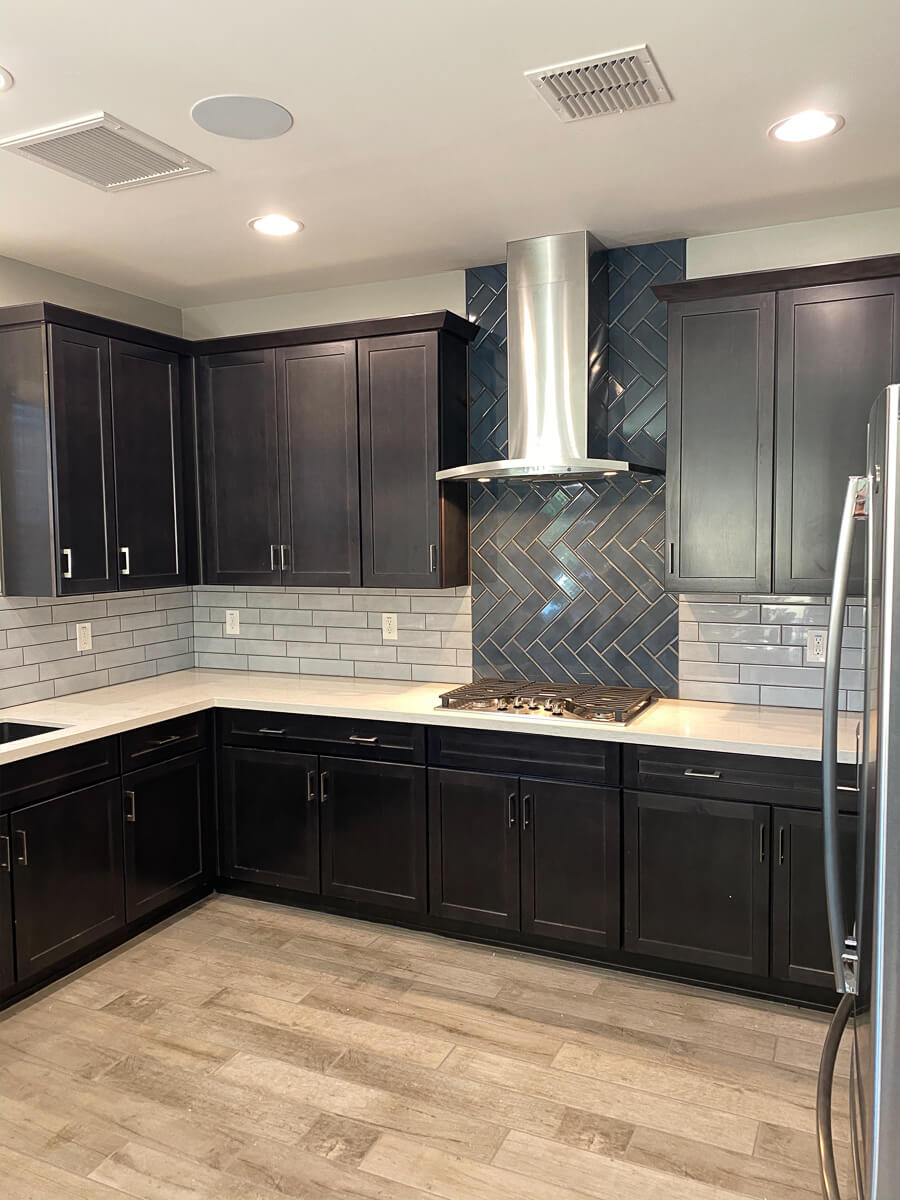
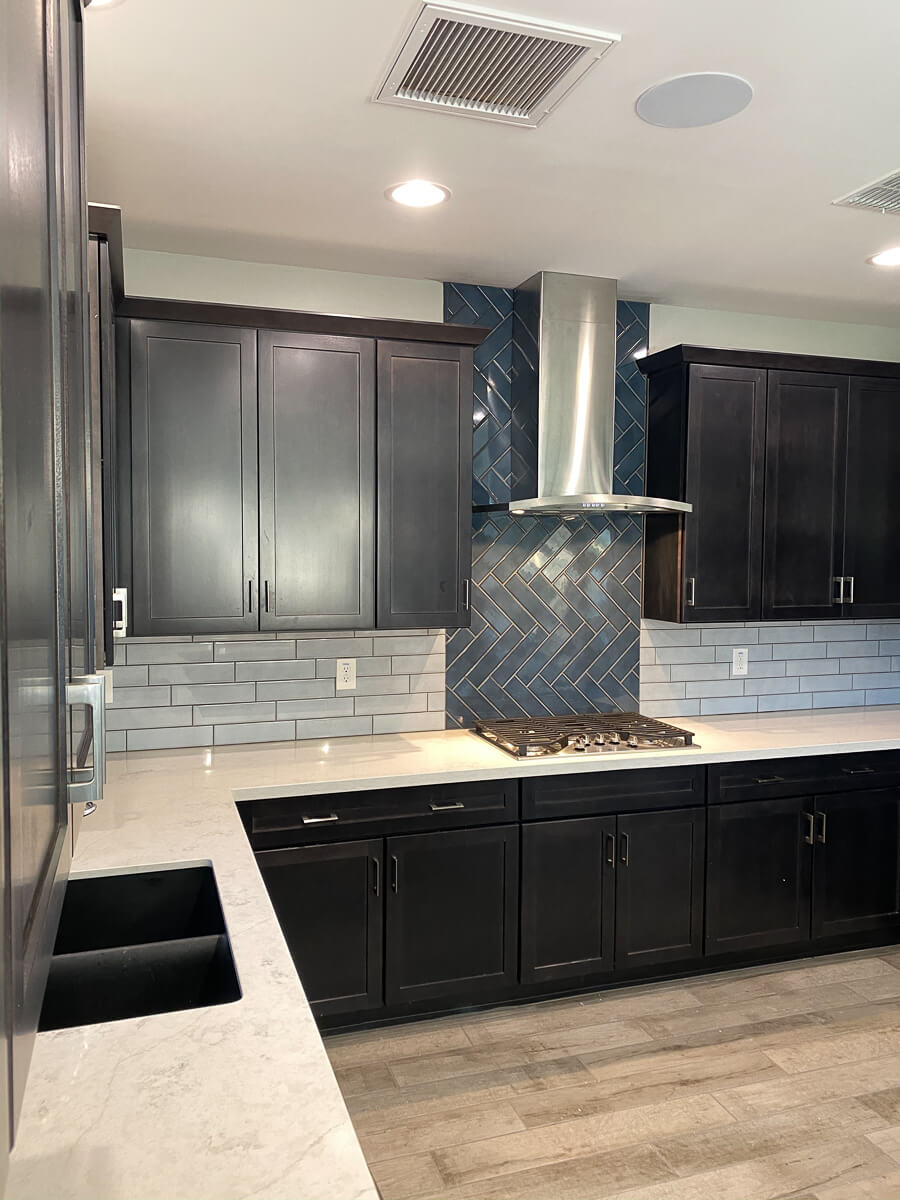
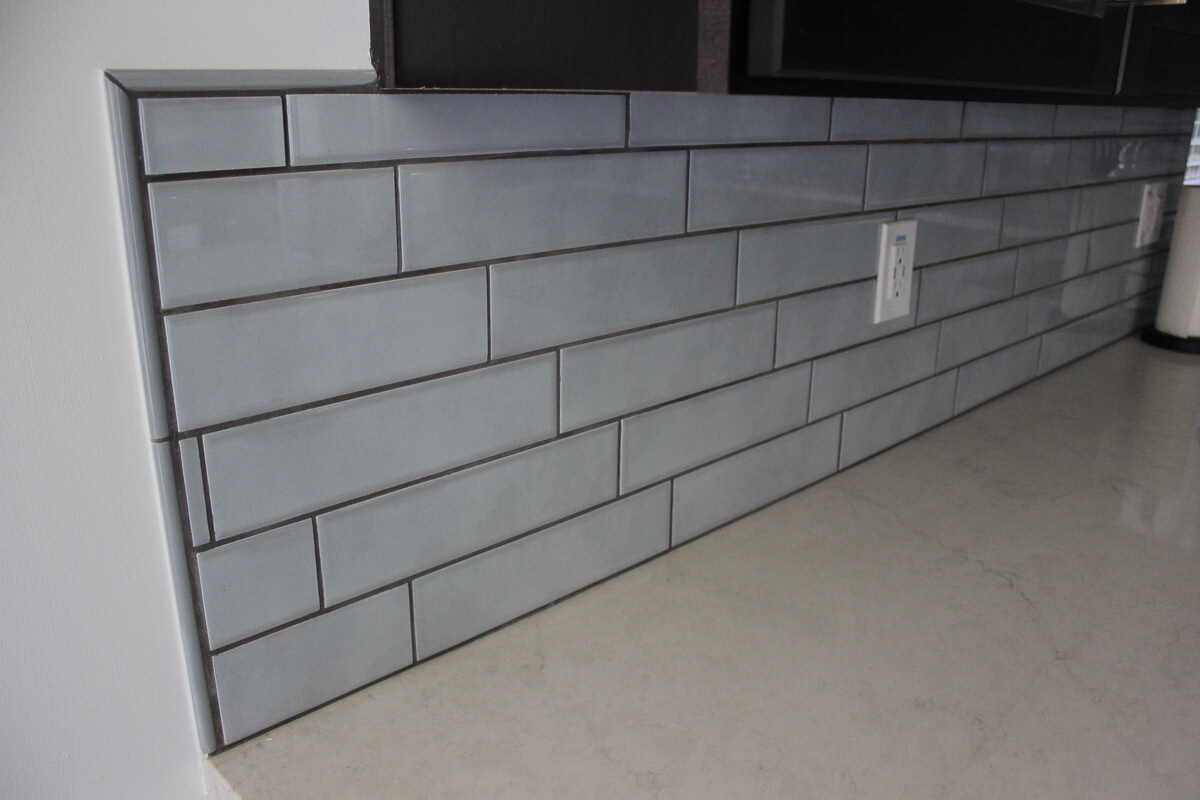
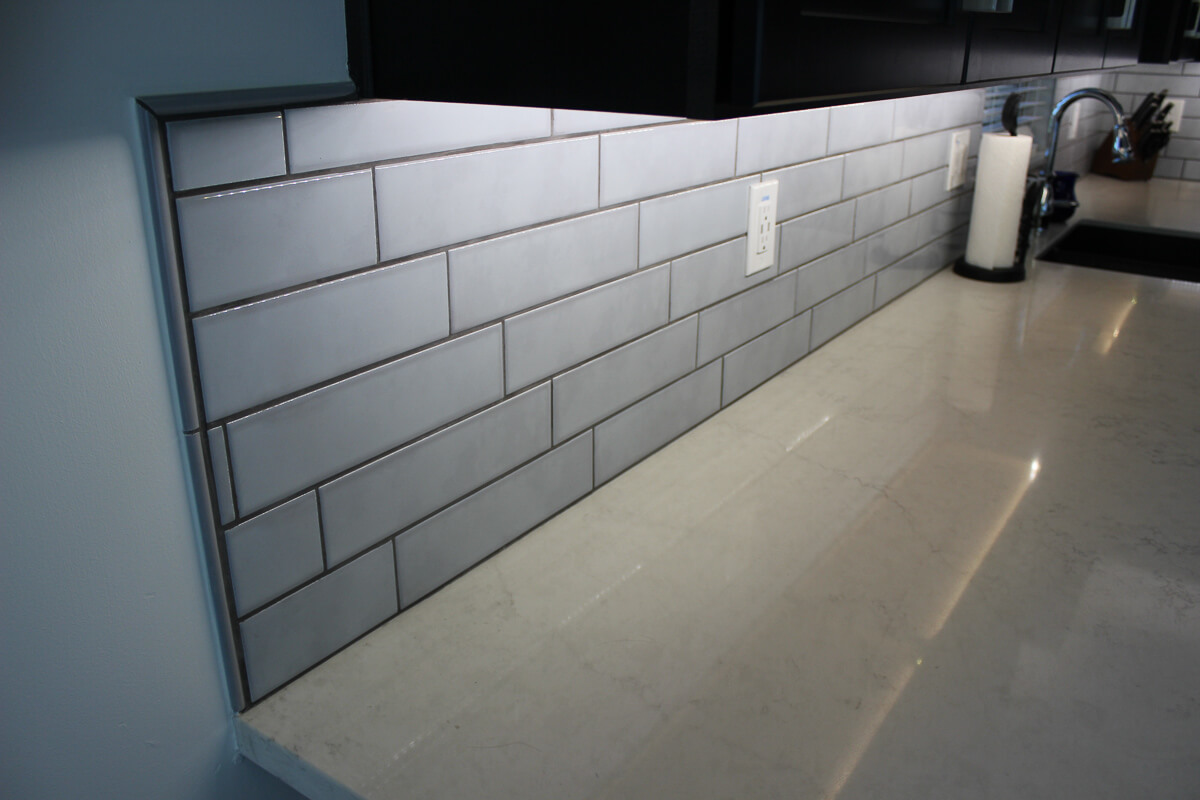
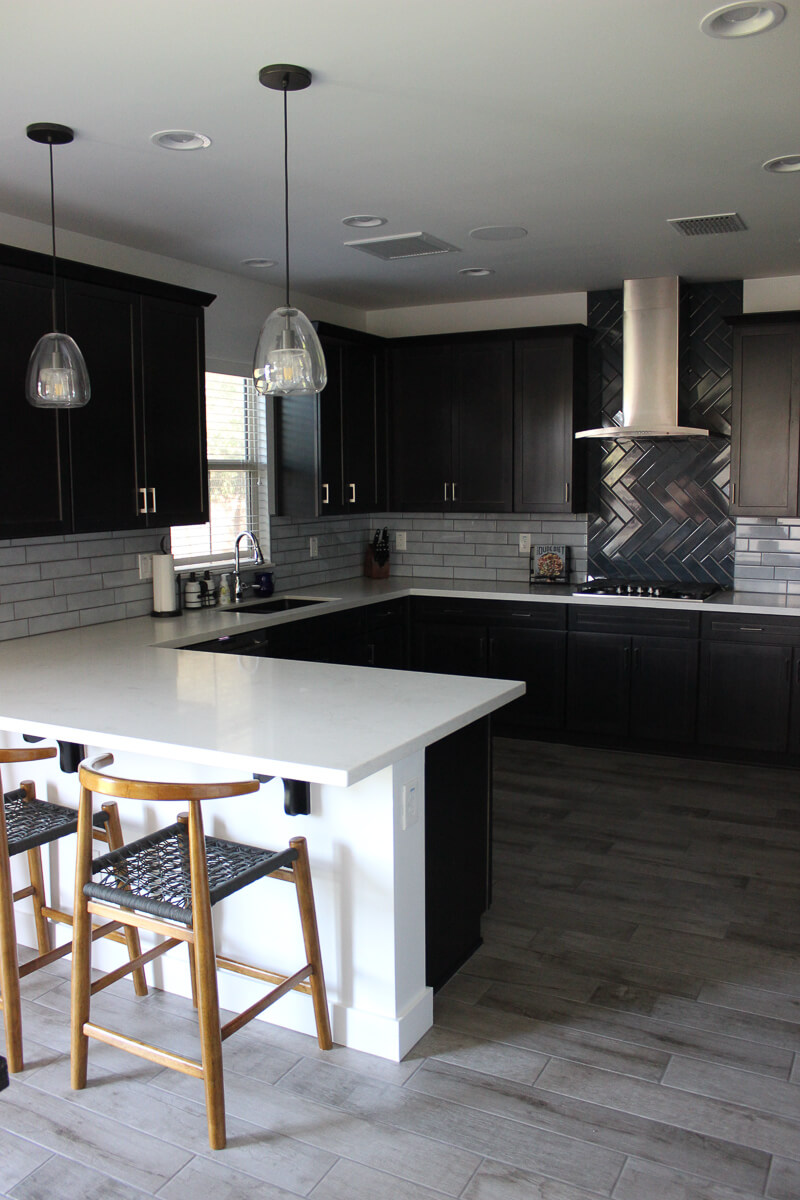
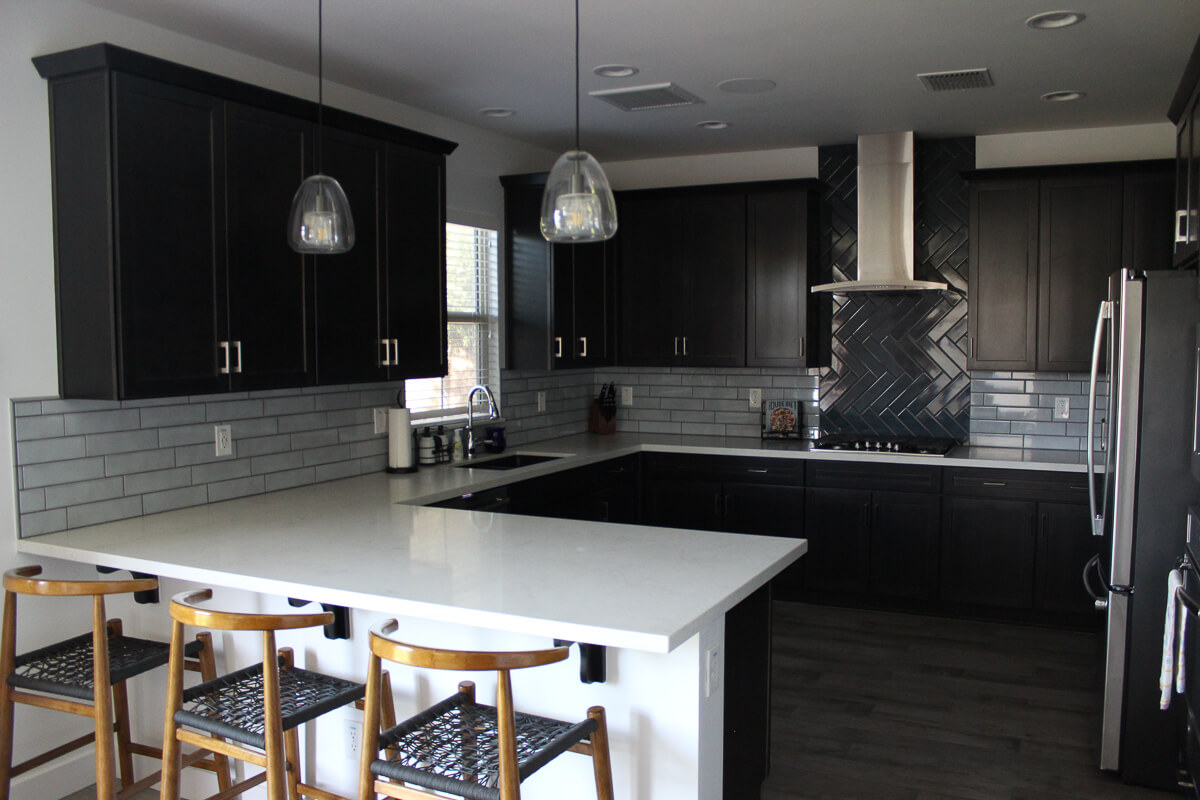
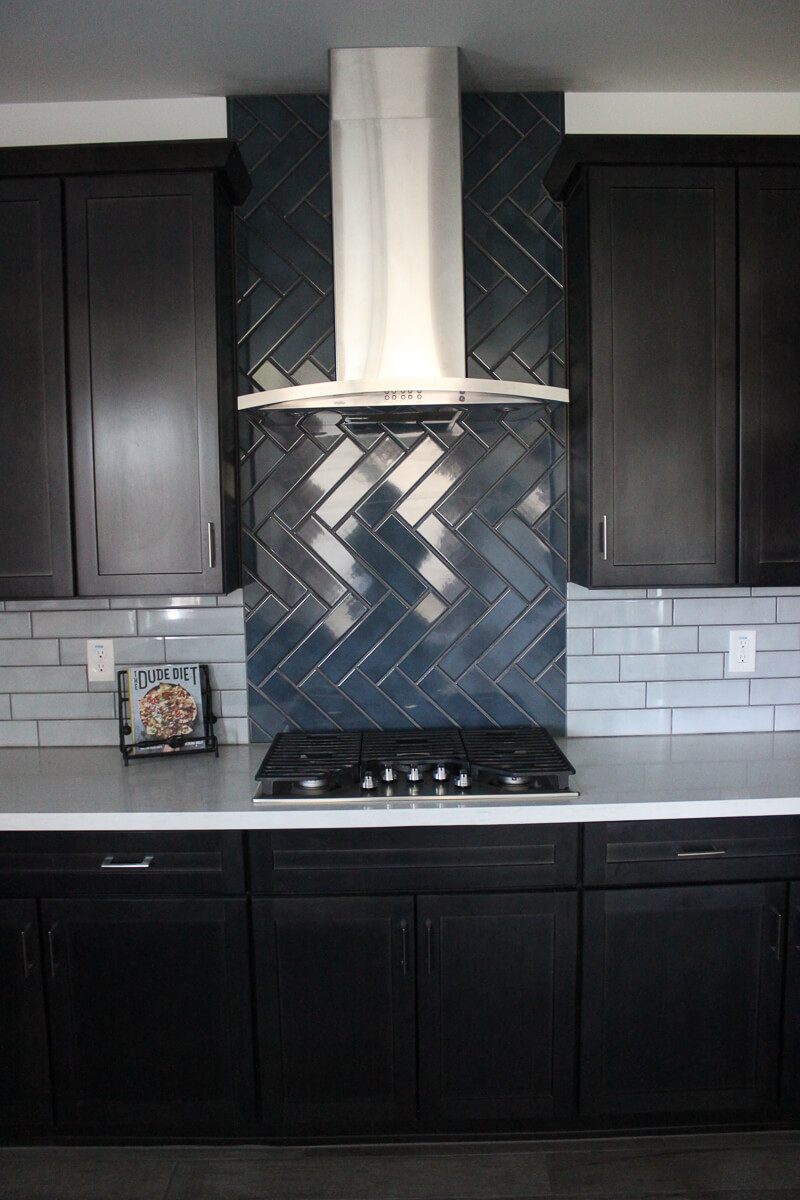
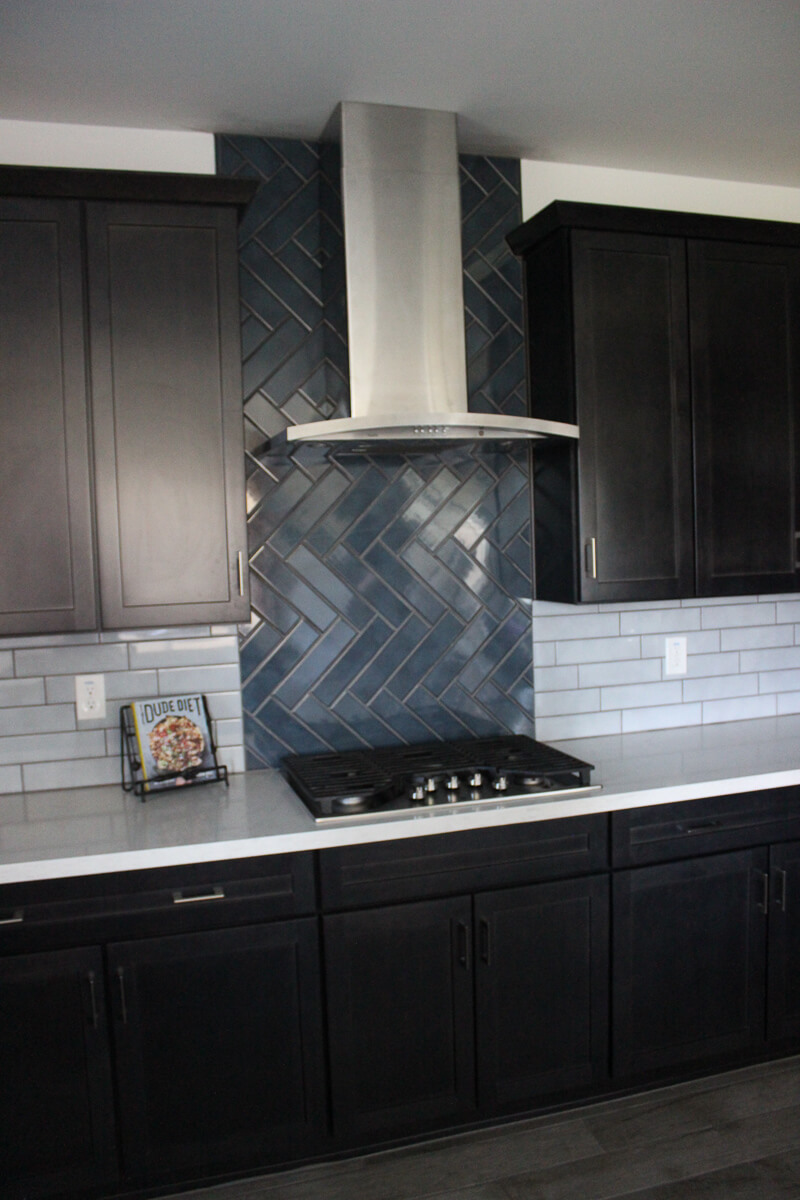
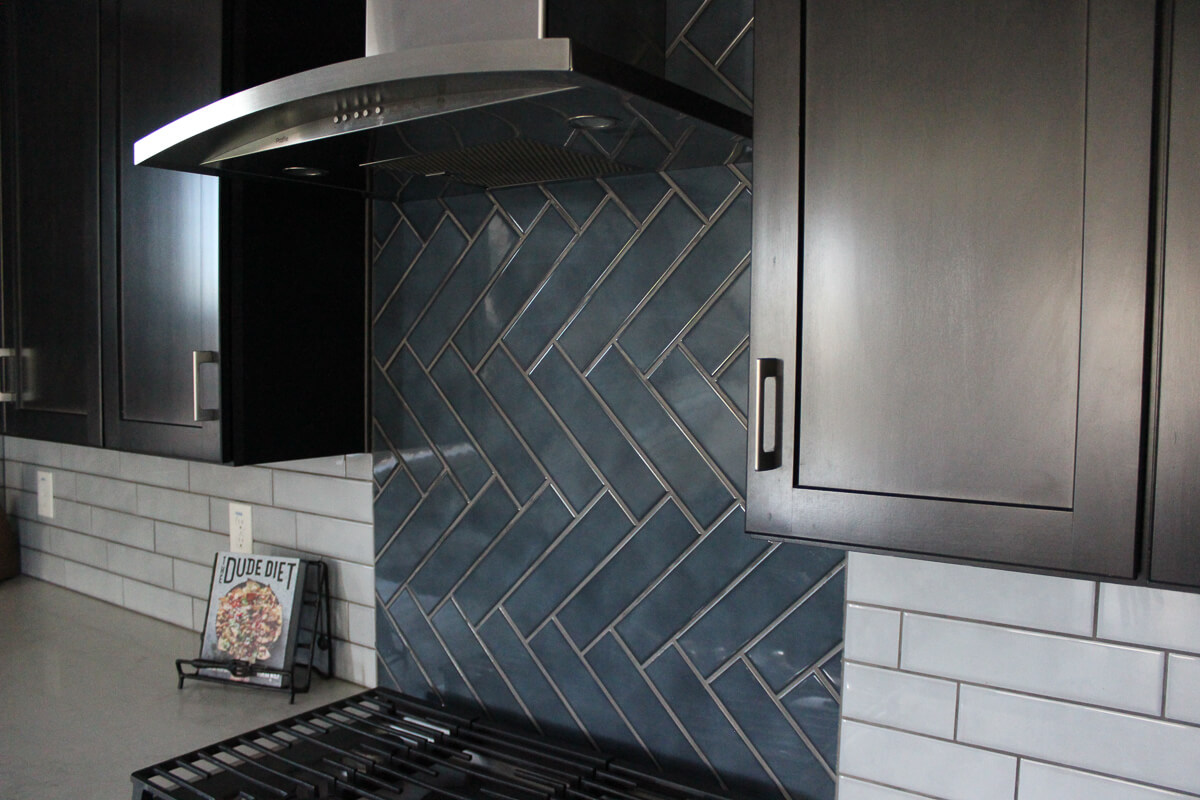
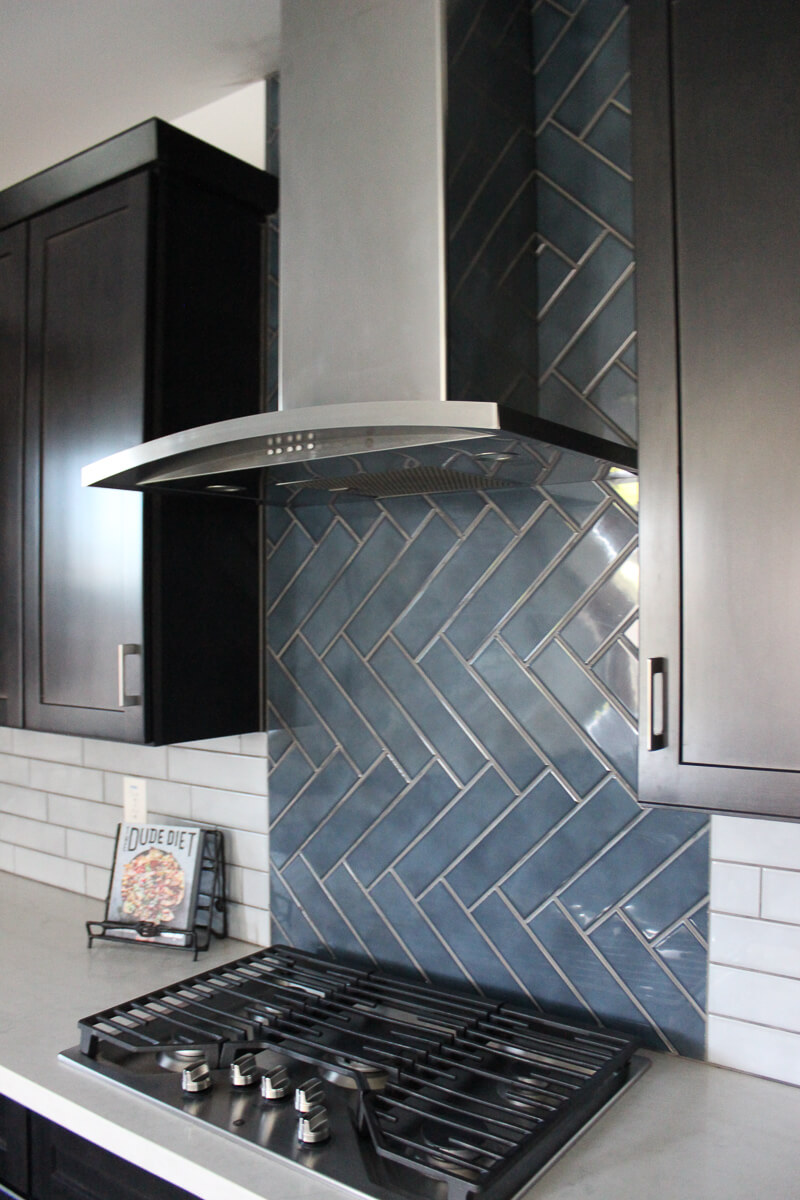
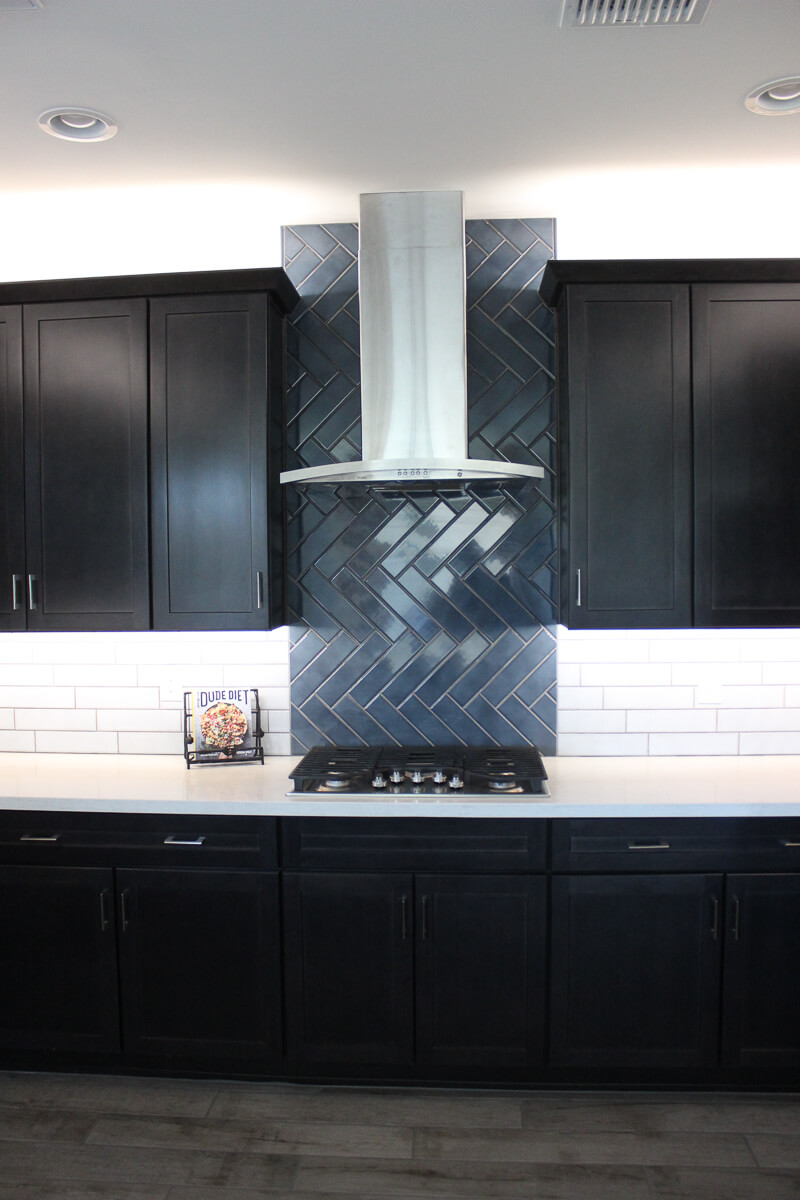
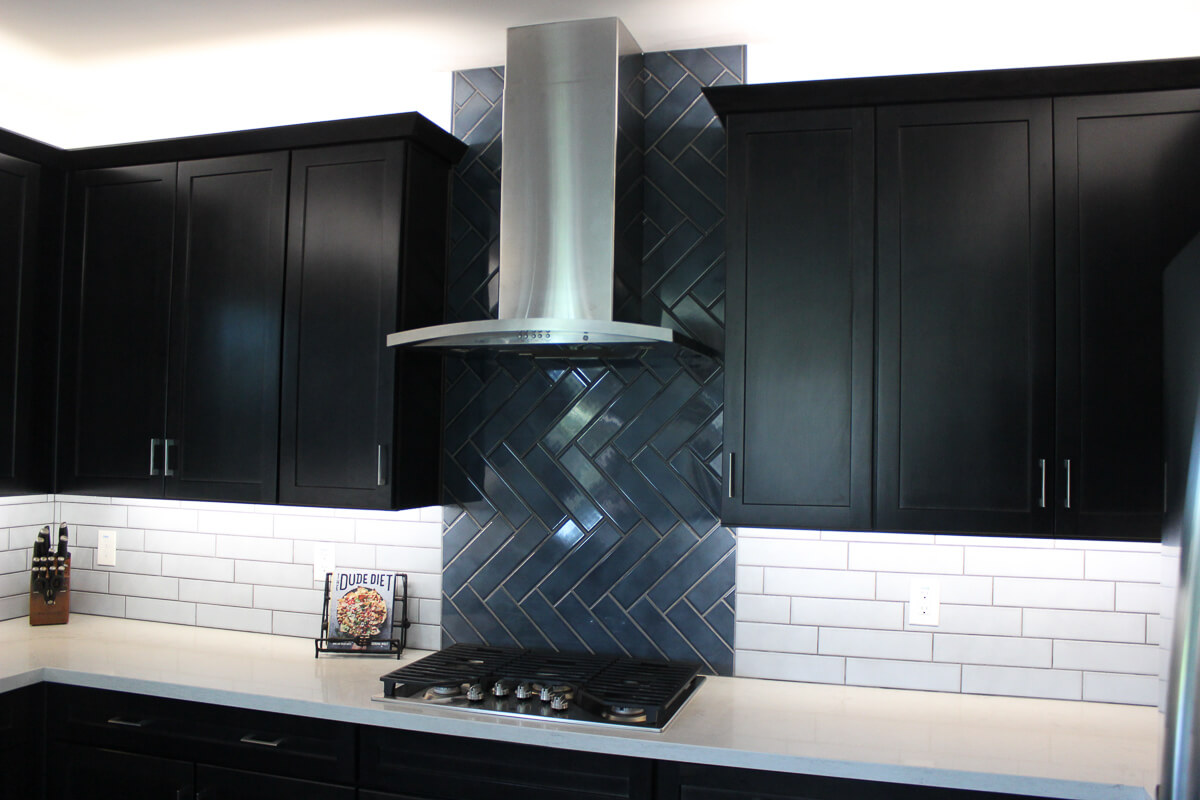
After deciding on a pattern and knowing that the area behind the cook top/hood would be the focal point, I planned the layout. I started with laying out the hood area and penciling in the border. I laid the rest of the horizontal pattern outward from there. The horizontal pattern is a 1/4 overlay, which with a 3 x 12 tile, 3 inches of overlay from the one below, etc. A common mistake on this would to be to start with a  full tile on the bottom and work outward from each side, but as you look at the pattern, you would notice that would be off. 

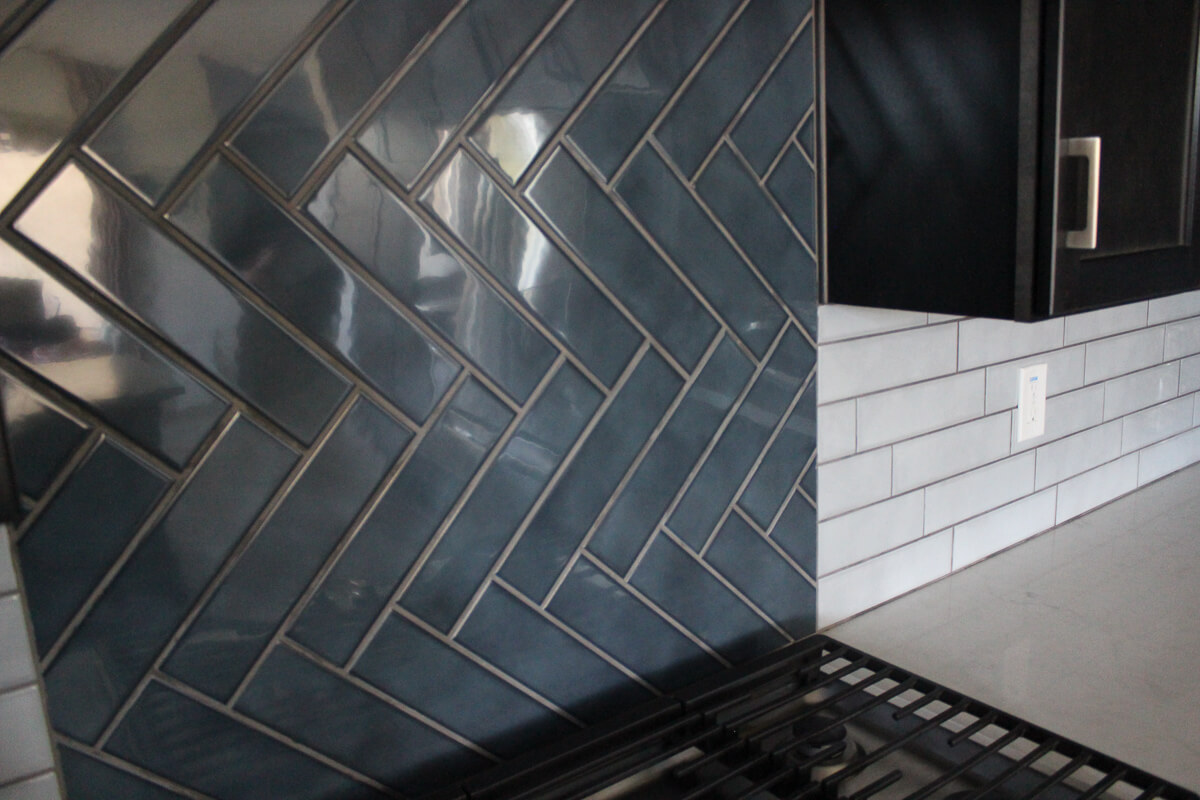
Once the pattern was sorted out, I began laying. I back buttered every tile and placed on the wall with a 1/8’ spacer and checked for level. Once I got to a wall or cabinet, I measured and made my cuts. I tried to optimize my speed and make as many cuts at once as I could to avoid so many trips to the garage. Although it took some time to figure out the laser line on the wet saw so I had to make some cuts multiple times. This was especially true on the angle herringbone cuts. 

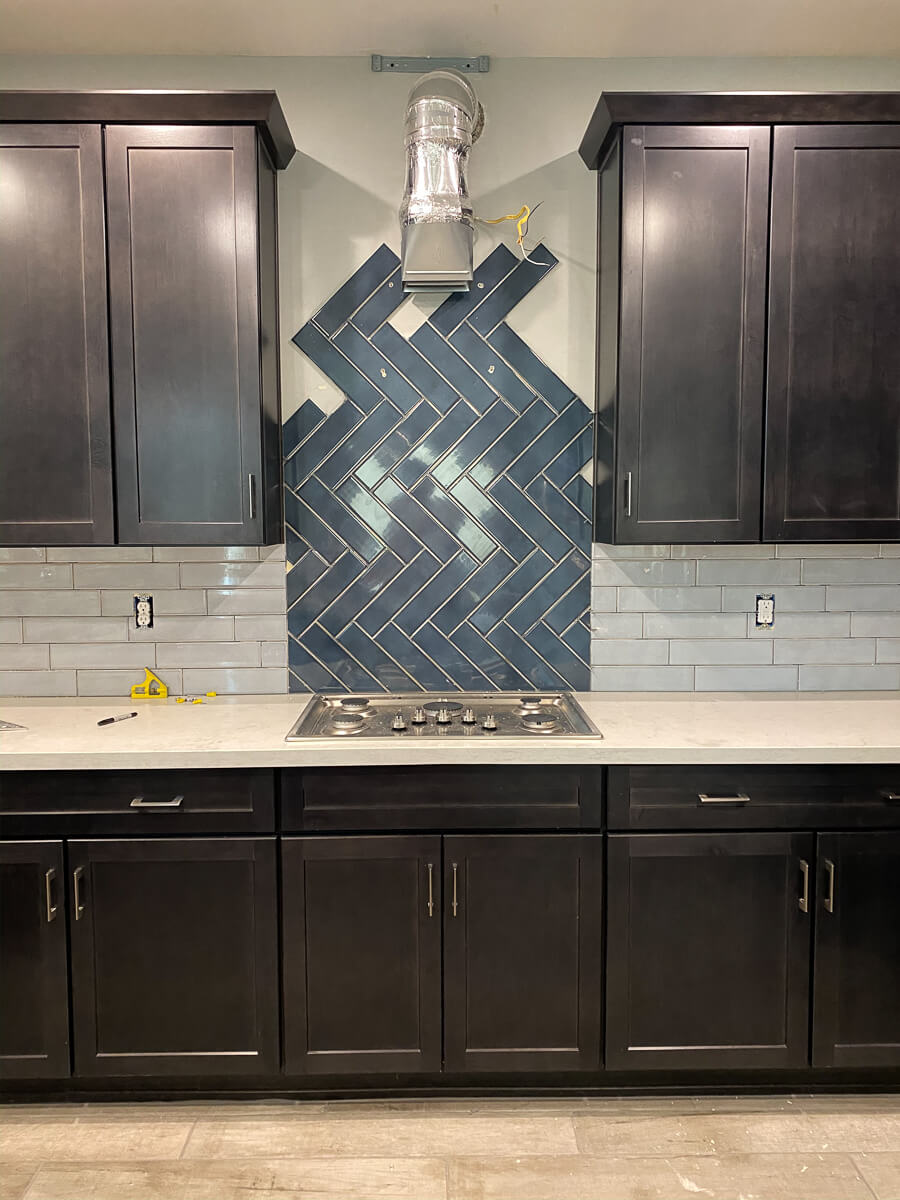
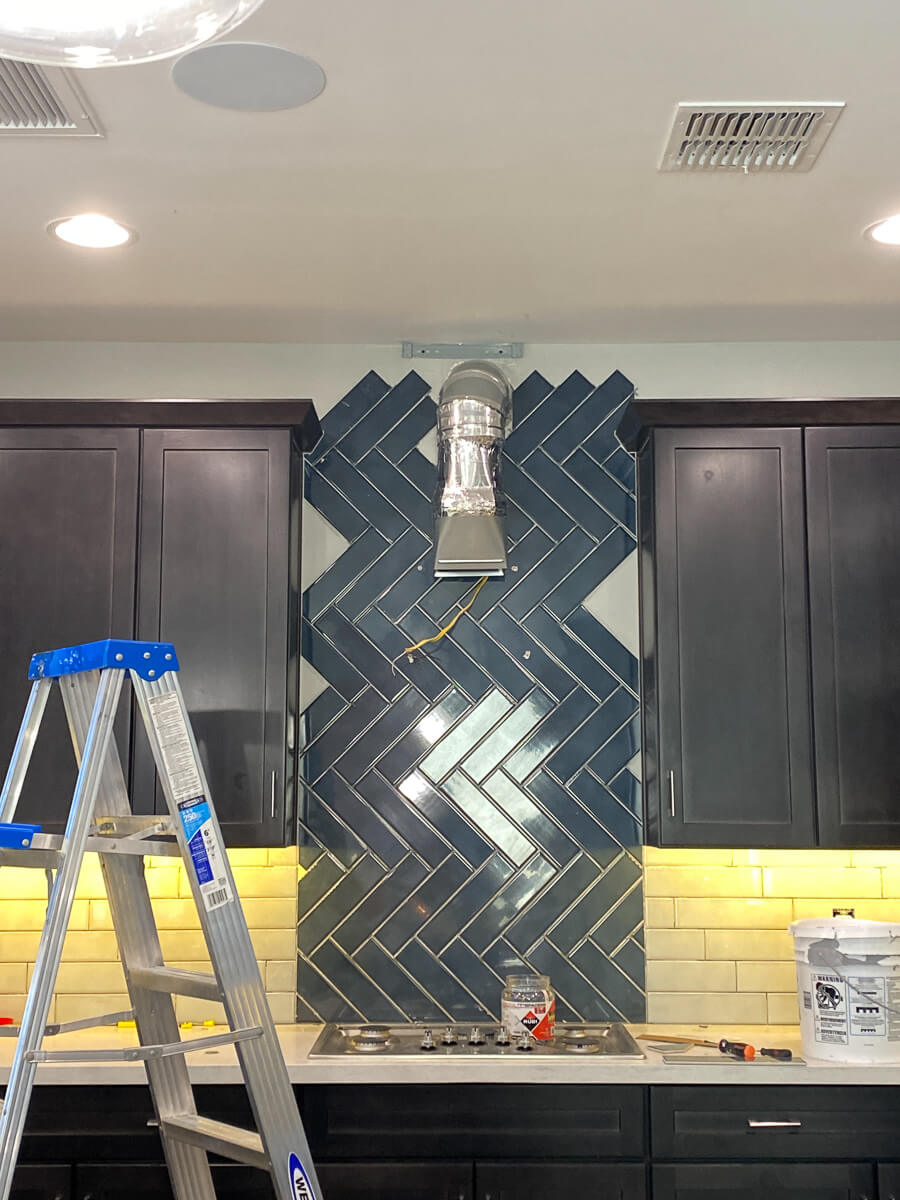
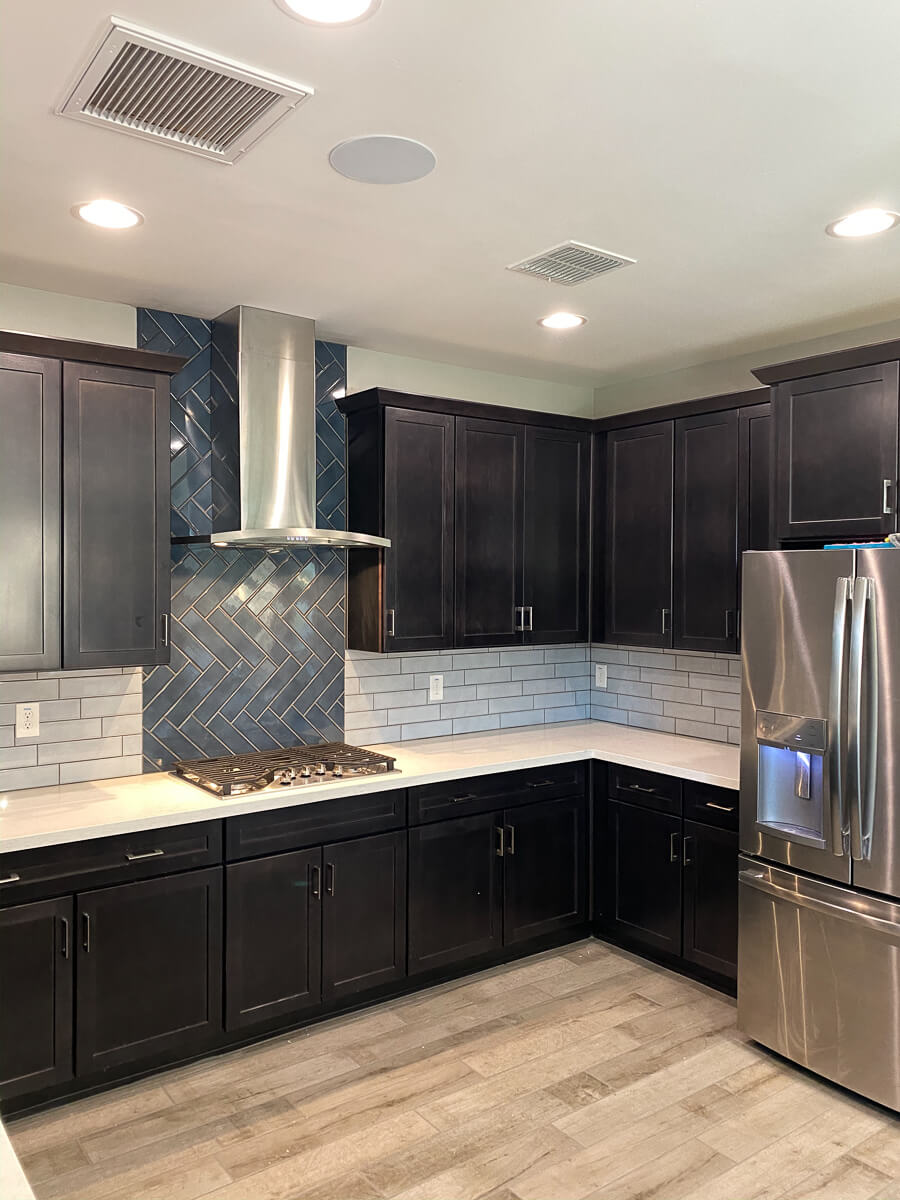
After the tile was laid, I allowed about 48 hours for the adhesive to cure. I noticed that the stages of the adhesive were interesting. First it would eat the paint off the wall and then it would bond to the drywall after 48 hours and the tile wouldn’t come off the wall unless the drywall came too. I figured this out because I pulled tile down when I changed the herringbone from horizontal to vertical. 

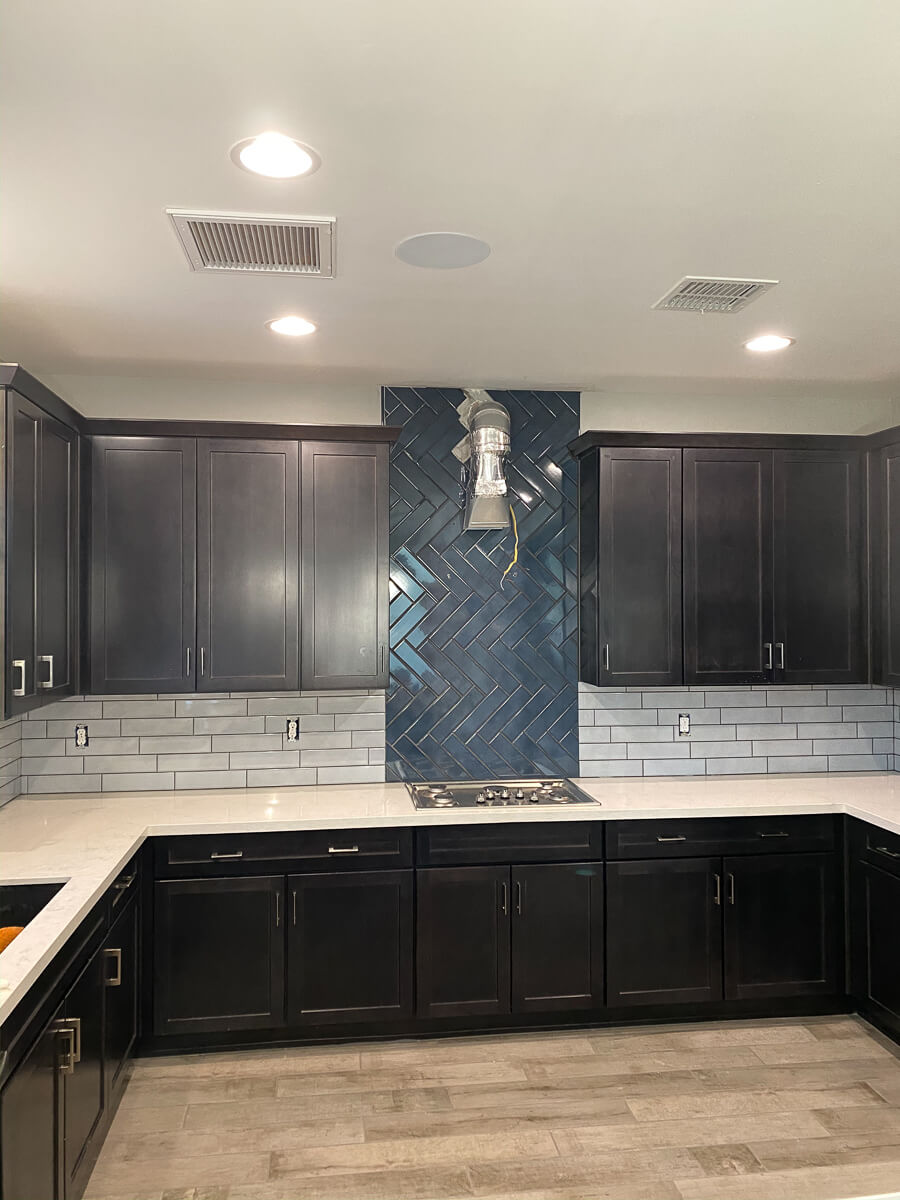
Now its time to grout. I used a unsanded grout to do this. I mixed up enough to cover half the area and put it in with a grout float. Then I came back and wiped the excess off. I quickly realized that I had done too much to wipe off without the grout drying. This made cleaning up the tiles a lot of extra work. It cost me a few extra hours of scrubbing with a brillo pad to get it clean and a really sore back the next day. I proceed to grout with much smaller sections and the work was easier. I didn’t take into account the temps and how much faster it would dry. Lesson learned!

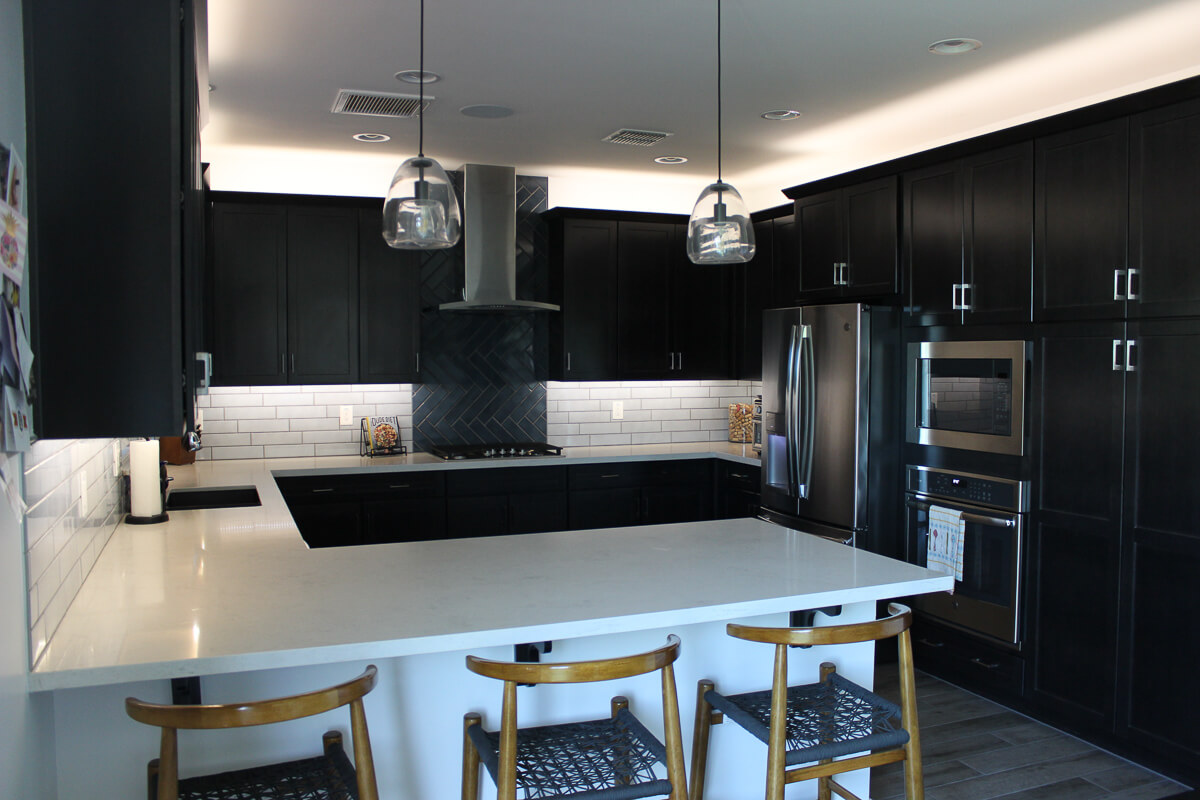
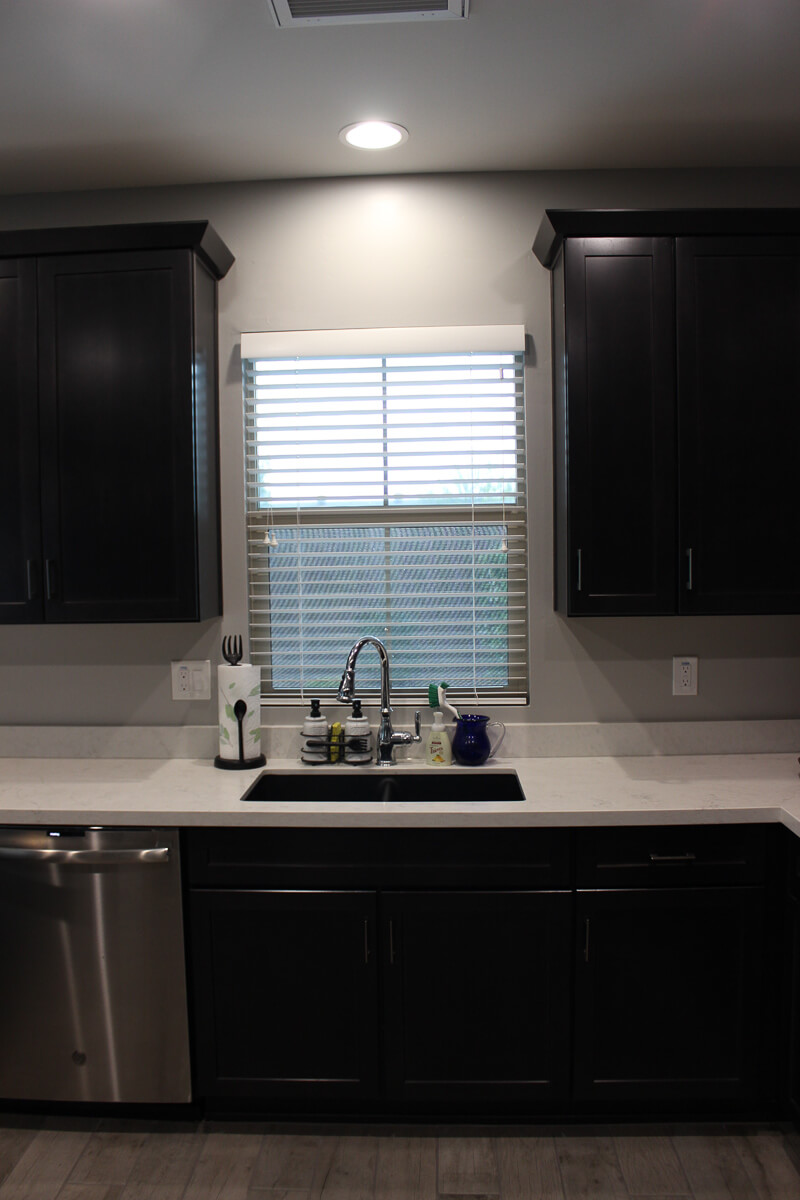
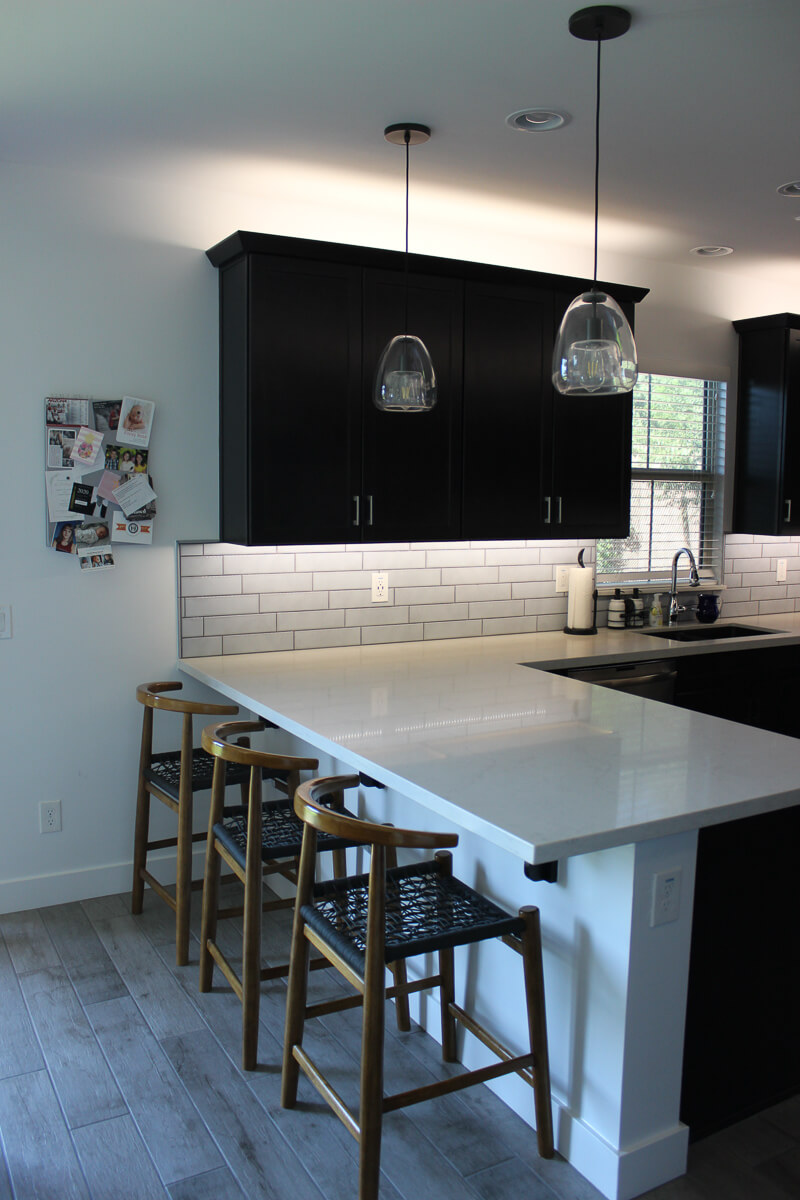
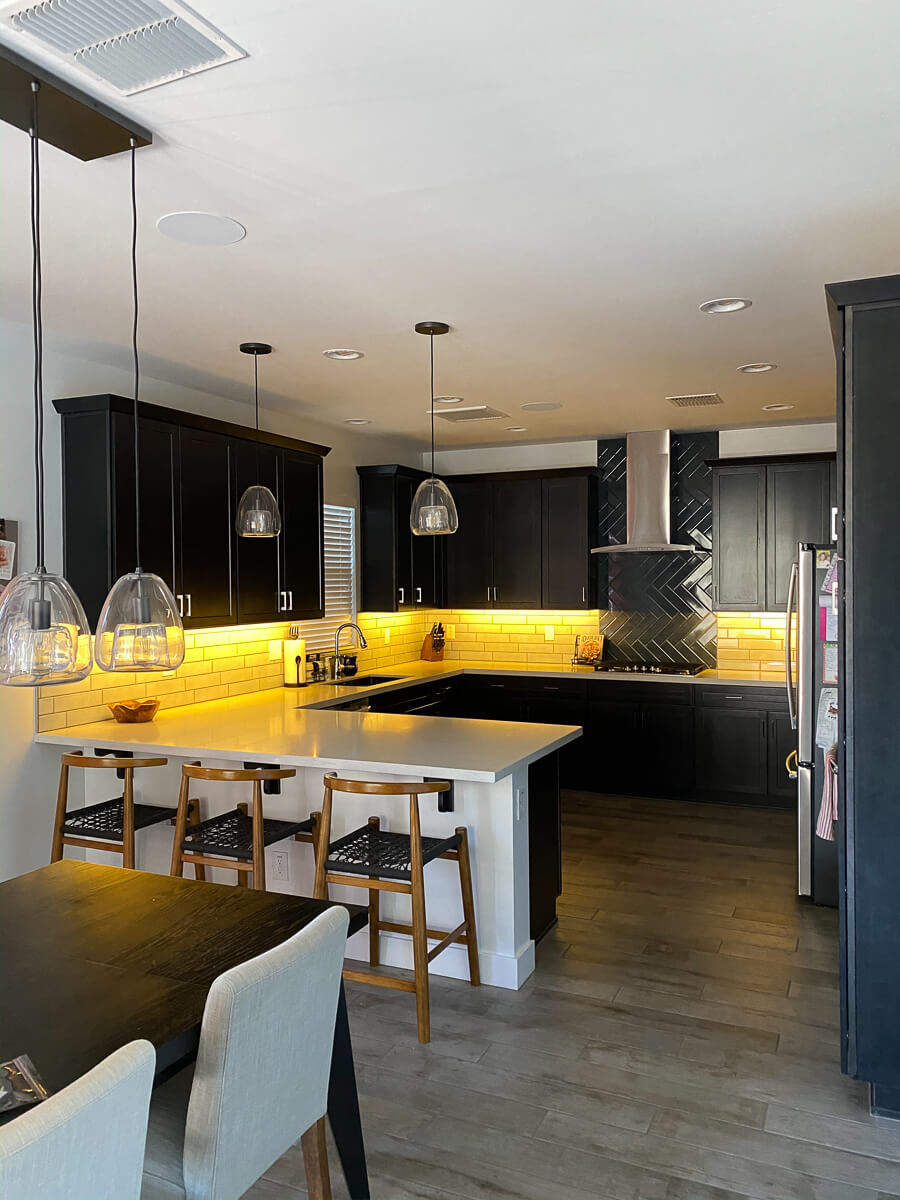
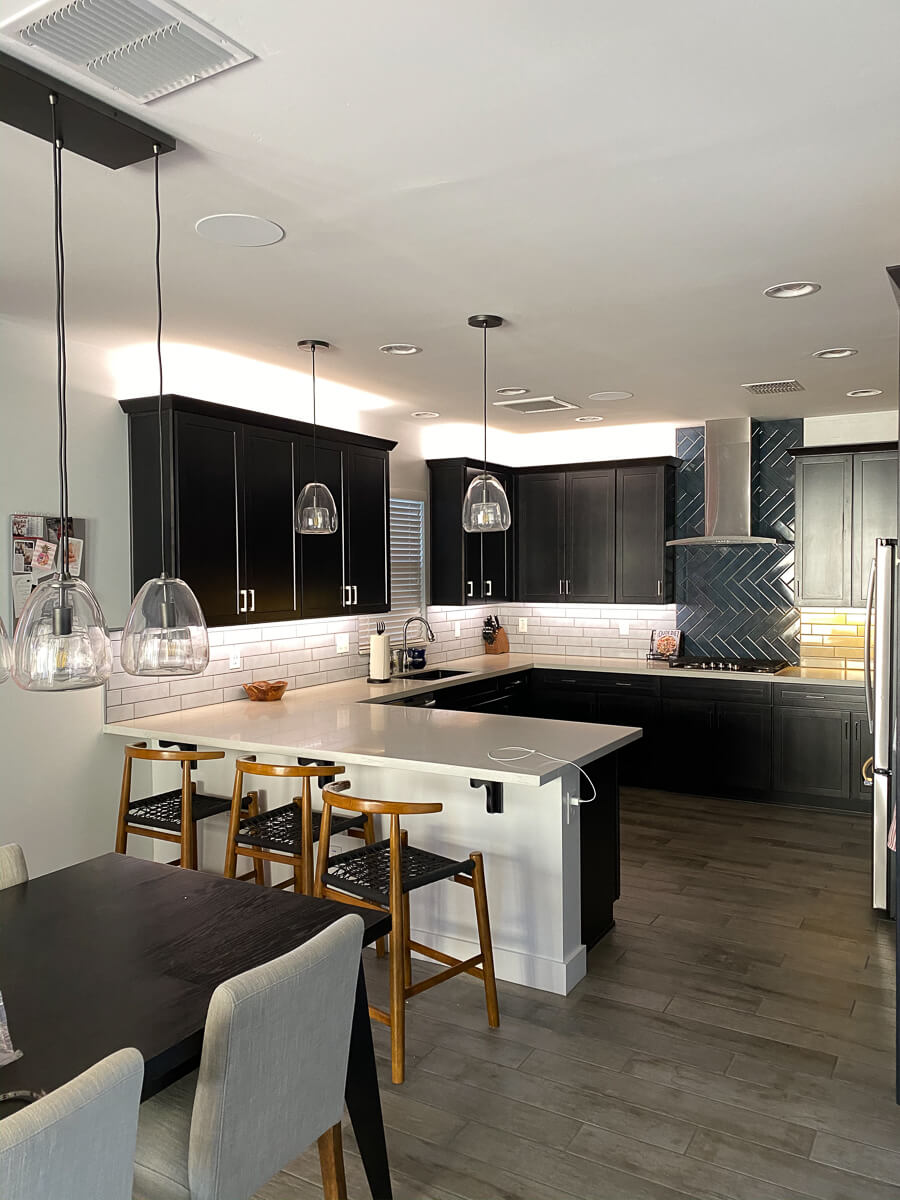
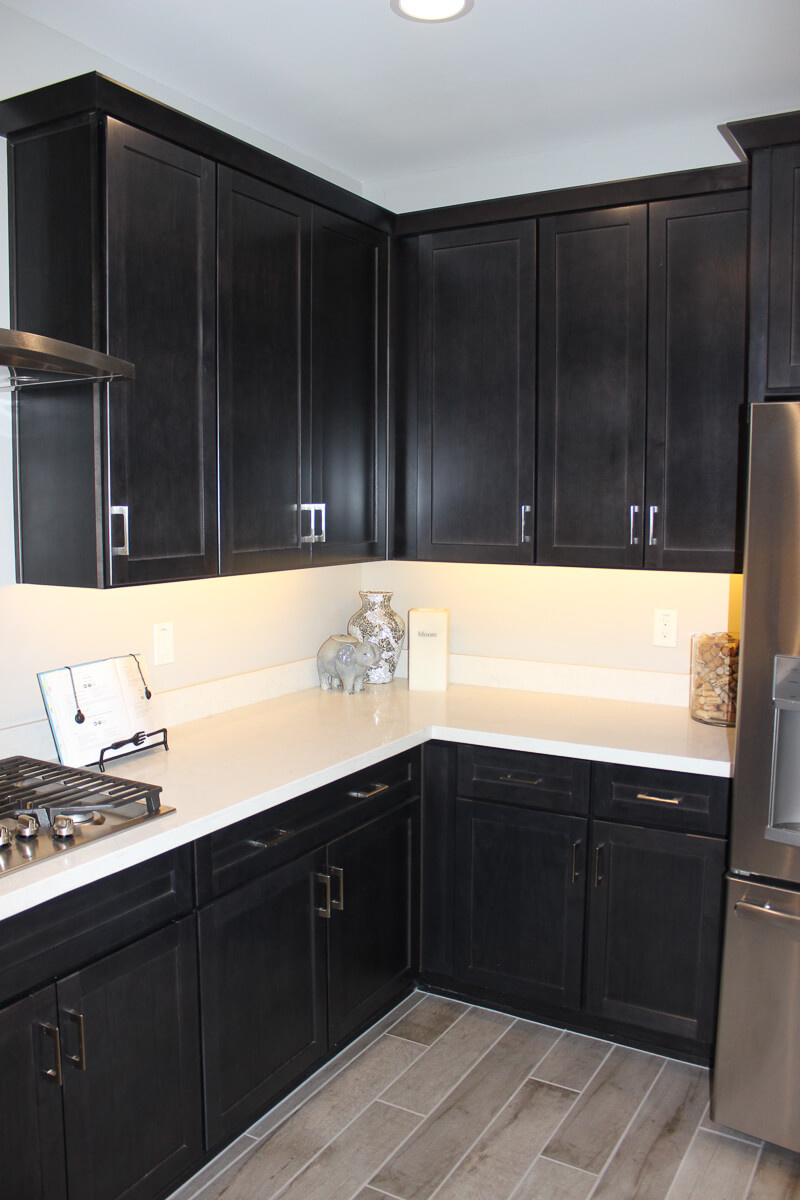
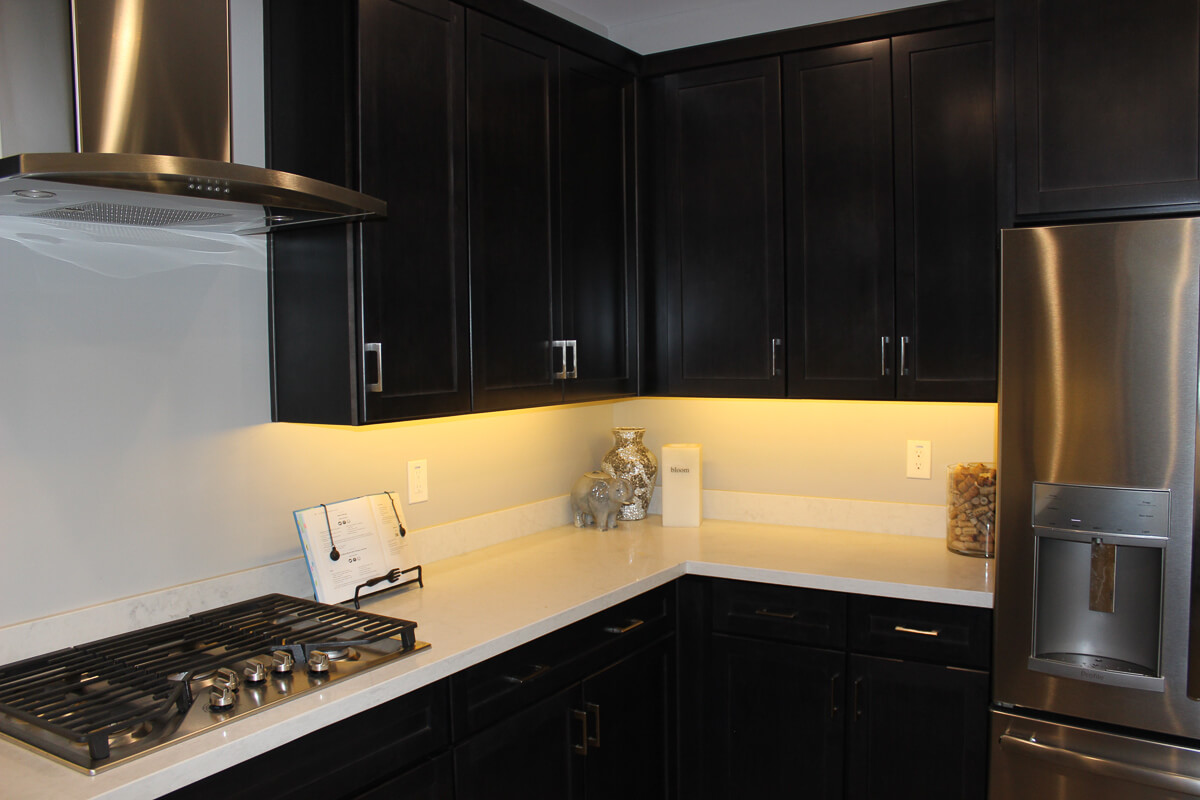
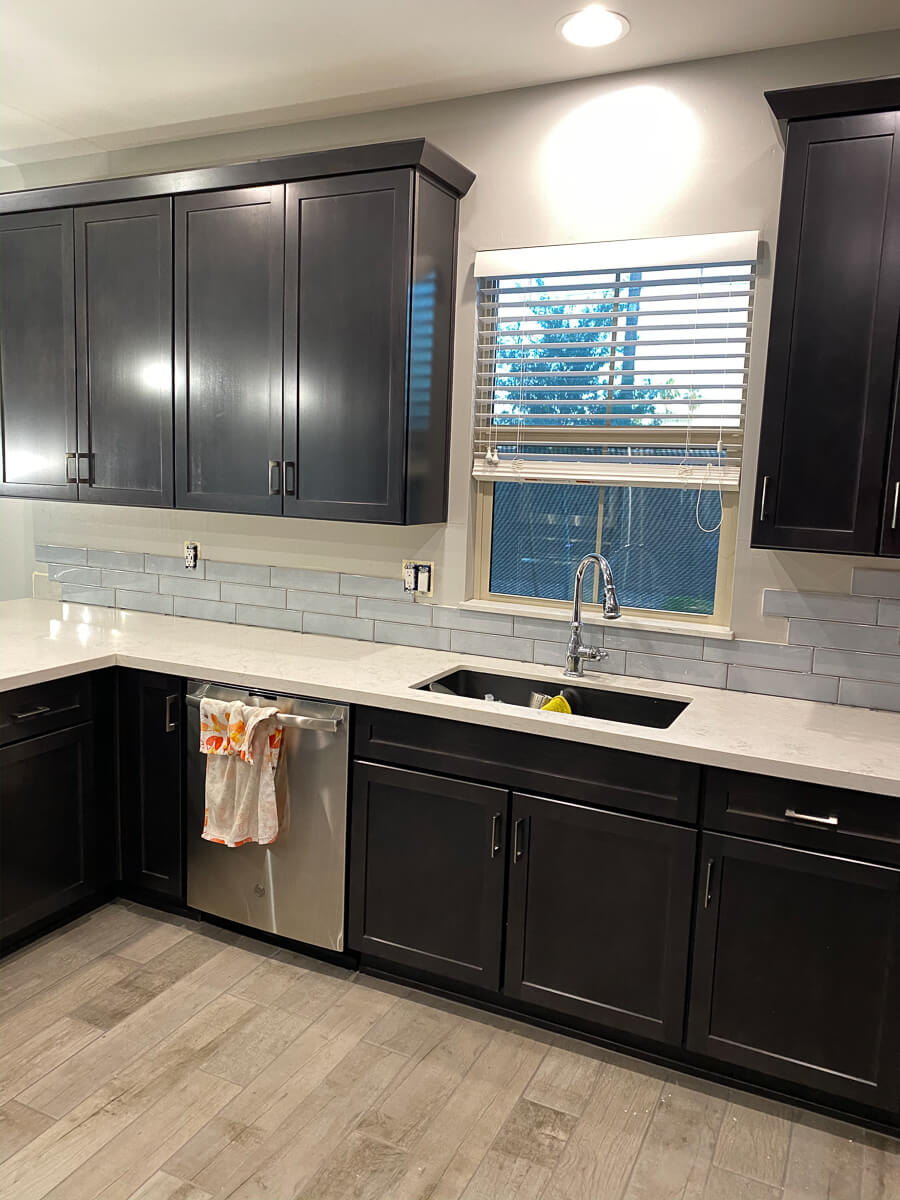
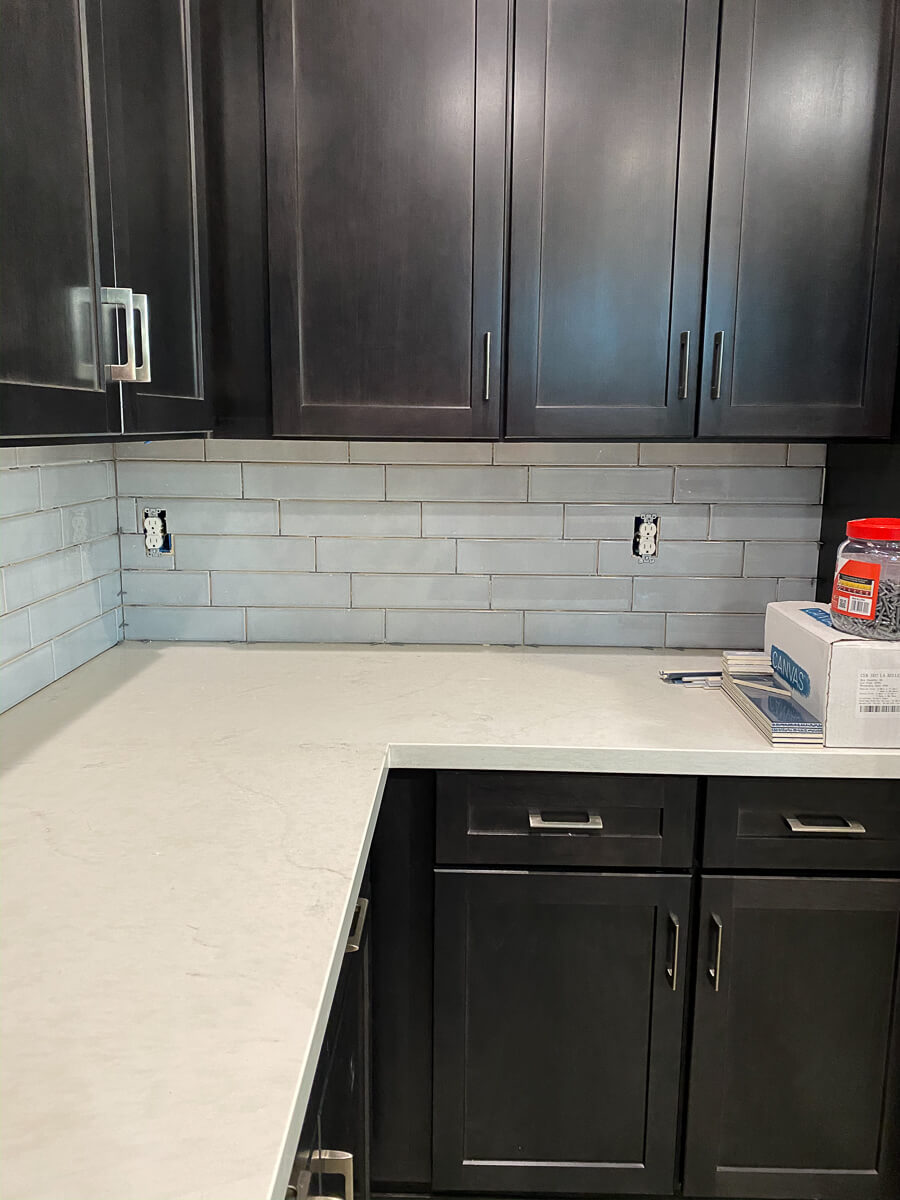
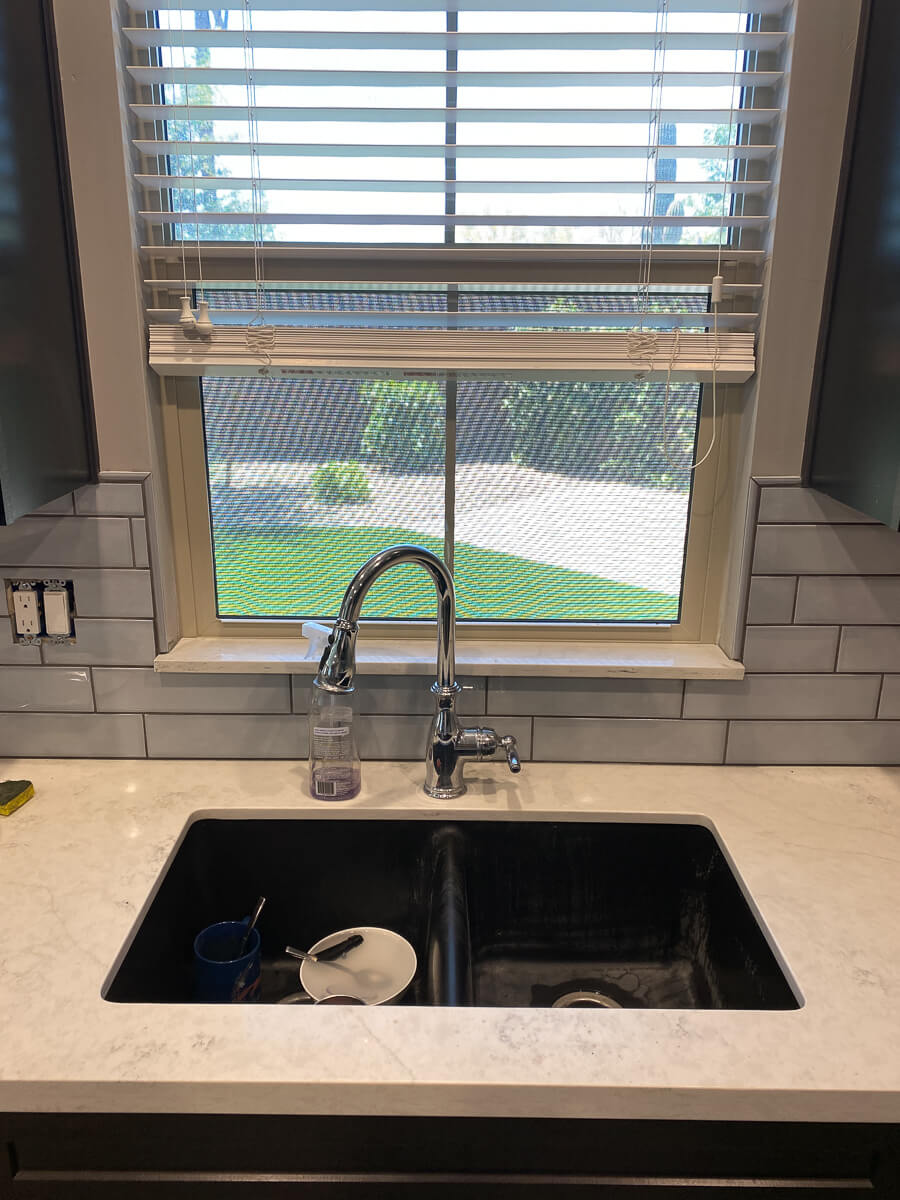
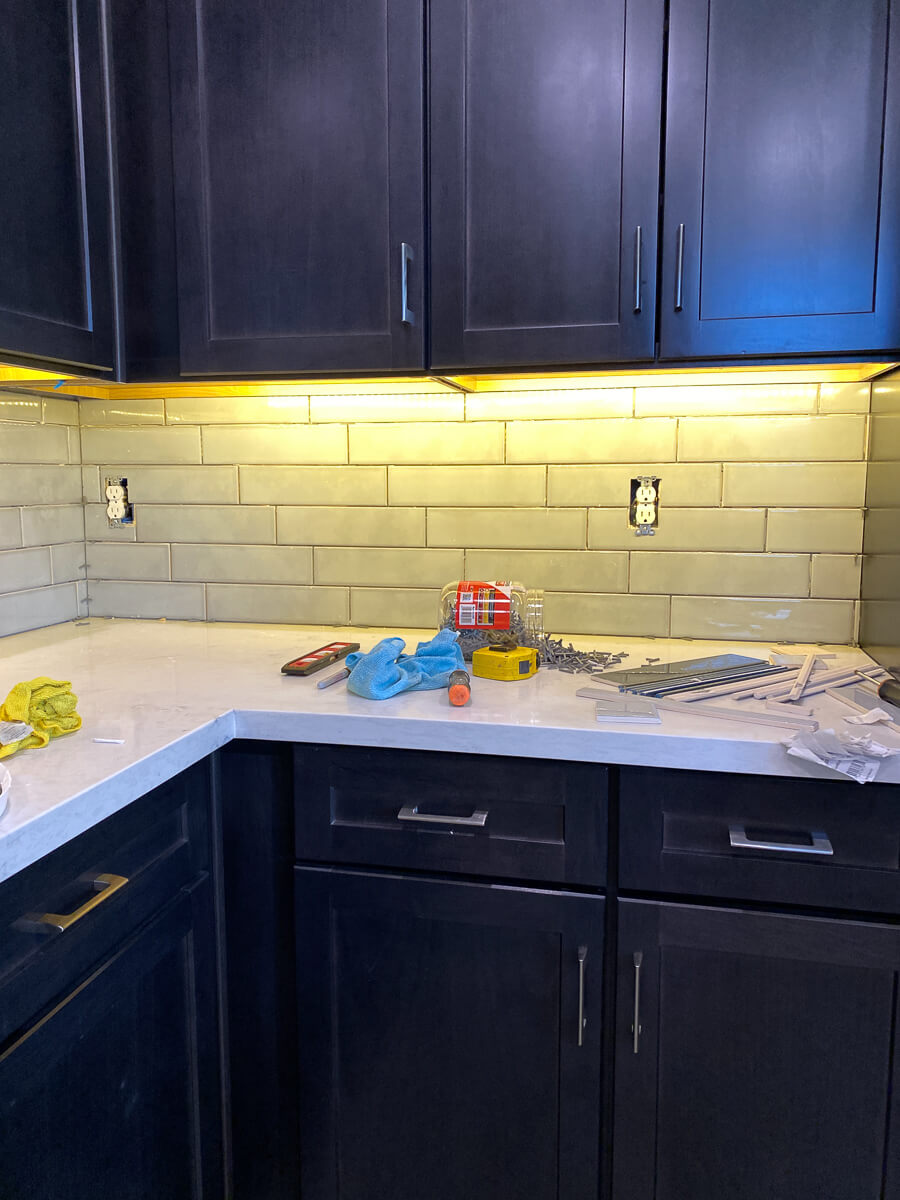
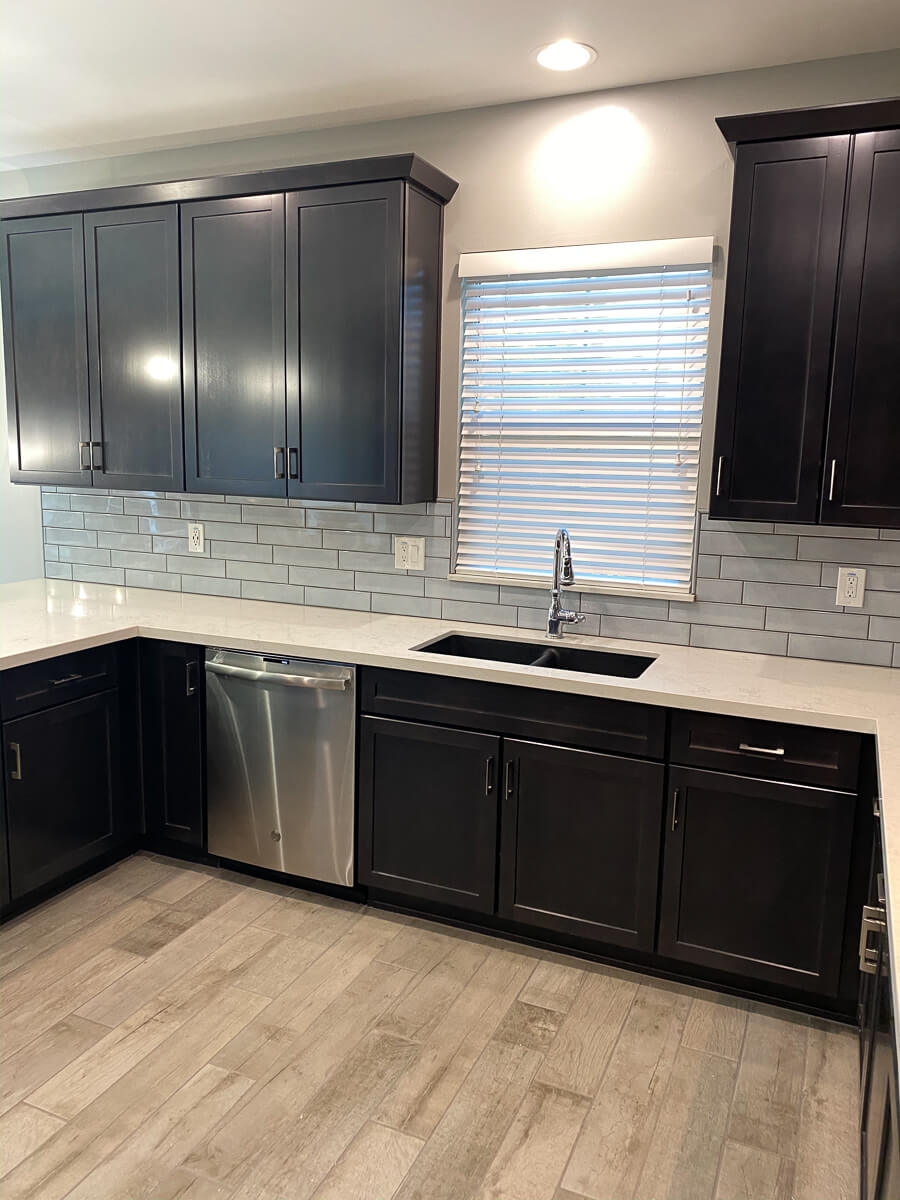
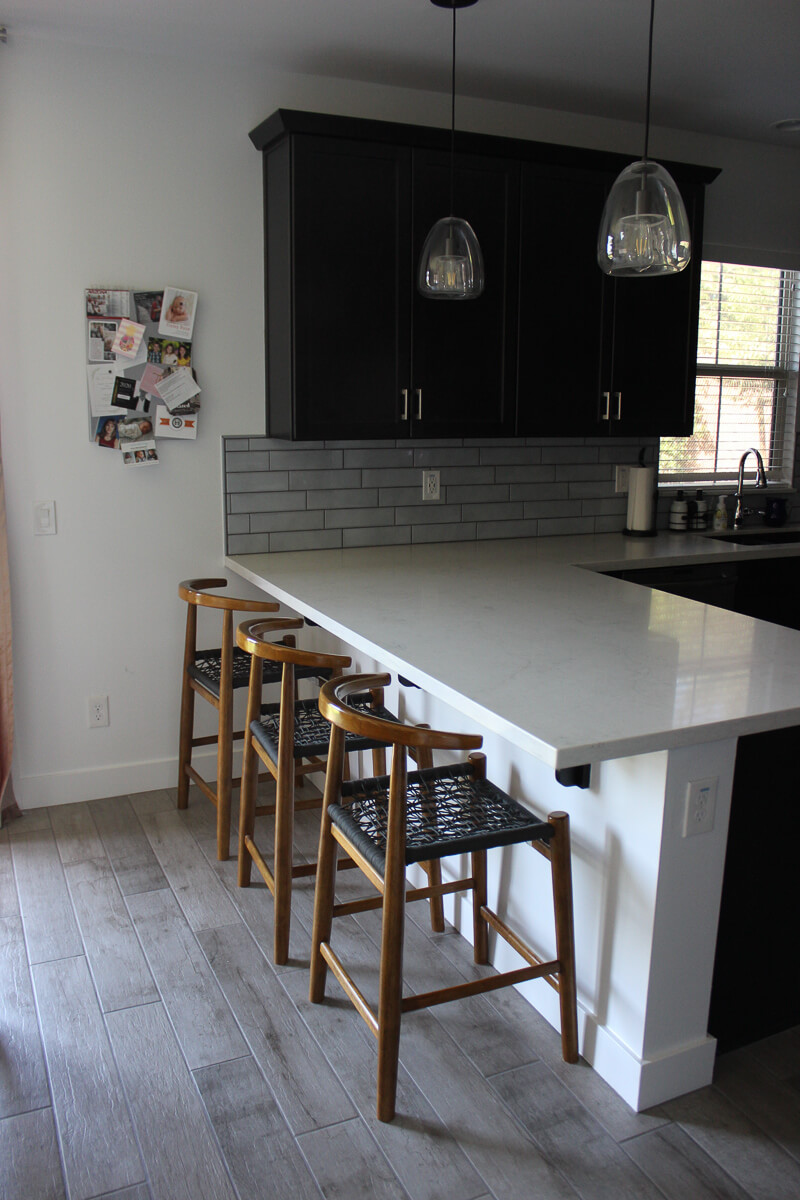
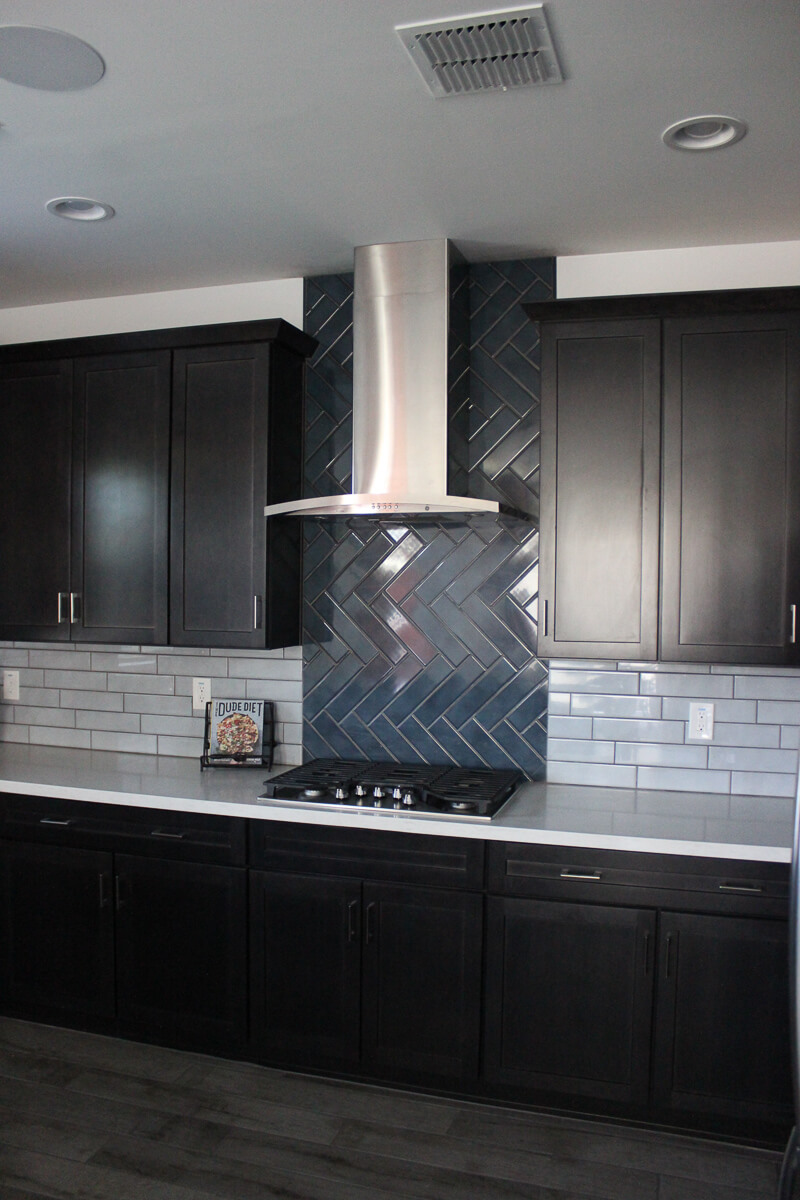
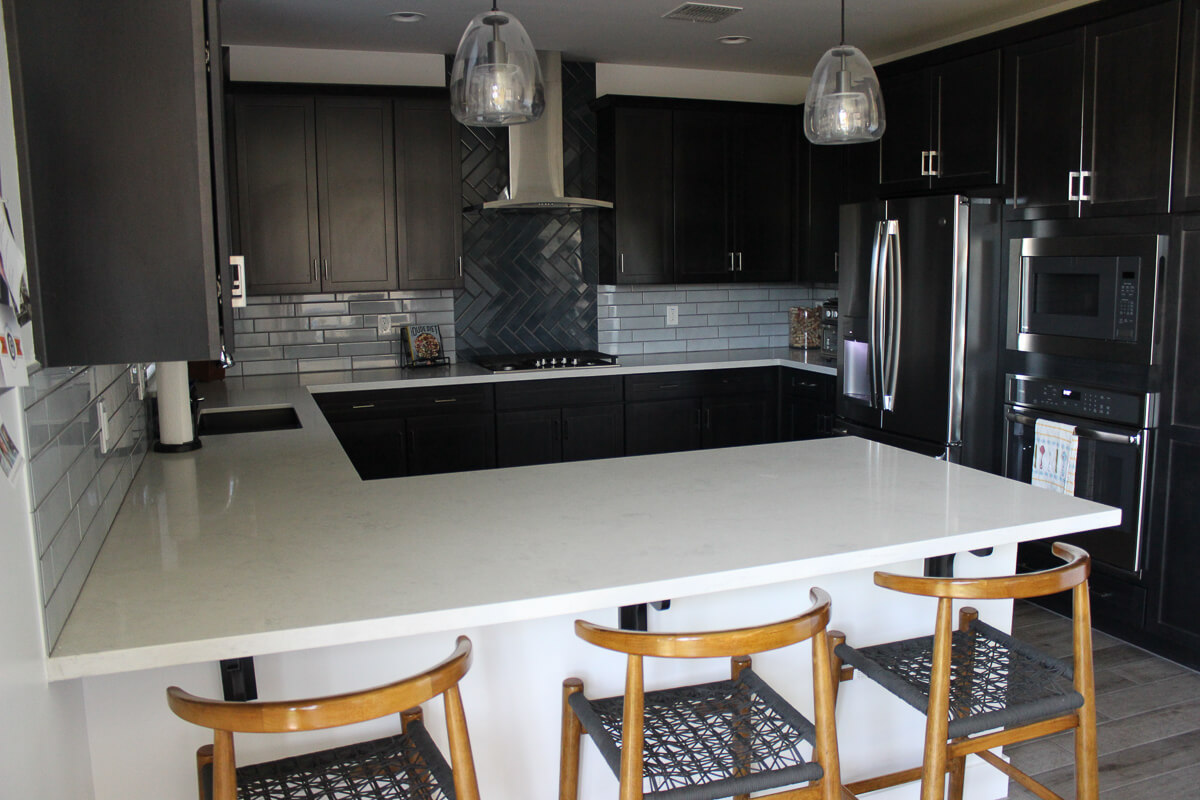
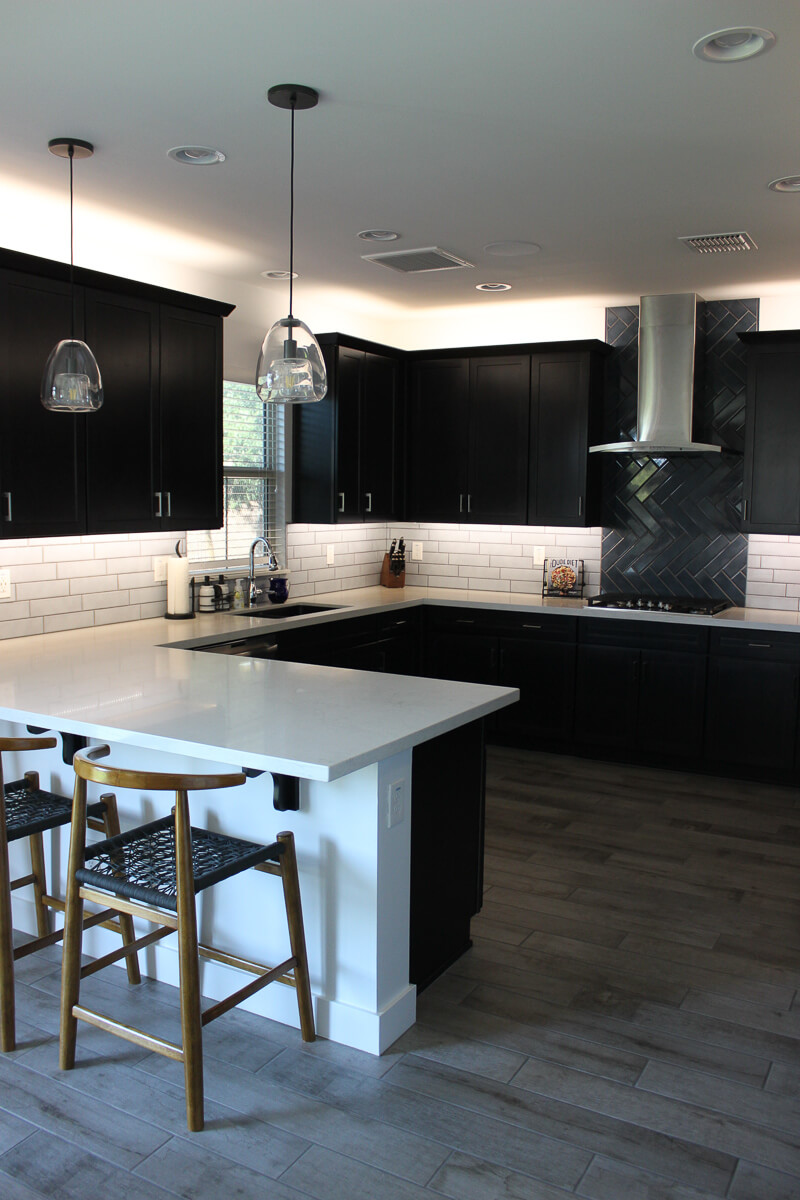
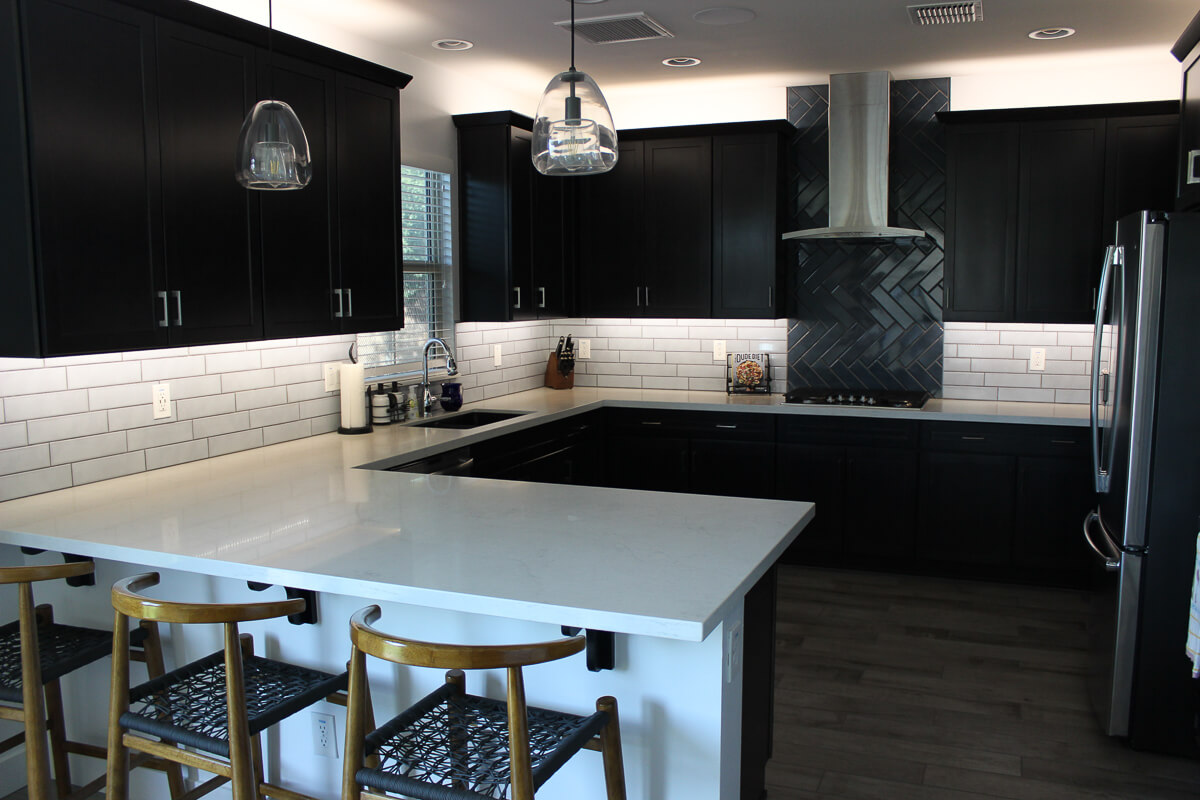
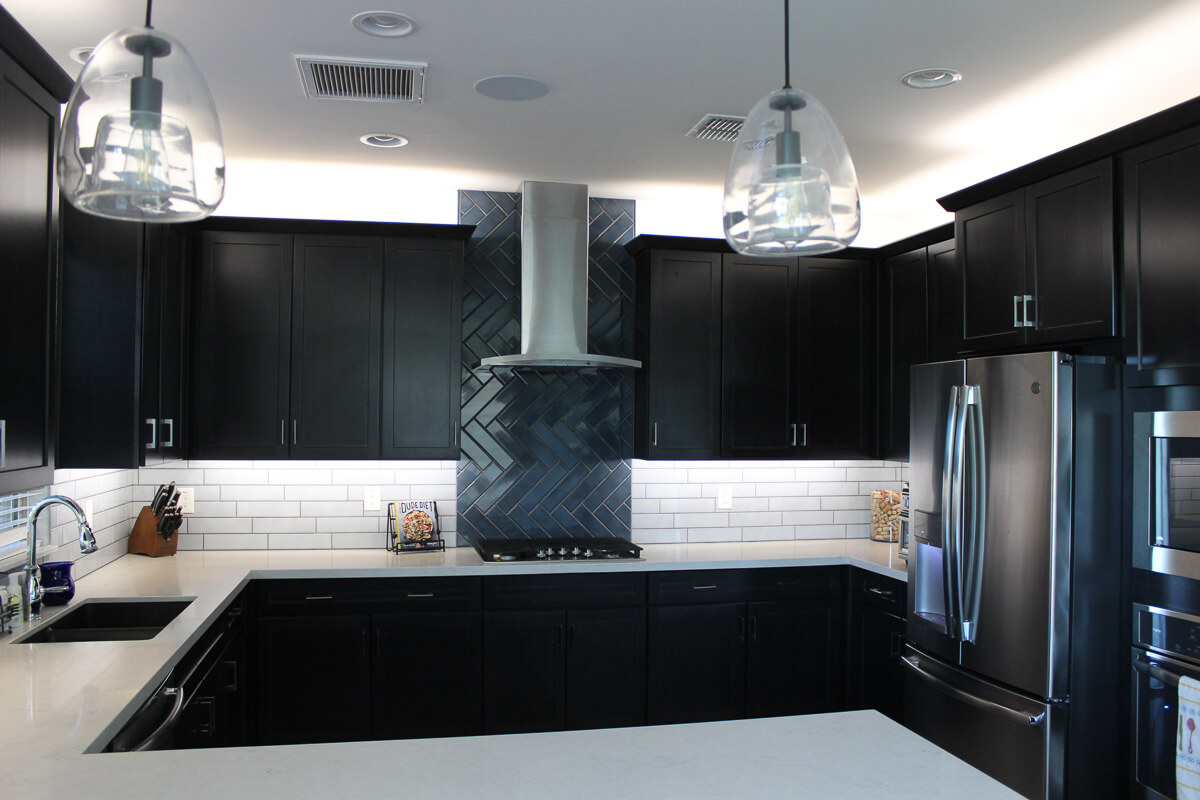
Once the grout was done I put all the outlets back in and covers back on. I caulked the exposed edges and then painted the kitchen white. The light french grey was not working well with the tile colors. Lastly, I swapped the existing 2700k LED lights under the cabinet with 4000k LED lights, which is a much brighter and whiter light, and added them above the cabinets too. 

Before tiling, after removal of quartz lip
During
Initial tile pattern
Beginning of pattern restart

Outline of Tools/Materials with Links:

Floor & Decor

Lowe’s

Amazon

There were other various hand tools such as screwdrivers and files that were used too. As well as sharpie markers, levels, measuring tapes and squares. 

Author

Write A Comment