Growing up in Arizona for the majority of my childhood, I lived in pool. As a kid we played in the pool every chance we had, then I swam on the High School swim team, lifeguarded for the City of Chandler pools (and the University of Arizona recreation center) and taught swim lessons into my early 20’s. In New York City I got a YMCA membership immediately so I could keep up my love for swimming, but eventually I stopped swimming as much. It wasn’t until the beginning of 2020 that my husband decided he was going to train for a triathlon. He wasn’t looking for a partner, but I was all in! Any excuse to get back into a pool and brush up on my swim instructor skills for Aaron.
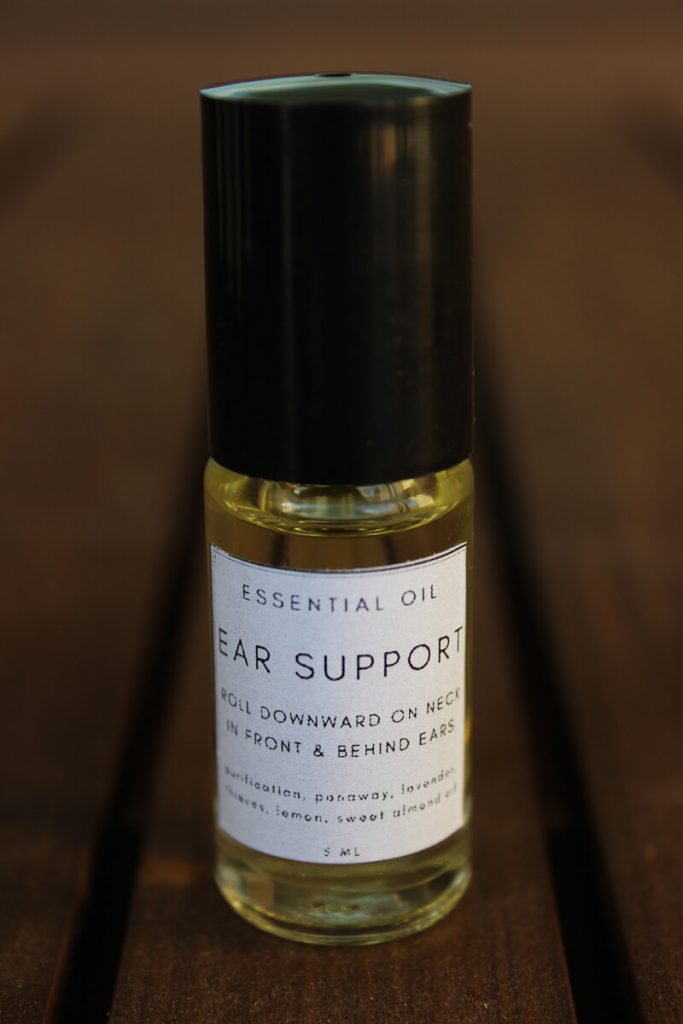
After swimming pretty regularly for a couple weeks, I quickly remembered how annoying it is to get water in your ears and how it seems to never want to come out! I made an Ear Support roller and threw it in my pool bag so I didn’t waste anytime trying to get that water out. Thankfully I brought it this past weekend to my parent’s house for family pool day and made sure to share with all of the older kids, my 37 year old brother included! (Make sure to do you research on the specific oils if you’d like to use this roller for children three and under as they often times require a greater dilution than what kids 4 and over, and adults need.) During the months that I wasn’t swimming, I found that it worked great against allergy season congestion that causes my ears to get clogged. I pair this mixture with the After Sun Serum/Spray for the perfect summer combo.
Supplies | Roller Bottle + Labels:
I had no idea that an Ear Support roller was a thing! My parents always put drops inside my ear, so you can understand my confusion when I learned that you absolutely do not put this mixture inside your ear, but instead roll it on the outside of your skin just outside your ear. (Keep reading for instructions on how to do that!)
Thankfully, I’m part of a Young Living community on Facebook that has over 19 thousand members who have all been using essential oils for years, so it’s great to connect and learn about the various uses and combinations that I can make – Ear Support being one of them. In Facebook Groups there is a search bar that allows you to type in a topic or keyword and it pulls up all related posts, discussions, photos, files, etc.
Vessel: I find all of my supplies on Amazon like the vessel that you put the product in. For this product, I use a roller bottle because it’s an easier and more accurate way to apply the correct amount of the Ear Support to the right place. You could put it in a dropper bottle if you want to apply with your fingers instead, but this seems like too much of a hassle for me. For this recipe, I used a 5 ml roller bottle so that I can easily take it with me to the pool in my travel bag. You can easily duplicate the ingredients and keep a 10 ml roller bottle in your medicine cabinet too so that you can apply right when you get out of the shower. For an even smaller sample, I have linked 2 ml dropper bottles and I recommend doing only one drop of each oil in that mixture. When using essential oils, the darker the glass bottle the better in order to preserve the essential oils. I typically always use dark amber bottles. Some people use dark blue, or dark green too. There are a ton of cute bottles that are clear, white, or another color, but if you use those bottles make sure that you’re using all of the product between 3-6 months. I’ve linked all bottles to my Amazon Storefront in the “EO Recipe – Ear Support (Swimmers Ear)” Idea List for easy shopping.
Labels: Another item I use for each of my DIY essential oil products is water-proof labels that I can print at home. I’ve found that 2″ square labels work best for 10 ml roller bottles. For anything smaller, I recommend using a 1″ square label for 5 ml bottles and possibly cutting that label in half for 2 ml bottles or trimming the edges. You can always purchase labels on Etsy that are already designed and printed for you, or even purchase only the design and still print at home too. However, I find it more cost effective for me to create a basic design on Canva (free website) and use the easy online print template that the label company offers. I make so many labels and different mixtures that I’d spend a fortune on Etsy. Plus, I like to include the name of the mixture, the ingredients in the mixture, and the size of the bottle so that I don’t forget what I’m using. This makes it much easier when it’s time to refill the bottle too.
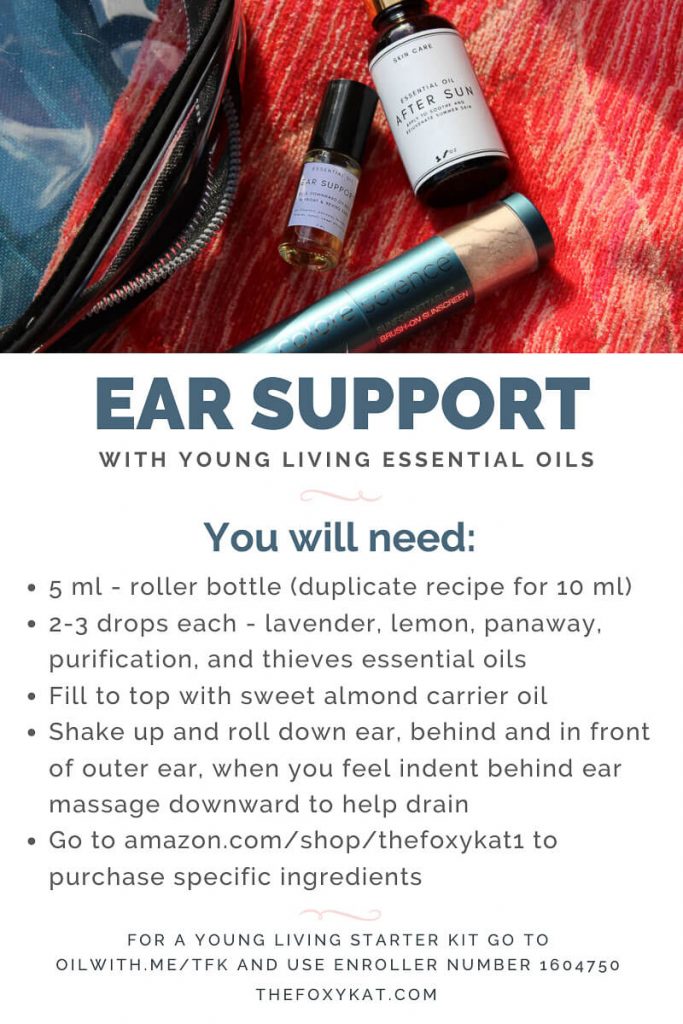
Recipe + How To Use:
- Use a 5 ml roller bottle (duplicate recipe for a 10 ml roller bottle)
- Then add 2-3 drops of each essential oil:
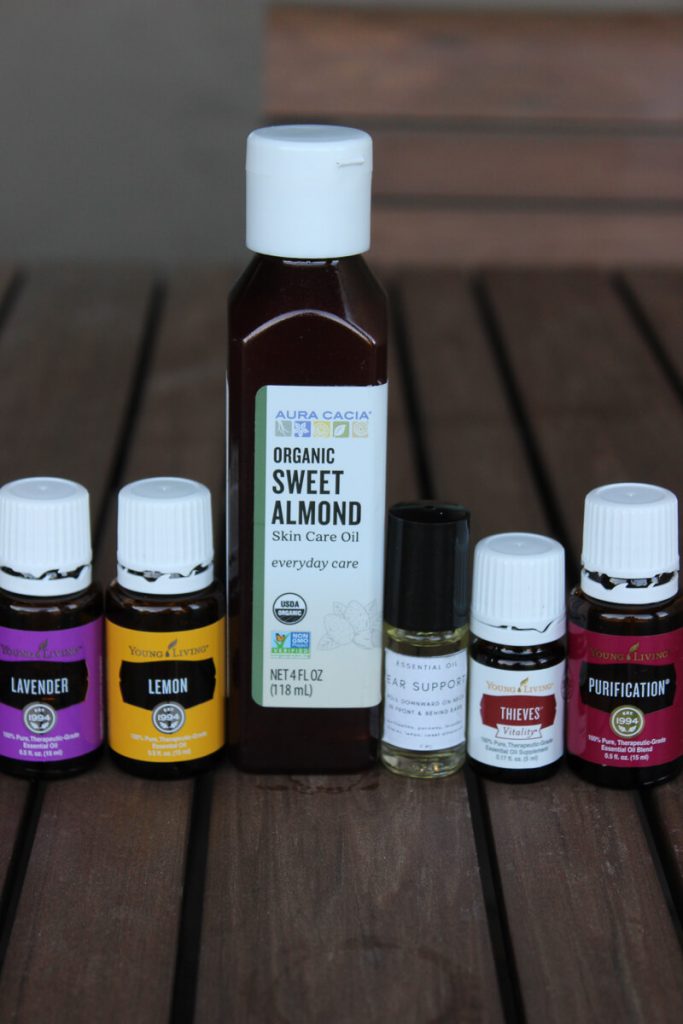
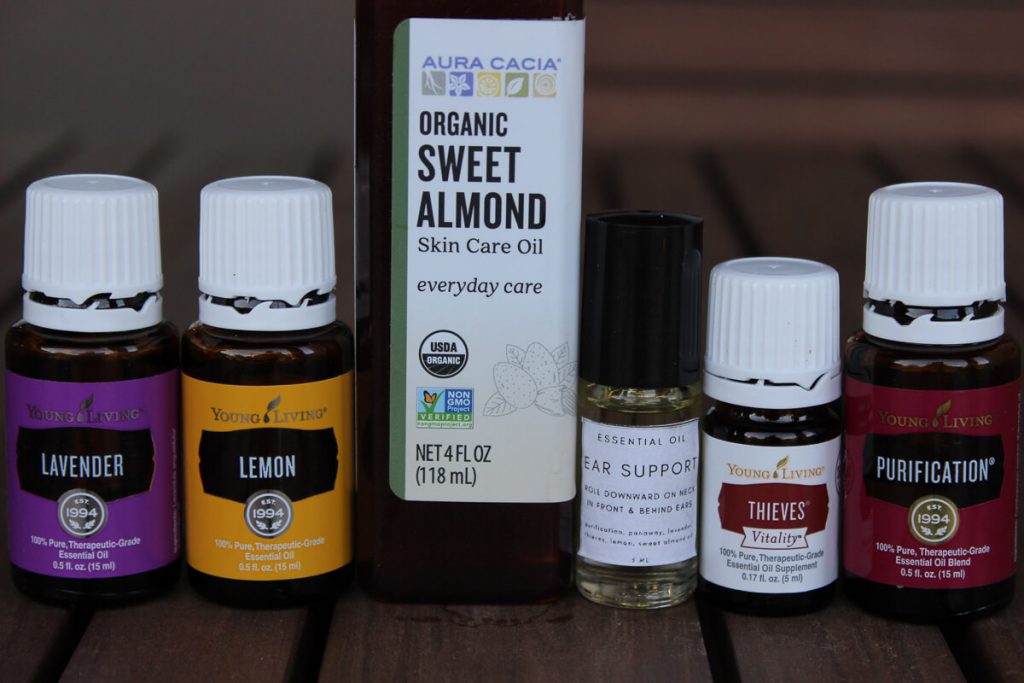
- Lavender
- Lemon
- Panaway (not pictured – this is a “hot” oil and should never be applied to your skin without a carrier oil)
- Purification
- Thieves
- Fill to the base of the neck of the bottle with Sweet Almond carrier oil. (Sweet Almond oil does not cause clog pores like Fractionated Coconut Oil does and since the ears are so close to your face, I prefer Sweet Almond oil or Jojoba oil for this mixture.)
- Shake the bottle and roll/stroke down the outside of the ear down to the lymph node to relieve ear discomfort. You can also apply by dabbing the oil on your finger and rub downward on to the skin in front of and behind the ear. A gentle massage downward when you feel the indent behind the ear helps to drain the lymph nodes.
- Alternative recipe for a 10 ml roller bottle: 10 drops Lavender, 5 drops Copaiba, 5 drops Frankincense, 10 drops Tea Tree, 5 drops Purification, 1 drop Oregano and top with a carrier oil.
For more information about how essential oils can help provide relief to an ear infection continue on to Healthline article, “Can Essential Oils Treat an Ear Infection?” Healthline states, “Essential oils are derived from plants. Think of them as super concentrated forms of the plant they’re taken from. Plants or plant parts are steamed, allowing the oil to be separate from the water present in the plant. The chemical makeup of the essential oil depends on the type of plant it’s from and the way the oil is harvested.
Some essential oils have antimicrobial or antibacterial properties, which are useful for fighting off viral and bacterial infections.
Viruses work by taking over the cells in your body. The virus then uses your own cells to make more virus cells. Certain essential oils can help stop that process by preventing the virus from replicating.
Other types of essential oils work like an antibiotic, helping to kill off harmful strands of bacteria. Different oils work to kill the bacteria in different ways. For example, some can interfere with the cellular processes that give the bacteria energy. This causes the bacteria to starve to death and leave your system.”

If you’re not sure where to purchase your high-quality essential oils from, I recommend Young Living! I’ve been using their oils for 6-years, but recently got into making my own mixtures when I found out that I’m allergic to many of the hidden ingredients found in beauty and household products – the main one for me is gluten! To read more about why I love and exclusively use Young Living oils, read my blog post titled, “Why I’m Using Essential Oils from Young Living“.
A few other reasons why I love Young Living…
- The online community! I have received so much guidance and easy information from this community that it makes learning about essential oils and their benefits fun! Anyone who purchases a starter kit from our community is automatically added via Facebook, which allows you to search and have access to so much great info. If you’re already purchasing Young Living products, but don’t have access to these resources, I can definitely help you to access them through your next order.
- Rewards program for free products! Young Living has a program called Essential Rewards (ER) that allows you to earn points towards free product if you place a monthly order that is at least 50 PV, which equals roughly $50. You can always stop and pause the program at anytime. If you’re already purchasing Young Living products, but are not taking advantage of the free gifts through ER, let me know and I can help you get your account set-up to earn points.
- Premium Starter Kits! The premium starter kit options that Young Living offers have the most popular oils at a drastic discount along with other goodies. You can select between a few different options based on whether or not you want a diffuser, cleaning products, etc. Plus, it allows you to receive wholesale pricing for the whole year without another purchase. At the end of your annual membership, a 50 PV purchase will renew your wholesale pricing. To view all premium starter kits, go to oilwith.me/tfk. If you’re purchasing products online at retail cost, I’d be happy to help you take advantage of the special wholesale pricing that members receive.
Download the image below for a quick and easy recipe card!
WELCOME GIFT!
All new members who sign-up with a premium starter kit and activate their Essential Rewards membership with me will receive a free gift valued at $15-25. I’m happy to customize this gift to fit your needs and I have some examples saved to my Amazon Storefront Idea List called “Essential Oils – Accessories + Welcome Gifts“. I want you to receive a gift that gets you just as excited about your oils as I am about mine! Plus, I want to gift you something that you’ll actually use. Let me know if you don’t see something that accomplishes that for you and we’ll create a gift package together. Here are some welcome gift examples:
- Bottle of sweet almond oil along with a 5ml or a 10 ml roller bottle (depending on your preference) and a label – you would add the essential oils once you receive your starter kit!
- Small diffuser in case you want a secondary one or in case you are purchasing a starter kit that does not come with a diffuser. I have a secondary diffuser next to my bed that is small enough so only I can smell it and my husband does not. I also have an old diffuser in my office from the first premium starter kit that I purchased 6-years ago. Another diffuser I love was purchased at Target and it’s cordless, so I take it outside to keep the bugs away! Target’s diffusers are so cute too – so if you see one that is within the free gift value I’d be happy to send one to you instead.
- A variety of glass spray bottles, dropper bottles, and roller bottles so you can start making your favorite recipes along with a carrier oil of your choice.
- Essential oils book for how to use oils with babies/kids, pets or how to use essential oils in general.
- Hanging diffuser that you can use in your car, closet, etc. and/or a handmade oils travel case along with 10 ml roller bottles to fill it with. My favorite accessories are from BaggageandCo on Etsy!
- Or if you’d rather have the ingredients or supplies to make one of my other recipes that I’ve shared, please let me know that too!
Please comment, email, or DM me with any questions – or if you’re ready to sign up as a new member with a premium starter kit, wholesale pricing, and Essential Rewards, go to oilwith.me/TFK!