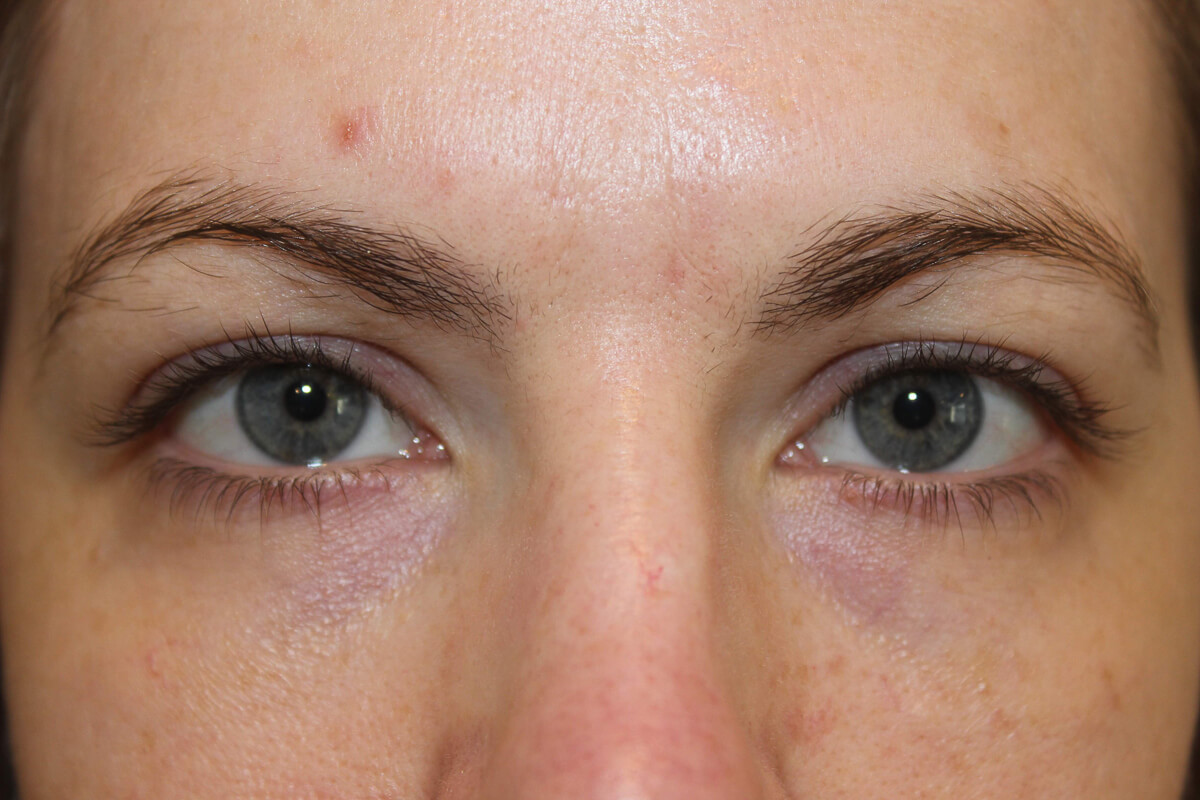
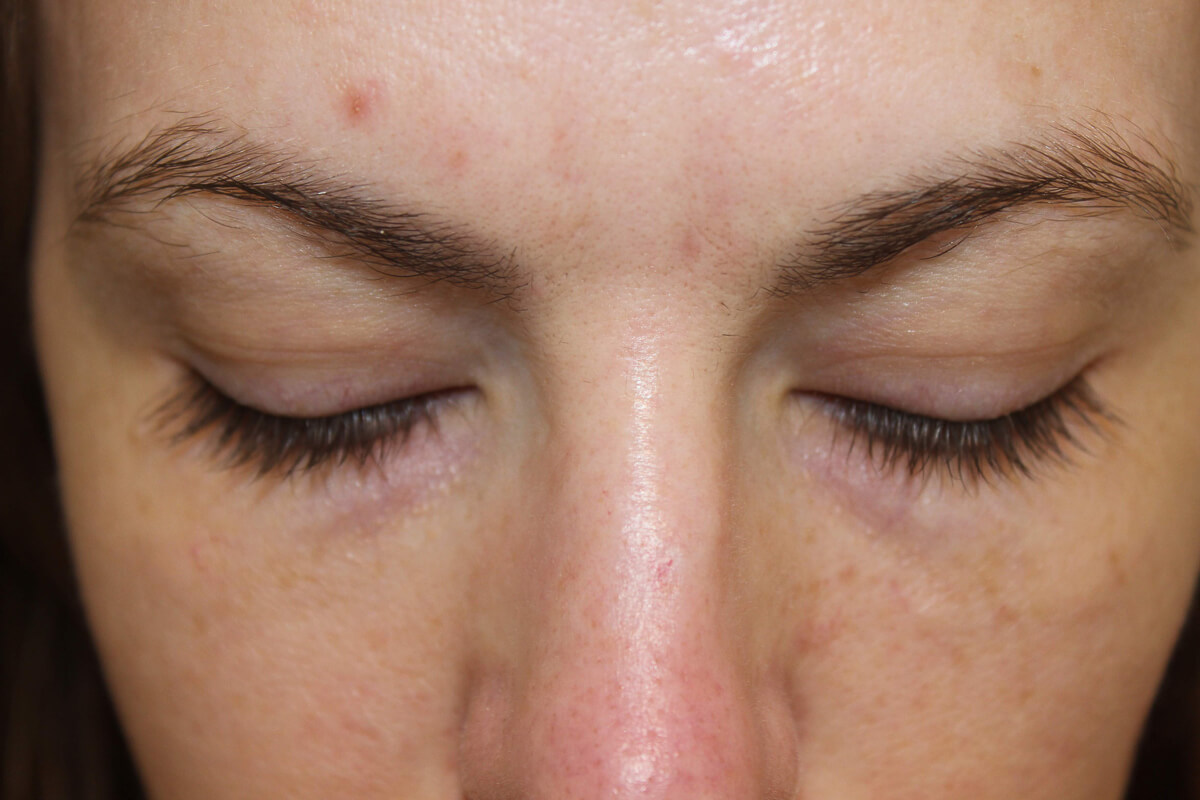
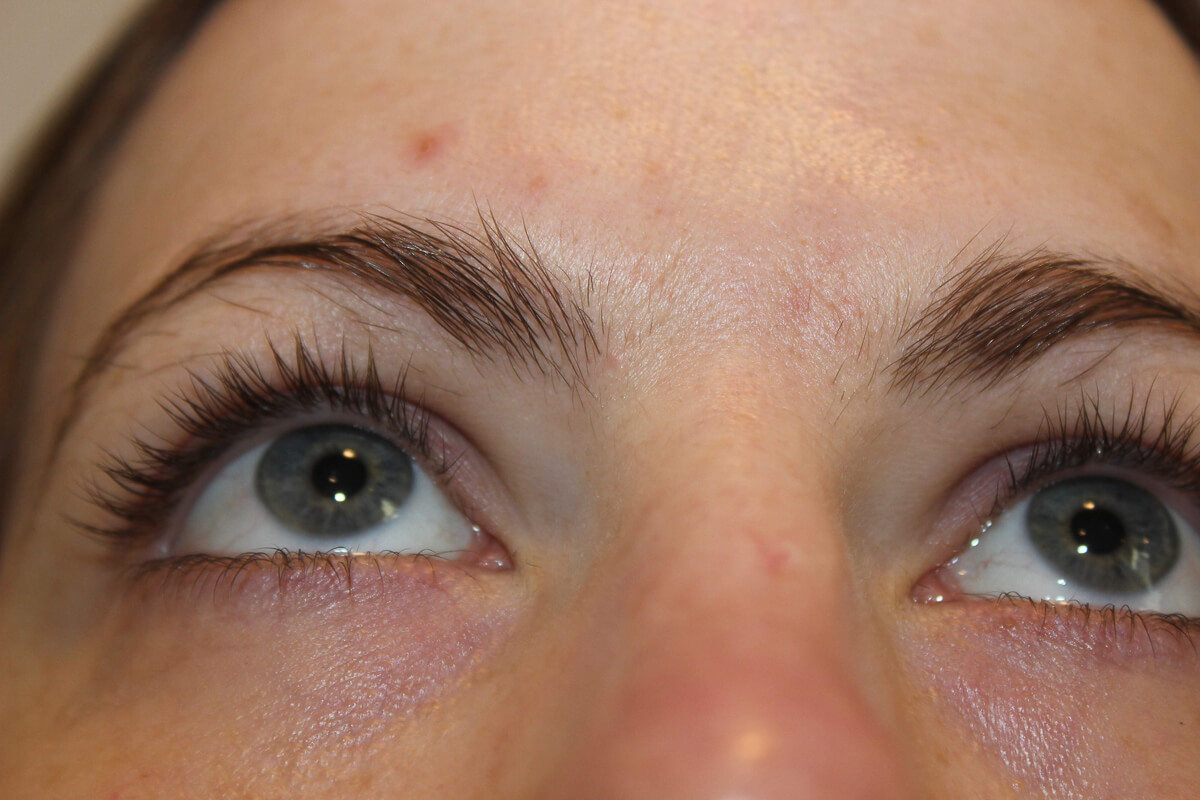
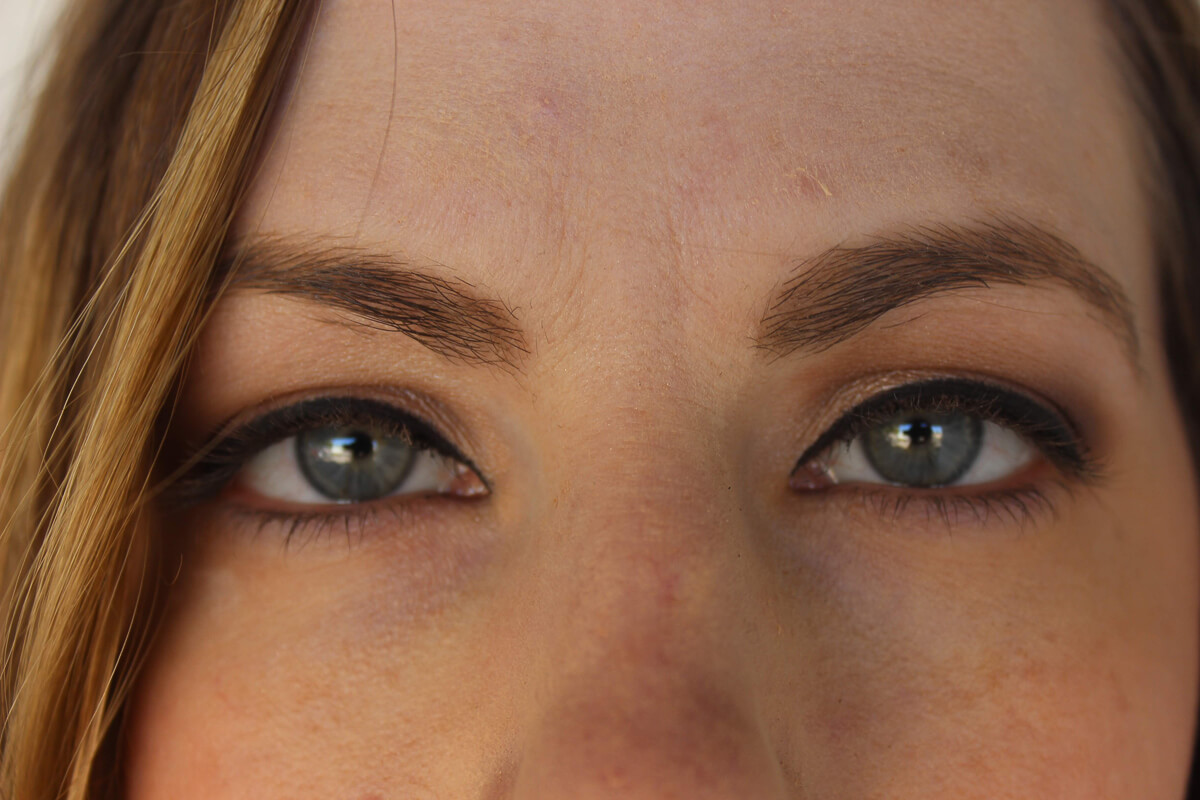
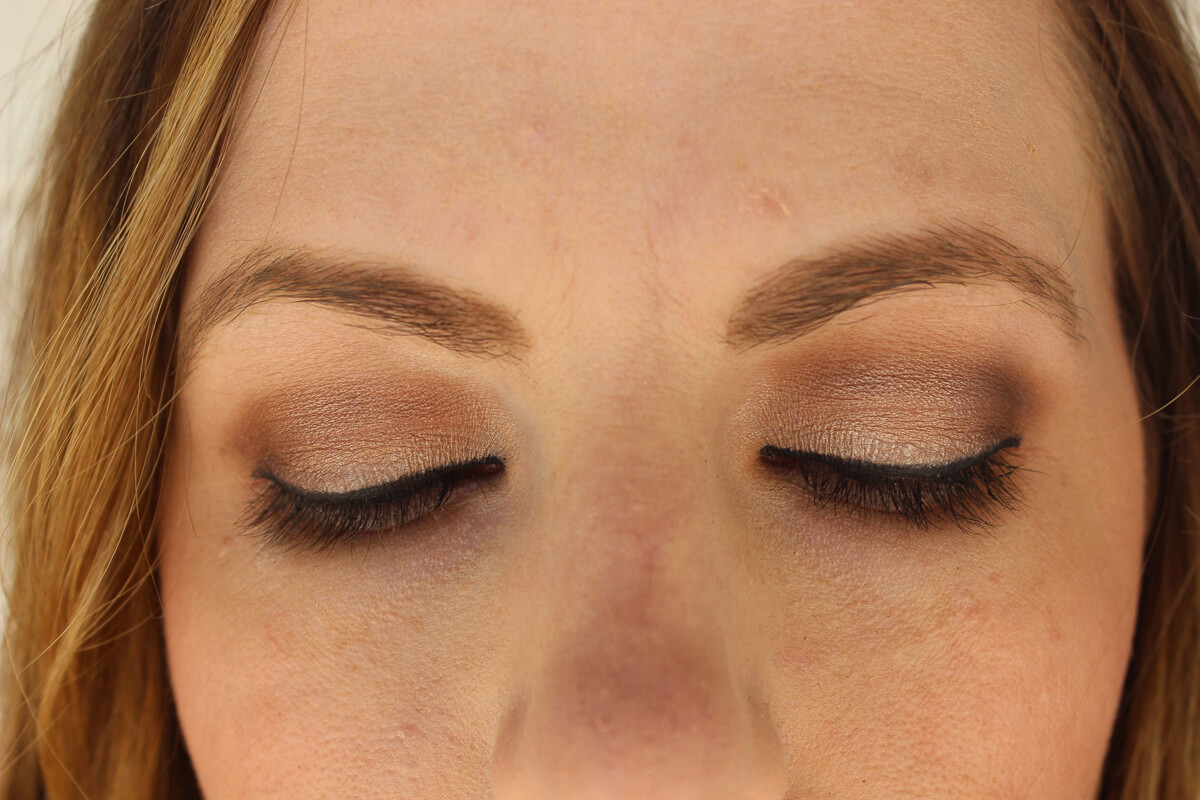
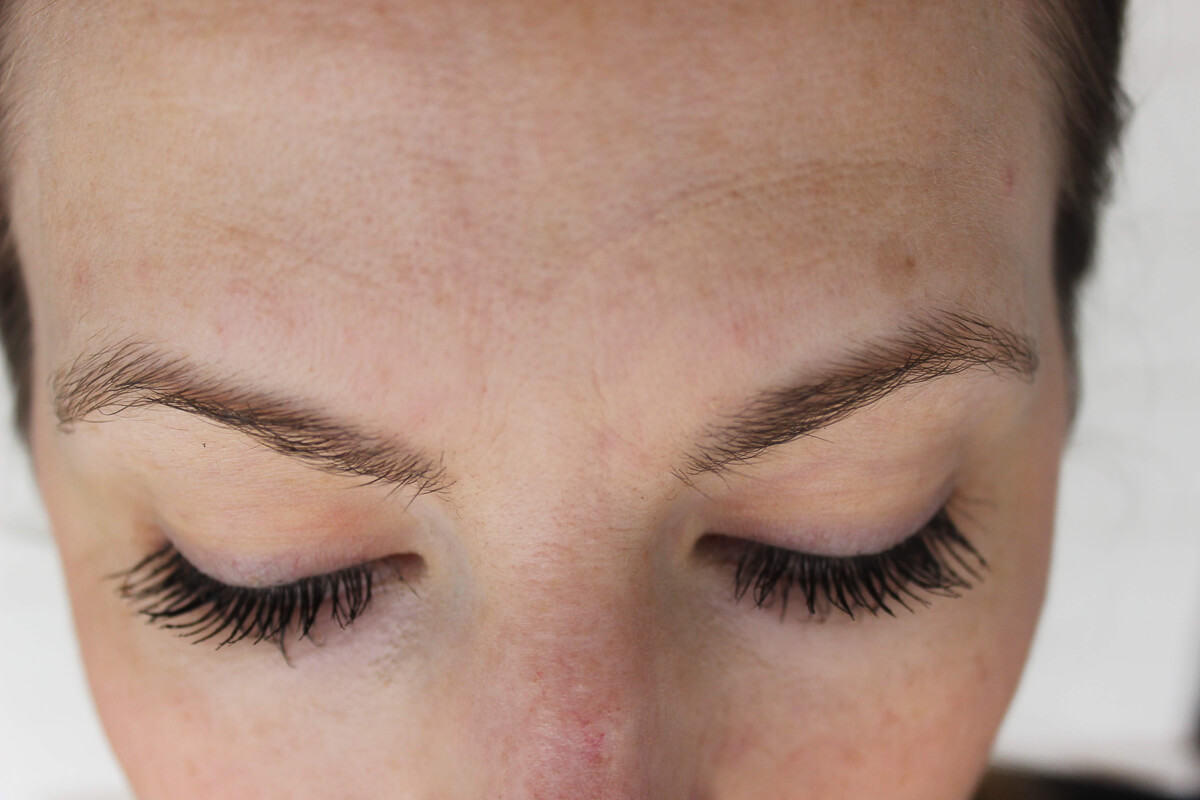
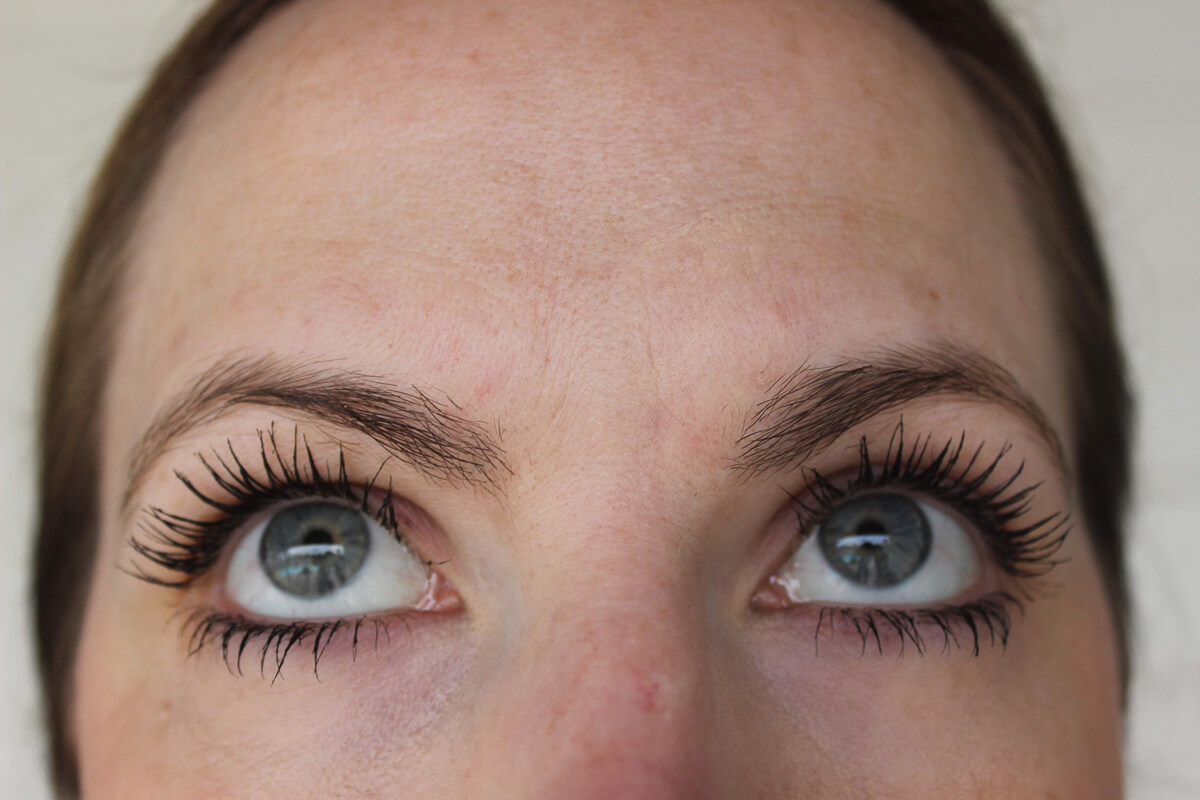
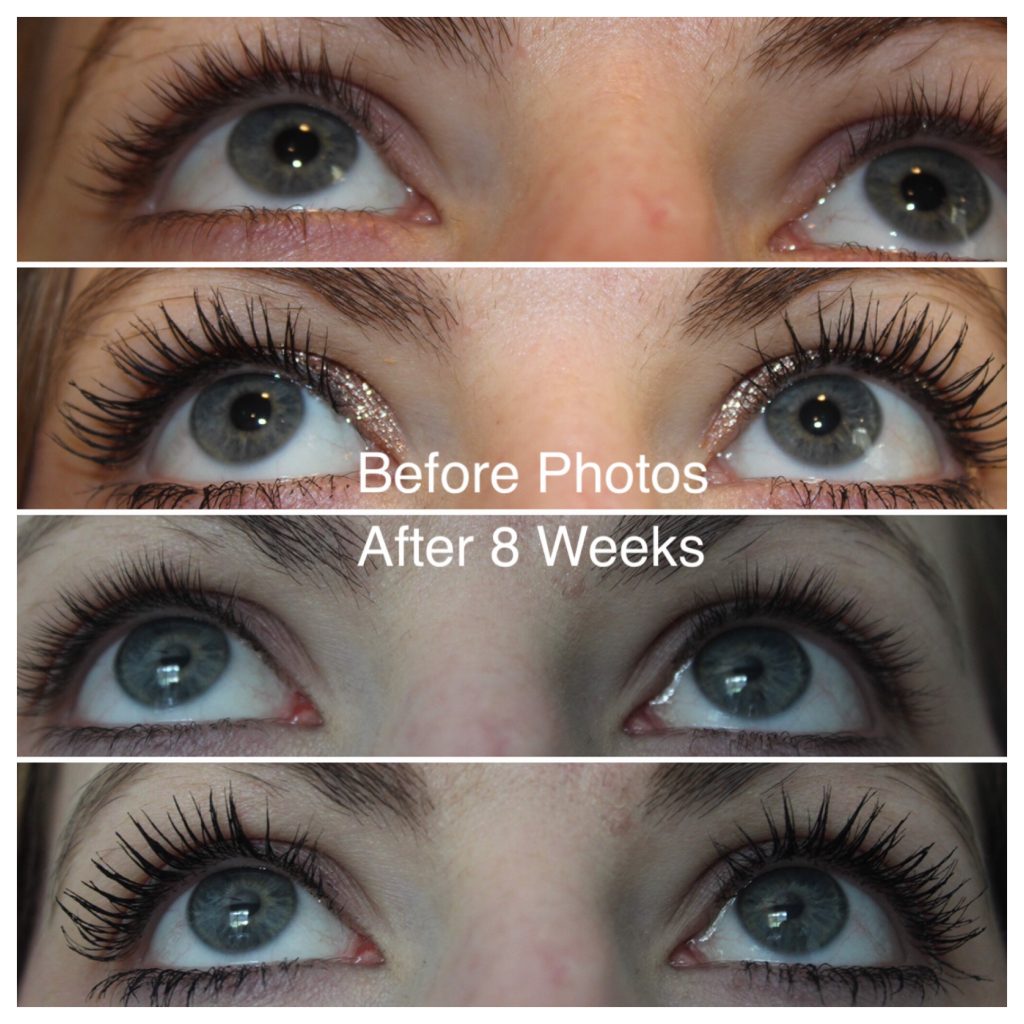
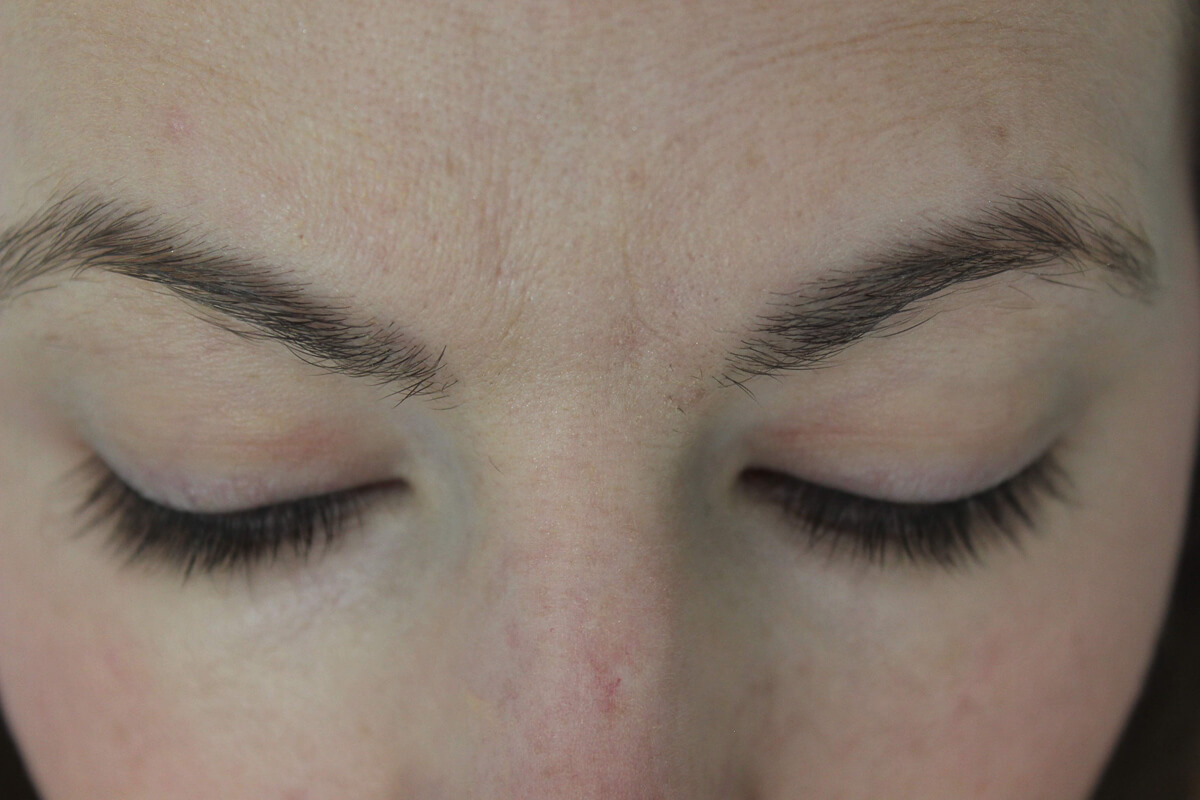
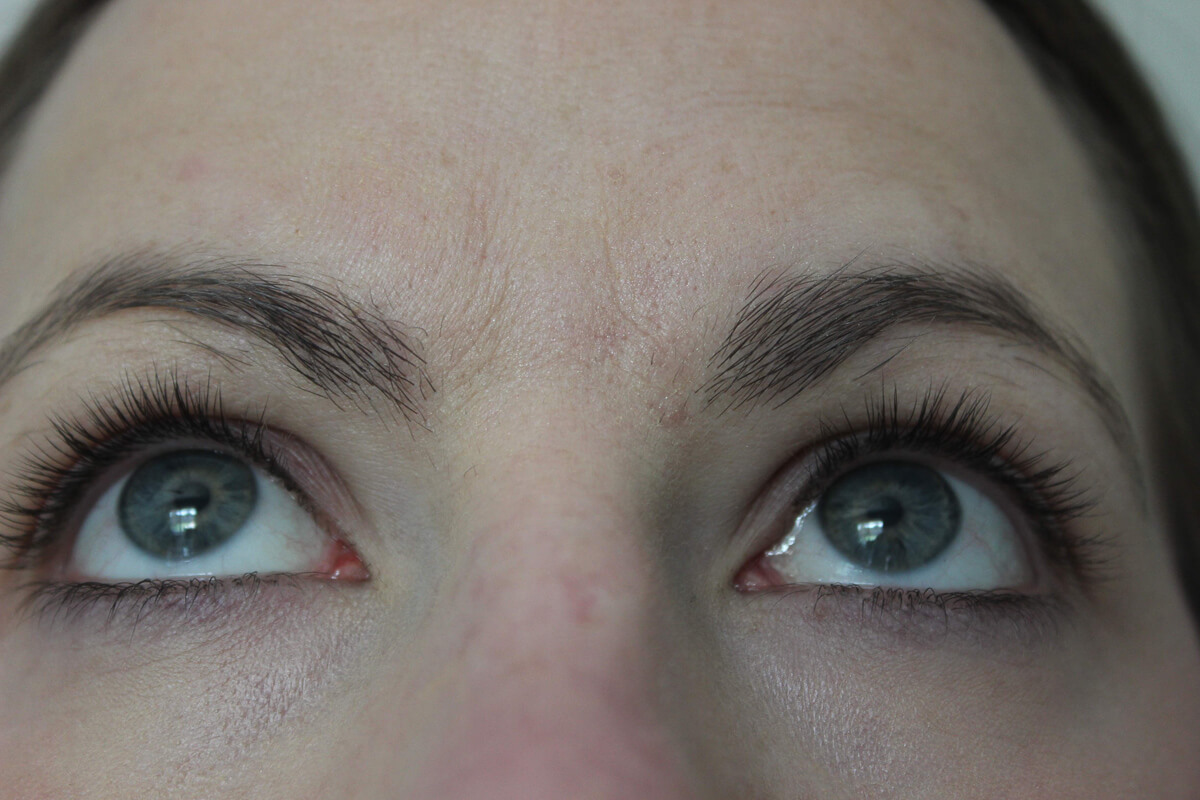
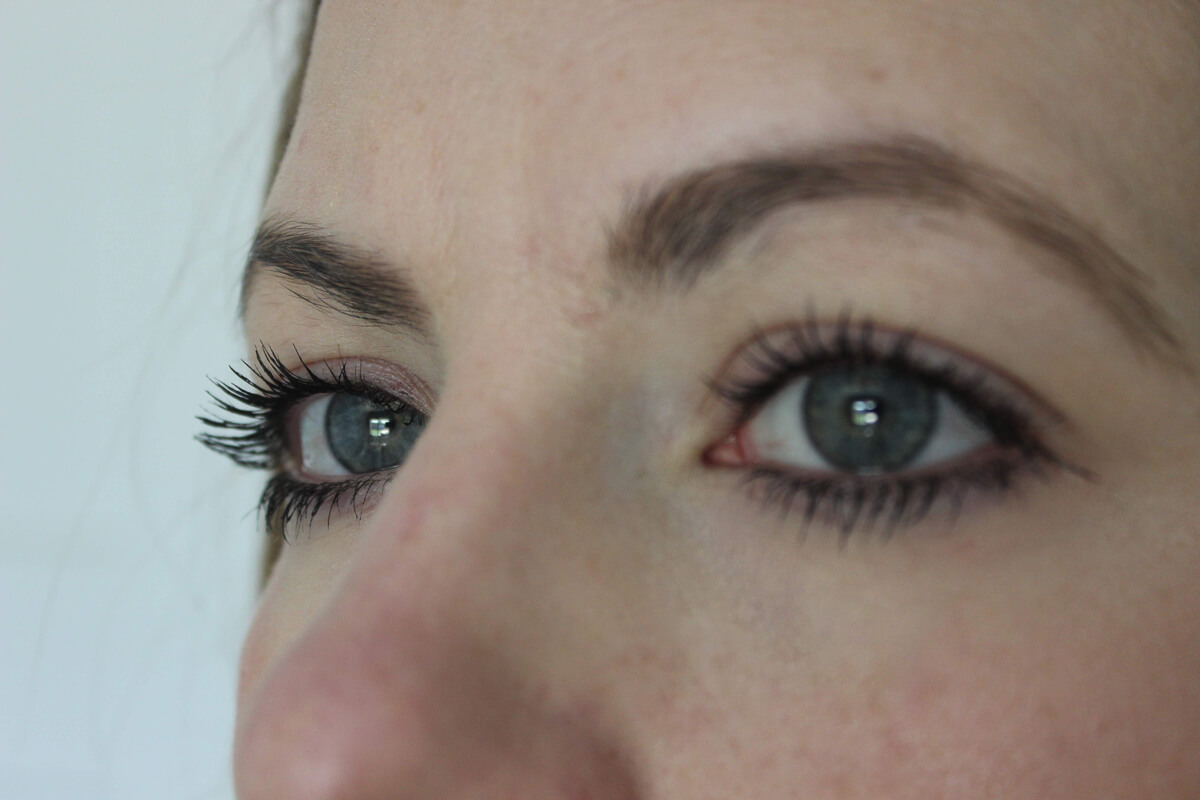
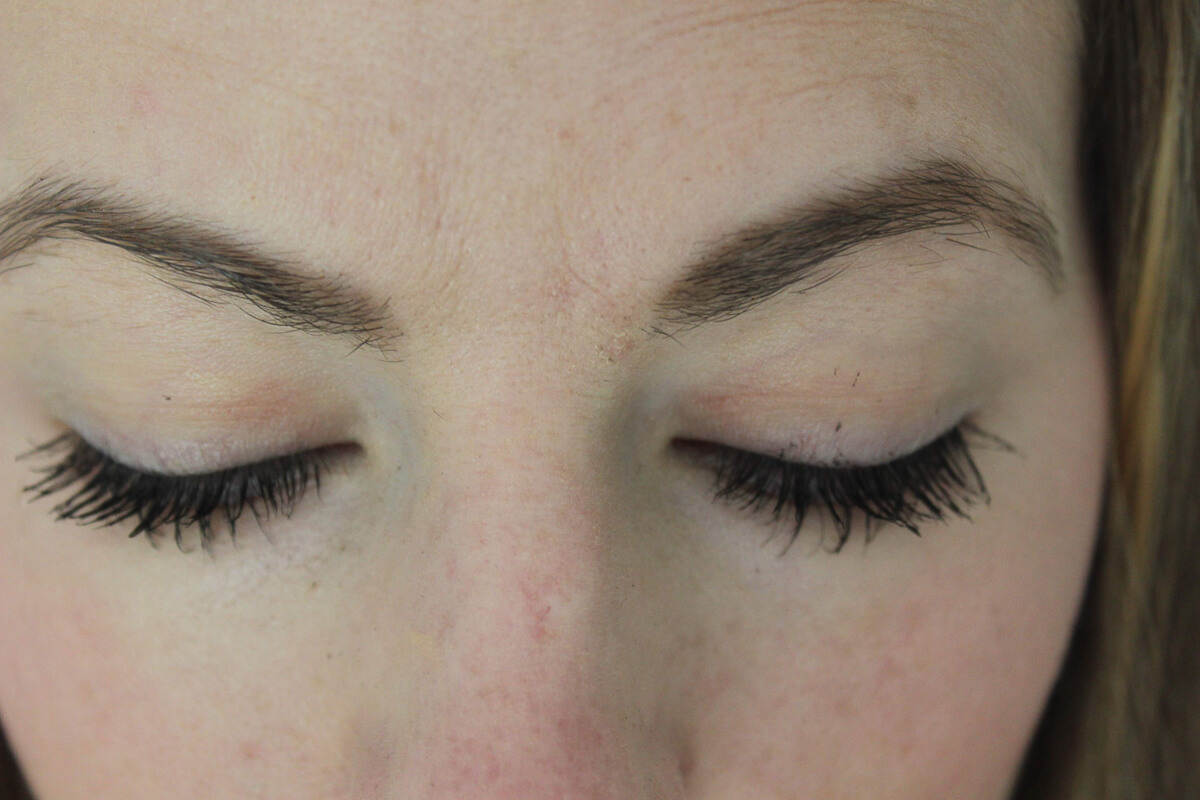
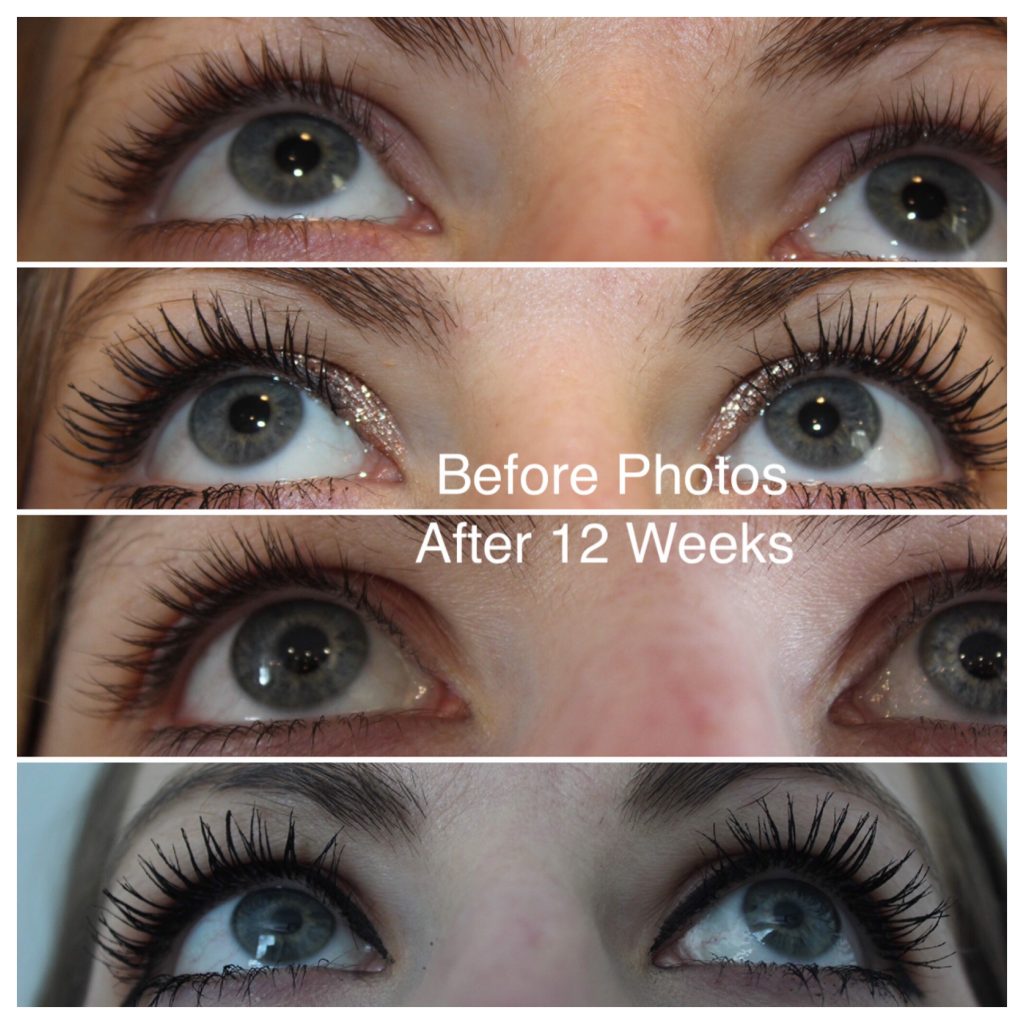
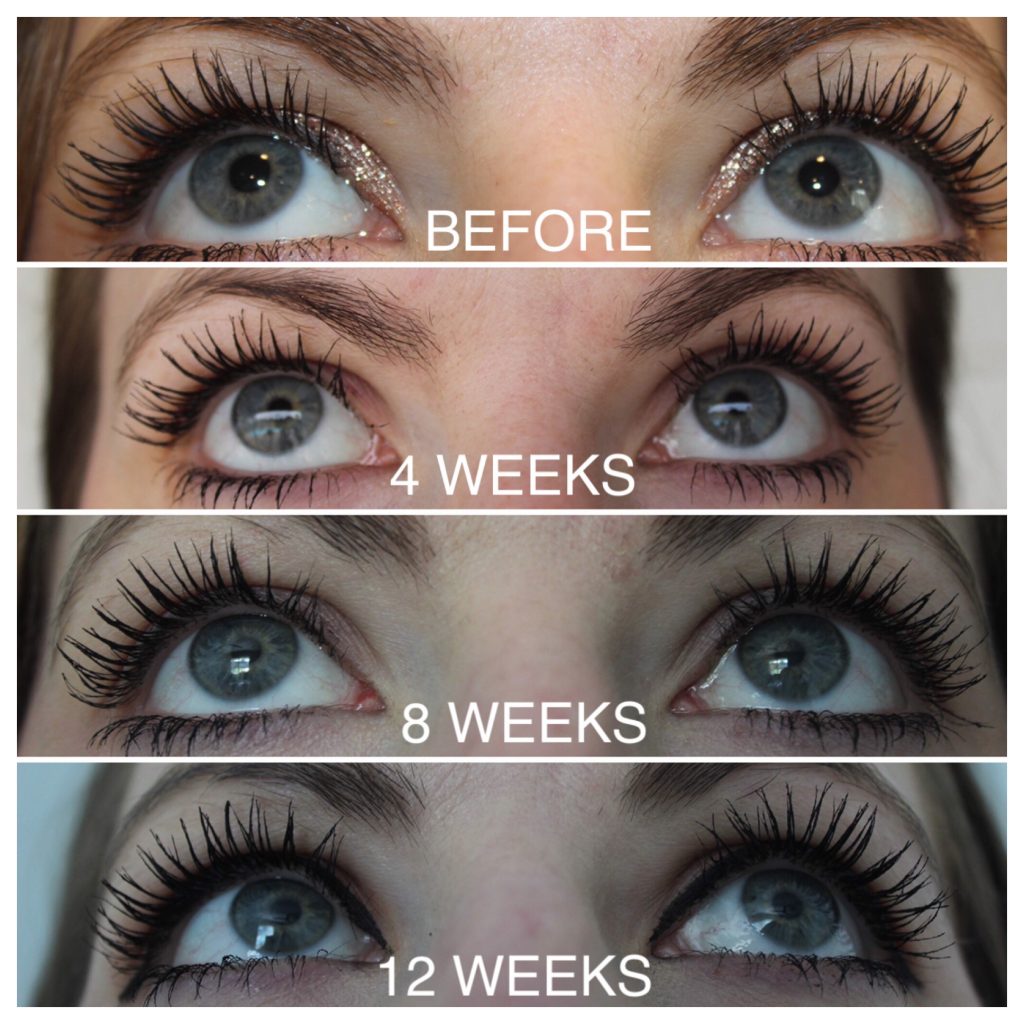
If you followed along my Rodan+Fields Lash Boost journey (blog post 0-week here, 4-week here, 8-week here, and 12-week here), then you know how important having long and thick eyelashes are for me. By the end of those 12-weeks, I loved having lashes that looked like I was wearing false lashes. However, I started hearing somethings about the ingredients in Lash Boost and I decided to do some investigating. I kept thinking, how much am I really willing to risk for long lashes? I’m not here to educate you on Lash Boost ingredients, frankly because I’m not an expert. If you are concerned, I’d suggest talking to your Dermatologist. Thankfully, my friend Kimberly of Skinapeel Beauty recommended an all natural eyelash and eyebrow enhancer called LashFood and BrowFood. I actually started using Lash Boost on my eyebrows towards the end of my 12-week challenge, so I was ecstatic to hear that there is an enhancement serum made specifically for eyebrows. After years of over tweasing, I have a couple areas that won’t seem to fill in on their own. 

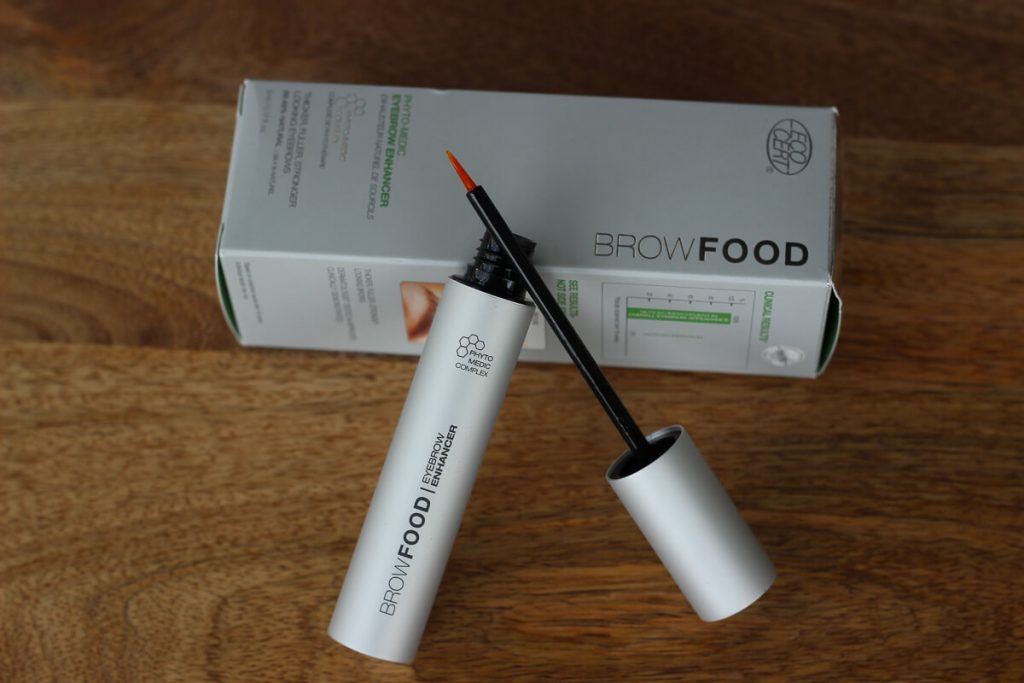
Both the lash and the brow products are under the company, LashFood, which is “the word’s first and only Eco-Cert natural eyelash enhancer that has a patented Phyto-Medic Complex that delivers nutrients to feed lashes with nature’s most powerful ingredients.” This information is taken from their website, and they continue to say that “LashFood is natural, safe, effective, and no prescription is required. It is a drug-free alternative that provide results without the side effects. This product is dermatologist tested and approved, and vegan.” For both products, they “create the appearance of thicker, fuller, strong brows and nourish lashes to look longer, thicker, and stronger.” That’s exactly what I want, so let’s give it a try.

I’m familiar with using products like this because I used Lash Boost. I highly suggest reading through my blog posts featuring Lash Boost (linked above) because I learned a lot during the process. Here are the general steps that you will take if you use this product too:

HOW TO USE

  1. Apply nightly onto clean, dry skin.
  2. Sweep applicator brush along the lash line in the same manner as liquid eyeliner. Or at the root of your eyebrows at the sparse areas.
  3. Let product absorb into skin before applying additional products. (I usually brush my teeth afterwards so that I can ensure that I waited at least 2 minutes before applying moisturizer.)

0 WEEK – BEFORE PHOTOS – You can see here that I took some before photos to show you where my eyebrows and eyelashes are at the beginning of this. I’m working with Kimberly from Skinapeel Beauty to grow out my eyebrows and only trim/wax in a specific area outside of where I’m trying to grow. I like to take photos from multiple angles to show you different views of the lashes, however it can be challenging to get my camera to focus on my lashes when I’m that close in selfie mode. Also, you’ll notice that I try to take photos with and without mascara/makeup on because sometimes it’s hard to see my full lash length without mascara since my tips are lighter. 

4 WEEKS – AFTER PHOTOS – You’ll notice here that I made a mistake with my photos. I took photos with makeup on, but no mascara and then the next day I took photos with mascara on and no makeup. What I should do is make sure that when I don’t have mascara on that I also don’t have makeup on. It can be hard to see my lashes with I have dark eyeliner on. Regardless, you can see minimal growth here. It seems as though my lashes are the tiniest bit longer and thicker, but it’s really hard to tell. I remember the 4 week mark with Lash Boost was the same too.

8 WEEKS – AFTER PHOTOS – For this progress check-in, I took my photos the right way with no mascara/makeup and then mascara but not much makeup, so that it’s easier to see the lashes. Again, it’s hard to see a drastic change, which is what I started to see with Lash Boost at this point in time. I do notice in the photos of my lashes without mascara, that my lashes are actually darker and thicker before putting on mascara. Also, there are certain areas in my brow that are starting to fill in thicker and overall it seems as though my brows are more dense. 

12 WEEKS – FINAL PHOTOS –  Lash Boost does. At week 12 Lash BoostAt the end of the 12 week challenge I would say that my lashes are not exponentially longer or drastically thicker, however I do notice that my lashes without mascara are darker throughout the full lash. Plus, you can see that the little lashes when I started have grown longer, which is creating more fullness with more lashes overall that are longer. My brows are started to get little hairs to grow in the areas they haven’t grown in a long time. They aren’t to the length or thickness of some of the other hairs, but at least it’s a start. I will say that while LashFood is healthier for your lashes, it doesn’t have the rapid growth that LashBoost had. At week 12, my lashes were basically touching my eyebrows at some points, but I noticed that my lashes were at varied lengths and starting to point in crazy directions. Plus, I kept asking myself, how much am I really willing to risk for long lashes? I’ve heard those freak incidents where someones eye color changes or all of their lashes fall out because they can’t support the weight of the lashes, but my concern is actually if a product will impact my eyesight. Also, there’s the cost factor too; Lash Boost is around $150, but you have to know someone to order it for you and it’s on a reoccurring monthly ship program. LashFood is $78 on Sephora and BrowFood is $88 on Sephora. Either way, my LashFood and BrowFood has lasted a long time, so I’m going to continue to use it when I remember and at the very least it will allow me to add some extra nutrients to my lashes and brows. I see it like a conditioner to keep my lashes and brows strong and healthy. It will only work for as long as I use it, so if I stop my lashes will eventually fall out and go through their growth cycle and return to how they were before.

Author

Write A Comment