INTRODUCTION
A little over a year ago my eyes were opened to all of the daily products I use that are hiding gluten. These products aren’t only hiding gluten in the ingredients, but also from cross contamination during production. It’s wild how many companies actually don’t know about the contaminants in their facilities and manufacturing lines. I found that if there is a company that has certified gluten free products or if they have statements published on their website or readily available via email about gluten free ingredients and procedures in place for gluten free production, then I as someone with celiac disease feel safe enough to use their products. Sometimes there aren’t companies like this for every product you’ll need in the near future. Hopefully this is something that becomes more regulated down the road, but for the time being I am happy to take matters into my own hands and DIY my own products with clean ingredients that I trust. I mean, I won’t be making my own toothpaste any time soon, but thankfully that is one product that I’ve found to be certified gluten free. I wanted to share that in case you’re wondering why I have so many DIY blog posts for products that you can easily purchase at the store. (Another reason is because there are many products with hidden and harmful chemicals, but we’ll tackle that topic another day! Or you can read more on my blog post about my favorite non-toxic cleaning supplies.)
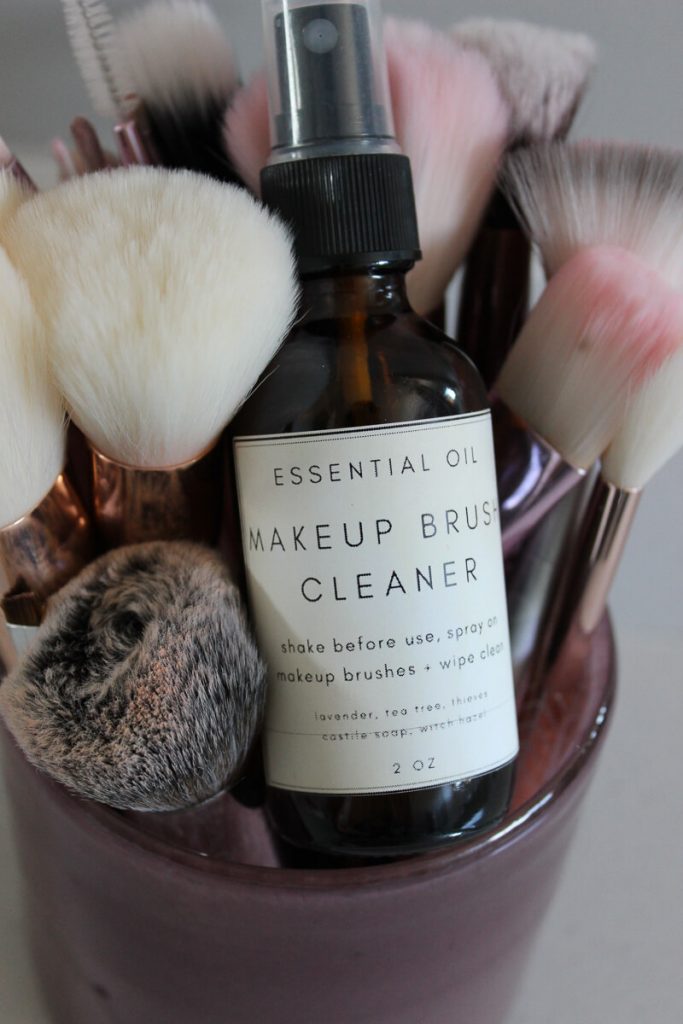
Back in February, I wrote an expose about the make-up industry and false claims for gluten free products. Okay, I’m being dramatic – I wrote a blog post that shared my research about several mainstream makeup companies that say they have gluten free products however these claims are solely based on the ingredients. When I emailed them to confirm gluten free testing or to ask about their production procedures to ensure no cross contamination, they shared that they do not test or use clean production so they would not someone like myself to use their products. It was super disappointing and I went through drawers and drawers of makeup and offering it to any friends who aren’t concerned with products containing gluten. I spent several hours creating a spreadsheet to track my findings, back and forth on email, and scouring websites. After all of that work you better believe that I’m not going to let my newly purchased gluten free makeup become contaminated by dirty brushes or God forbid makeup cleaner containing gluten ingredients or contaminates! Not to mention the several dermatologist appointments and treatments I’ve done in the past 9-months to help my skin get back to a healthy composure. So, I decided to make my own makeup brush cleaner and buy all new brushes that have only touched gluten free makeup!

MY FAVORITE MAKEUP BRUSHES + RECOMMENDATIONS
I don’t love purchasing new makeup brushes because they can be pretty expensive and honestly I’d rather spend my money on the actual makeup. My goal when purchasing brushes is to get high quality brushes that will last a while and to purchase in a set so that I can bundle savings. At this point in my life I’m fairly familiar with what kind of brush does what and what I prefer, so I’ll research the best brush set for my needs and if there is one or two specialty brush that are missing I’ll purchase that separately.
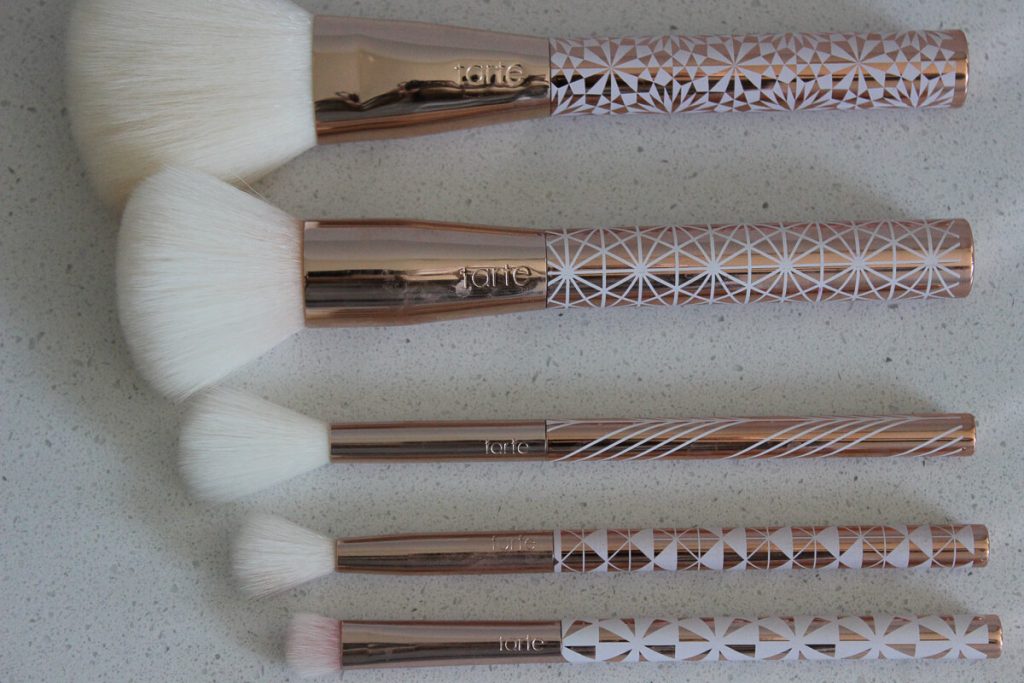
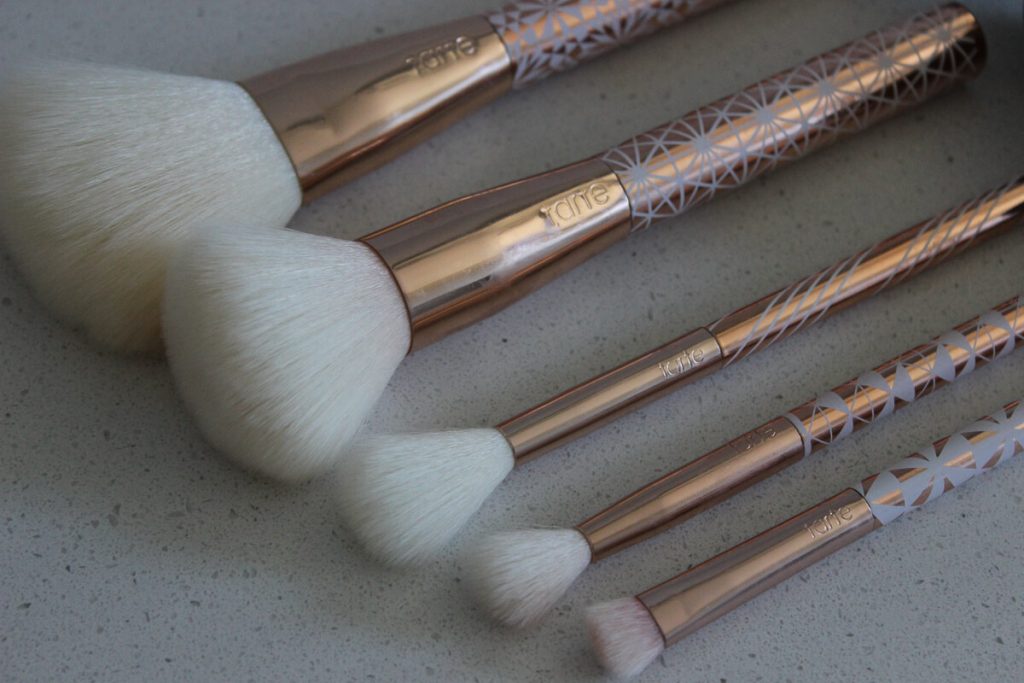
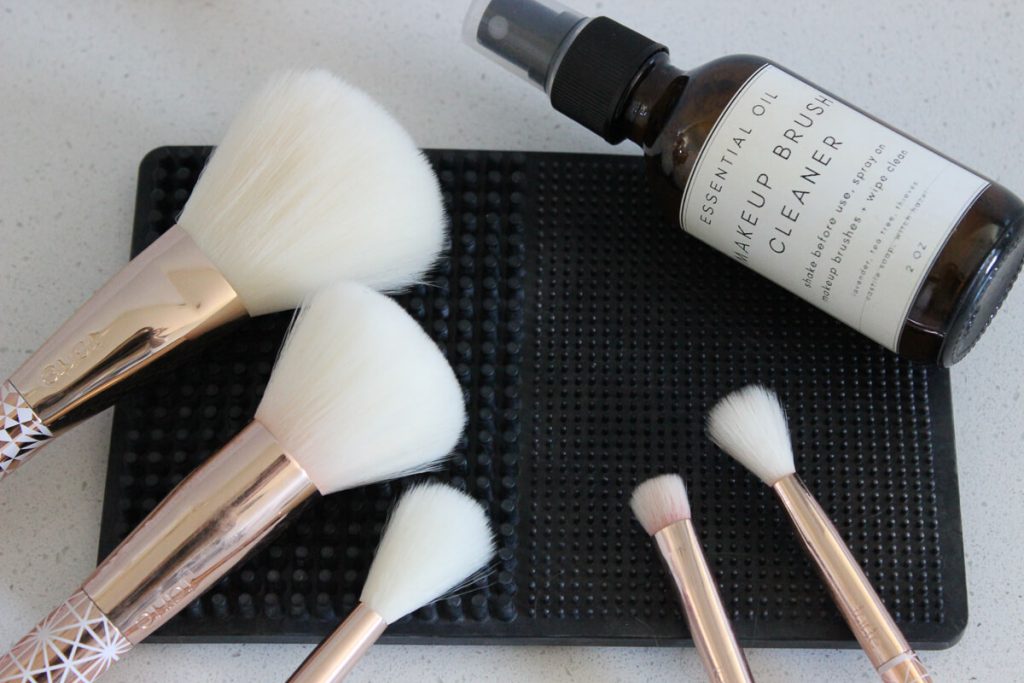
Personally, I love makeup brushes from Tarte (here’s a kit similar to mine). They have awesome sets, especially around the holidays that are super cute and at a great price. The kit I purchased last holiday came with a face powder, brush, highlighter, eye shadow blender, and an eye shadow flat brush. I was basically all set for replacing all of my brushes and only needed a bronzer, eye brow and eye liner brush. I also really like Sephora’s brushes that are sold individually because they’re a great price point for that one off brush you might need that is not included in the set. A few of my favorite Sephora brushes for Lips, Shadow, and Blush. Last but not least, Morphe brushed are amazing too. I actually found out about Morphe because of their brushes originally and it wasn’t until later that I realized they also sold makeup. I’ve never seen a bronzer brush so big and full than this Morphe Glamabronze Brush! To clean my brushes with my cleaner, I use a black mat that suctions to my sink. It’s so perfect because there are larger bristles and smaller bristles on either side depending on how big the brush is that I’m cleaning.
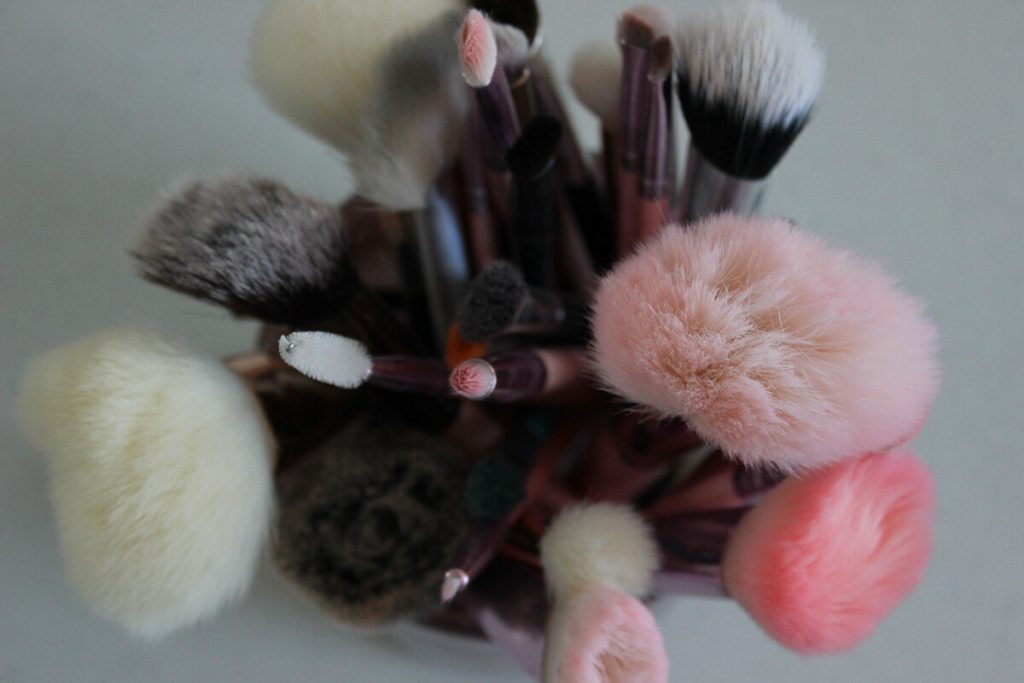
Another brand that I trust is Young Living. I have not used their makeup products, but I’ve heard incredible things from friends. If you’re a Young Living customer or are interested in becoming a member they sell makeup brushes are made in Italy and I’ve been told that they are some of the finest quality you’ll find anywhere. A friend actually told me, “they feel like unicorn kisses gracing your face!” Of course like any makeup brush, they can be a breeding ground for bacteria, so be sure to clean your brushes every week or so to keep your skin (and brushes) looking their best! Whether you prefer DI-Buy or DIY, there’s a product just for you for the makeup cleaner.
IF YOU’D RATHER DI-BUY THAN DIY
IF YOU’RE UP FOR A LITTLE DIY
Below are my tips and tricks for the DIY cleaner whether you prefer to spray on to your brushes or dunk your brushes into a bowl of cleaner instead…
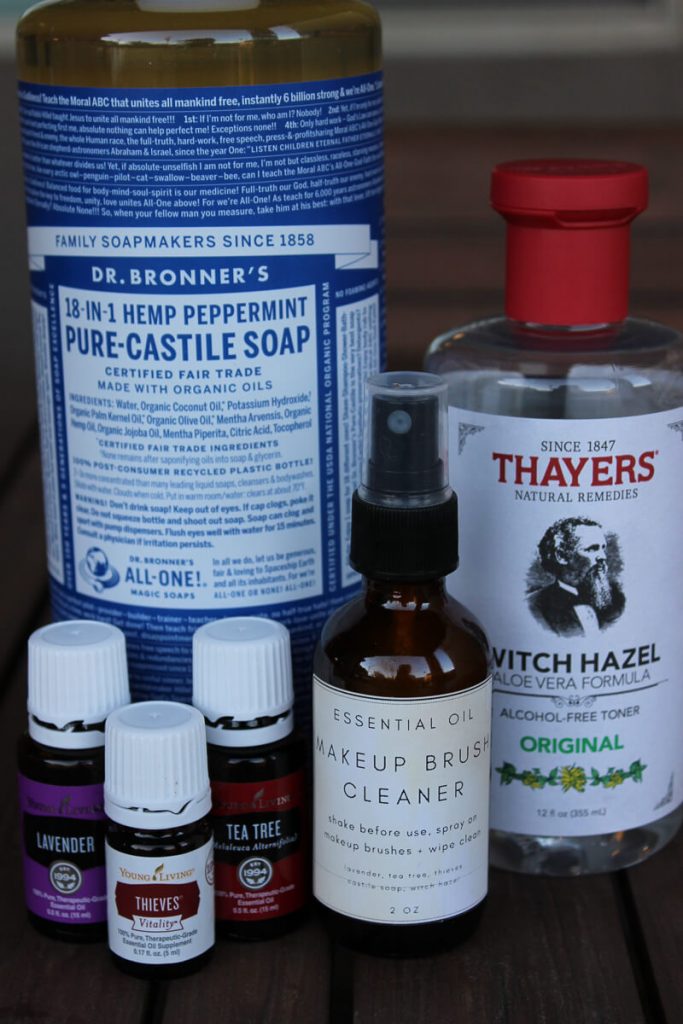
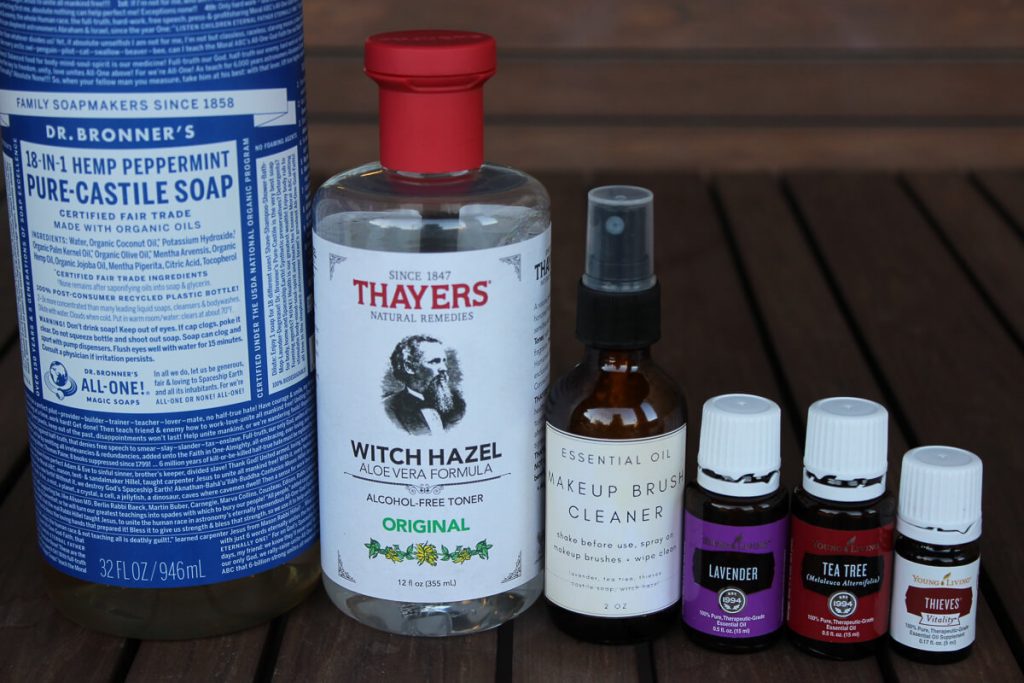
SUPPLIES
If I knew how easy it is to make your own makeup brush cleaner and other essential oils products, I would have started a long time ago. Especially since it’s so easy to refill your spray bottle instead of running out to the store when you run low. I’m part of a Young Living community on Facebook that is over 19 thousand different members who have all been using essential oils for years, so it’s great to connect and learn about the various uses and combinations that I can make. In Facebook Groups there is a search bar that allows you to type in a topic or keyword and it pulls up any related posts, discussions, photos, files, etc.
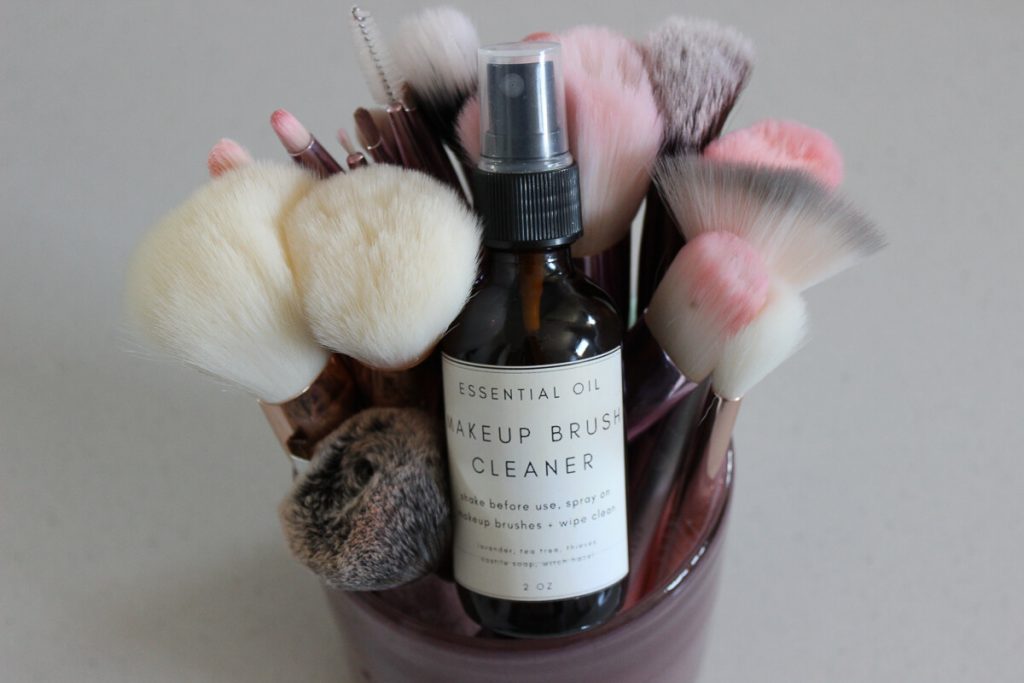
Vessel: I find all of my supplies on Amazon like the vessel that you put the product in. For this product, I used a 2 ounce glass spray bottle because it’s super easy to spray on the brushes after using them or at the end of the week when all of my dirty brushes have accumulated. You can always double the recipe for a larger bottle like 4 ounces, 8 ounces or larger depending on how often you clean and how much cleaner you use. Another option is making it into a mason jar and pouring out a little at a time into a bowl so you can actually dunk your brushes into the cleaner. Also, when using essential oils, the darker the glass bottle the better in order to preserve the essential oils. I typically always use dark amber bottles. Some people use dark blue, or dark green too. There are a ton of cute bottles that are clear, white, or another color, but if you use those bottles make sure that you’re using all of the product between 3-6 months. I’ve linked both bottles to my Amazon Storefront in the “EO Recipe – Makeup Brush Cleaner” Idea List for easy shopping.
Labels: Another item I use for each of my DIY essential oil products is water-proof labels that I can print at home. I’ve found that 2″ square labels work best for 2 ounce and 4 ounce bottles. They also fit 1 ounce bottles, but you might want to trim the edges. You can always purchase labels on Etsy that are already designed and printed for you, or even purchase only the design and still print at home too. However, I find it more cost effective for me to create a basic design on Canva (free website) and use the easy online print template that the label company offers. I make so many labels and different mixtures that I’d spend a fortune on Etsy. Plus, I like to include the name of the mixture, the ingredients in the mixture, and the size of the bottle so that I don’t forget what I’m using. This makes it much easier when it’s time to refill the bottle too.
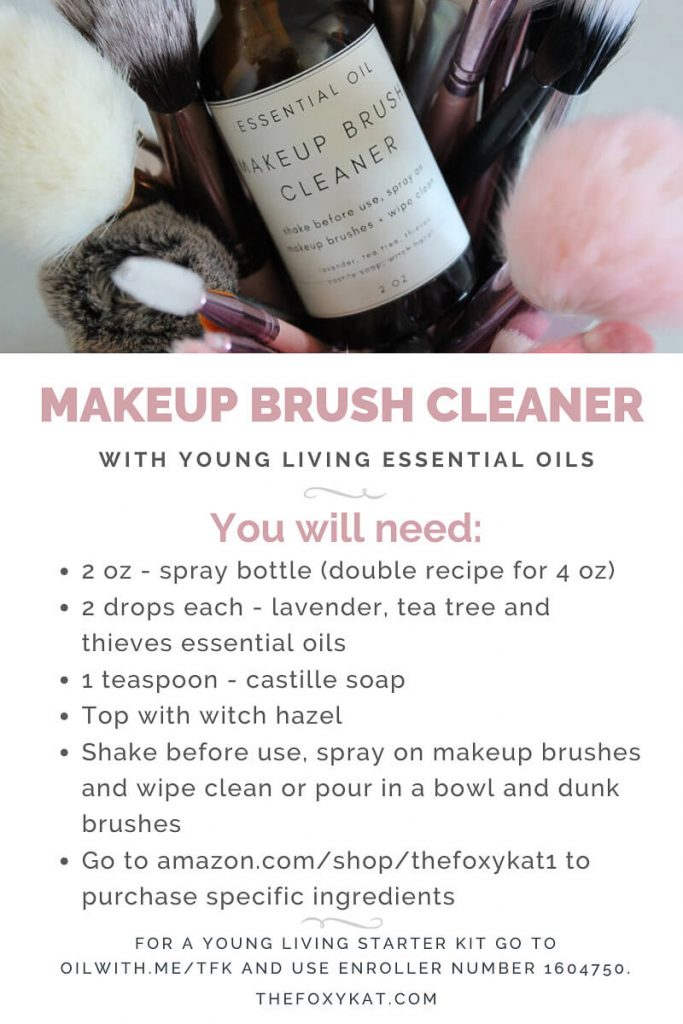
Download the image below for a quick and easy recipe card!
WHERE TO PURCHASE YOUR ESSENTIAL OILS
If you’re not sure where to purchase your high-quality essential oils from, I recommend Young Living! I’ve been using their oils for 6-years, but recently got into making my own mixtures when I found out that I’m allergic to many of the hidden ingredients found in beauty and household products – the main one for me is gluten! To read more about why I love and exclusively use Young Living oils, read my blog post titled, “Why I’m Using Essential Oils from Young Living“.
A few other reasons why I love Young Living…
- The online community! I have received so much guidance and easy information from this community that it makes learning about essential oils and their benefits fun! Anyone who purchases a starter kit from our community is automatically added via Facebook, which allows you to search and have access to so much great info. If you’re already purchasing Young Living products, but don’t have access to these resources, I can definitely help you to access them through your next order.
- Rewards program for free products! Young Living has a program called Essential Rewards (ER) that allows you to earn points towards free product if you place a monthly order that is at least 50 PV, which equals roughly $50. You can always stop and pause the program at anytime. If you’re already purchasing Young Living products, but are not taking advantage of the free gifts through ER, let me know and I can help you get your account set-up to earn points.
- Premium Starter Kits! The premium starter kit options that Young Living offers have the most popular oils at a drastic discount along with other goodies. You can select between a few different options based on whether or not you want a diffuser, cleaning products, etc. Plus, it allows you to receive wholesale pricing for the whole year without another purchase. At the end of your annual membership, a 50 PV purchase will renew your wholesale pricing. To view all premium starter kits, go to oilwith.me/tfk. If you’re purchasing products online at retail cost, I’d be happy to help you take advantage of the special wholesale pricing that members receive.
WELCOME GIFT!
All new members who sign-up with a premium starter kit and activate their Essential Rewards membership with me will receive a free gift valued at $15-25. I’m happy to customize this gift to fit your needs and I have some examples saved to my Amazon Storefront Idea List called “Essential Oils – Accessories + Welcome Gifts“. I want you to receive a gift that gets you just as excited about your oils as I am about mine! Plus, I want to gift you something that you’ll actually use. Let me know if you don’t see something that accomplishes that for you and we’ll create a gift package together. Here are some welcome gift examples:
- Brush kits or makeup kits within the free gift value. I’ve linked my favorites from Sephora, Tarte and Morphe, but am open to another brand that you prefer.
- Small diffuser in case you want a secondary one or in case you are purchasing a starter kit that does not come with a diffuser. I have a secondary diffuser next to my bed that is small enough so only I can smell it and my husband does not. I also have an old diffuser in my office from the first premium starter kit that I purchased 6-years ago. Another diffuser I love was purchased at Target and it’s cordless, so I take it outside to keep the bugs away! Target’s diffusers are so cute too – so if you see one that is within the free gift value I’d be happy to send one to you instead.
- Bottles of witch hazel and castile soap along with a 2 ounce spray bottle or a mason jar (depending on your preference) that contains the recipe amount of tea tree essential oil and a label – you would add the lavender and the thieves once you receive your starter kit!
- Essential oils book for how to use oils with babies/kids, pets or how to use essential oils in general.
- Hanging diffuser that you can use in your car, closet, etc. and/or a handmade oils travel case along with 10 ml roller bottles to fill it with. My favorite accessories are from BaggageandCo on Etsy!
- Or if you’d rather have the ingredients or supplies to make one of my other recipes that I’ve shared, please let me know that too!
Please comment, email, or DM me with any questions – or if you’re ready to sign up as a new member with a premium starter kit, wholesale pricing, and Essential Rewards, go to oilwith.me/TFK!