Aaron has a good friend, Gabe, who works for Metro Cleaning Co and has deep cleaned our carpet and tile in both houses along with other family members homes too. We’ve always wanted to do epoxy on our garage floor and now seemed like the perfect time! Although I didn’t see much information on their website about their epoxy clients it’s a big part of their business and very popular for inside homes as well as garage floors. We had an idea of what we wanted, but after looking through a few different client photos we were able to narrow down the exact look we had in mind. Although, you could probably guess from our simplistic nature we went with a grey marble metallic color and treatment.

More information about Gabe and Metro Cleaning Co is at the end of this blog post, but it’s recommended to call 623-516-7771 for a quote. Please let them know that Aaron and I referred you! 

WHAT IS EPOXY FLOORING?

Epoxy flooring is made up of epoxy resin which is used in building and construction applications. Epoxy resin is used in the manufacturing of not only flooring, but also adhesives, plastics, primers and sealers, etc. More information can be found on buildingwithchemistry.org.

DAY 1 – PREP WORK

After Aaron cleaned out the garage, Gabe came over to clean and prep the concrete surface. Depending on how old your garage floor or where ever the concrete flooring is that you’re applying an epoxy coating to, you might need sanding and/or acid etching done. After that imperfections like holes, or cracks will need to be filled to create an even and flat surface.

Before
Day 1 - Prep
Day 1 - Cleaning
Day 1 - Sanding

WHY DO PEOPLE PREFER TO EPOXY THEIR GARAGE FLOORS?

I hate to admit this, but I wanted to epoxy our garage floor because I think it looks really nice. I hate the tire marks from our cars and oil spills on the original concrete and my goal for adding epoxy was to improve the over look and help our garage look more uniform. Of course, there’s multiple reasons then appearance for why people add epoxy flooring to their garage. A few of my favorite advantages for epoxy floor coating are below, but you can see more at thebalancesmb.com.

  • Creates a strong, hard-wearing and durable surface
  • Little to no maintenance that lasts many years
  • Resists oil and water stains 
  • Easy application process with Metro Cleaning Co
  • Less expensive compared to other floor treatments

DAY 2 – APPLY PRIMER BASE COAT

Now that the concrete surface is prepped and ready to go, the primer base is then applied. You can see in the images below, the primer base looks like an opaque paint. The color we chose looks like a blue hue of grey. You can see the supplies that were lined up before Gabe started working too. He has special shoes that allow him to walk on top of the floor as he’s applying the primer and later applies the epoxy. After the primer is applied, we allow it to dry and set before the next step.

Day 2 - Primer Base Coat
Day 2 - Primer Paint Color
Day 2 - Epoxy Supplies

ARE THERE DIFFERENT EPOXY FLOORING STYLES OFFERED?

Yes there are multiple epoxy flooring styles and options offered. I mentioned before that we went pretty simplistic and safe with our design, but you really can dream up some pretty wild and out their designs. With the metallic you could add in white or black to add depth and dimension to any primer color to create a cloudy effect. You can forgo the metallic look and add specs instead, which is actually less expensive than the metallic version. For more epoxy flooring inspiration, check out my Pinterest board

DAY 3 – METALLIC APPLICATION (PART ONE)

The photos below are after the first coat of metallic epoxy, which was applied a day after the primer paint was applied so that the primer had enough time to dry, You’ll notice streaks in the first application as the goal is to cover the surface. Also, you can see the imperfections after the metallic is applied too. Imperfections occur if the floor isn’t prepped correctly and/or all debris isn’t completely removed. Imperfections in a garage is extremely common as you’re fighting the elements of wind, dust, etc. However, in a house it’s easier to prevent imperfections since it’s a controlled environment, so it’s not common to see these imperfections when applying epoxy to basement or living room floors. The imperfections that you see here are called fish eyes.

Day 3 - Metallic
Day 3 - Imperfections
Day 3 - Metallic

IS EPOXY FLOORING BENEFICIAL FOR ALL CLIMATES? 

I live in Arizona where epoxy might not be as common for garage floors as somewhere in the midwest. In the midwest an epoxy floor would be done in the garage to protect against weather. Rain, snow, sleet, etc. can stain garage floors and the winter salt can damage the actual concrete. Having an epoxy flooring is a must in regions with that type of weather. Something to think about is the metallic epoxy, which can be slick when wet versus the specs or flake design garage epoxy which is less slippery. If it rains we’ll be very careful when walking from our cars in the garage to inside the house, but this is not something that is a great concern to us in Arizona.

DAY 4 – METALLIC APPLICATION (PART TWO)

After allowing the metallic application to sit a full day, Gabe started with a sanding to remove debris and imperfections from the dust settling while it was curing the day before. The images below show how the floor looks after the sanding and how the debris is removed. After that step, Gabe created a design and dimension with the metallic coating to give it a cloud-like appearance.

Day 4 - Sanding
Day 4 - Sanding
Day 4 - Sanding

ARE THERE ANY DISADVANTAGES OF EPOXY FLOORING?

Of course there are pro’s and con’s to any decision you make, so understanding how these pro’s and con’s will impact you is crucial for making the best decision for you. A few of the most critical disadvantages for epoxy floor coating are below, but you can see more at floortechie.com. Understand that we weighed the con’s and in our opinion the pro’s and the cost of the application well outweighed the con’s, but that is a completely personal opinion for us and our needs.

  • UV rays and sunlight is harmful to epoxy flooring, so you do not want to apply it to an external location otherwise it will need to be replace rapidly.
  • The fumes during application are unpleasant and can impact the area of your home that it’s being applied to for the entire amount of application time. Once the floor is cured there are no fumes.
  • The process is not an easy DIY project. I highly recommend having this done by a professional. You can purchase a kit from a home improvement store for a few hundred dollars and hiring a professional can cost anywhere from $1200 to double that amount depending on what process you want done and how much repair or prep work your concrete needs.

DAY 5 – CLEAR COAT

The last day of epoxy application is applying the clear coat on top of the metallic. I wasn’t sure what images were after Day 4 (the second day of the metallic application) and which images were after Day 5 (clear coat) because they essentially look exactly the same. The clear coat is key to making the flooring stronger and more resistant, but the look does not change from Day 4.

Day 4 & 5 - Metallic & Clear Coat

HOW MUCH PREP WORK OR POST WORK NEEDS TO BE DONE BY THE HOMEOWNER?

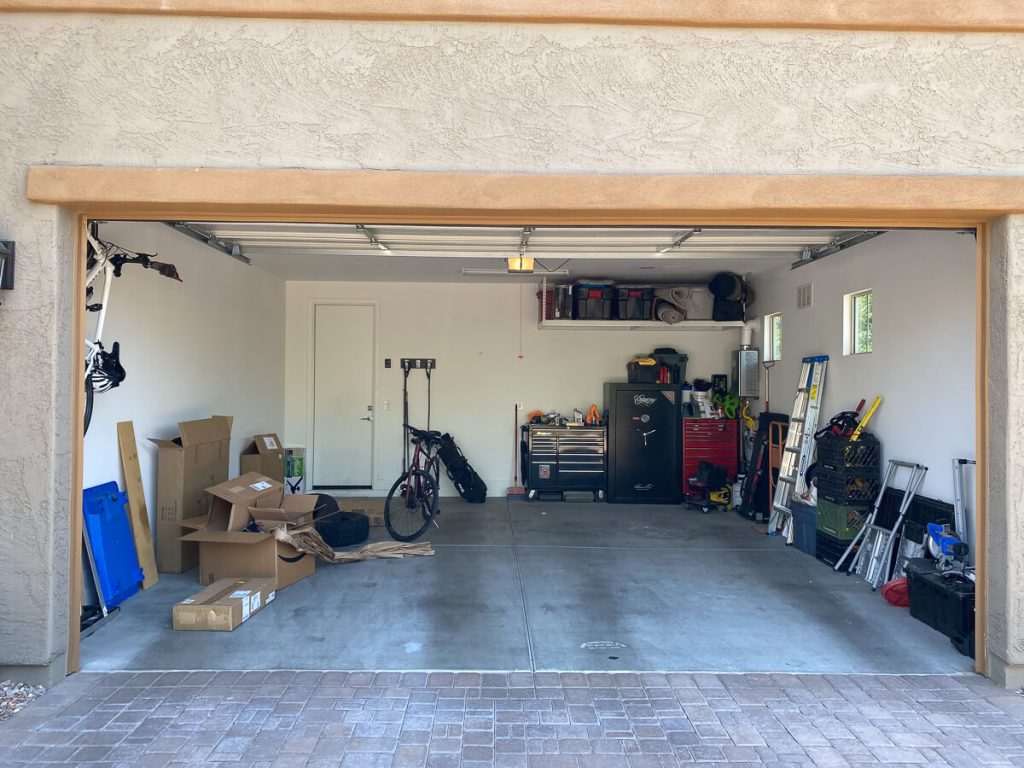
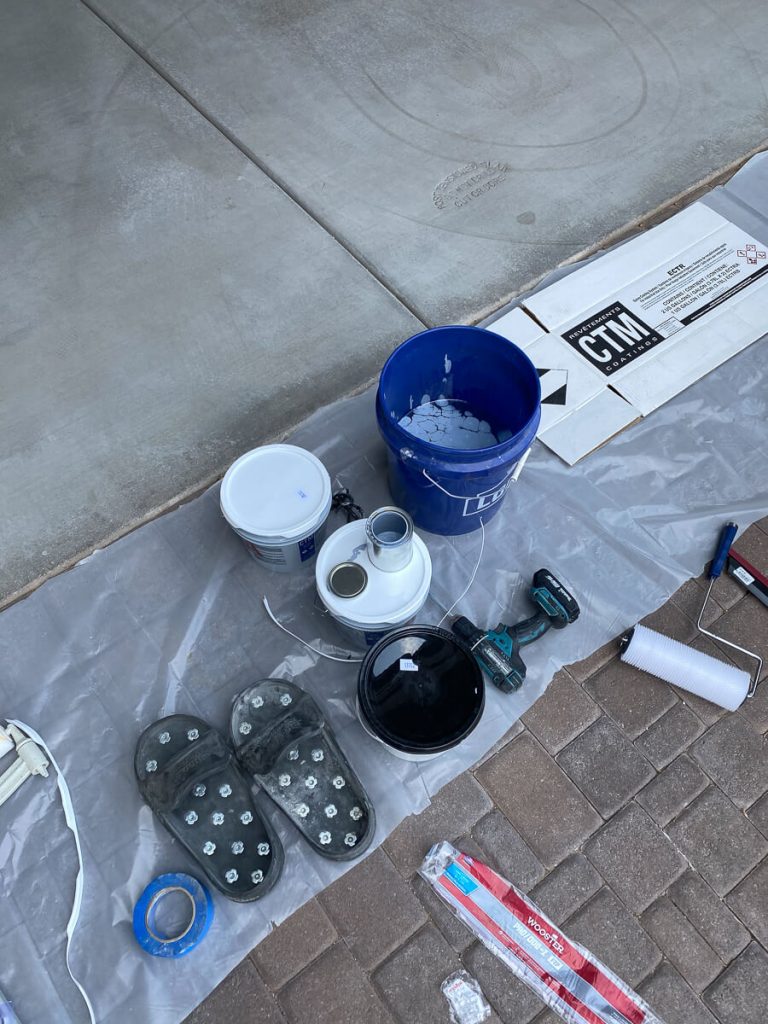
The prep work that the homeowner needs to do before the epoxy flooring process starts is mainly moving your items out of the garage. For example, we had storage bins, tool boxes, bikes, etc. that we moved inside of the house while the epoxy process was taking place. Afterwards, the post work that we wanted to do, but is not necessary is painting the baseboard trim and walls, along with moving your items back into the garage. 

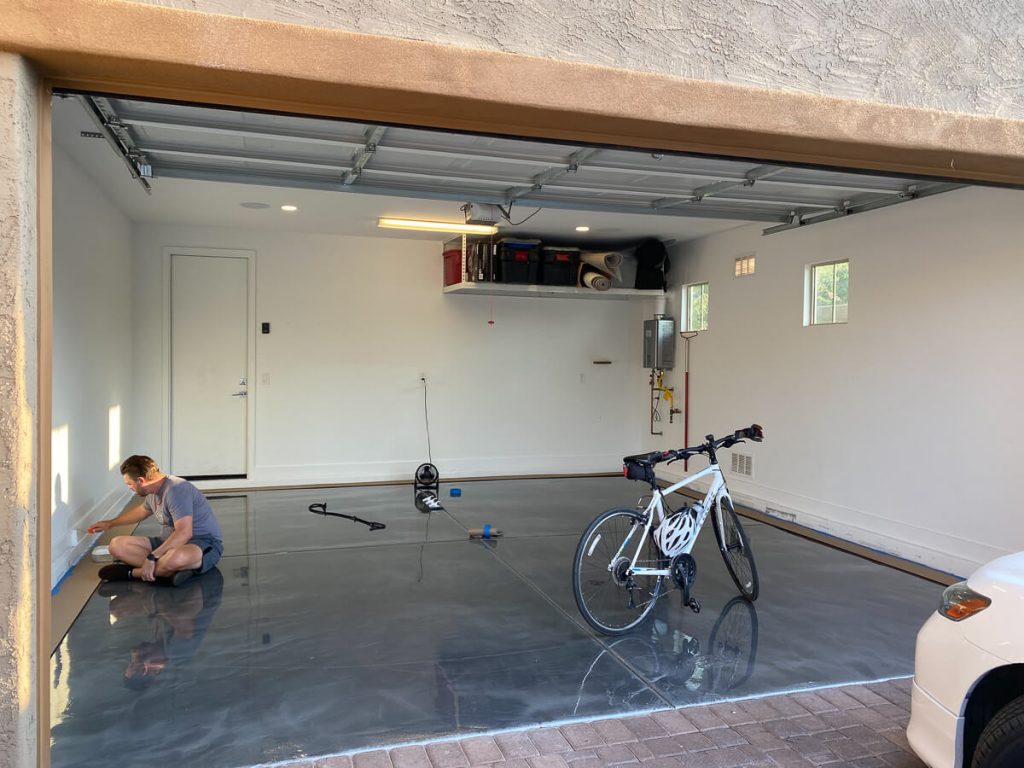
DAYS 6, 7, & 8 – PAINTING WALLS & LETTING EPOXY SET

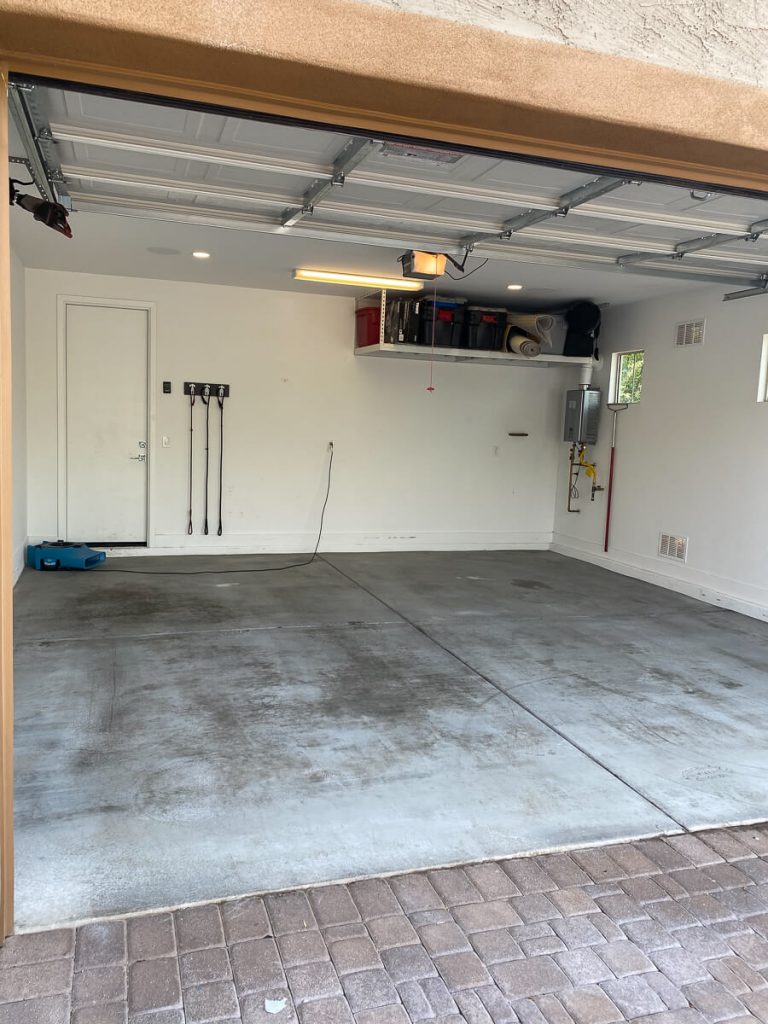
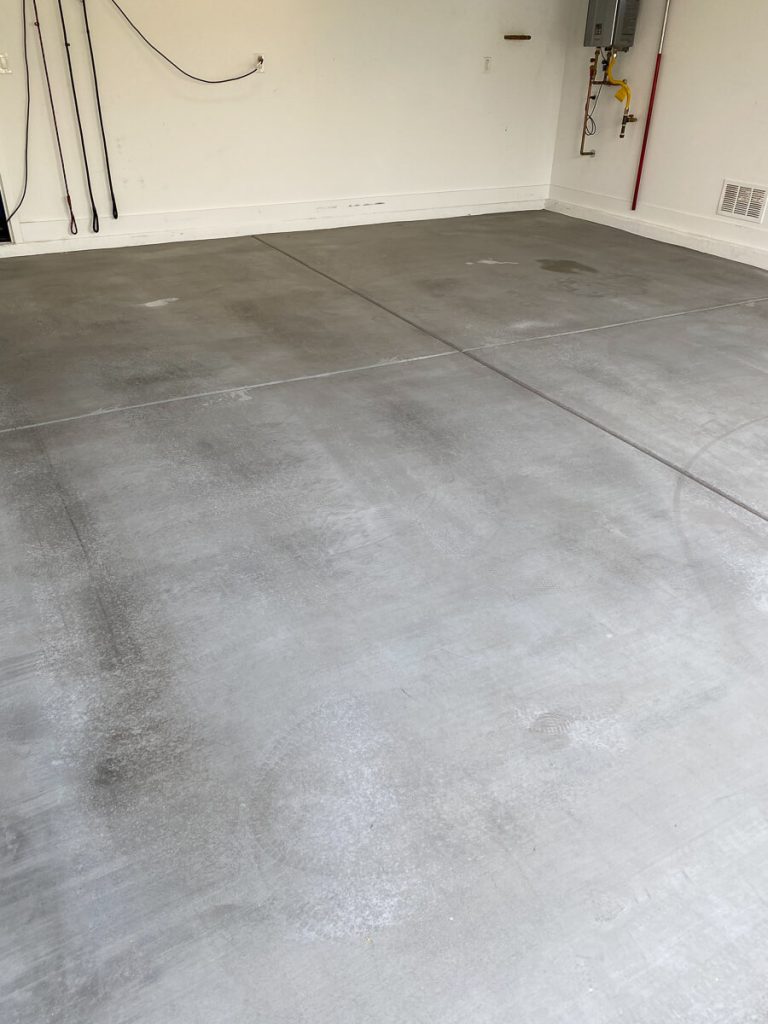
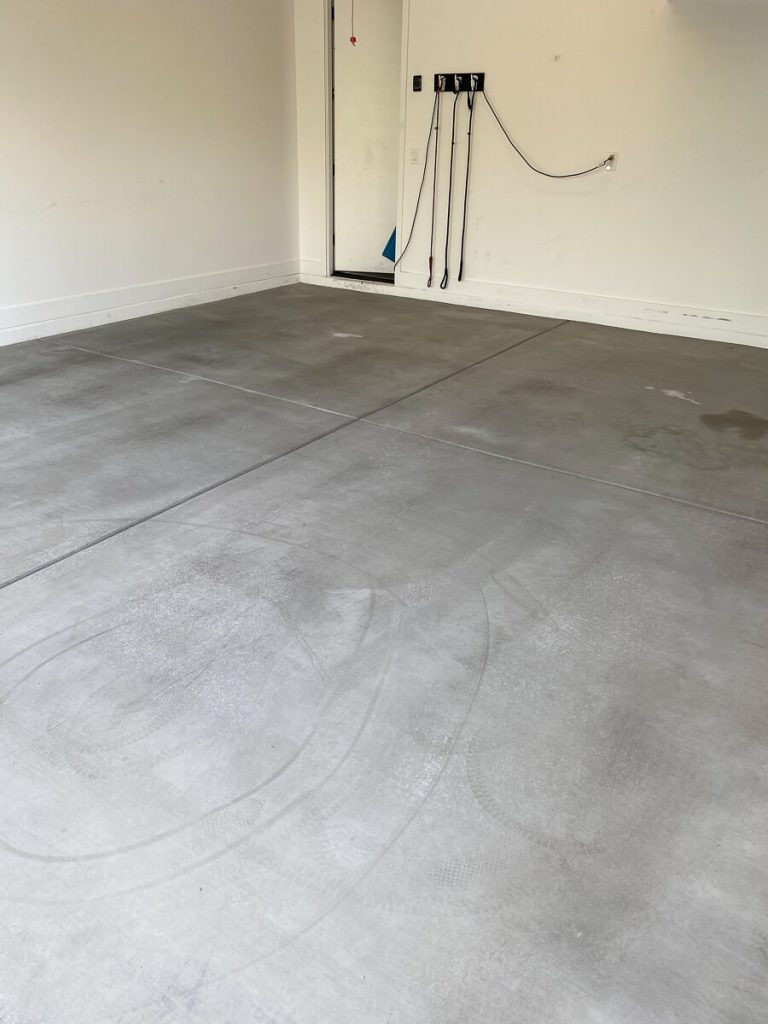
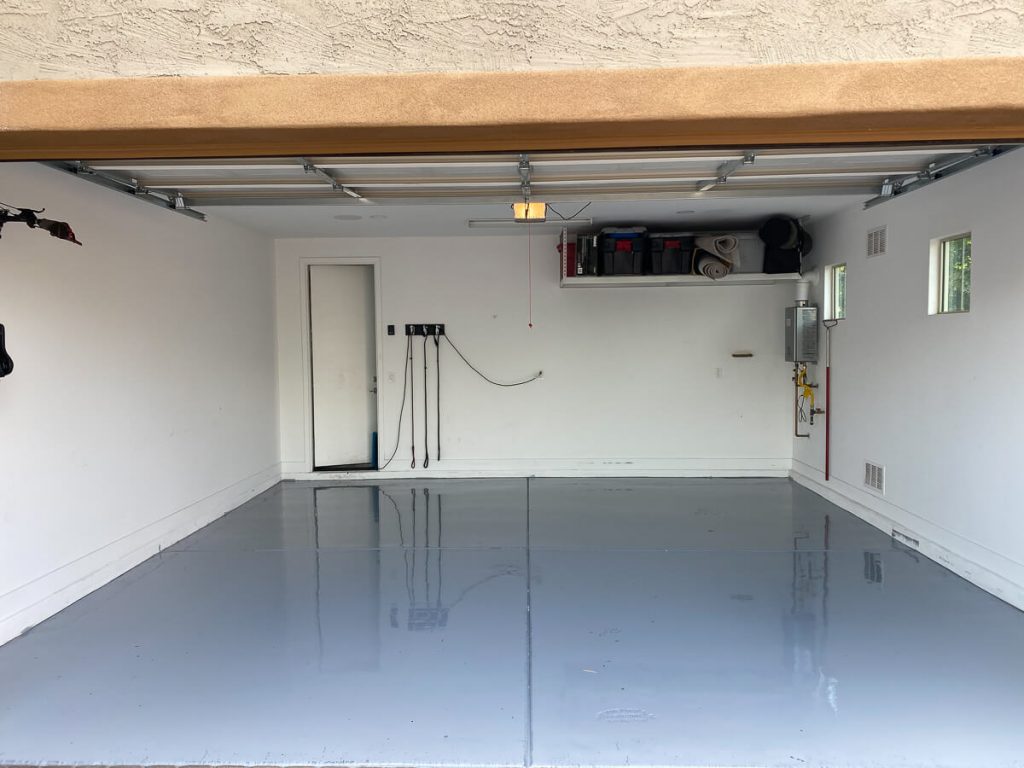
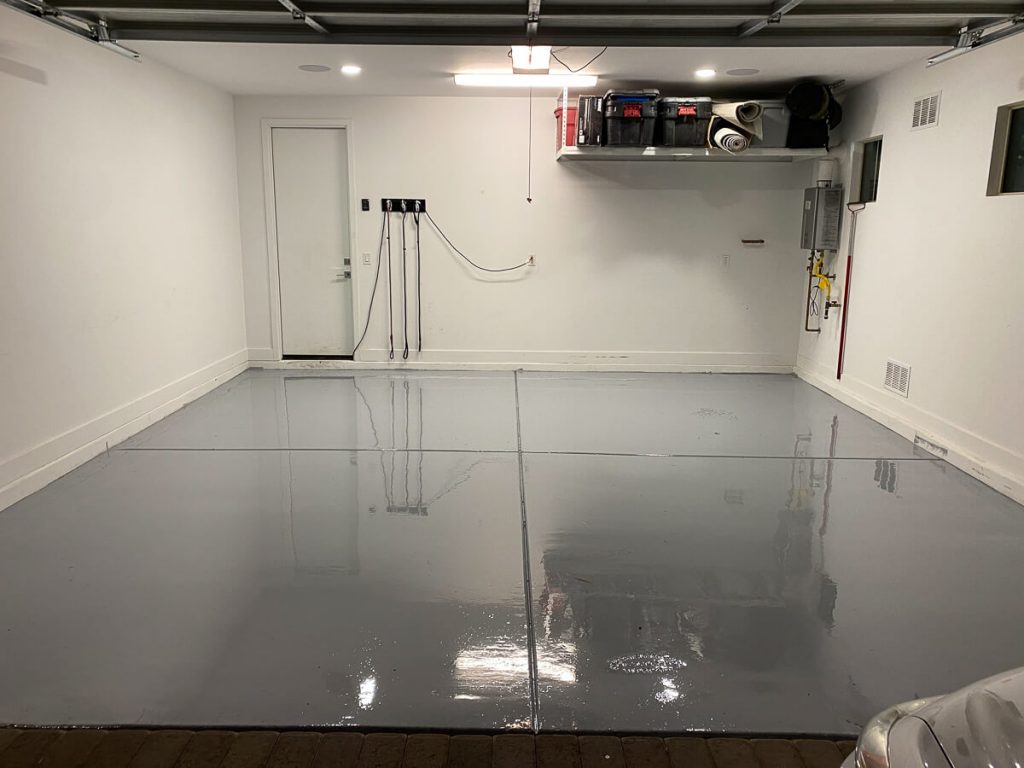
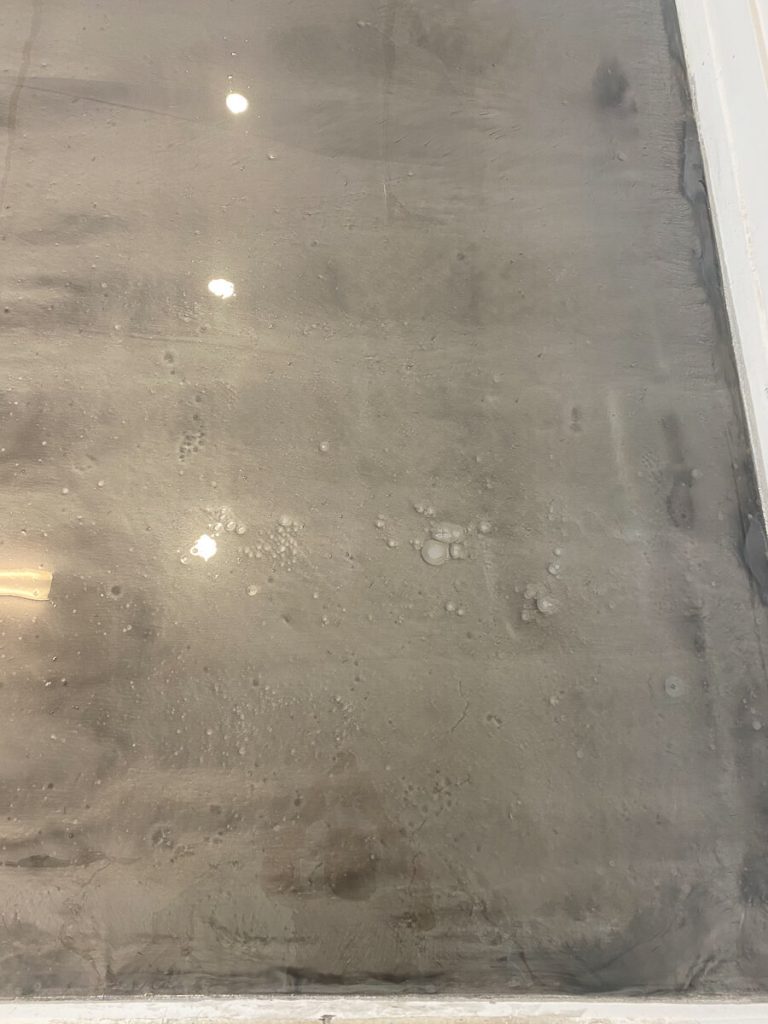
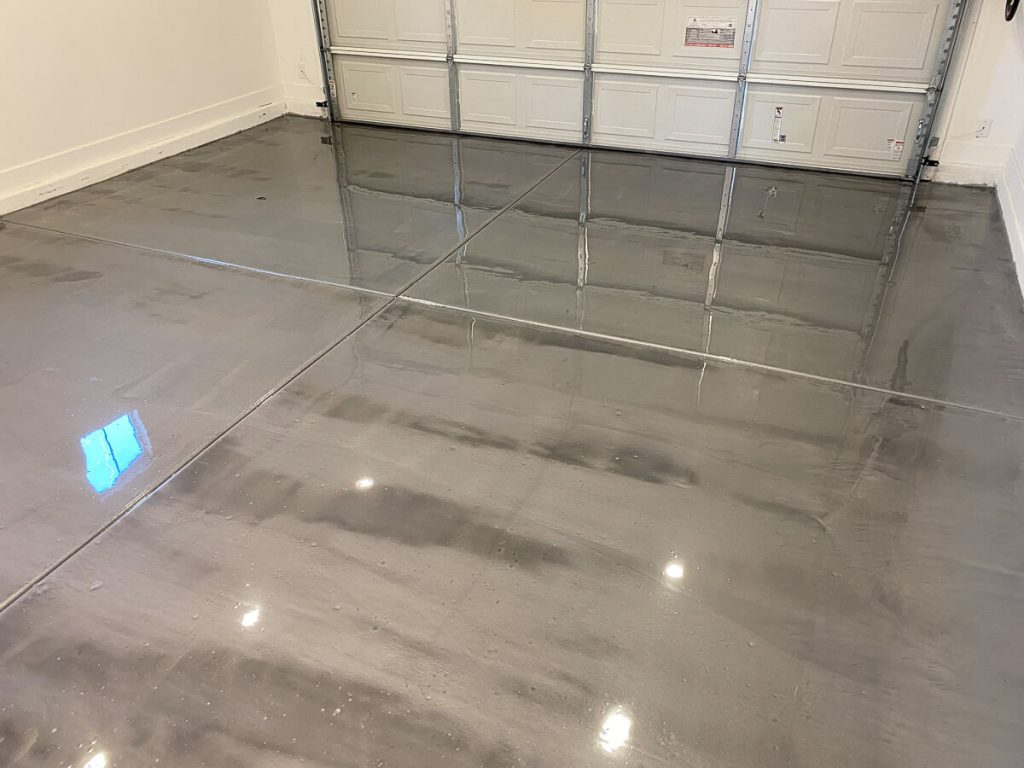
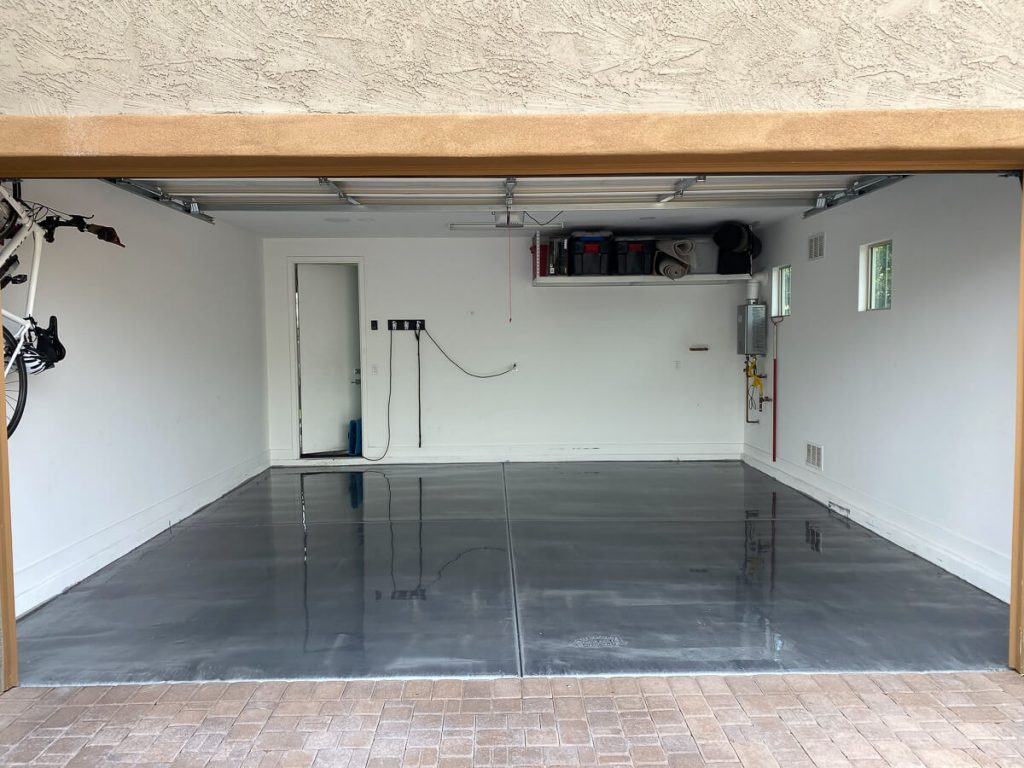
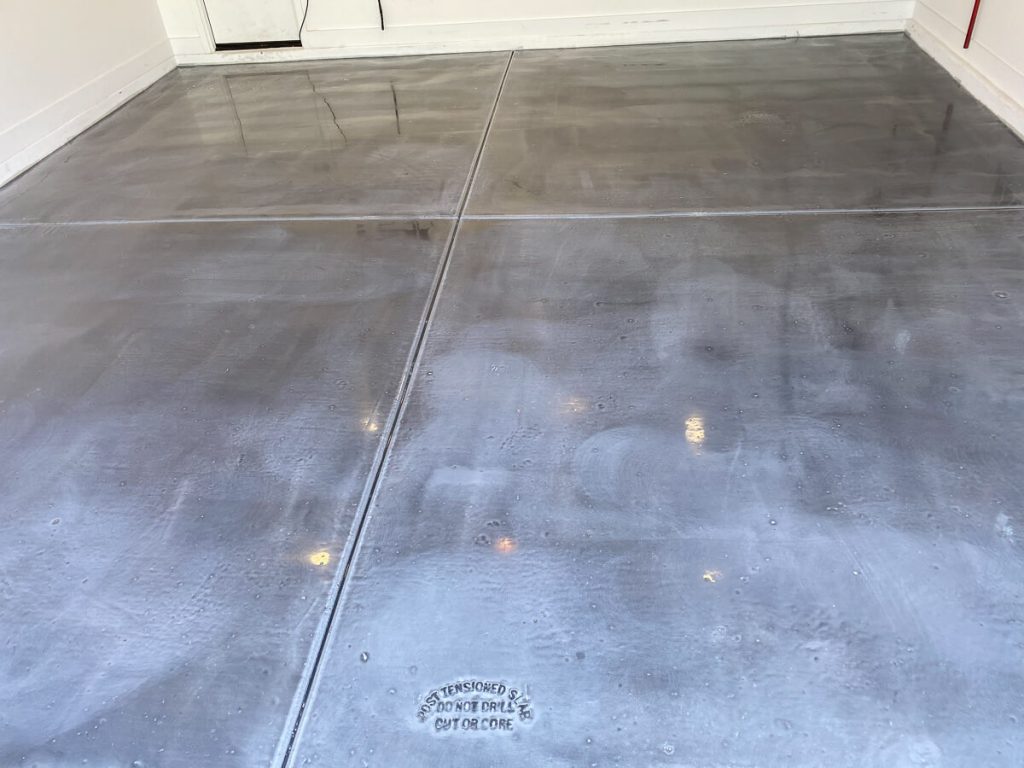
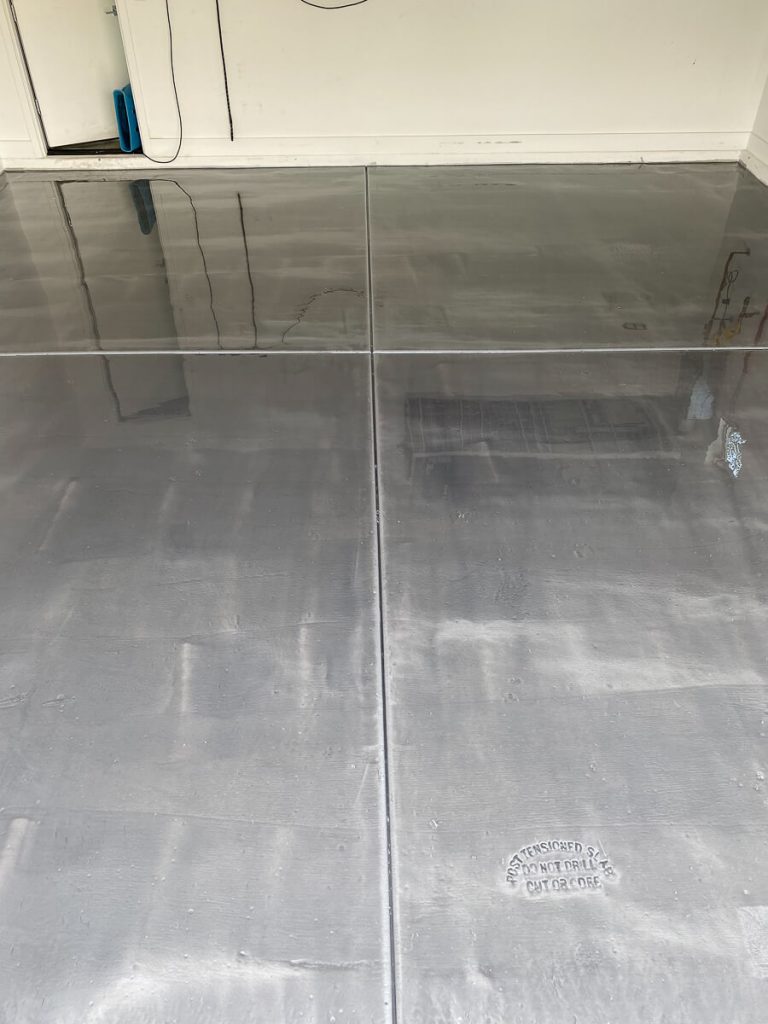
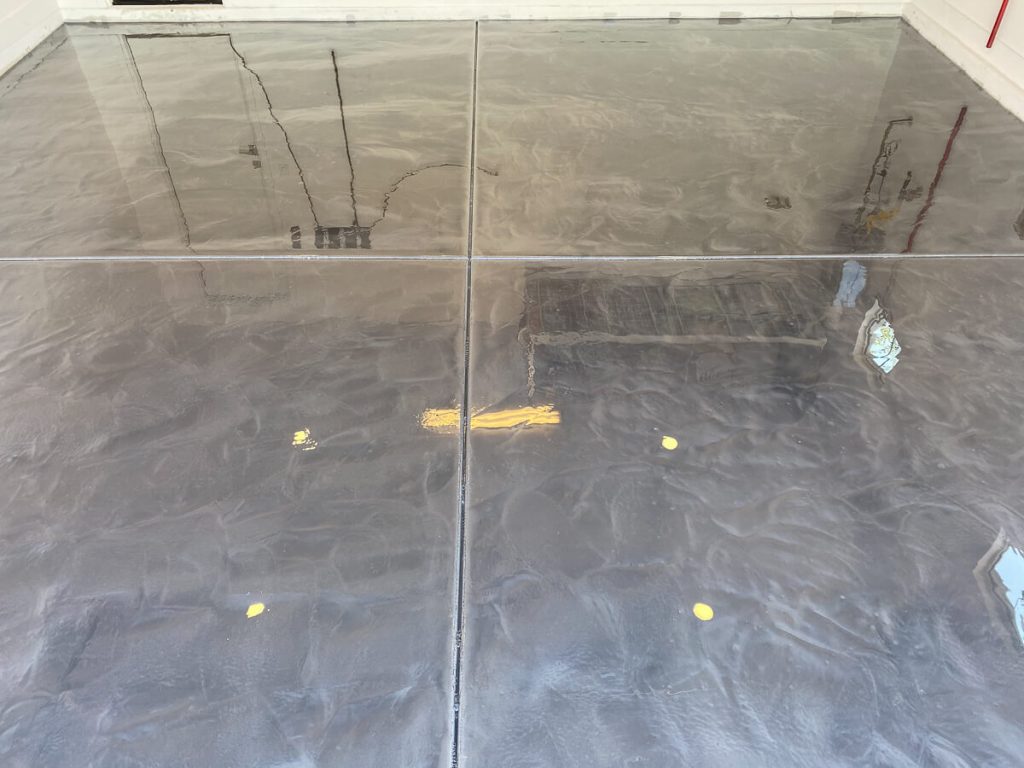
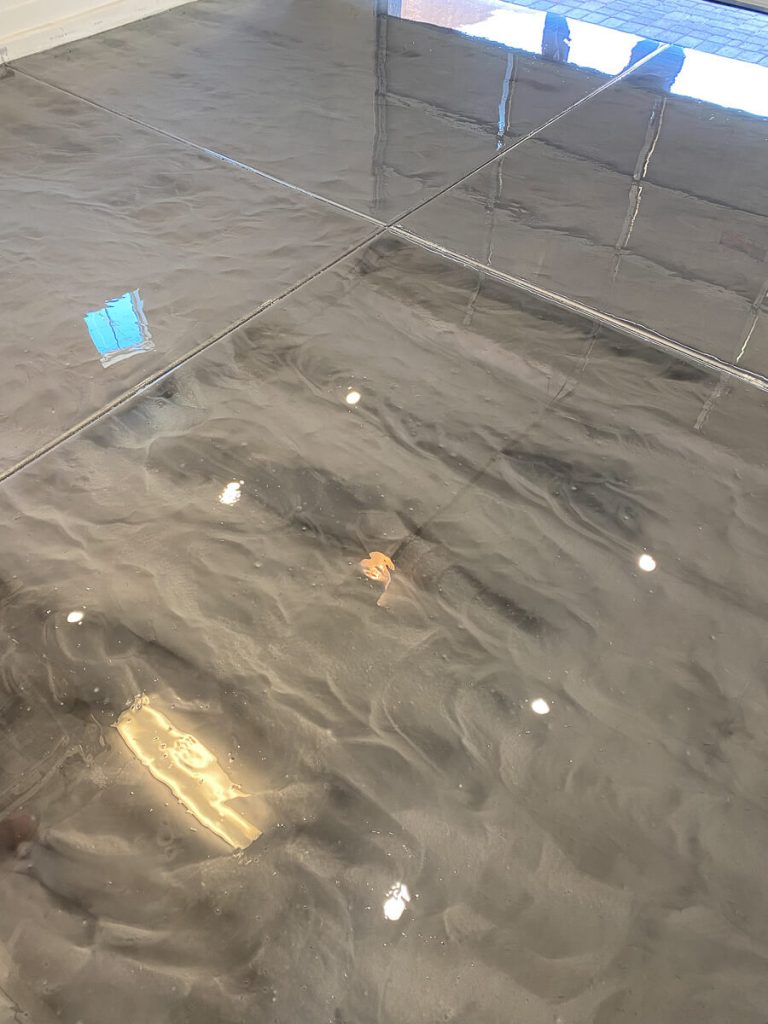
After the clear epoxy drys, you’re able to walk on it, but you’re not able to move in anything heavy like storage containers, tools or cars. After three full days of allowing the epoxy to set and cure then you can start moving items into your garage like normal. During these days, Aaron painted the garage walls with a fresh coat of white paint. Now that the painting is done and the epoxy is finished, we’re going to look into creating a better system for closet organization. Keep an eye on thefoxykat.com if you’re interested to see the materials we use for organization and storage as that process will be documented as well! You can always follow my Amazon Storefront as I’ll be sharing Ideas Lists with what we purchase as well. 

After - Painting Walls

Call Gabe at Metro Cleaning Co for a quote and let him know that Aaron and I referred you (Katrina & Aaron Fox)! For more information about Metro Cleaning Co head to their Facebook or Instagram too. For more reviews, click the links for HomeAdvisor, SuperPages, Yelp, and The BBB

Author

Write A Comment