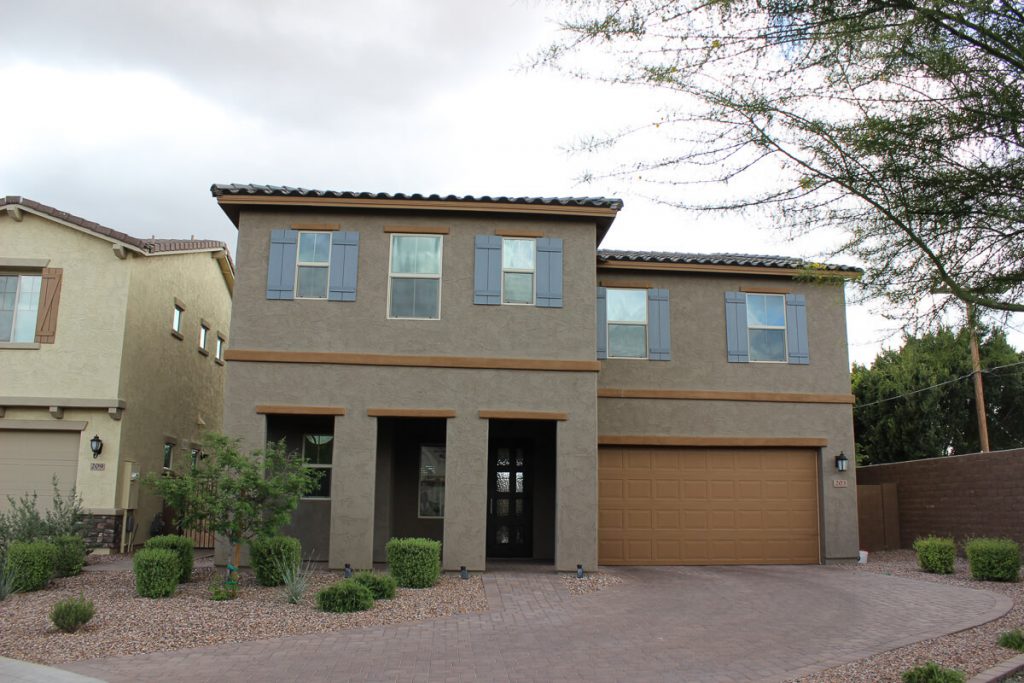
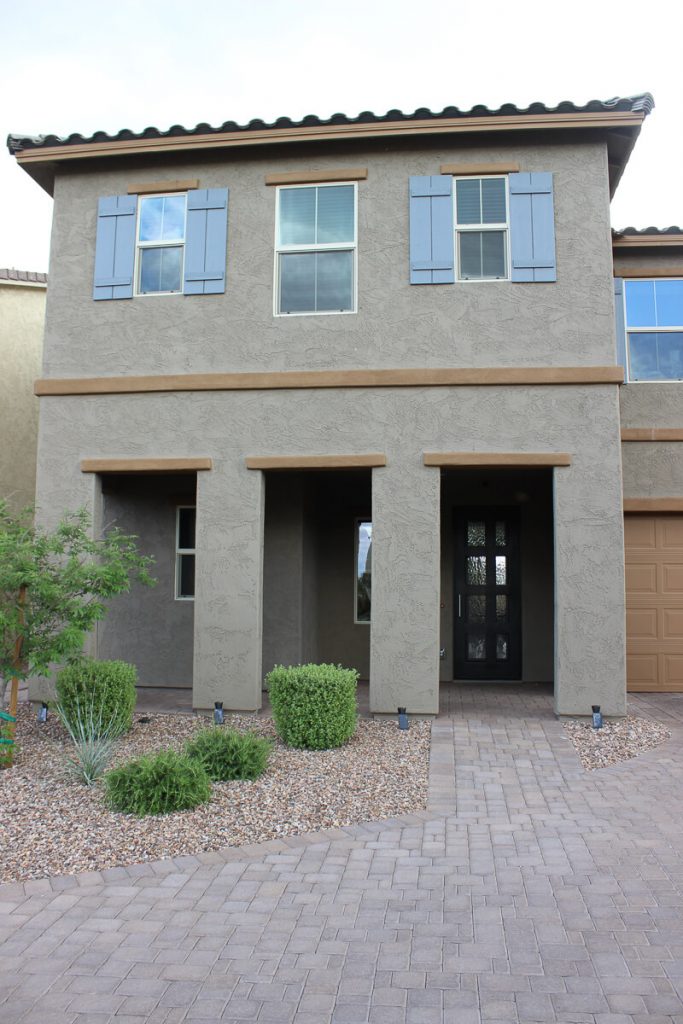
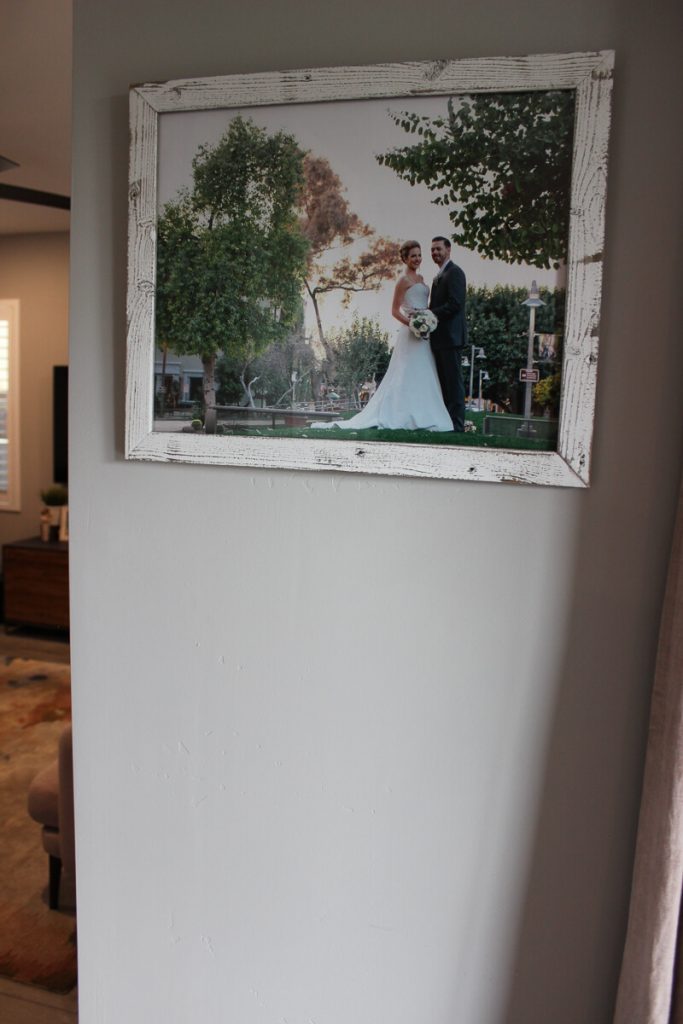
Aaron and I moved into our new build home in September 2018. We had a whirlwind experience that is probably unlike most new build purchasers. We sold our first home only three days after listing it. We were shocked at how quickly it happened and we quickly realized that we had no where to live! We fell in love with the neighborhood and the builder for our new home and thought how nice it would be to purchase a brand new house instead of completely remodeling it, which is what we did to our first home over a couple years while living there. If you want to see the before and after photos from our first home project, you can check that out on the blog post titled, Fox Hole Renovation

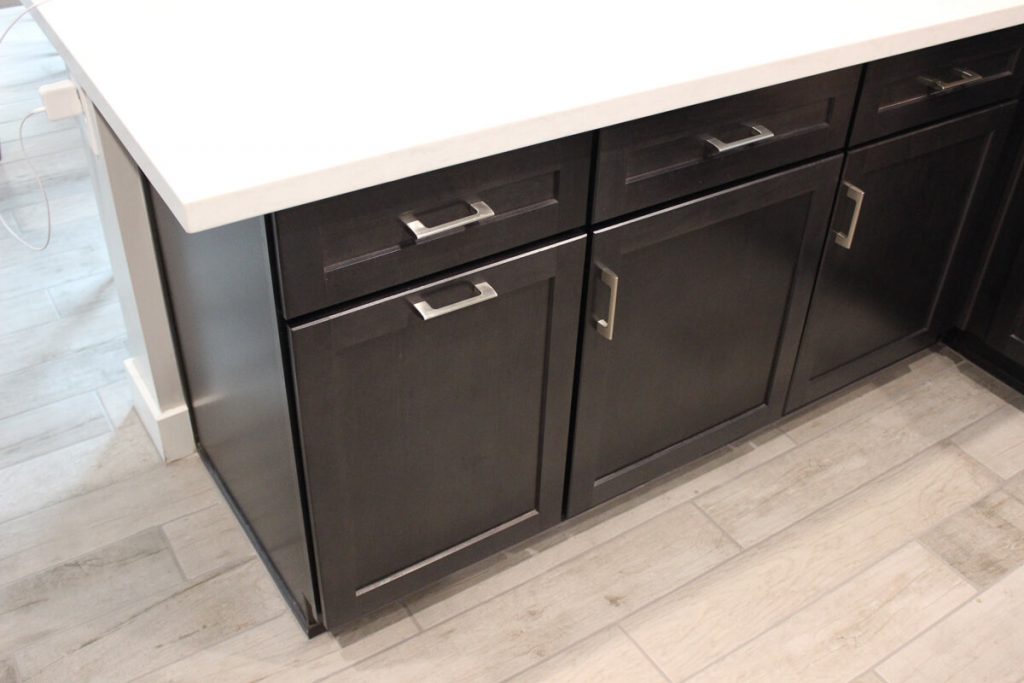
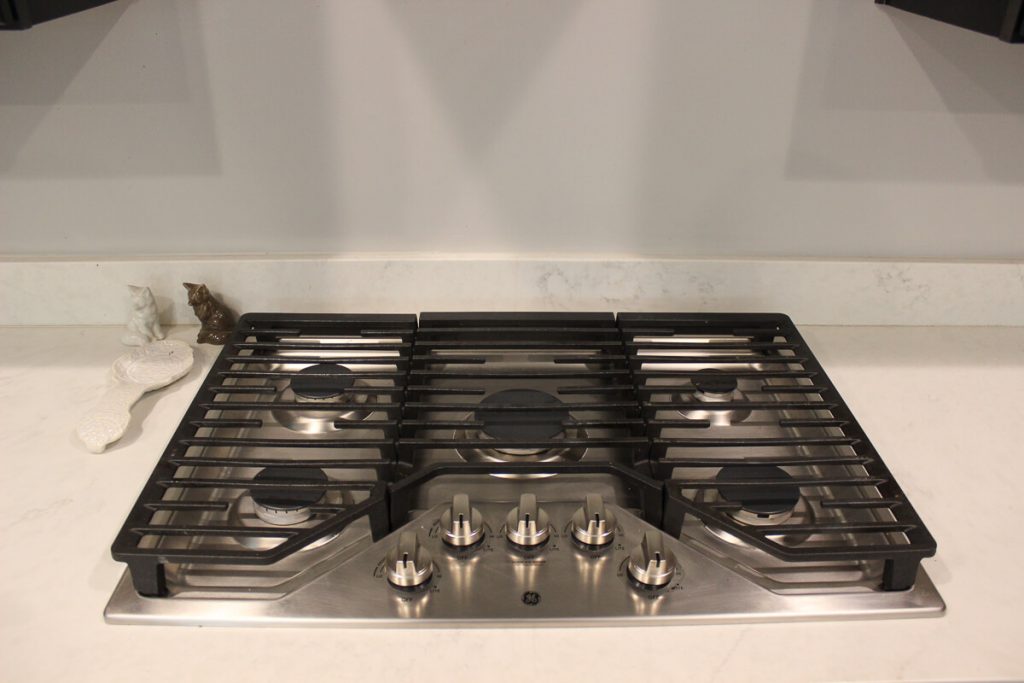
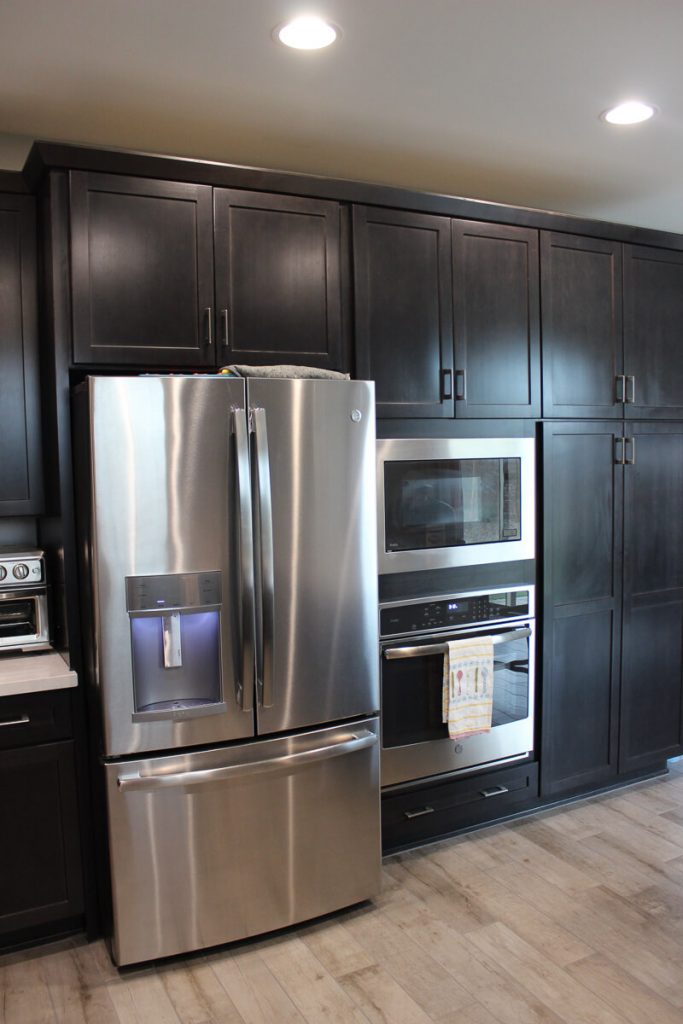
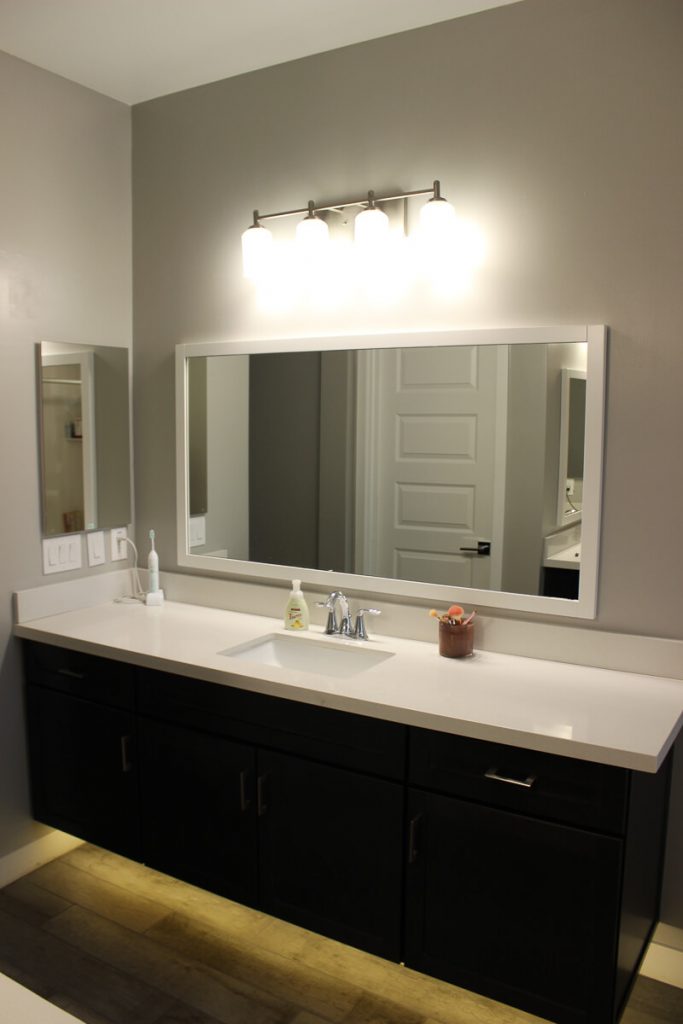
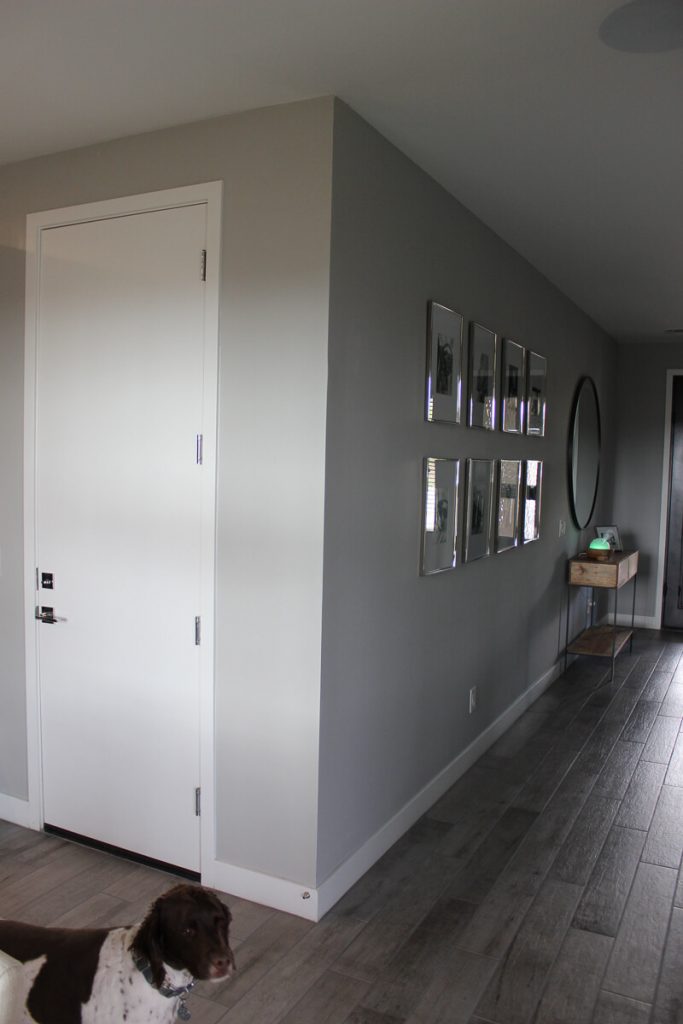
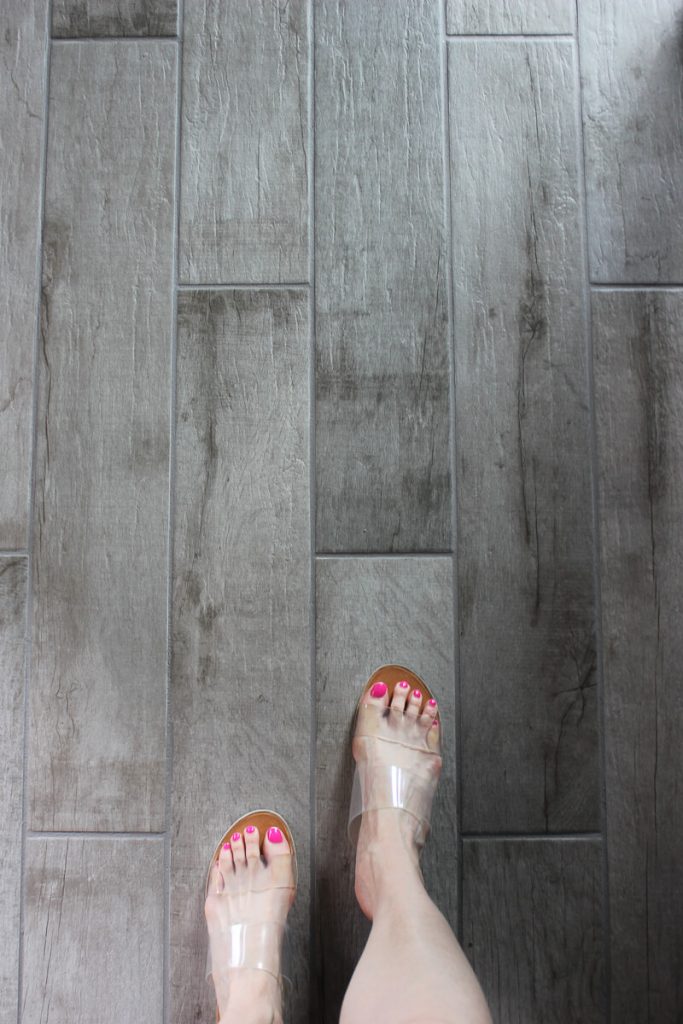
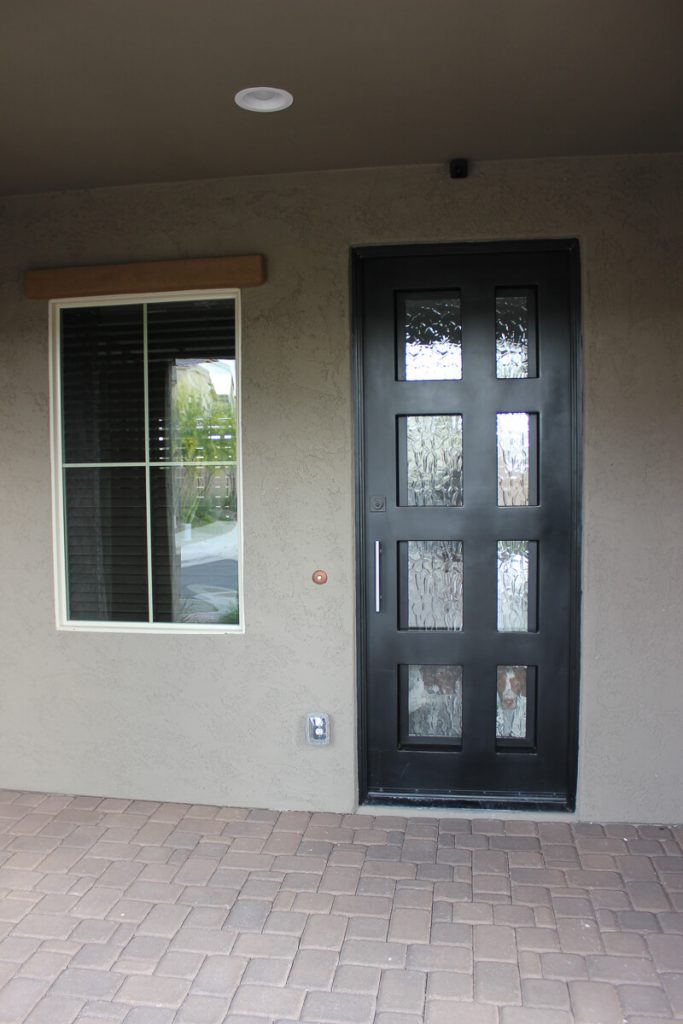
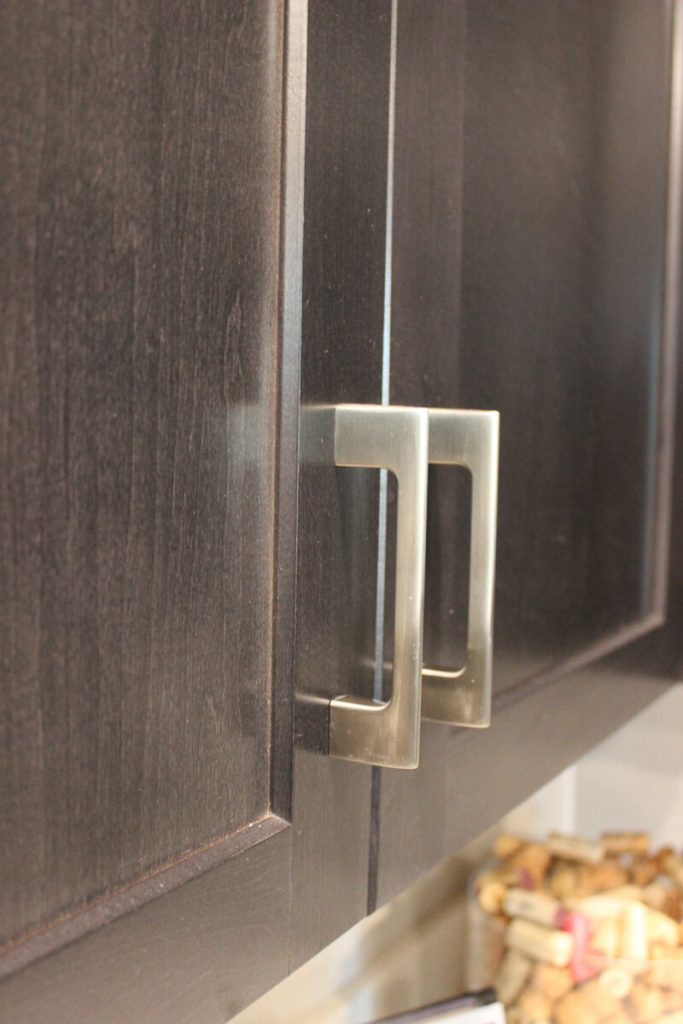
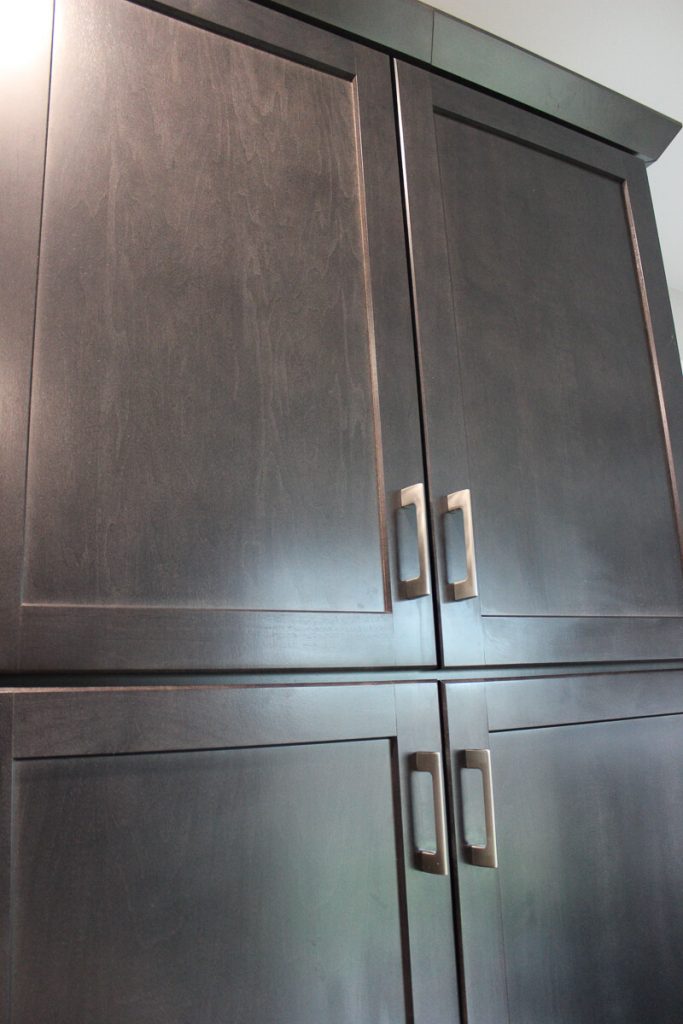
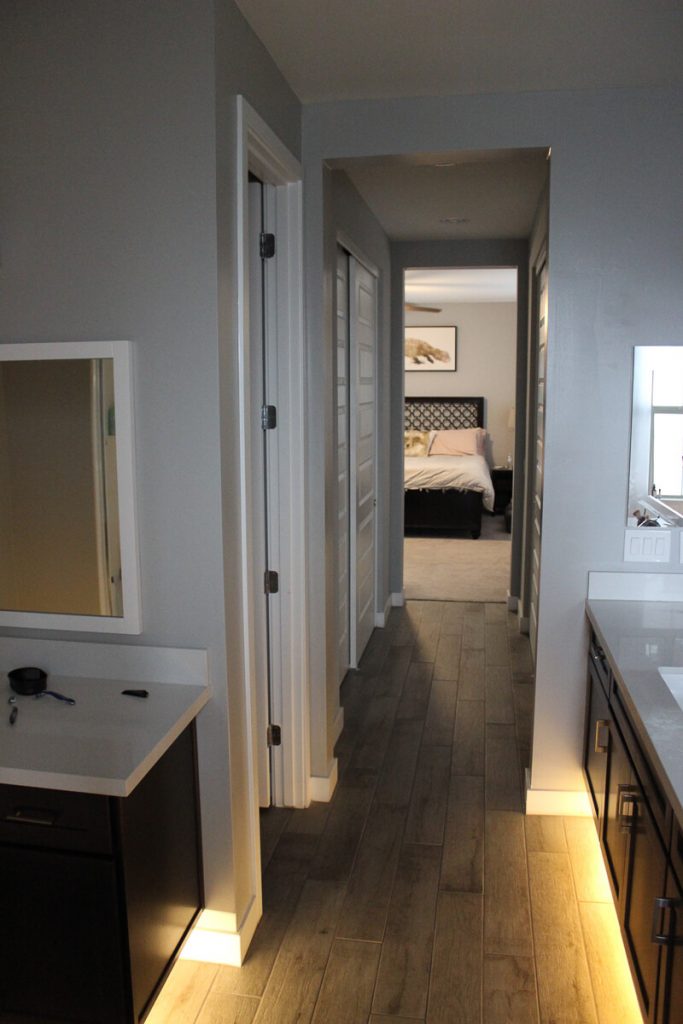
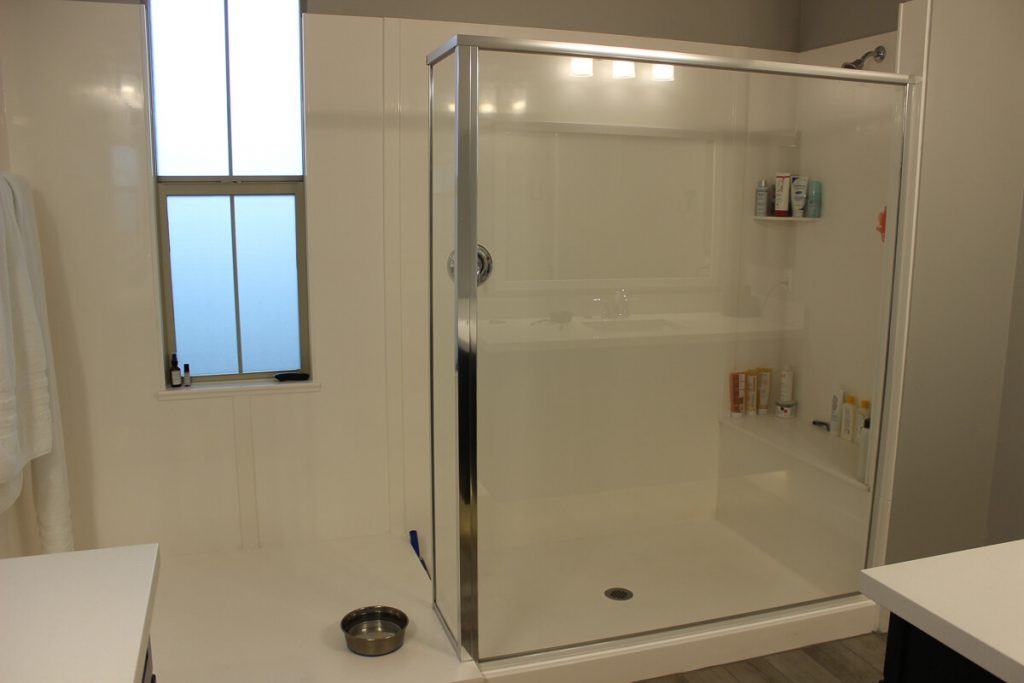
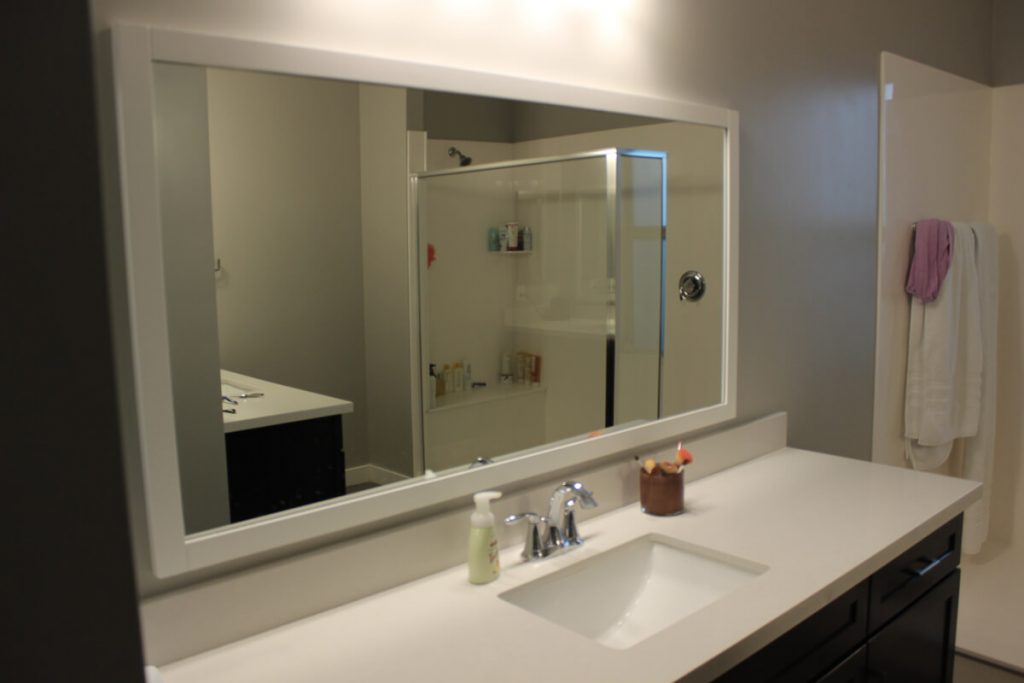
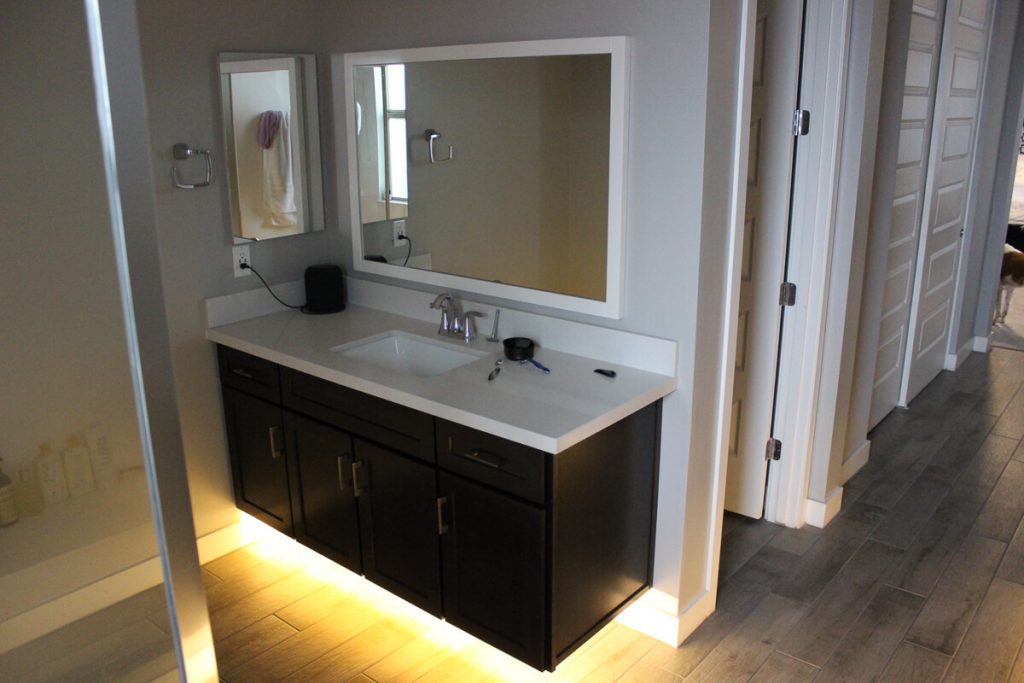
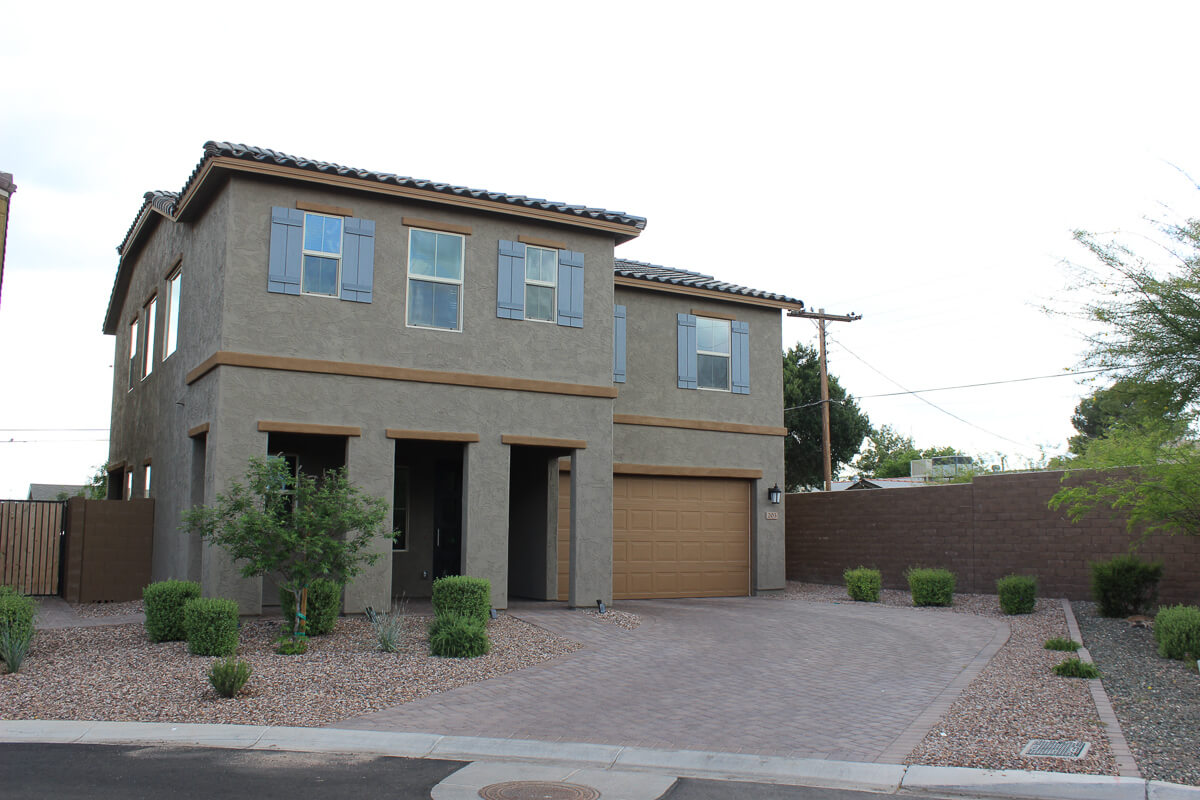
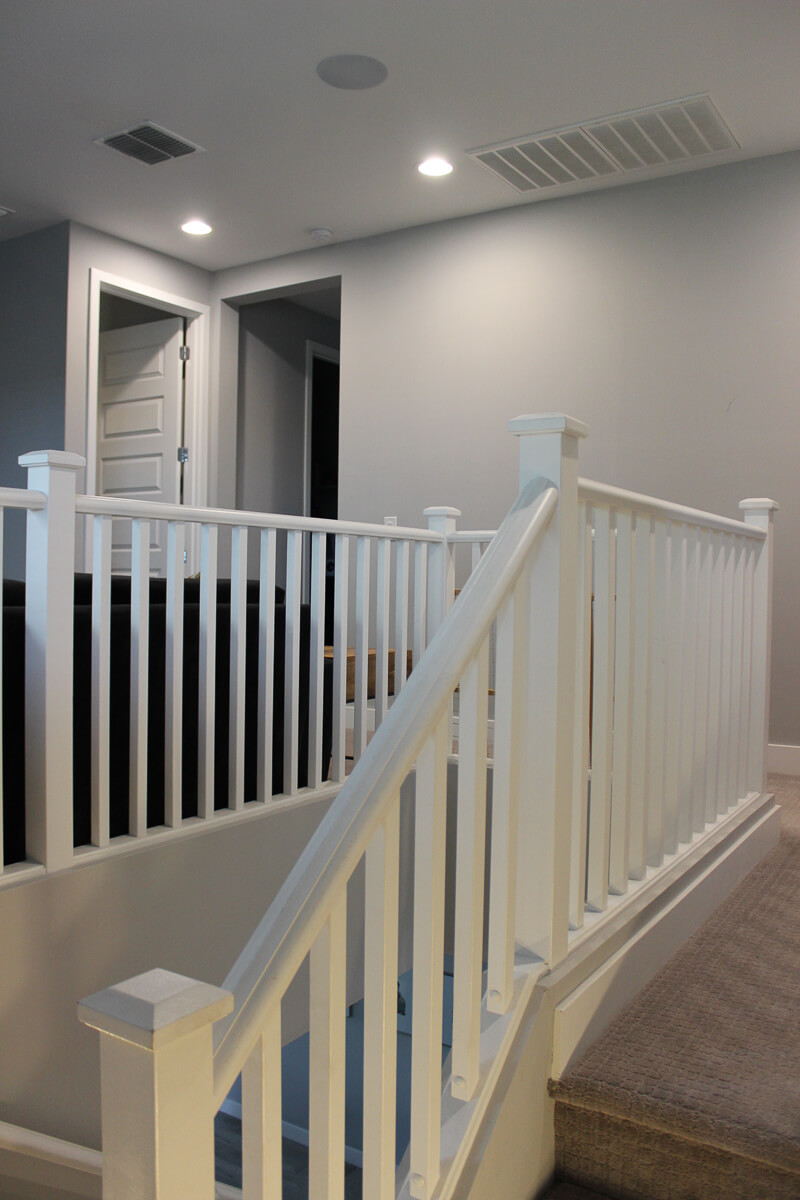
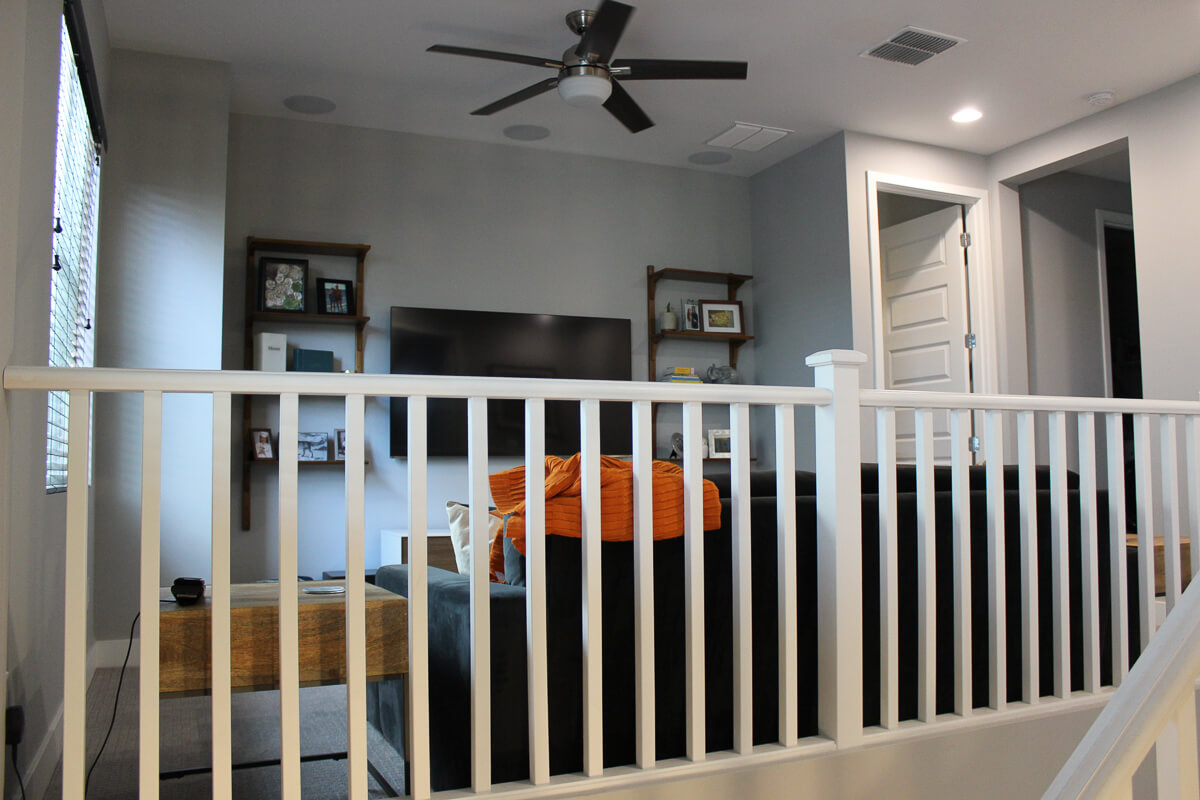
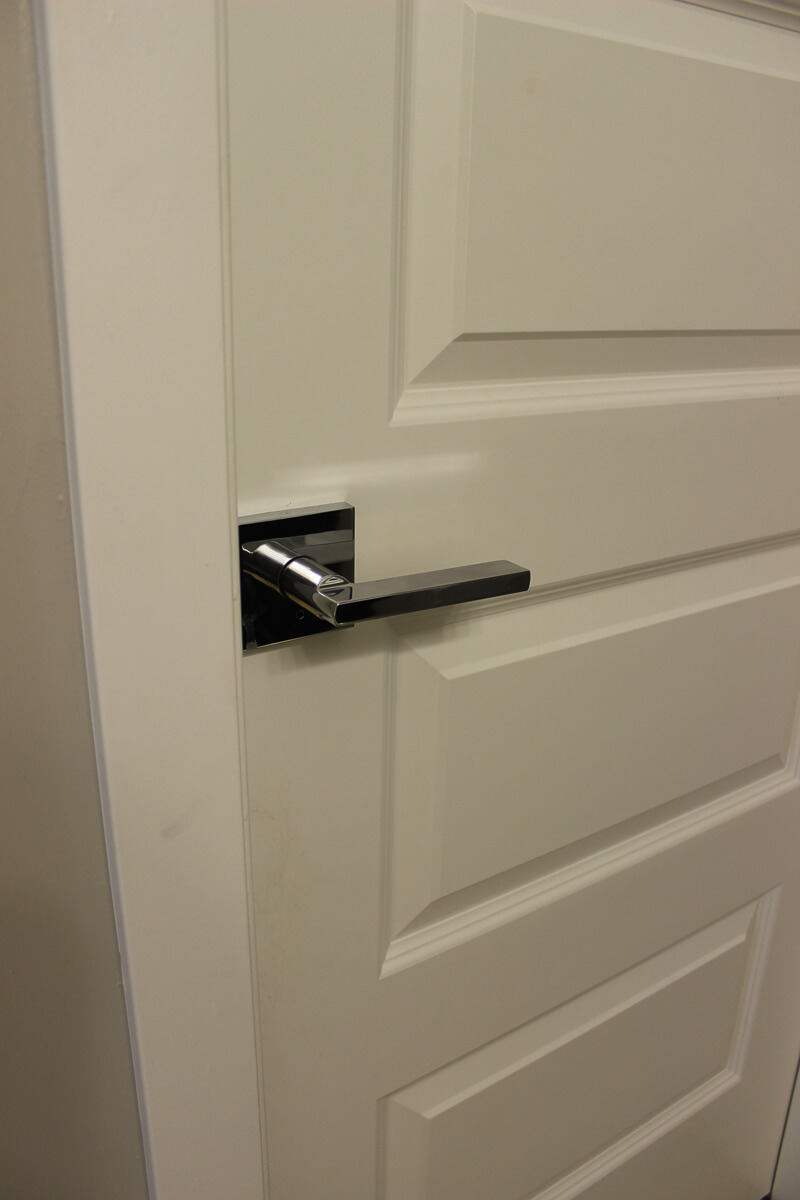
The super unique part to our story is that this particular home builder and community had already started construction on five spec homes. A spec home is a new, move-in ready home built by the home builders. This allows construction to begin right away on a community, and allow for staggered construction and move in dates. By the time that Aaron and I realized we were actually moving (we decided to list our house only a week or two before our house sold!) the spec homes had been in construction for about 2-3 months out of the total 10 month construction period. We fell in love with the back corner lot. The floor plan of the home was exactly what we wanted and the lot was the biggest offering they had in that community with a neighbor only on one side. They explained to us that spec home design is agreed upon and ordered at the very beginning of construction and that we’d have to move forward with all of the design elements that they picked. Since we just went through a remodel, we knew we would not be happy with the design elements that do not fit our aesthetic and the spec home did not match our design at all. After about two weeks of us politely stopping by the model home and asking the builder to reconsider, they came up with a compromise! We could change all design elements that were not structural and were not ordered. For example, we could not change the front door, the kitchen appliance package, the showers/bathtubs, etc. However, we could change the baseboards, paint, cabinets, flooring, etc. We were sold! The one caveat was that we needed to pick all of our design elements immediately.

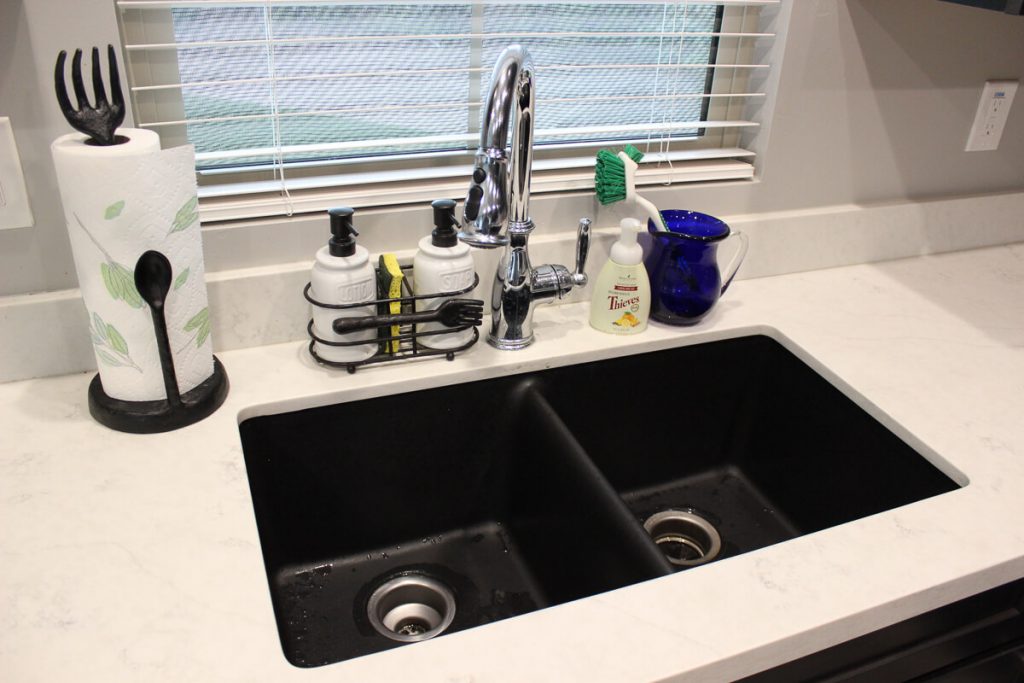
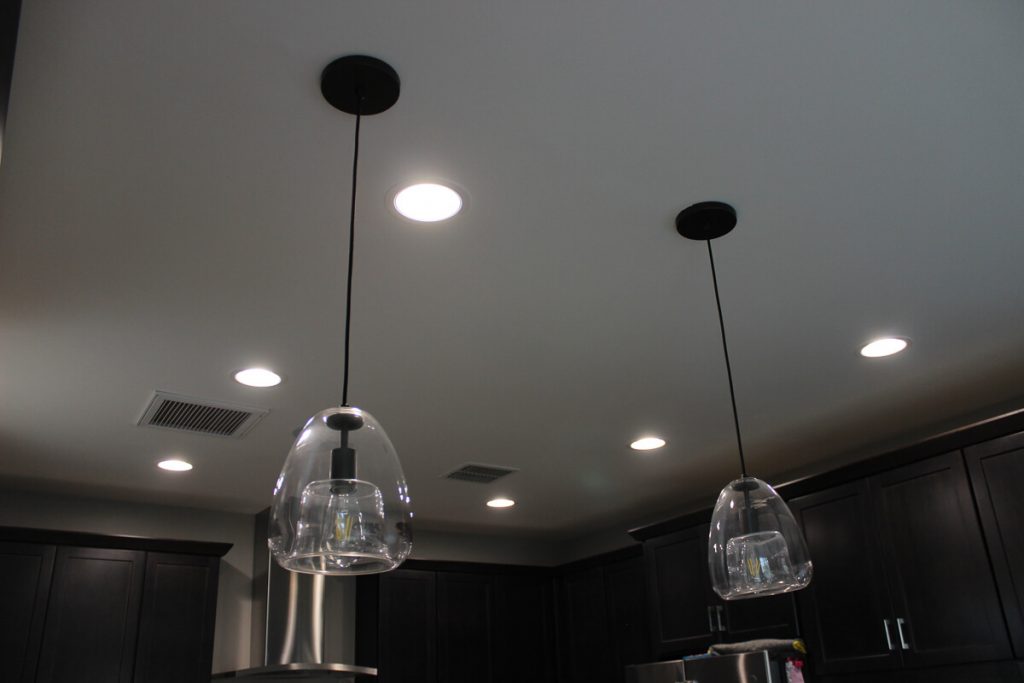
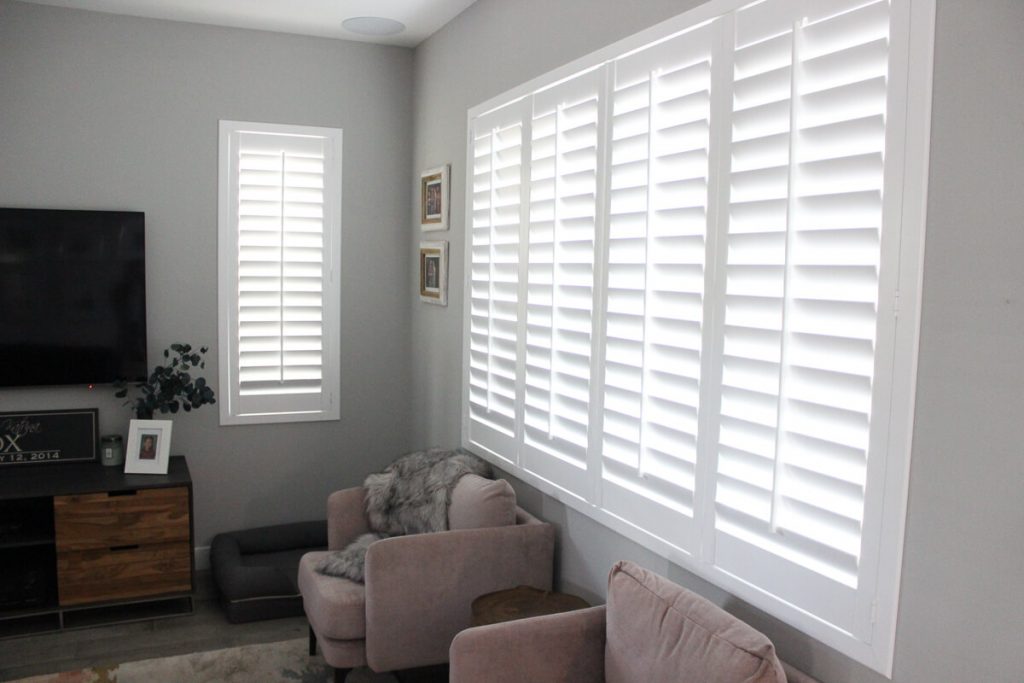
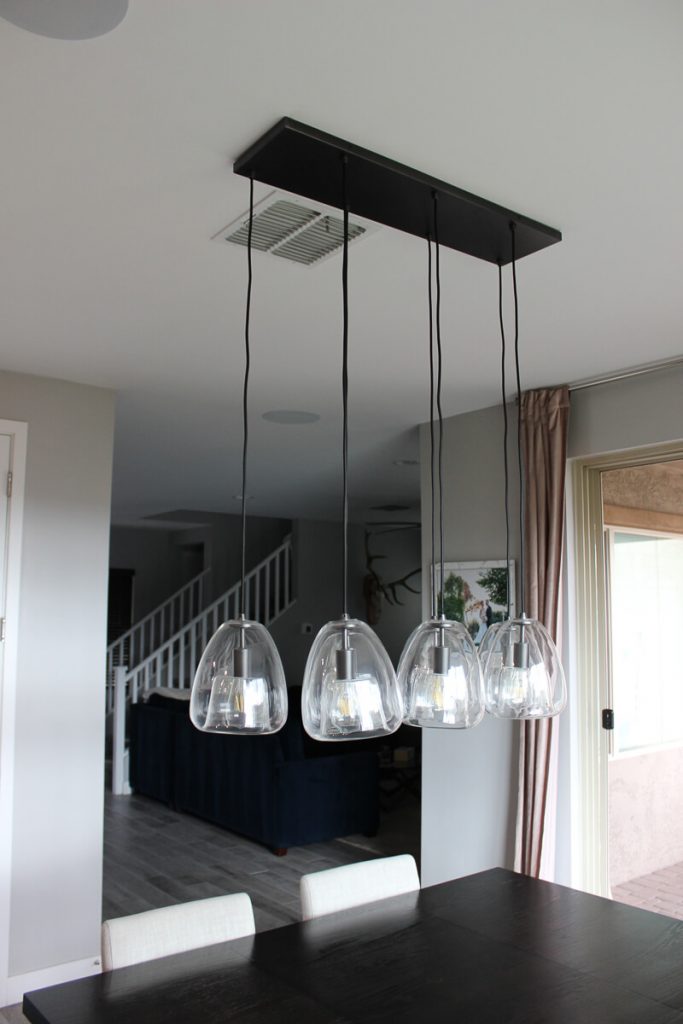
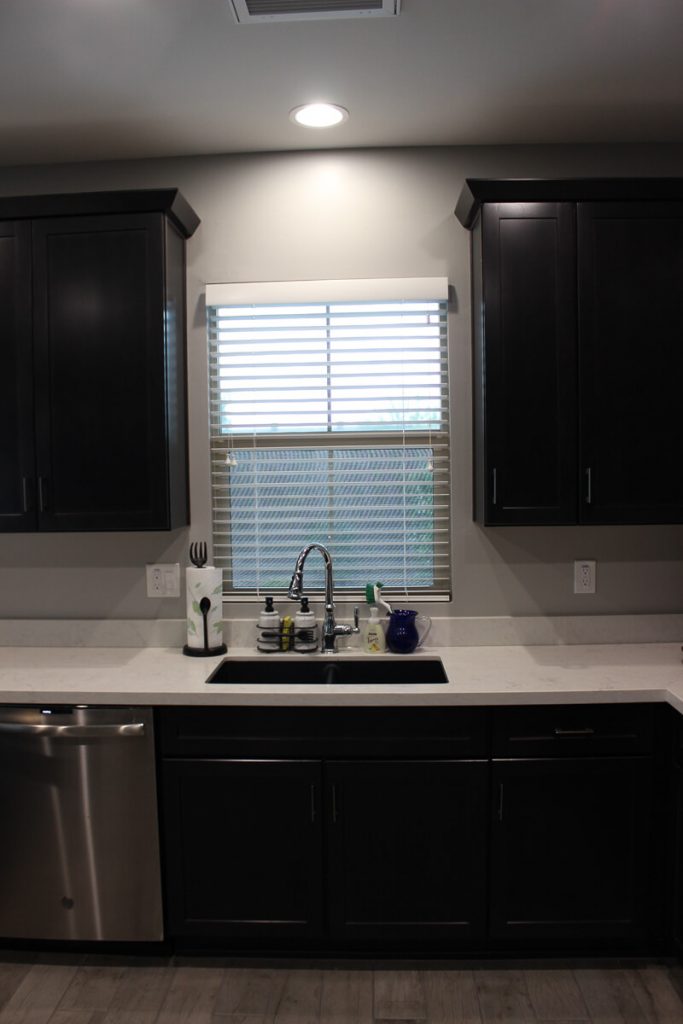
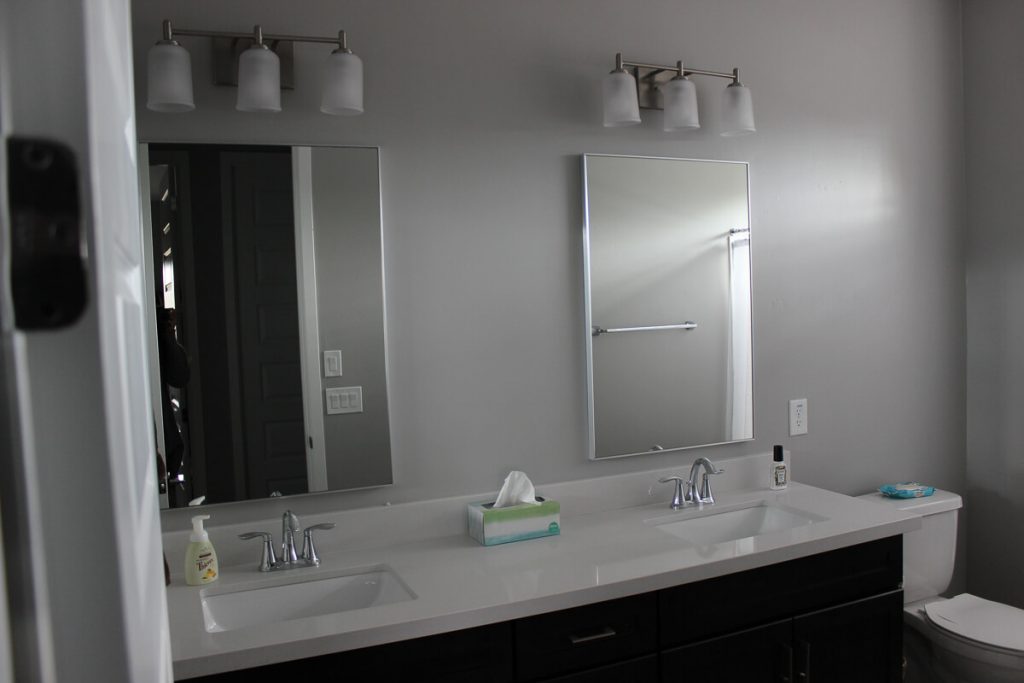
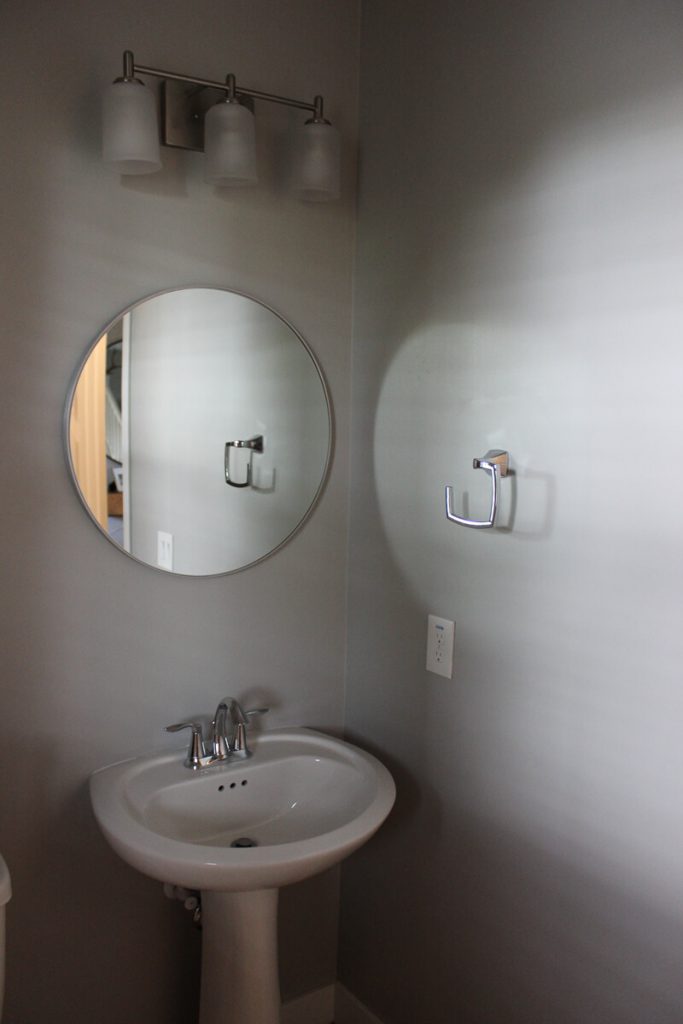
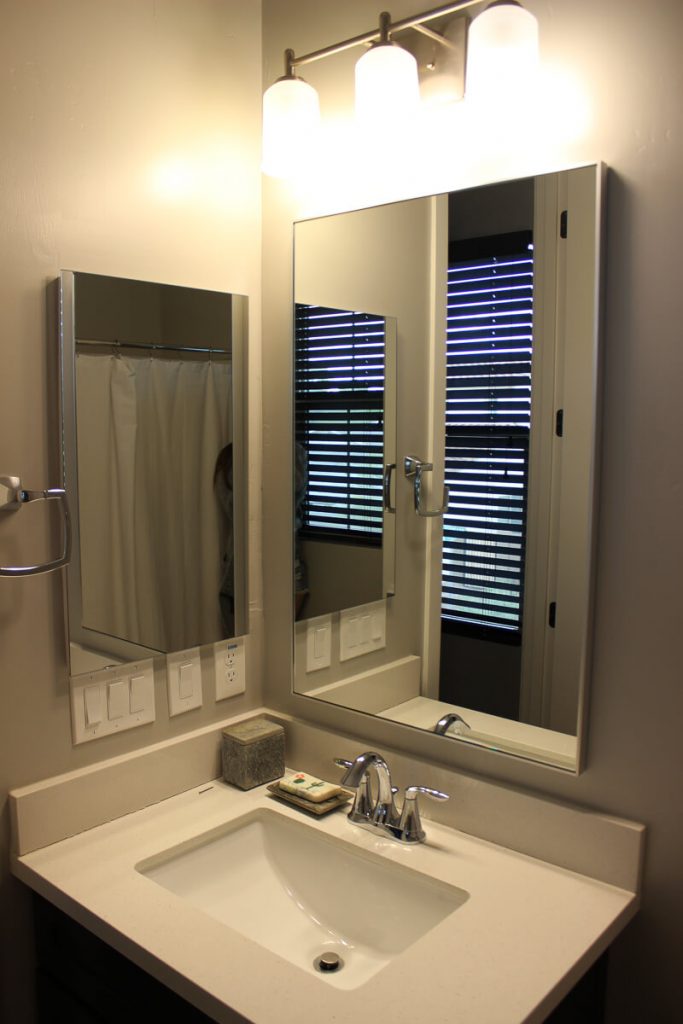
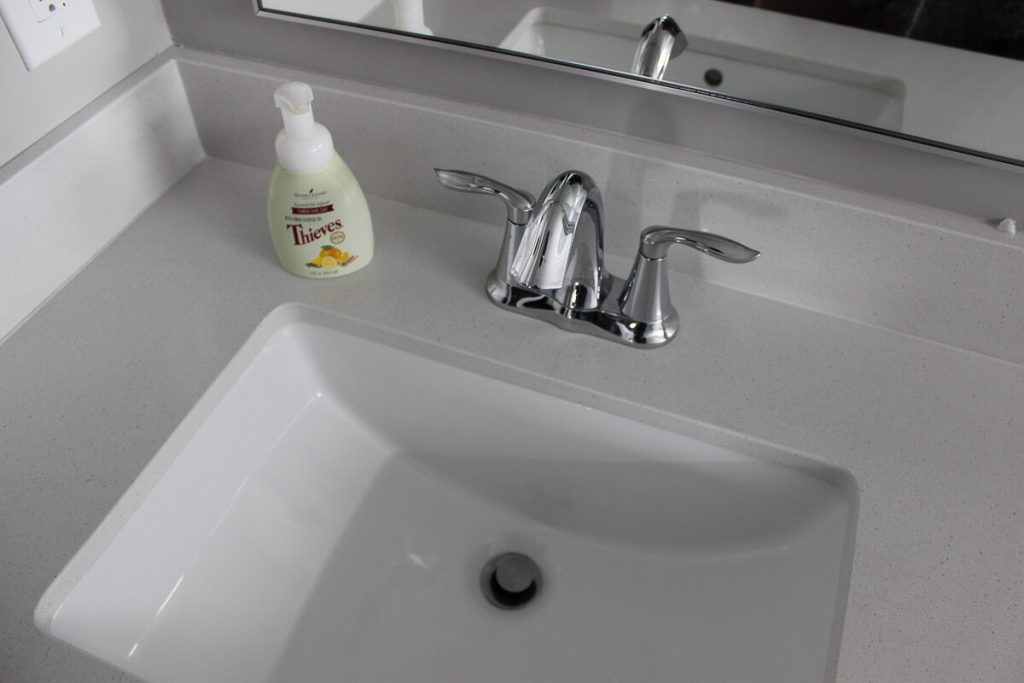
It seemed like the very next day after signing the initial paperwork, we had a design meeting. I’m pretty sure Aaron called me the morning of and said, hey can you get to North Scottsdale by lunch time. I worked in Chandler, which was about 30-40 minutes away. I made it there for the appointment and we had our entire home decor picked out within 2 hours. Thankfully we recently went through similar decisions from our remodel and thankfully the design center for our home builder was so accommodating. Buying a new home can seem like a very overwhelming process as your essentially building and designing a home from scratch, but our home builder is so knowledgable that they were great guides throughout the process. I sat down with Aaron this past weekend to break down everything we upgraded, didn’t upgrade and wished we did differently. Please keep in mind that these are strictly our opinions and most home design options are purely subjective. I don’t know if this is a good rule of thumb to follow or not, but our customizations purchased through our home builder came out to around 15-20% of our home base cost in case you’re trying to build a budget.

OUR MUST HAVES

GE Appliance Package
Recycling Center
Stove Top
GE Appliance Package

Kitchen: (must have)

  1. Cabinet accessories; soft close with dove tail drawers – this is a sturdier building technique that helps your cabinets to last longer.
  2. Cabinets; upgrade to 42” cabinets with crown molding – this allows for more storage space and is a better look for taller ceilings. The crown molding is a nice finish otherwise they offer a standard flat trim. (The Peterson 5-piece Maple Cabinet in Dusk)
  3. Countertops; upgrade to quartz – we upgraded to quartz from natural stone due to appearance, color selection is more diverse and consistent throughout the slab. Plus, it’s more durable. We went with an Eased Edge, which is a very light round over on the corners for a more modern appearance. You can choose between a few different edges for your counter top selection. (Tipperary in kitchen) 
  4. GE Profile Gas Gourmet Appliance Package; dishwasher, gas cook top, exhaust, fan and vent, convection microwave, in-wall convection oven – This was an option that was already selected for us and perhaps based on our cabinet design we needed to select this option. We do not know what the other options are, however we would not make any changes to this. We love the look, the oven is very nice and cooks our food better than our previous oven. We love having a separate cook top from our oven and even wish we had double ovens, although rare that we would use it a double cook oven would come in handy when we would need it for larger gatherings.
  5. Recycling Center; fits a small recycling and trash bin – super convenient and optimizes the location of the trash.
  6. Cabinet lighting; under top cabinet lighting – easy ambient lighting that offers a great night-light option. Low intensity/indirect lighting.
  7. Kitchen sink; undermount sink – we chose a black dual basin or double bowls sink instead of an inexpensive single bowl stainless sink. We love the appearance and being dark it always looks clean. I do love an apron front large single bowl sink, like we had in our old house, but Aaron prefers this option and I’ve been really happy with it too. Plus, this wasn’t as expense for the upgrade.
Master Bath
Master Bath
Laundry Room
Laundry Room Utility Sink Rough-in

Bathroom: (must have)

  1. Toilets; comfort height instead of standard height – those extra inches really make a difference for our tall family!
  2. Toilets; oval bowl – this is a more standard option on toilets these days, but older toilets have rounded bowls that might not offer the the best fit when you sit down.
  3. Countertops; upgrade to quartz – upgraded from cultured marble countertops that include the sink and counter in one piece. We chose to upgrade to quartz counters and square sinks. (White Ice in bathrooms) 

Laundry Room: (must have)

  1. Optional Sink; Utility Sink Rough-in – this allows us the option to have a sink in our laundry room. For as inexpensive as it was, it is definitely nice to have. We still need to purchase the sink and build out our laundry room. I’m not sure if we ever will build out this sink, but we both think this is something that we are happy we purchased just in case.
Front Door + Blinds
Dry Wall Square Corners
Wood Tile
Carpet

Overall House: (must have)

  1. Dry wall; texture to Santa Fe 80/20 (80% smooth 20% texture) – this is in lieu of spray-on knock down texture, which is 100% preference. The more smooth as opposed to super textured look comes off as a more high-end/modern look.
  2. Dry wall; square corners with 5” square base and trim – where the dry wall corners are they are square or meet at a 90 degree angle instead of rounded. The baseboards are basic square in design, which provides a more modern look as opposed to the milled ridges that were more popular in 90’s or early 2000’s home design or the rounded baseboards that were popular in the 80’s.
  3. Flooring; carpet & pad upgrade – we upgraded to a level 8 from their entry level carpet and upgraded to 10 lb pad. Upgrading the pad is better for wear and tear on the carpet. It’s softer when you stand on it, but it also helps to prolong the life of your carpet too. We are disappointed in the durability in the carpet due to the tracking of our two 50-pound pups. It’s worn much faster than anticipated. We priced out how much it would be to completely upgrade our carpet in a couple years at a better carpet quality and it’s slightly more than what we paid for this upgrade. The carpet upgrade is a nice to have, but it depends on your needs – do you have kids or dogs? We wanted to do tile in more locations, but tile upstairs was not an option from our builder. We would have kept the carpet entry level and gone with a darker color, but we love the texture of our carpet. We selected a lower pile carpet that seems to show wear easier. (Mohawk TM23 Lone Mountain in Museum Piece) 
  4. Flooring; tile upgrade – we love our tile! This is definitely a must have. It’s ceramic, so it’s highly durable, the color pattern makes it challenging to see dirt, and the wood pattern on the tile is really nice too. We would have preferred thinner grout lines (old house was 1/4” and these are 3/8”), but that was not an option with our builder. Aaron believes that it makes a difference in appearance, but I don’t notice it like he does. Our grout was color sealed that gave it a darker appearance that we love and a better resistance against stains, more on this topic in a future post. (American Olean brand in History Ridge line 6” x 36” in Banks Bridge color with Graystone grout color)
  5. Interior Door Hardware; locks and levers – This was chosen for us, but I’m very happy with the chrome. Aaron originally wanted black, however I believe it was more expensive. Either way I really wanted chrome to add some shine and we did a great job of accenting our house with just the right amount of chrome decor to match. This upgrade was very inexpensive compared to the levers we bought in our old house, so we see this as a must-have upgrade for sure. (Kwikset brand, Halifax style in chrome)
  6. Front Door; in iron – not totally necessary, and this was chosen for us. However, we are obsessed with our door and would not have it any other way. We’re not sure we would have chosen this ourselves as it is a few thousand dollars to upgrade, but we’re so happy we have it now. The door style is modern with rectangles and a textured glass that is not fully see-through. Our builder has the option of a frosted glass too, but we like the appearance of the textured glass that we have. (Custom door in Porto glass style)
  7. Pre-wire for cable TV – this is a must have because Direct TV or Cox will charge you extra. Plus, the cable companies don’t do as clean of a job running those cables.
  8. Stair Rails – this upgrade was structural and chosen for us. We have a basic upgrade that gives a modern look, but we loved the stair rails in the model home that was a very high-end upgrade. Our opinion on stair rails is that this is something you choose in the beginning of your home build and being a structural item it might not be the best project to do down the road. Our stair rails are at the beginning of our house, but not a major focal point so I think we would have ended up choosing this moderately priced upgrade, which was similar in cost to our carpet. Our friend who recently purchased a house from the same builder has more stair rails that are a larger focal point, so it might make sense for them to do a higher end upgrade. At the end of the day it’s completely a personal preference. (Mission paint grade stair rails)
  9. Elevation – this is the overall exterior design of our house, which was chosen for us by our builder. We lucked out because we love this simplistic appearance as opposed to the Spanish style, which I believe was a basic style. They also offered a Craftsman style elevation at the time they were building our community. Being the overall curb appeal of the house, this isn’t something you can change down the road and it is very important as a home owner to like your home when pulling up. We think this is a must-have and is an important investment for your home. (Tuscan style offering from our builder)
  10. Other Architectural Upgrades – don’t pass on any thing architectural like deleting walls or adding doors as this isn’t as easy to change later on in the future.
Premium Lot
Front Door
Elevation
Side Yard / Extra Parking

OUR NICE-TO-HAVES:

Kitchen

Kitchen: (nice-to-have)

  1. Plumbing; kitchen faucet – for us it didn’t make sense to upgrade to a higher end faucet because we didn’t love the options at the price. We chose the best option for the price within our preferred style and color, which is chrome to match our other accents. Our kitchen appliances are all matching stainless to our brushed nickel cabinet pulls, but the accent of the chrome faucet is something I particularly love. Plus we have dark wood cabinets that match the oiled bronze look of our light pendants and iron front door. (Moen brand, Brantford style in chrome)
  2. Electrical; recessed lighting – adding additional recessed lighting in different rooms is nice, but not necessary. We added recessed lighting to our living room, but it came as a basic package for our kitchen. Our master bedroom is pretty dark as we did not add it there and only have a light on our ceiling fan. This can get expense depending on how much you add and could easily be something you do later, however it could require dry wall repair.
Kitchen Recess Lighting
Living Room Recess Lighting
Kitchen Pulls
Kitchen Cabinets

OUR NON NECESSITIES:

Master Bedroom En Suite

Kitchen: (not necessary)

  1. Cabinets; cabinet pulls – if you don’t love them, don’t add them! Our cabinet pulls were an option with our upgraded cabinets and we like them. They wouldn’t be our absolute first choice, but we’re definitely happy to have them and not have to pay for them separately. Based on our old house, it was roughly $1500 to buy cabinet pulls on our own.

Dining: (not necessary)

  1. Dining table; light fixture – this was a small upgrade that was already chosen for us, but temporary as we replaced them immediately as we moved in. Also, I sold this item on Offer Up once Aaron removed it and replaced it with our chandelier from West Elm. (Click here for 20% off chandeliers at West Elm.) The previous fixture matched all of the light fixtures in our bathrooms as this was part of the same package. (Kitchler brand, Shailene style in brushed nickel)

Bathroom: (not necessary)

  1. Bath accessories; hand towel holder, towel bar rack, toilet paper holder, faucets, shower head – this option was chosen for us, which was a slight upgrade, and for the cost there wasn’t a better option. We kept this lower upgrade because it matched our chrome door handles/levers. We didn’t want to upgrade more because we didn’t find anything appearance-wise that we liked enough to spend the money on. However, if we were to replace everything it could be upwards of a few thousand dollars compared to the $500 that we spent through our builder for this lower-end upgrade. In our old house we spent $2,000 on two bathrooms with Moen products and now we have 3.5 baths and 6 sinks, so this might be a project in the far future. (Moen brand, Voss style in chrome)
  2. Bath accessories; light fixture – this was a small upgrade, but temporary as we’d like to replace them in the future. These light fixtures have a tolerable appearance for the cost since we know we will replace them eventually, but right now it’s not necessary to spend the extra money in the bathrooms just yet. (Kitchler brand, Shailene style in brushed nickel)
Living Room
West Elm Chandelier
2nd Floor Loft
Kitchen

Laundry Room: (not necessary)

  1. Cabinet and shelving upgrades – we may do this later through IKEA cabinets as it will be a large cost savings from doing it through the builder.

Overall House: (not necessary)

  1. Interior Doors, standard – we love the standard doors that our builder offers, so for us it was not necessary to upgrade. Our doors are 6-panel, 8-foot doors. (Jeld-Wen brand, Rockport style in white)
  2. Audio Visual sleeve; outlet to hang TV’s – not a must have for us because we knew we’d put in additional speaker equipment. However, this was super inexpensive so it would be a great option for anyone who isn’t doing professional surround sound.
  3. Home Theater Pre-wiring – we didn’t have this option and probably wouldn’t have chosen this as Aaron wants to pick where to put the speakers.
  4. Window coverings – we didn’t upgrade this because we wanted to have total control over our options. We went with Arcadia Blinds and they helped us with the design elements as well. White shutters and brown 2” horizontal wood blinds.
Guest Bath
Guest 1/2 Bath
En Suite Guest Bath
Guest Bath

ITEMS WE WISH WE DID DIFFERENTLY

Master Bath - Super Shower
Master Bath - DIY mirrors

Bathroom: (would do differently)

  1. Delete Mirrors; bathrooms – We decided to pay $150 flat fee to delete all five of our mirrors in our bathrooms (two in master bath, and one in three different guest baths.) We didn’t realize how challenging and expensive it would be to find mirrors to fit the spaces along with the installation. We went about a month without mirrors. Aaron ended up purchasing flat mirrors similar to the ones that would have been installed, but a different size so he could build a frame around it. I ended up dropping his mirror when I was helping him hang it, so he threw that away and returned my mirror since it was bigger and he knew he couldn’t lift it on his own. Instead he found these framed mirrors at a custom size that ended up being pretty pricey. We found the other mirrors in our guest baths too, but they weren’t as difficult to find since they were a smaller size.
  2. Bathroom shower; super shower upgrade – we did not have a choice on this upgrade since it was structural. This is viewed as a high-end upgrade to build out the structure, however the shower walls are basic glass shower walls with a basic white acrylic interior shower wall. There is a bench in the shower, which is nice to keep all of your products on along with a small shelf. The shower head was upgraded to chrome, but is very basic too. The appeal of this super shower upgrade is that you have a place to dry off when you get out of your shower without soaking the entire bathroom floor. Also you can turn on the water without getting in the shower or getting sprayed. I do love those features. However, I don’t love how open the shower is since I often get cold while showering. I’m not sure how we would have done this differently since we didn’t review any other options, and although we say having a soaking tub would be nice we do have tubs in our two guest baths. In our old house I loved our subway tiles and penny tiles on the floor and maybe one day (in 10+ years) we’ll redo this bathroom to make it more aesthetically pleasing to us, but for now it’s not worth the money as our shower works great.

Overall House: (would do differently)

  1. Paint, whole house – we did a two-tone paint upgrade, which gave us gray walls with a white trim and white ceiling. We have semi-gloss paint in the kitchen and bathrooms, and flat paint throughout the rest of the house, which is a standard offering. We wish we did this differently and did not upgrade because we would have preferred to pay someone to repaint the entire house with a higher quality of paint than what was offered from our builder. We still would have chosen a similar color that is still painted two-tone. Aaron explained to me that the dry wall absorbs the paint, so the more coats the better. Essentially repainting a brand new house will only help the appearance. The price of paying someone else to paint and buying your own paint could potentially be as much as double to the cost of this upgrade, but in our opinion it would definitely be worth it in the long run. A nicer paint will not show scuffs as easily and will be easier to wipe clean. Plus, if you paint before you move in then it may only prolong your move in date by one or two days rather than having to deal with moving furniture around later down the road. (Sherwin Williams brand in French Grey color)
Two Tone Paint
Dry Wall Texture

If you are considering purchasing a new build home as opposed to purchasing a fixer-upper, please comment below with any questions, comments or helpful tips you discovered along the way. Thanks so much for reading about our experience with Taylor Morrison Home Builders.

Author

Write A Comment