
After publishing my first Mascara Review Monday blog post (read about it here) two weeks ago, I was approached by friends from Facebook, Instagram and Twitter asking me about whether or not I’ve tried Moodstruck 3D Fiber Lashes by Younique and if I could review it on TheFoxyKat.com. I was super embarrassed to respond saying “no, I haven’t tried it yet”. I’ve been added to many different closed groups on Facebook and have seen the pictures, but I hate to say it… if a product isn’t accessible for me to pick up at the mall or a store nearby I probably won’t try it. I’m the type of person who waits till the last minute for something to run out and then I rush to Sephora or even Walgreens at buy a familiar mascara brand that I like and trust.
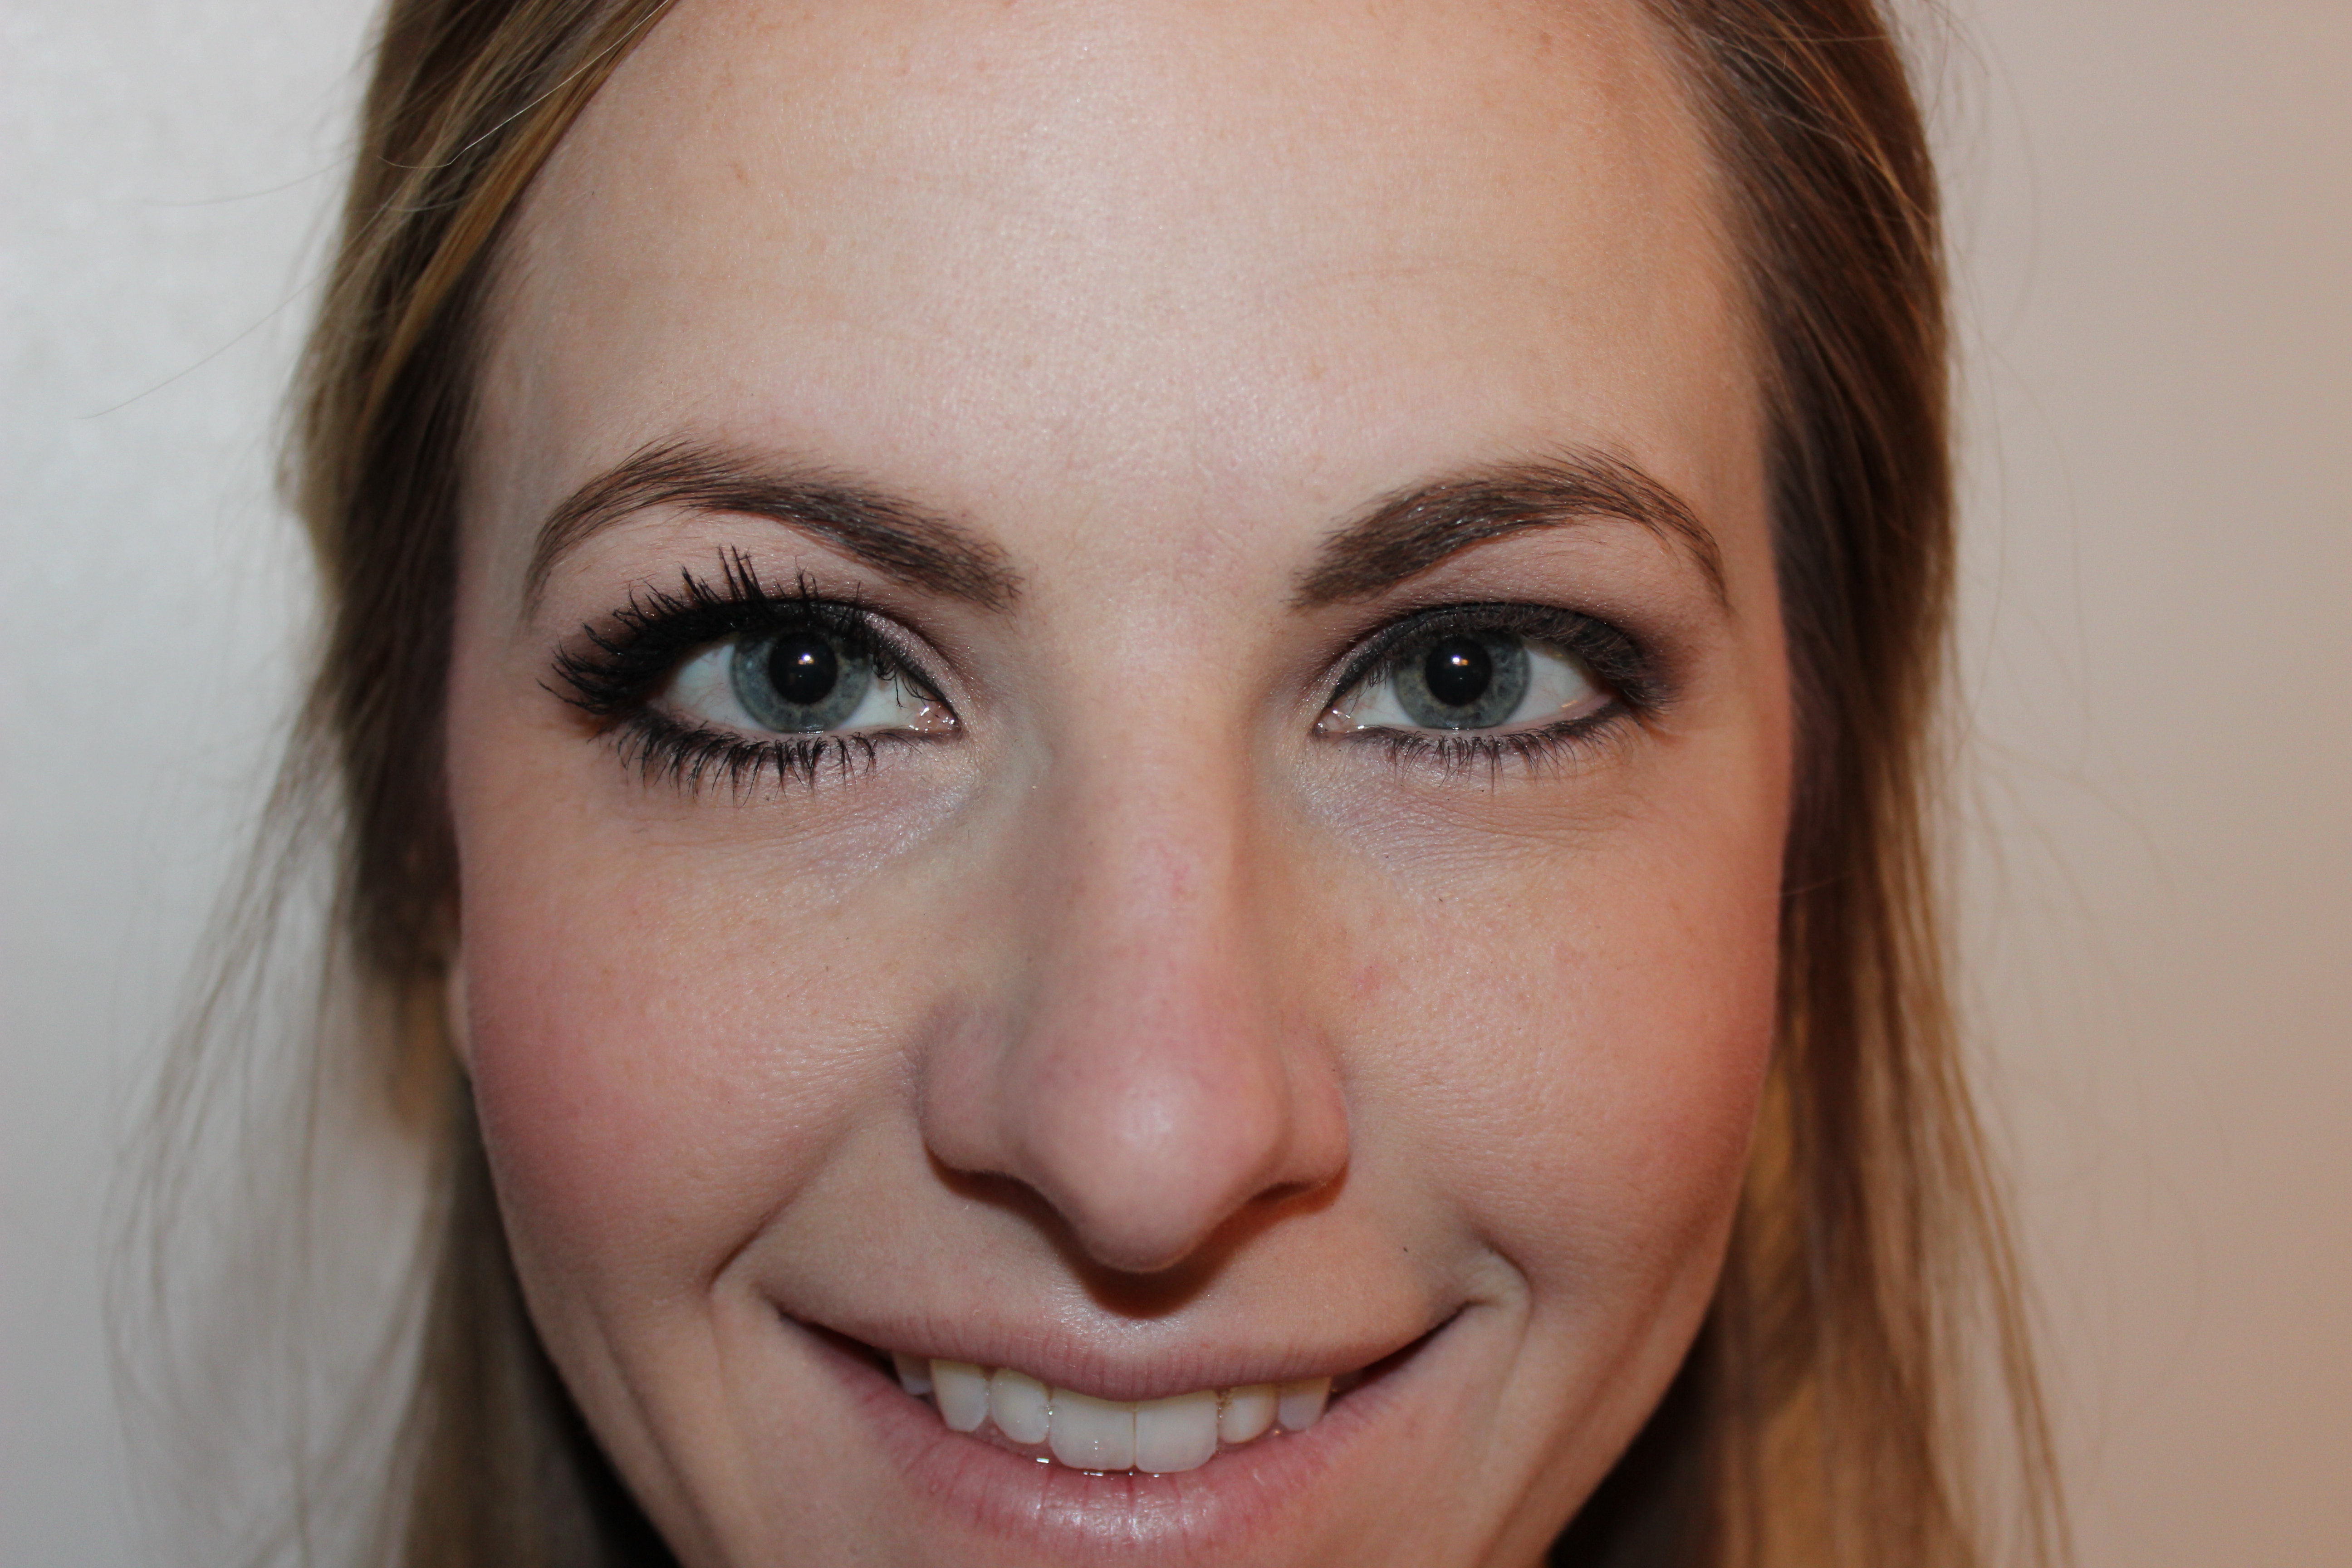
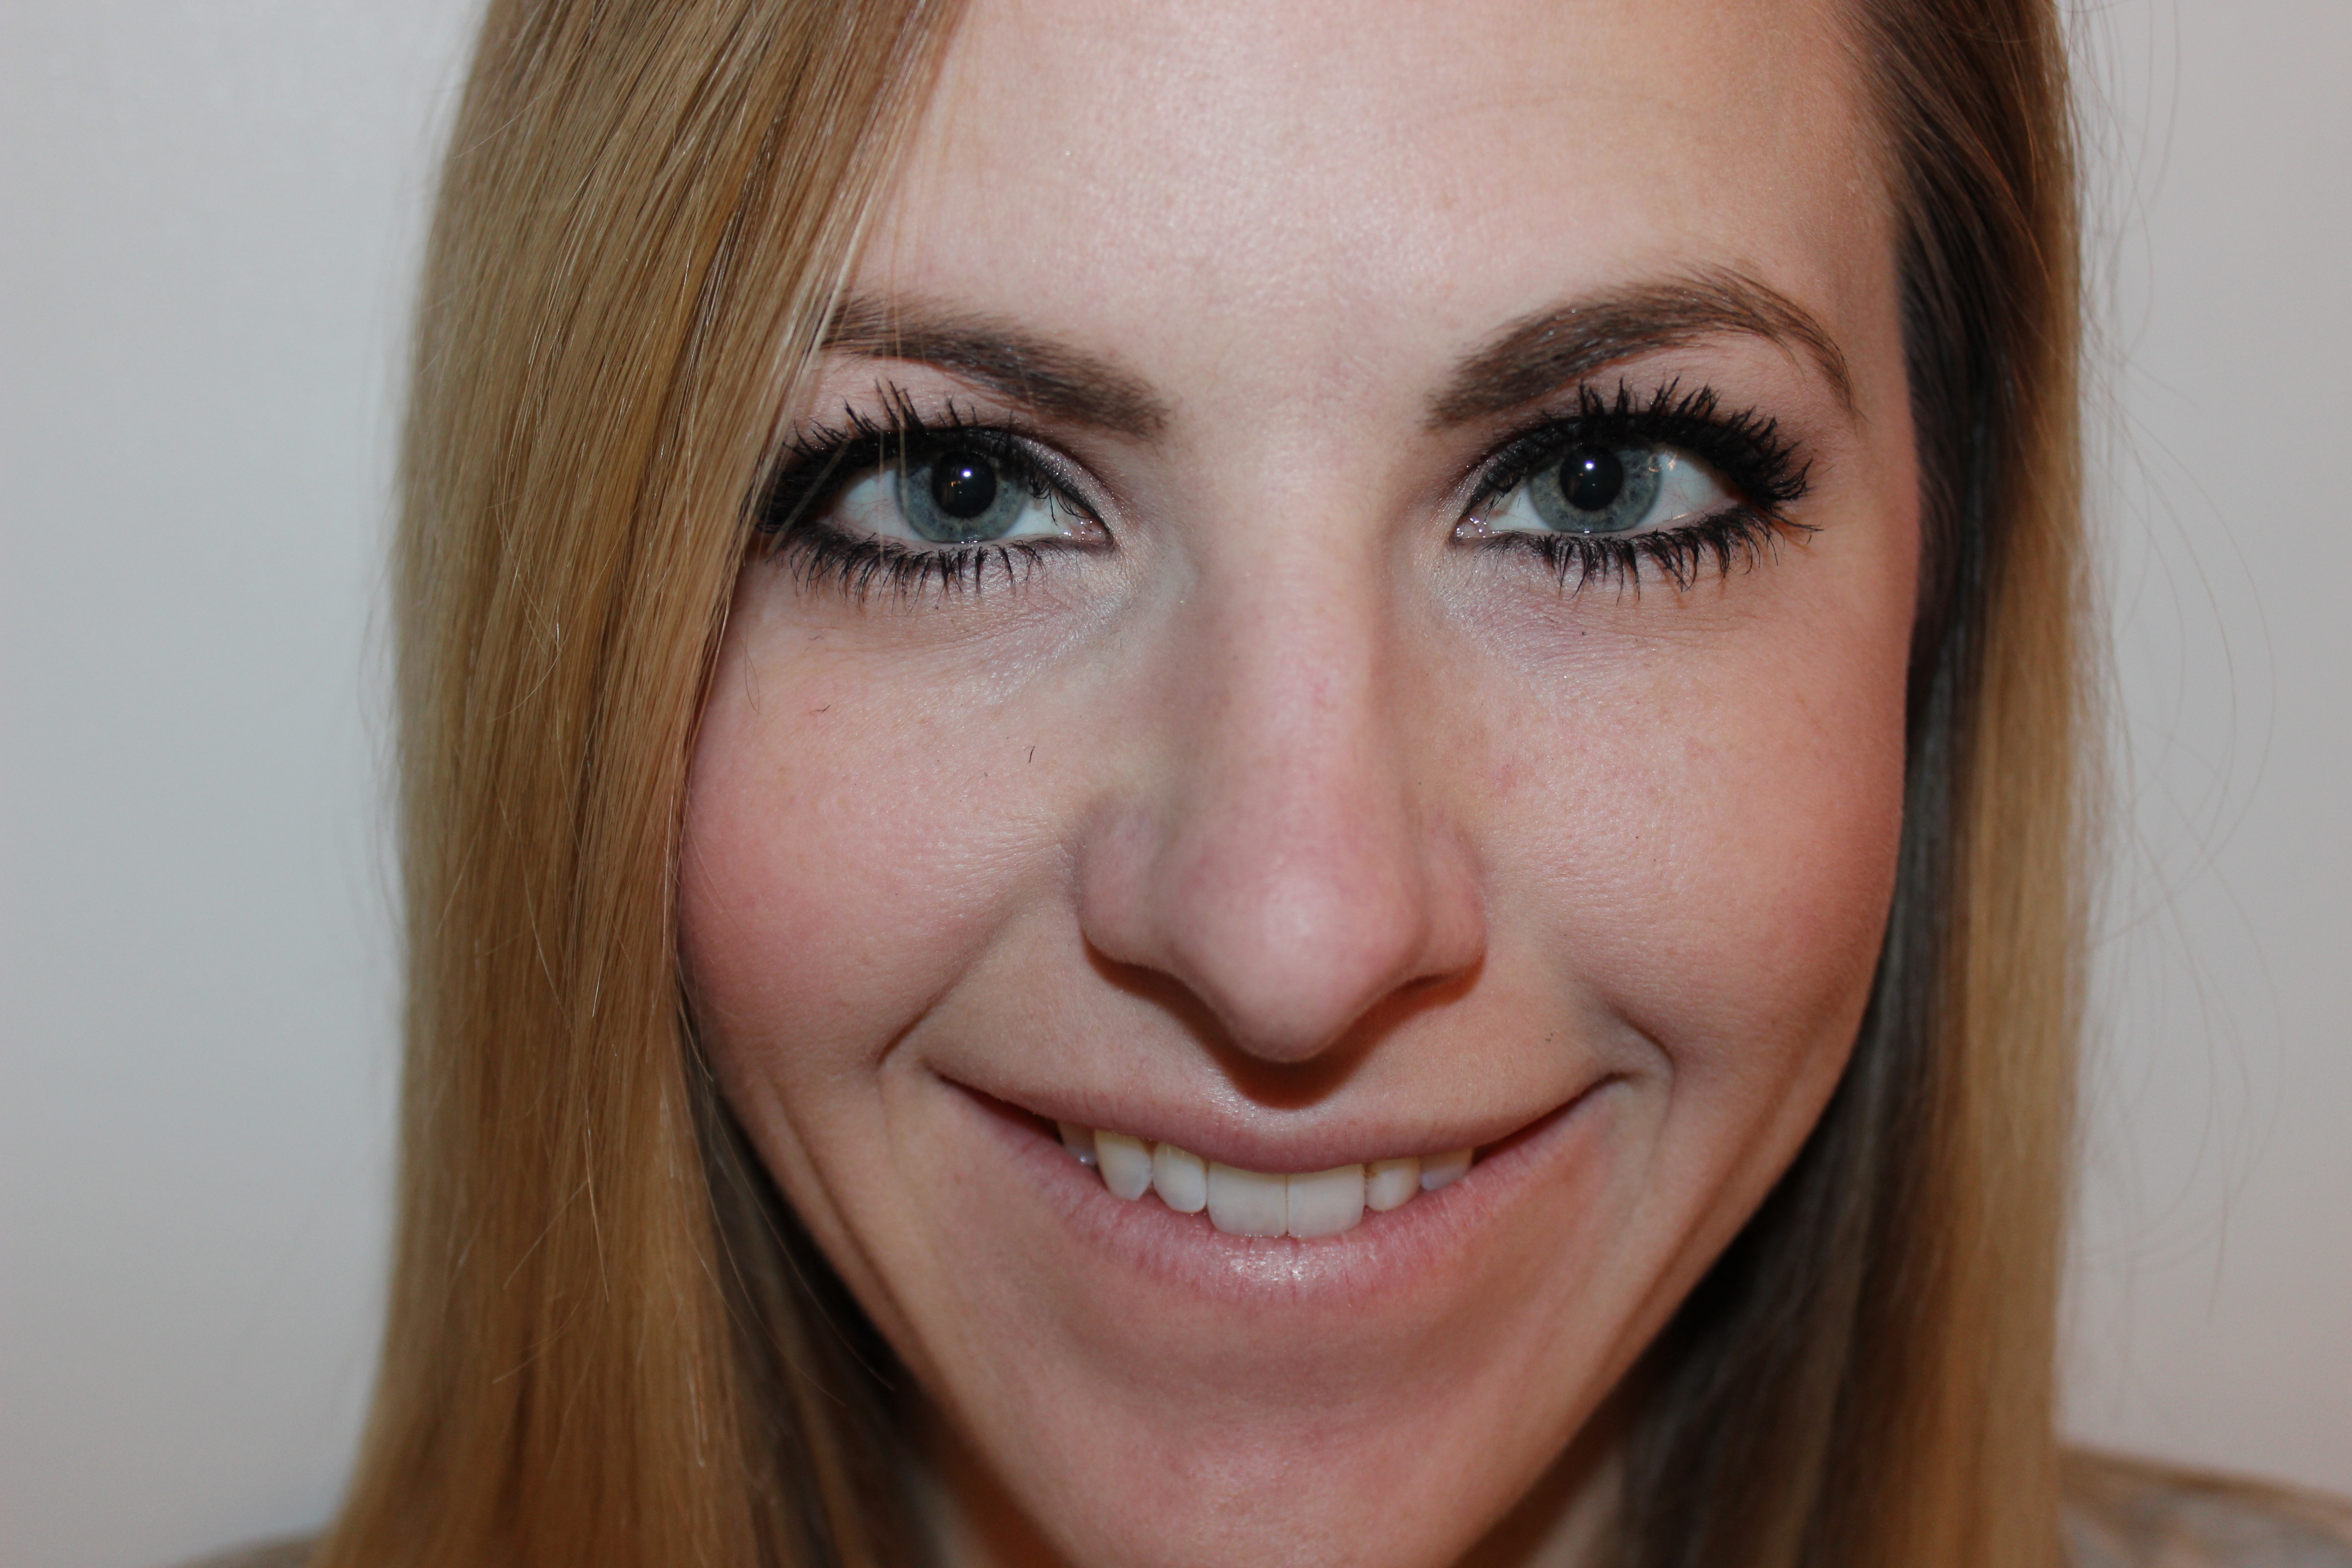
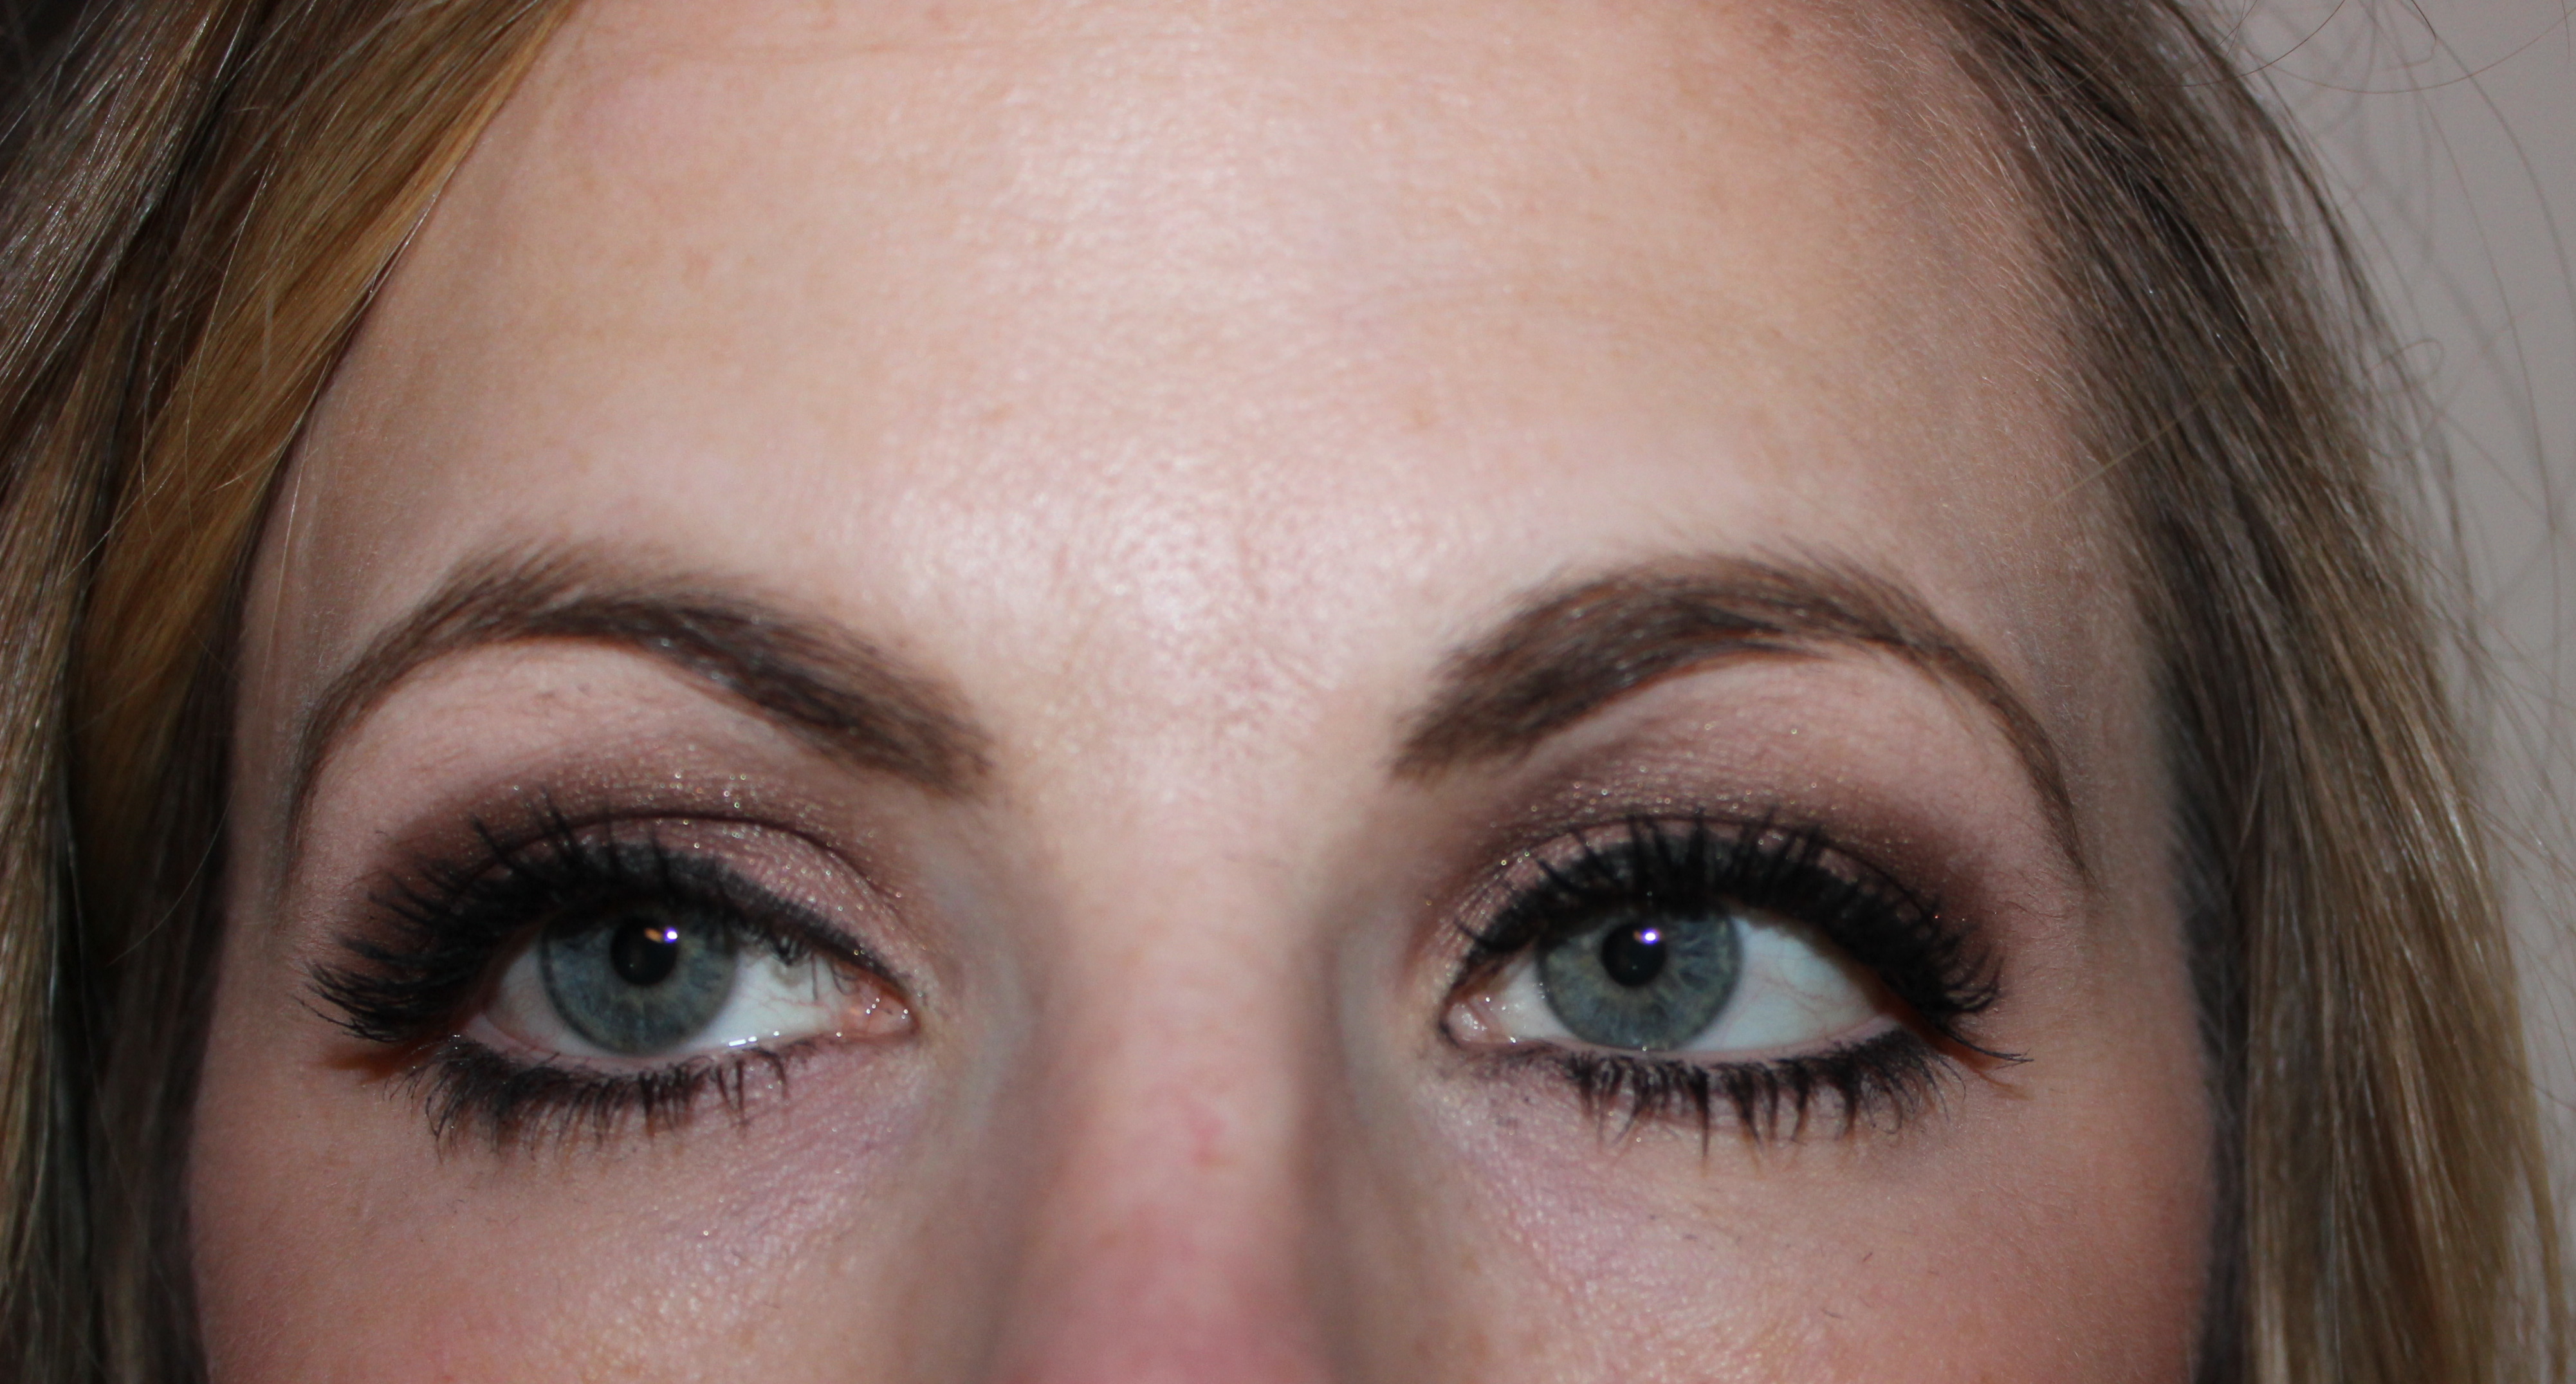
Thank goodness Mary Martinez reached out to me on Twitter and offered me to try the Moodstruck 3D Fiber Lashes from Younique because at this point my curiosity was boiling and I had to know what everyone was talking about. I am also thankful that I didn’t read too in depth into those closed Facebook groups because I wanted to start the process without knowing what I was getting myself into. The results were amazing! Take a look for yourself…
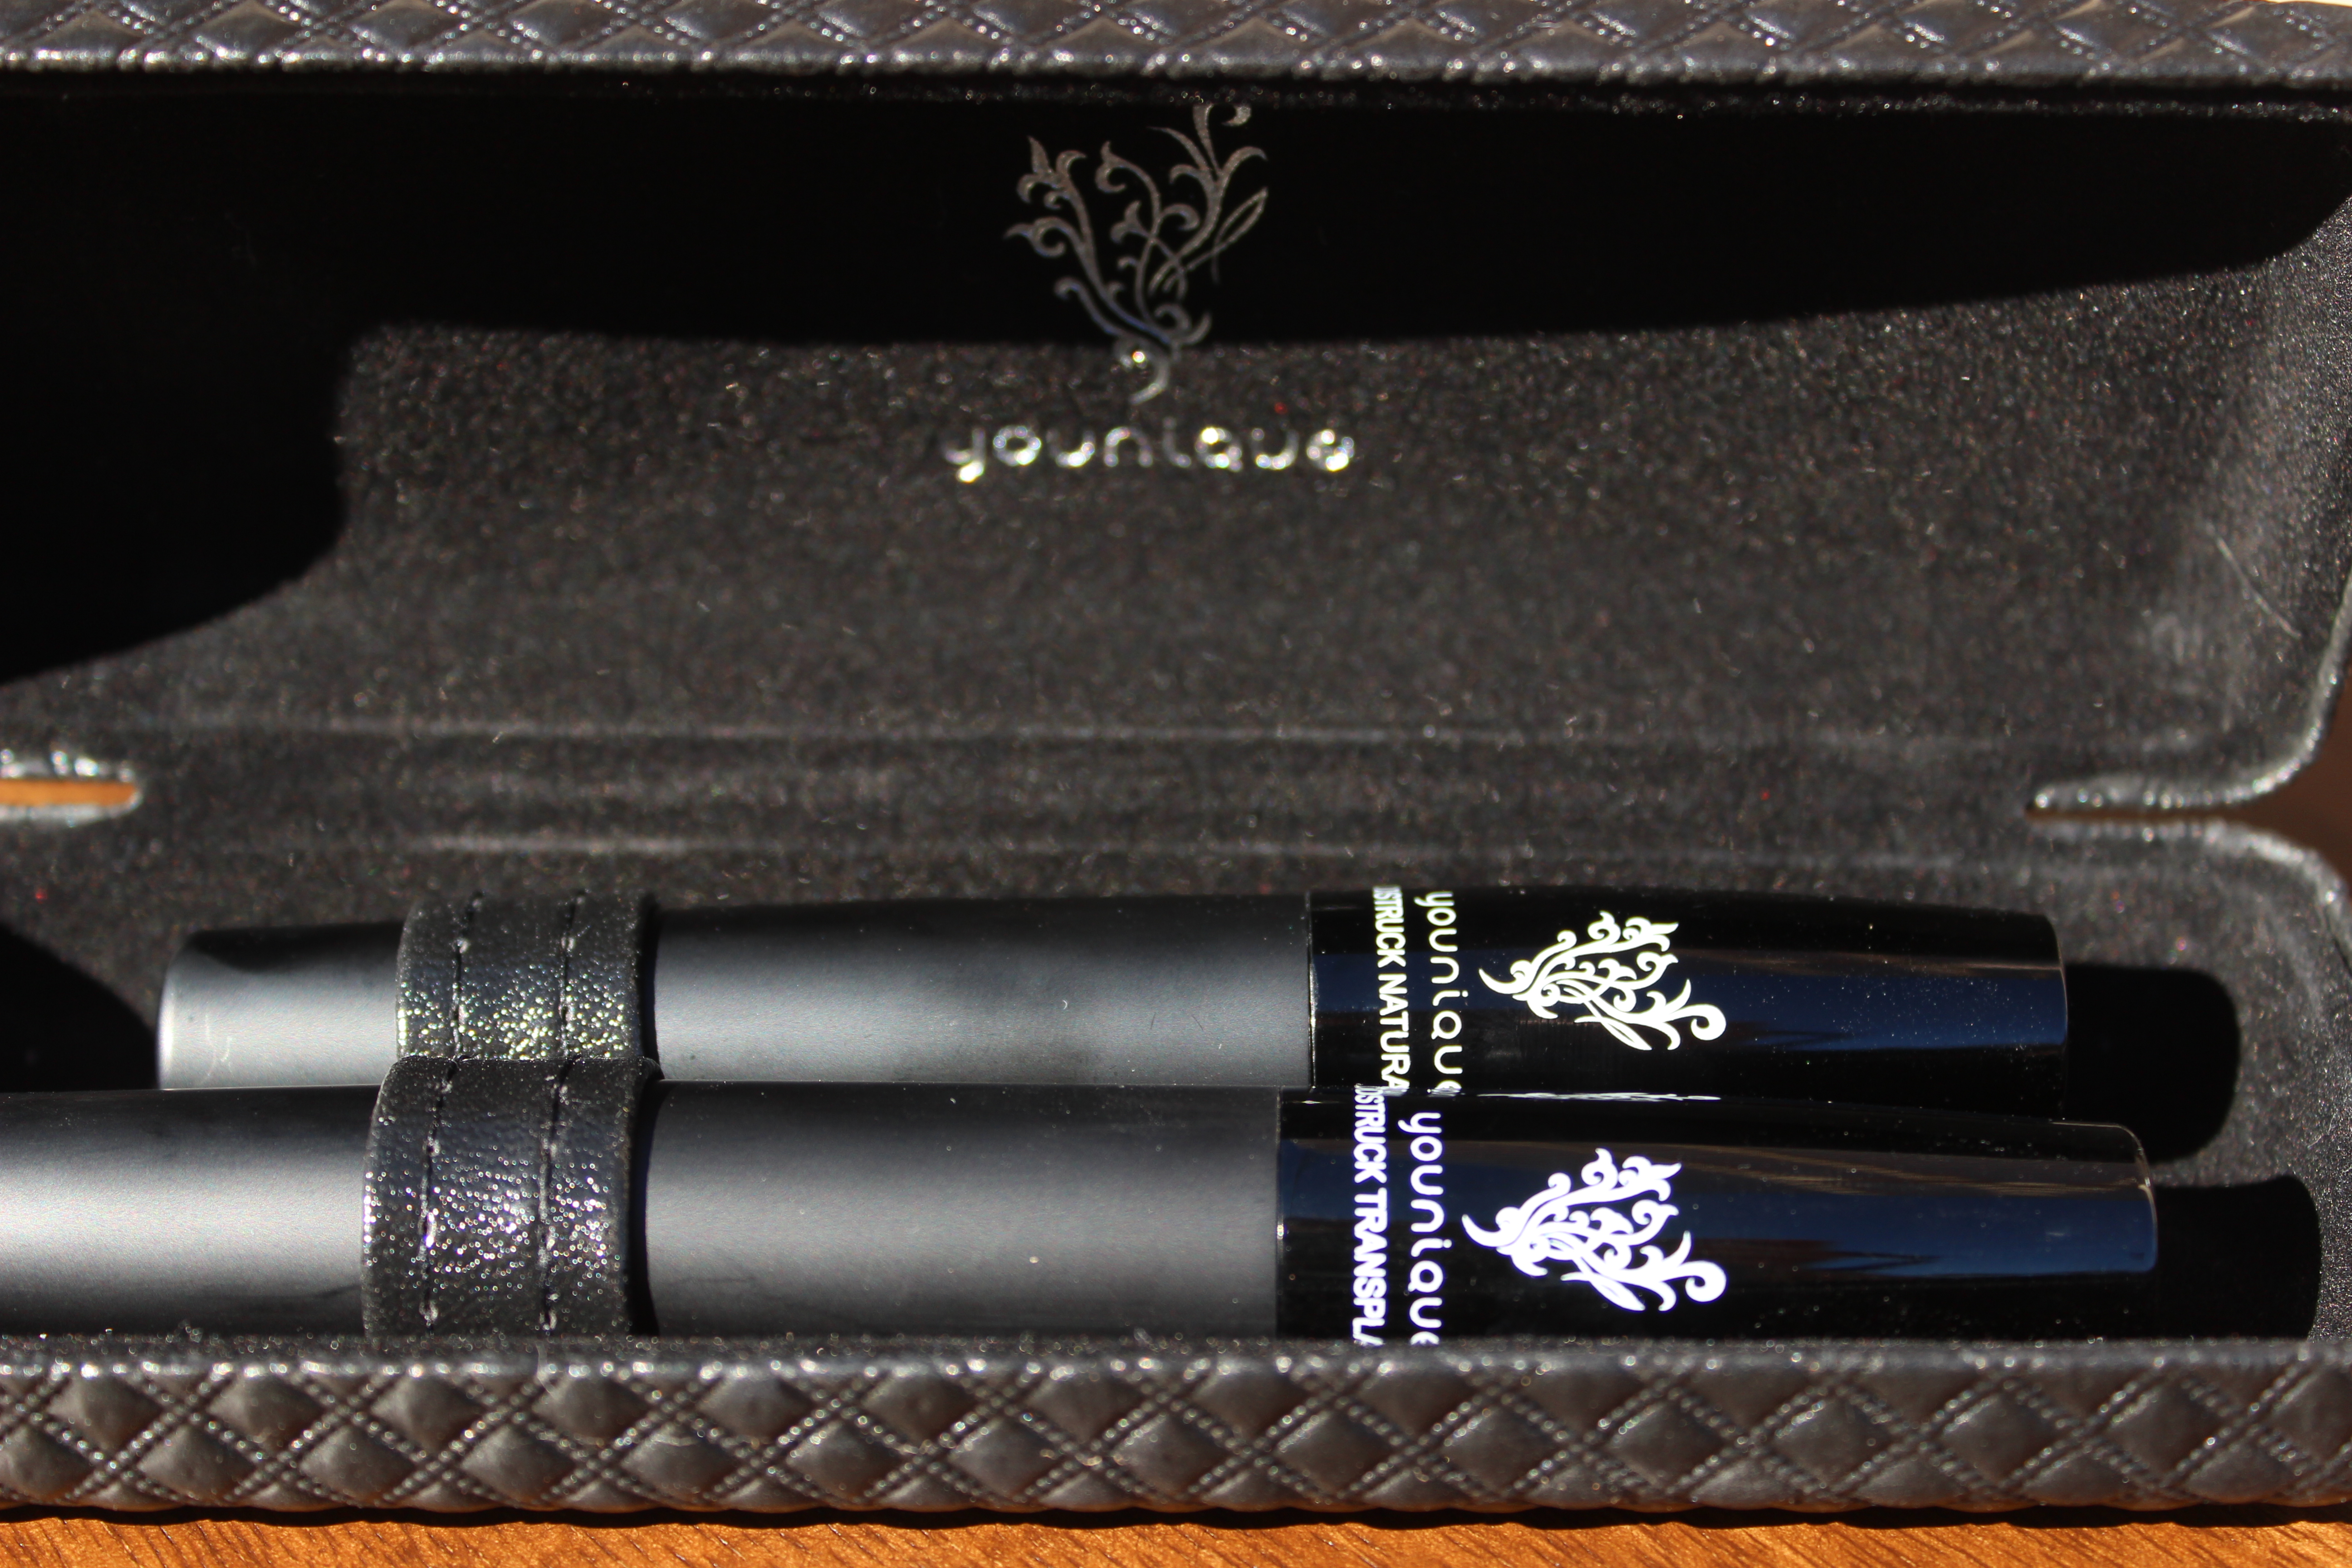
There are four key steps to having increased thickness and volume enhanced lashes.
1. Using your own regular mascara, apply a thin coat onto both sets of lashes and let dry. I used MAC – Opulash Optimum (Black) from my first Mascara Review Monday post.
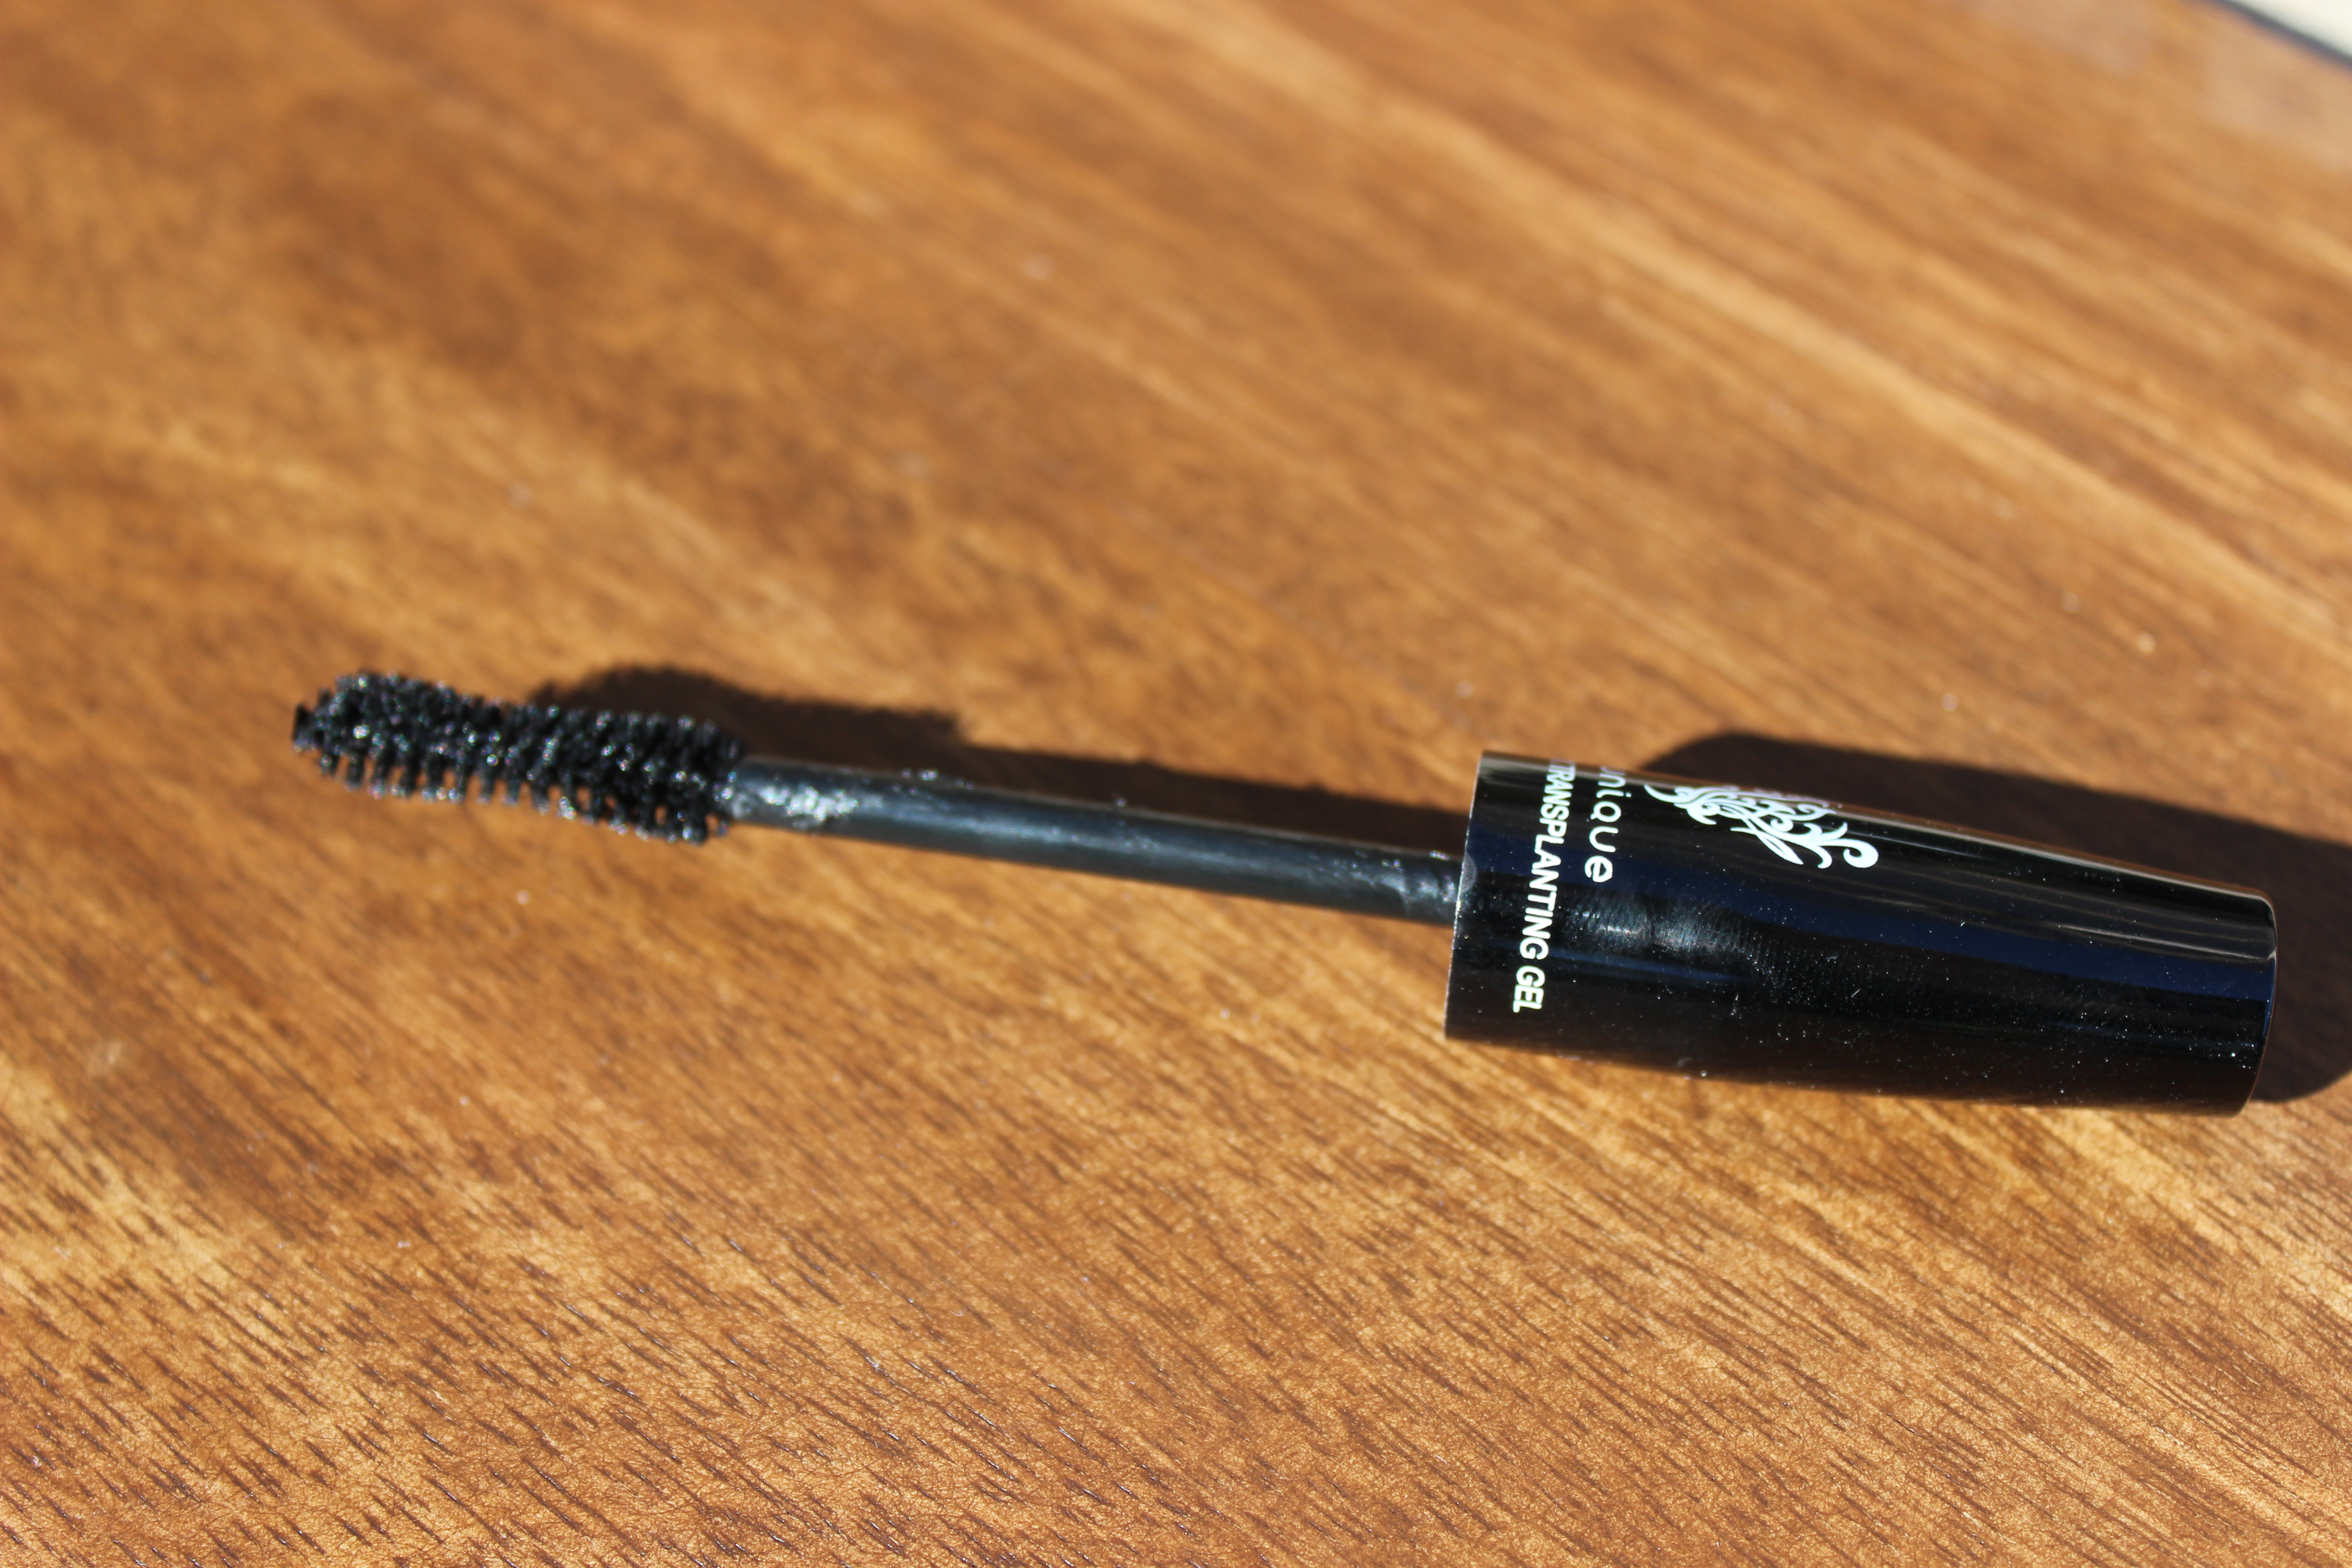
2. Focusing on one eye at a time in steps 2-4, apply an even coat of the Moodstruck Transplating Gel on your lashes.
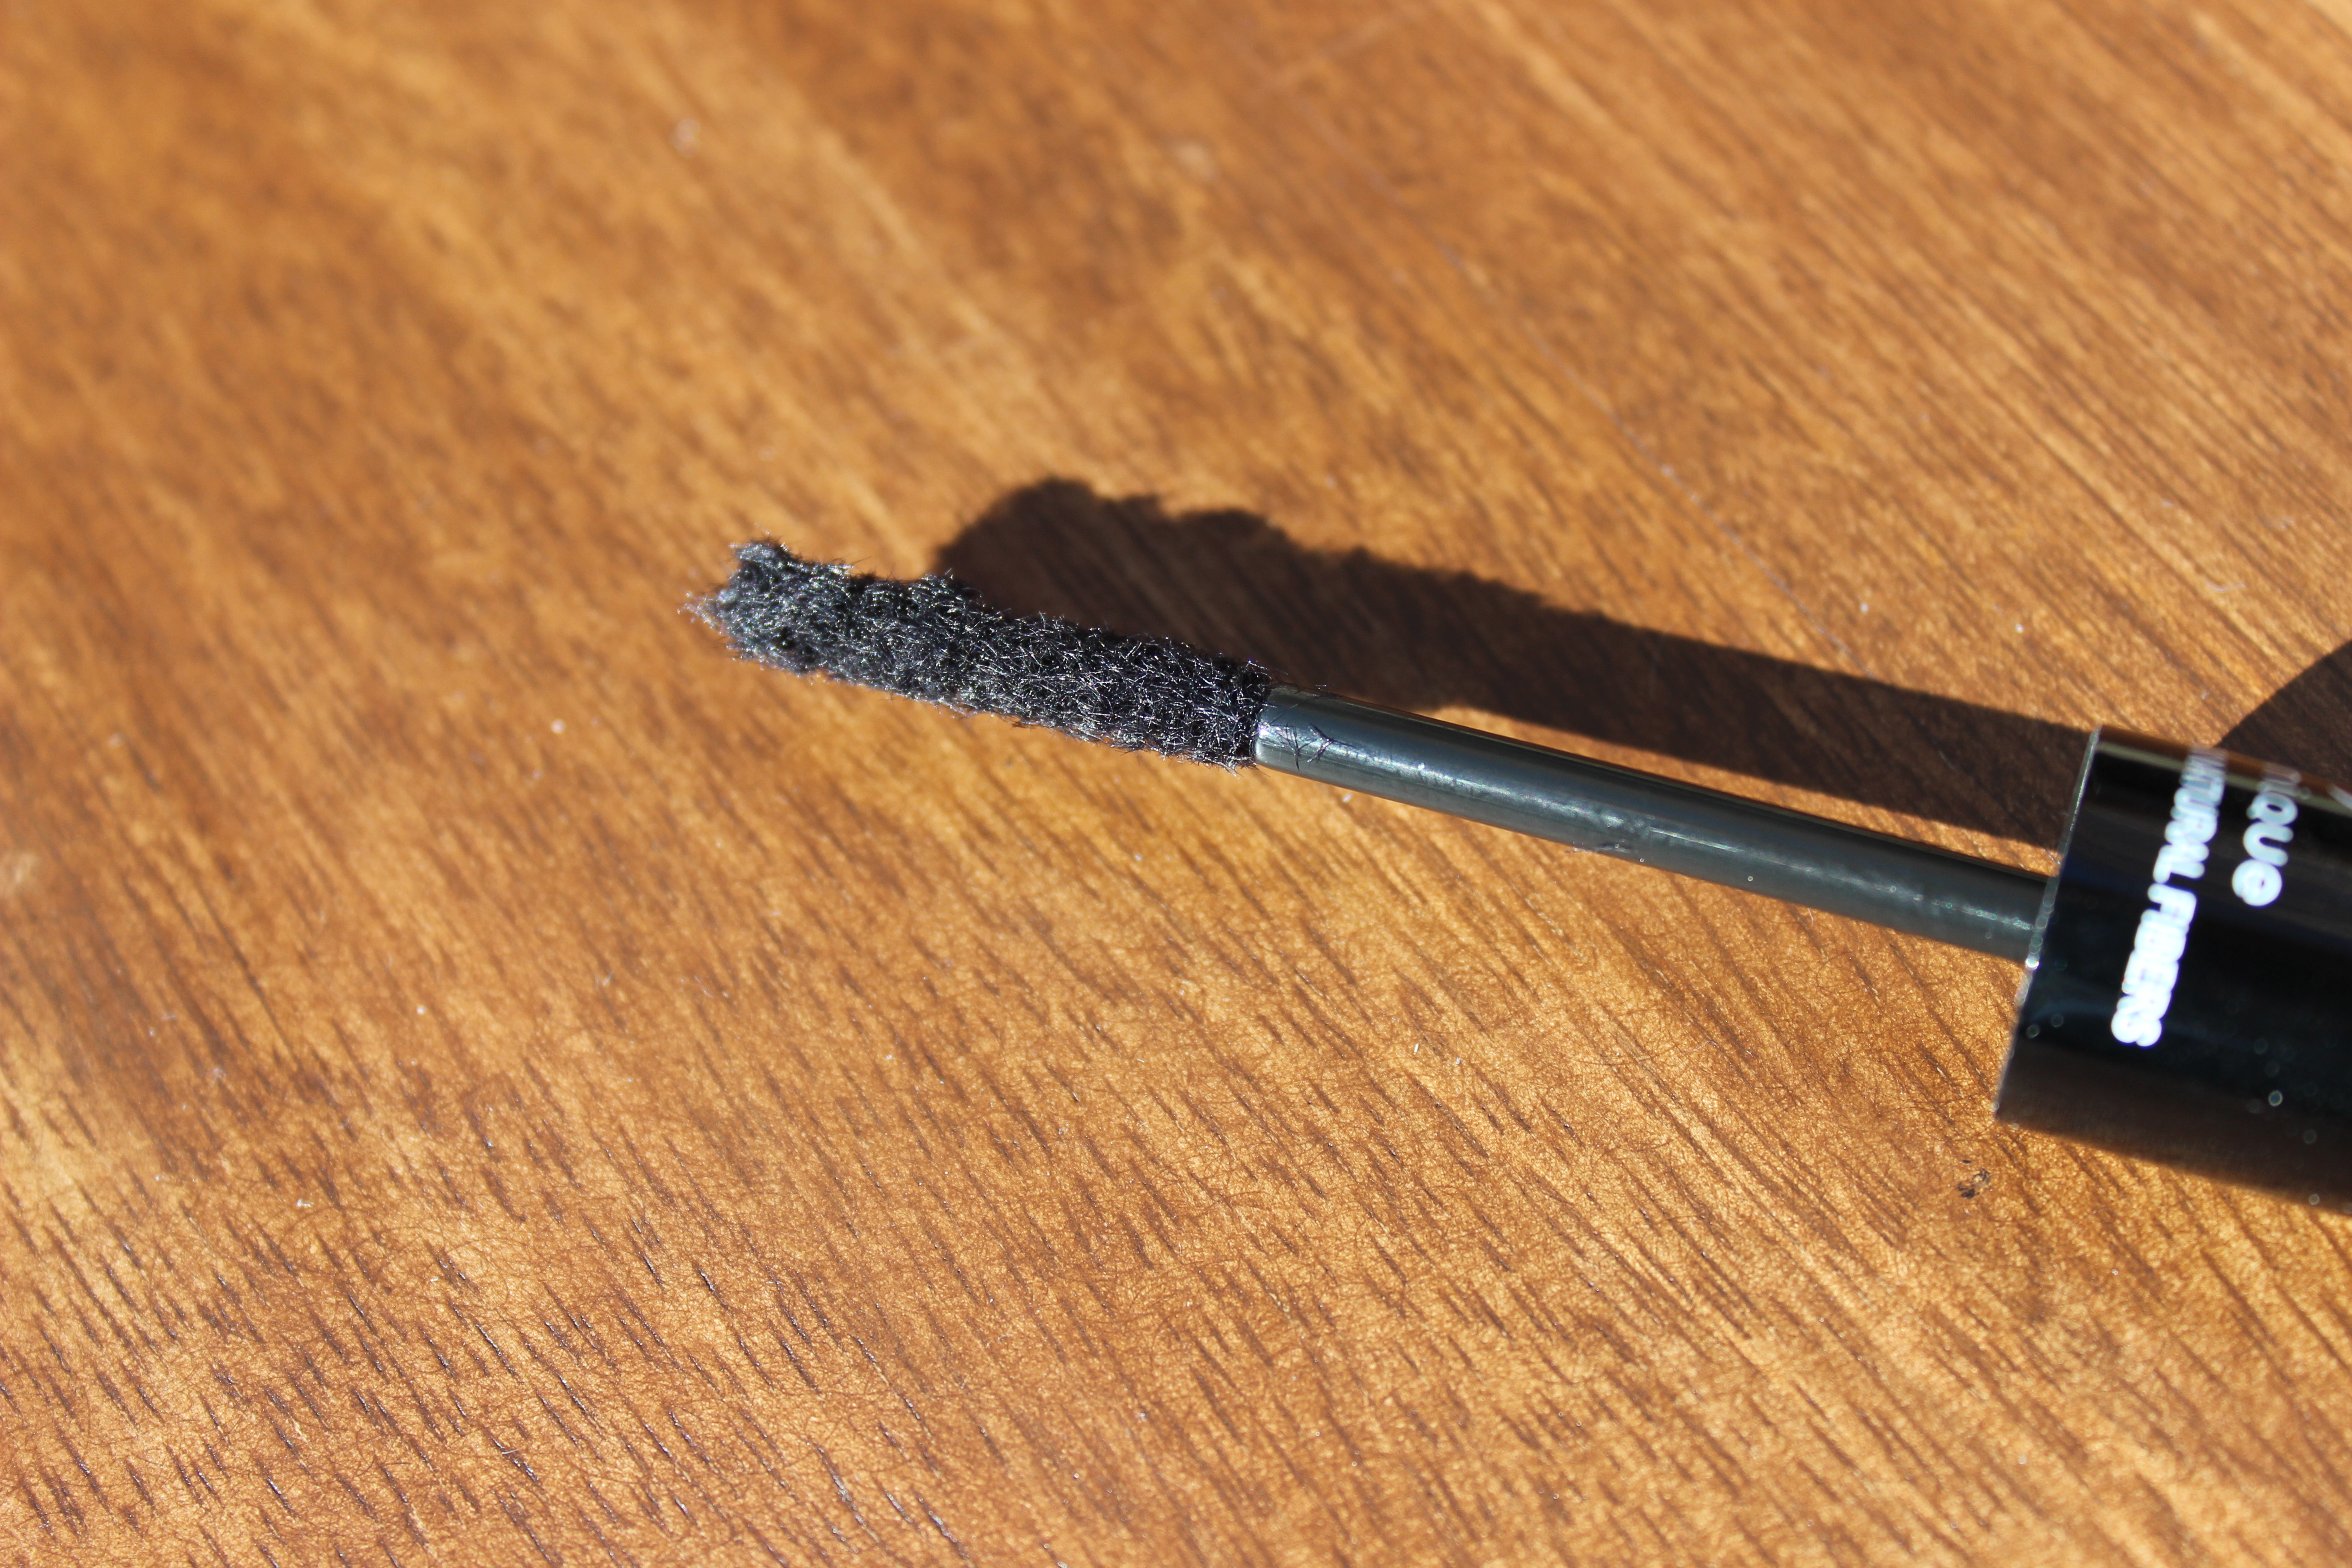
3. Immediately before the gel has time to dry, apply the Moodstruck Natural Fibers onto your lashes. The fibers reminded me of a black cotton candy. I had no idea that it was going to be actual dry fibers!
4. Last step, seal the fibers with another coat of the Moodstruck Transplating Gel. Continue Steps 2-4 on the other eye.
*If you want thicker lashes after Step 4 and before the gel dries, apply another coat of fibers (Step 3) and another coat of gel (Step 4). You can do step 3 and 4 as many times as you want until you get the desired thickness and length. I applied two coats of fibers when I got ready in the morning, then later that night I applied one more coat of gel-fibers-gel before going out for the night (without washing my face – don’t judge, I was on a time crunch!).
Tips: If you apply too many fibers on your eye lashes they may fall onto your cheeks. This happened to me and my initial reaction was “oh no, when I wipe this off it will smear a black mark across my cheek”, but since it is fibers there was no black mark left behind!
That day at work and later that night I kept having friends and co-workers ask me if my lashes were real! They truly resemble false lashes without having to worry about the glue, getting them on straight and having them peel off. Plus it’s only $29 for the two-tube set that lasts up to 3 months! I used to pay more than that for designer mascara that didn’t come close to this fullness. The only extra thing would be purchasing your own mascara to use in Step 1. I would suggest getting a Maybelline or equal brand mascara from a drug store. It’s good to have your own mascara on hand in case you don’t want such glamorous lashes one day. My will always be: Great Lash in Blackest Black by Maybelline.
The trick to washing them off is using warm water to wet your lashes and fingers. Then gently wipe off the fibers before washing your face with soap.
I know this sounds like an ad, but I promise I don’t sell this mascara. I am just amazed by how well it actually works! I’ll be the first one to say, “you proved me wrong!”. Maybe now I’ll actually read into those closed groups that I keep getting added to 🙂
If you’re wondering how you can try this miracle mascara, contact Mary! She’s answered all of my questions and I received my mascara within a couple days. If you tweet, Instagram or Facebook, she’s got you covered. Follow the links below or go directly to her website: www.youniquebymarymartinez.com.
Twitter | Instagram | Facebook
Bonus Review:
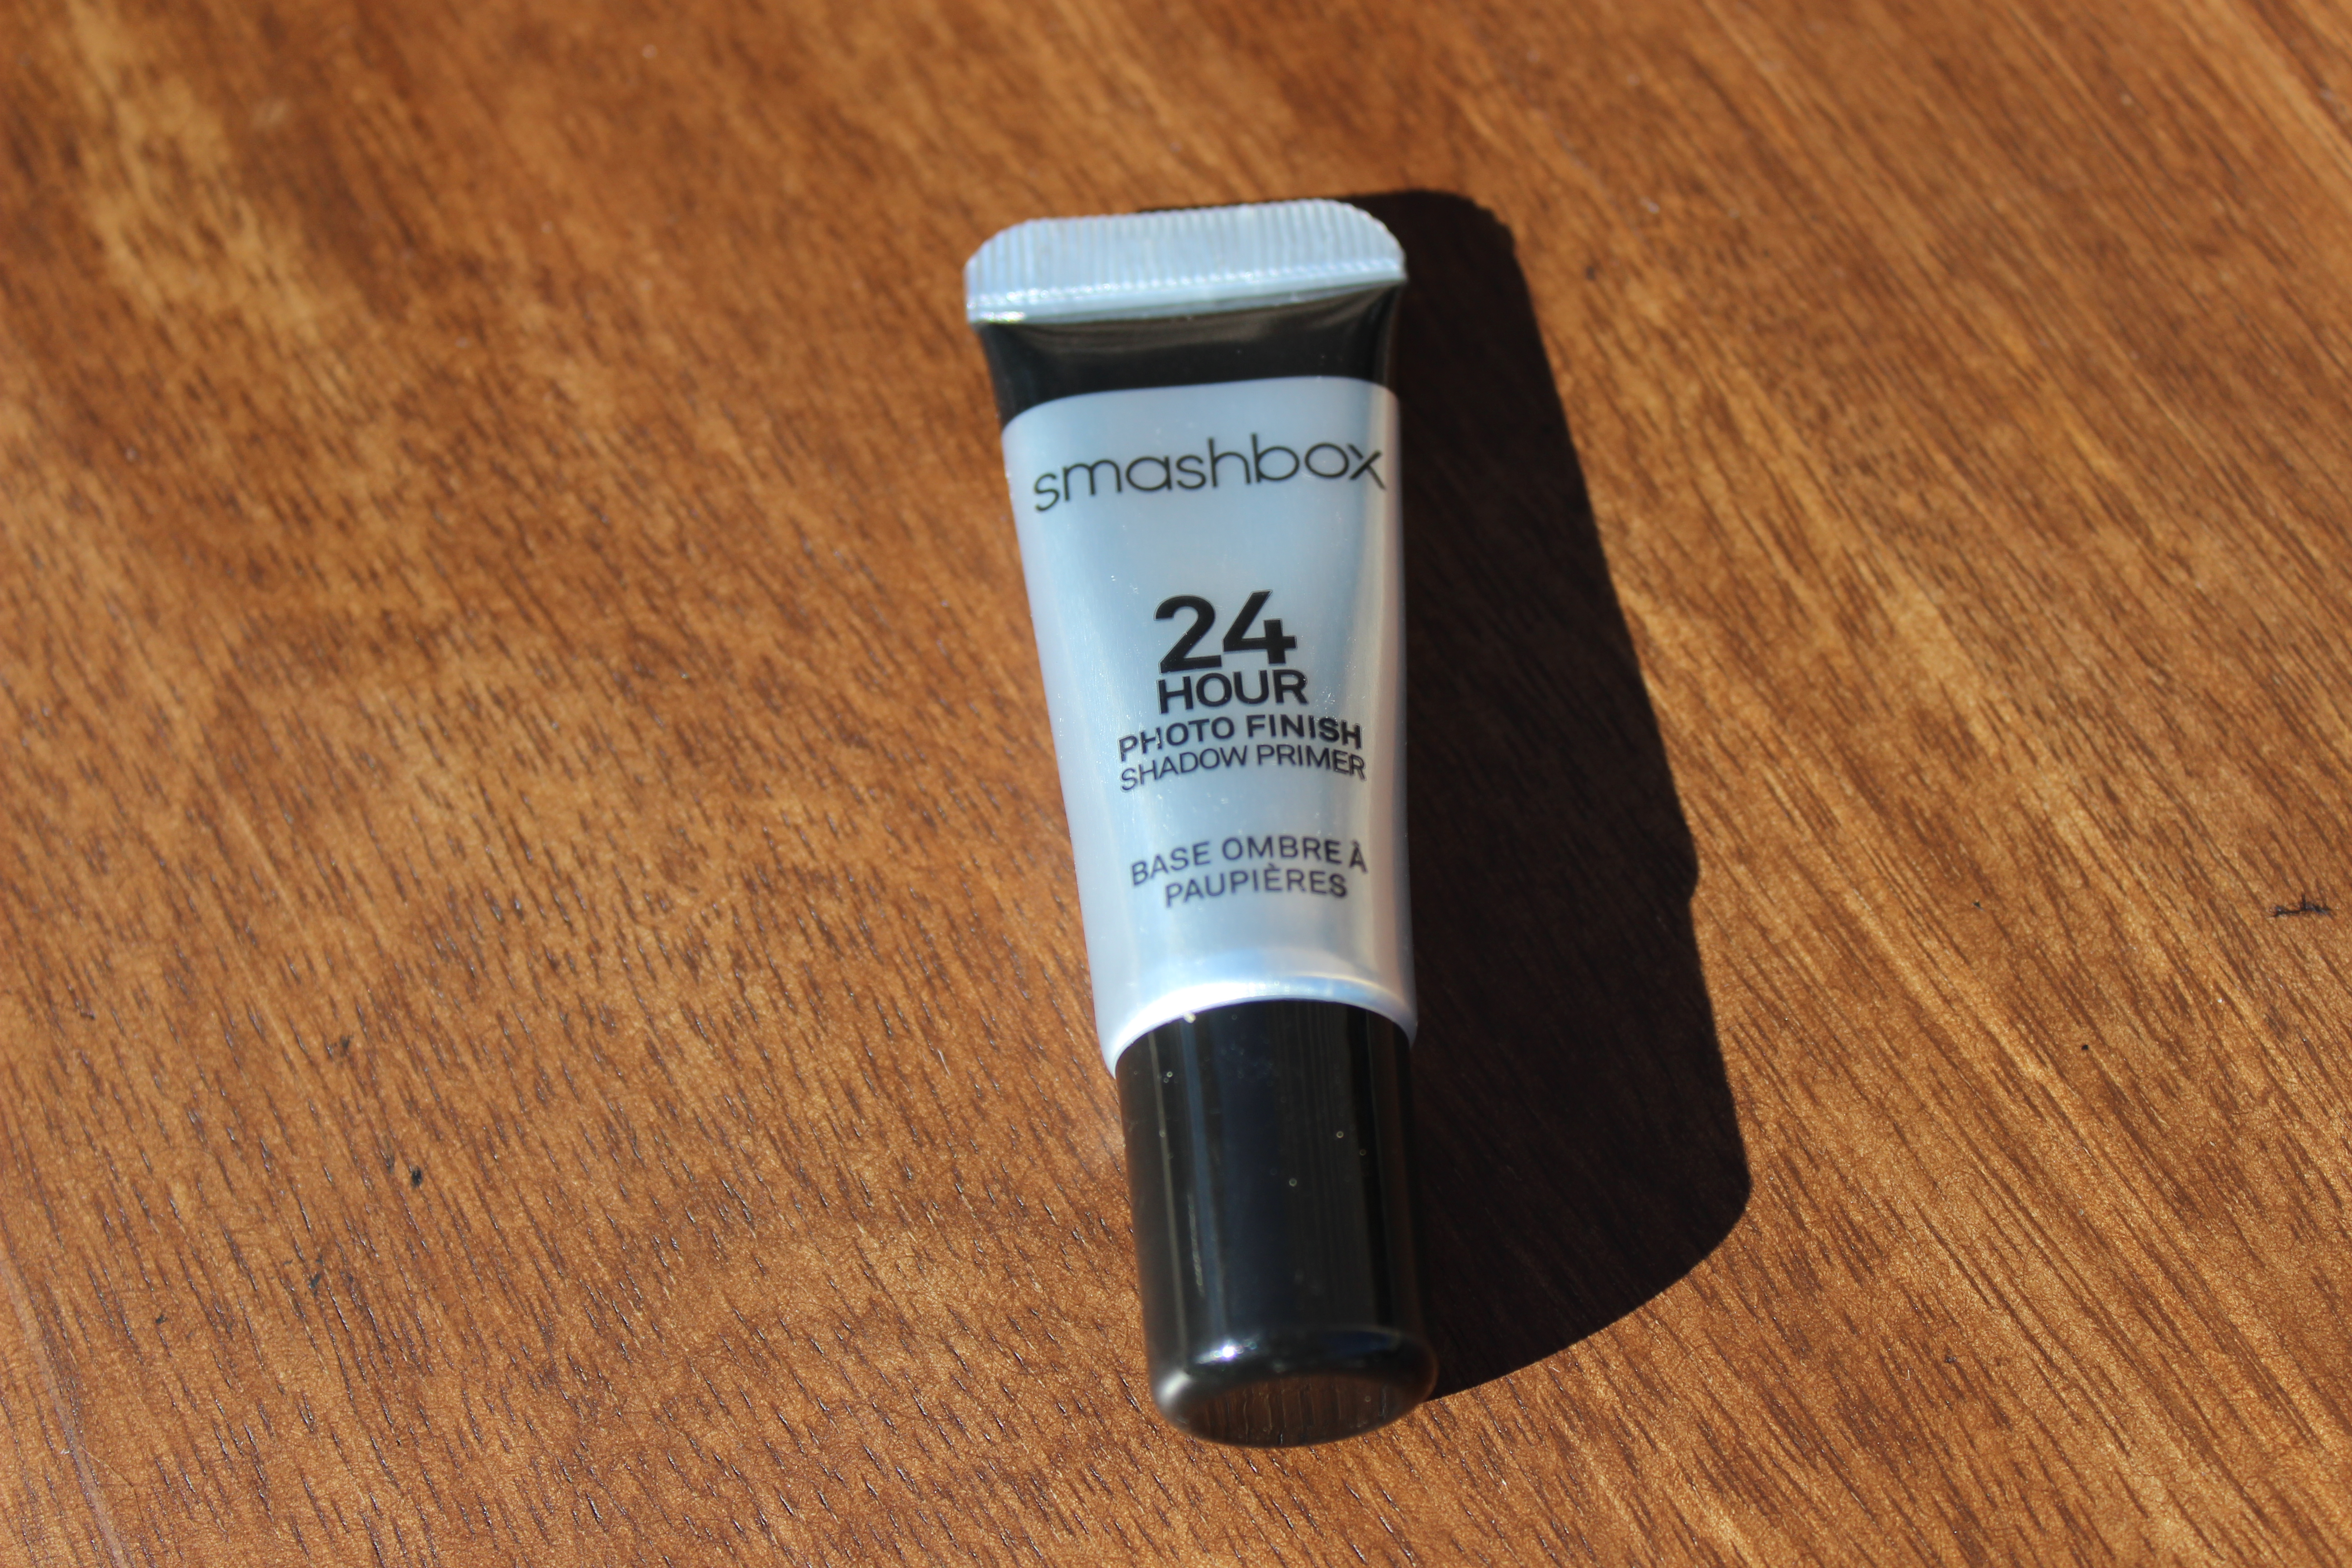
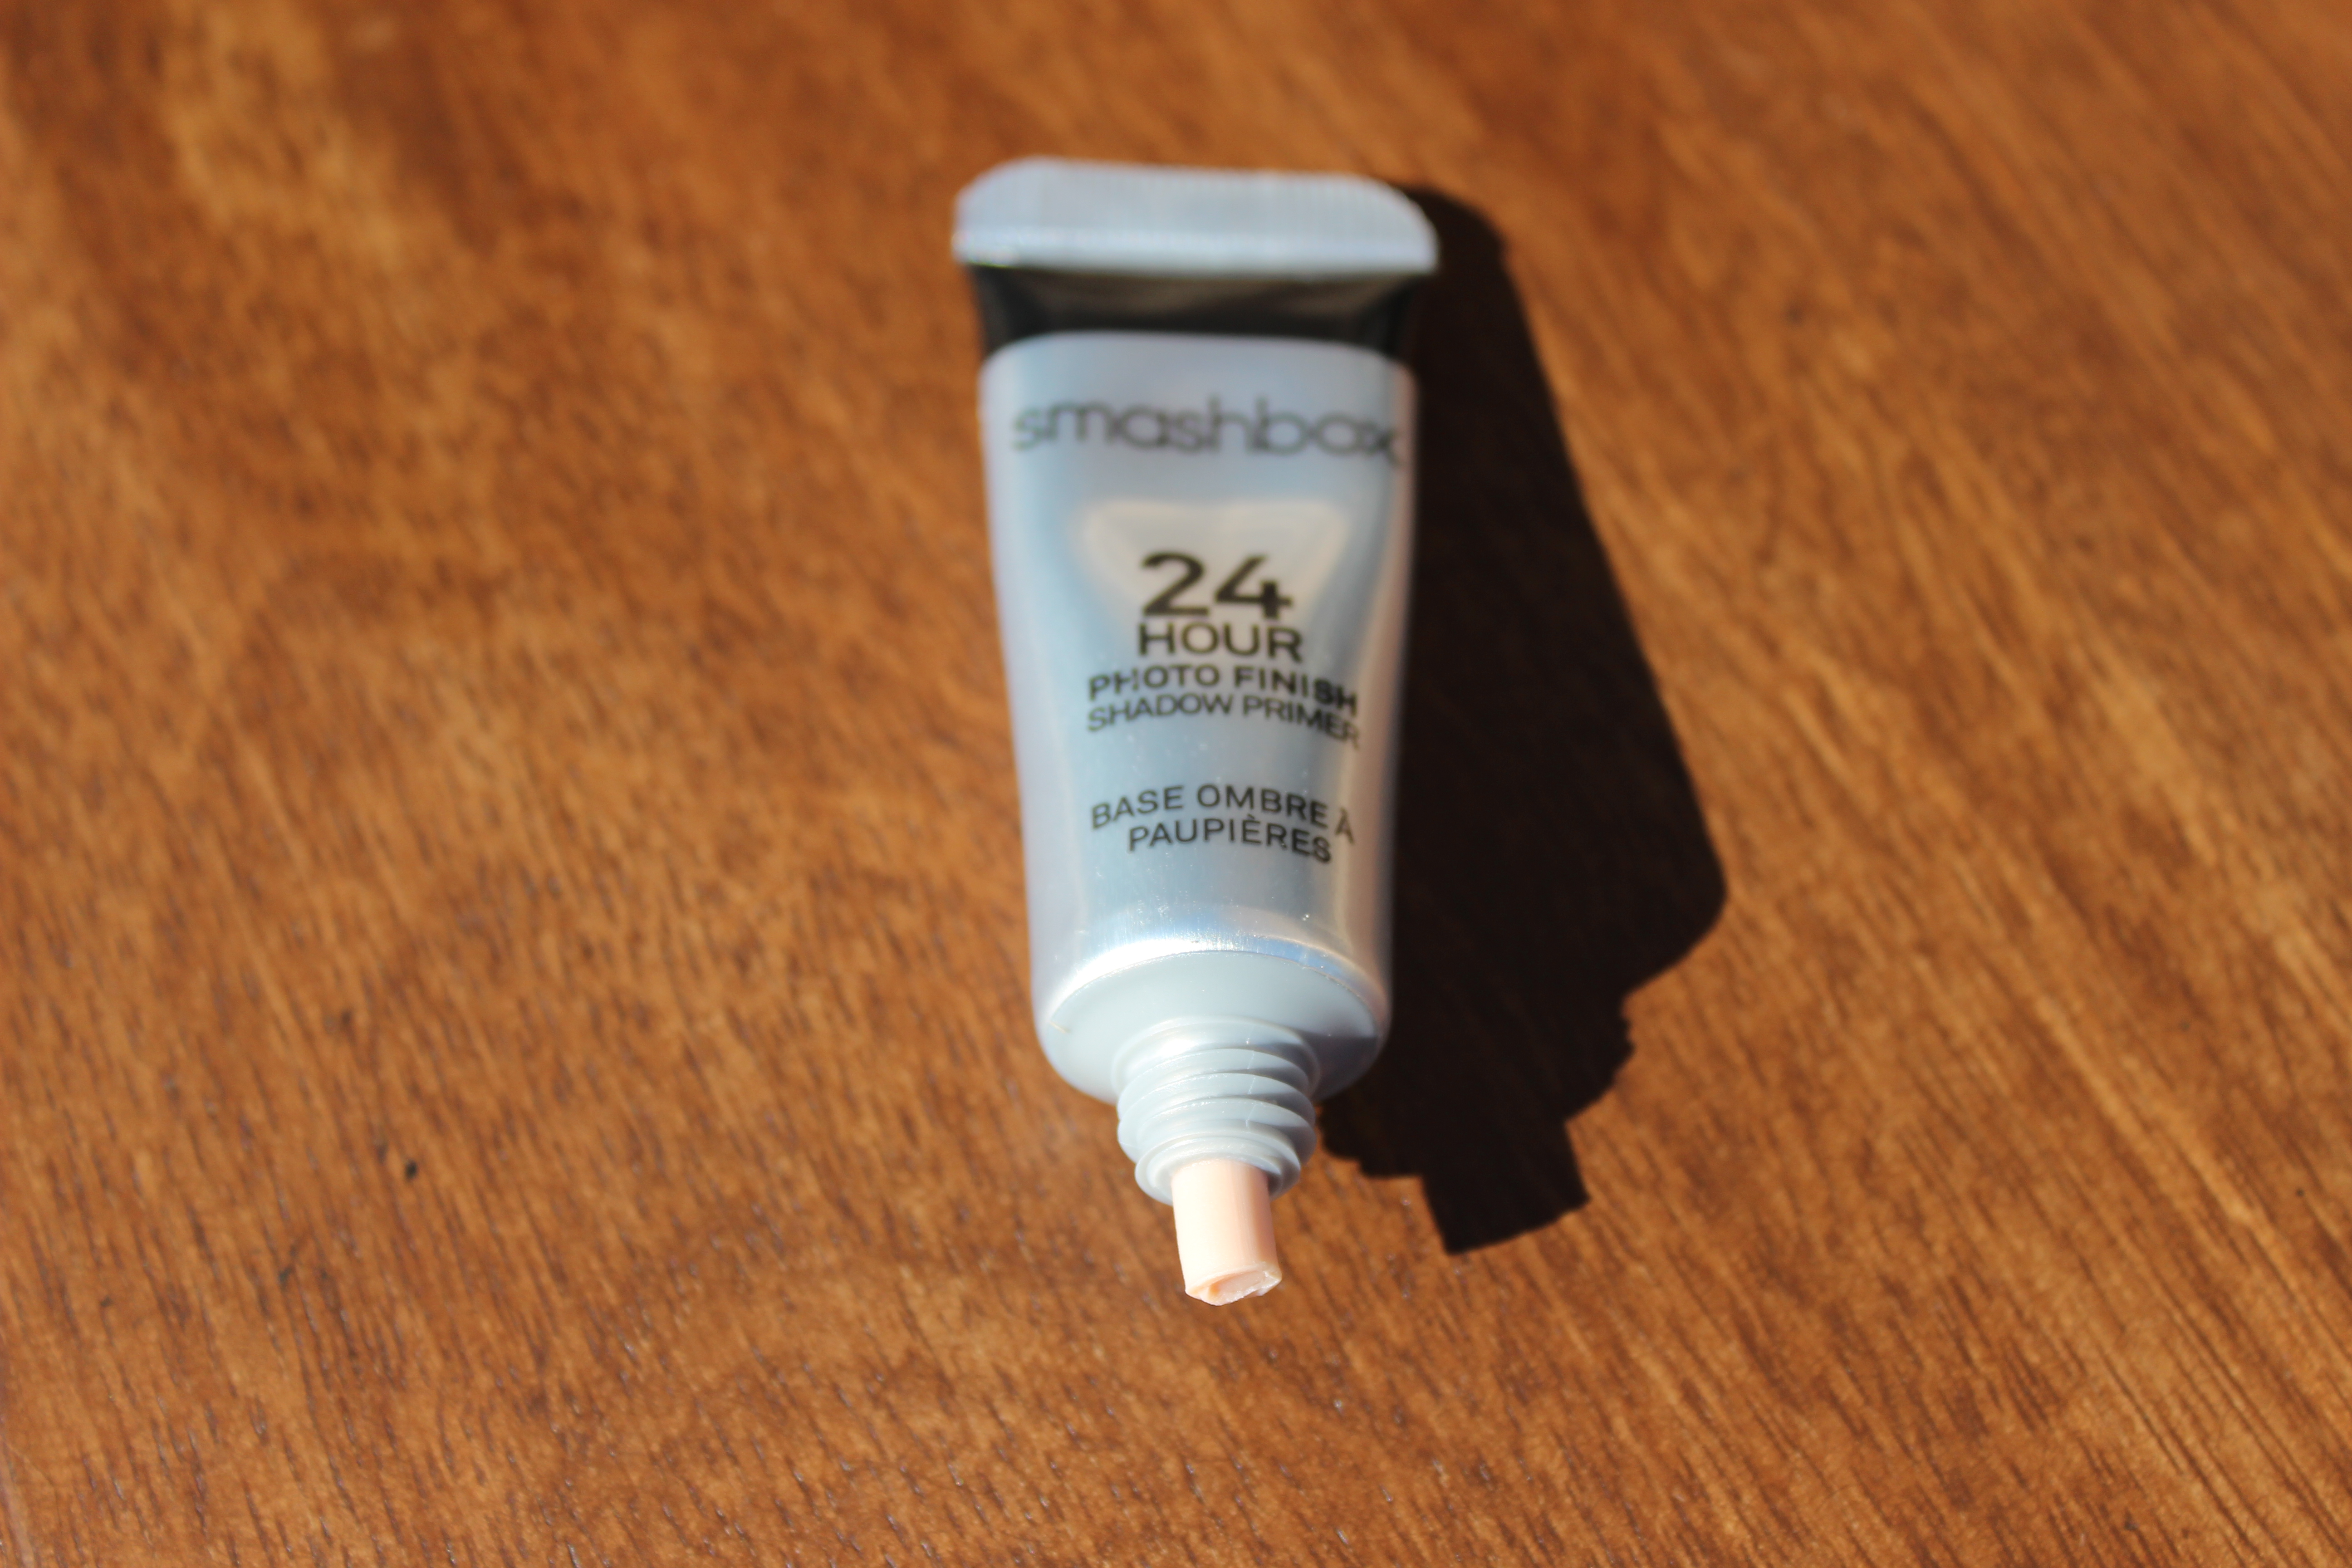
The same day that I tried Moodstruck 3D Fiber Lashes for the first time, I also tried a 24 Hour Photo Finish Shadow Primer from Smashbox. It was a regular Friday: I had to be at work all day (a regular 9 to 5), do a short 45 minute photo shoot during my lunch break (details on the blog this week), then come home to change my clothes and go straight over to my best friend’s house for her Holiday Party. I knew that I need my make-up to last about 20 hours. I know that make-up never lasts longer than 5-8 hours, so I was ready to yet again be proven wrong. Here are before and after pictures of my eye shadow from applying it at 7am and coming home at 7pm before the holiday party. That’s 12 hours! I didn’t have to touch up at all. I don’t have pictures of my eye shadow from when I got home around 2:30am after the party, but trust me no one wants to see that 😉
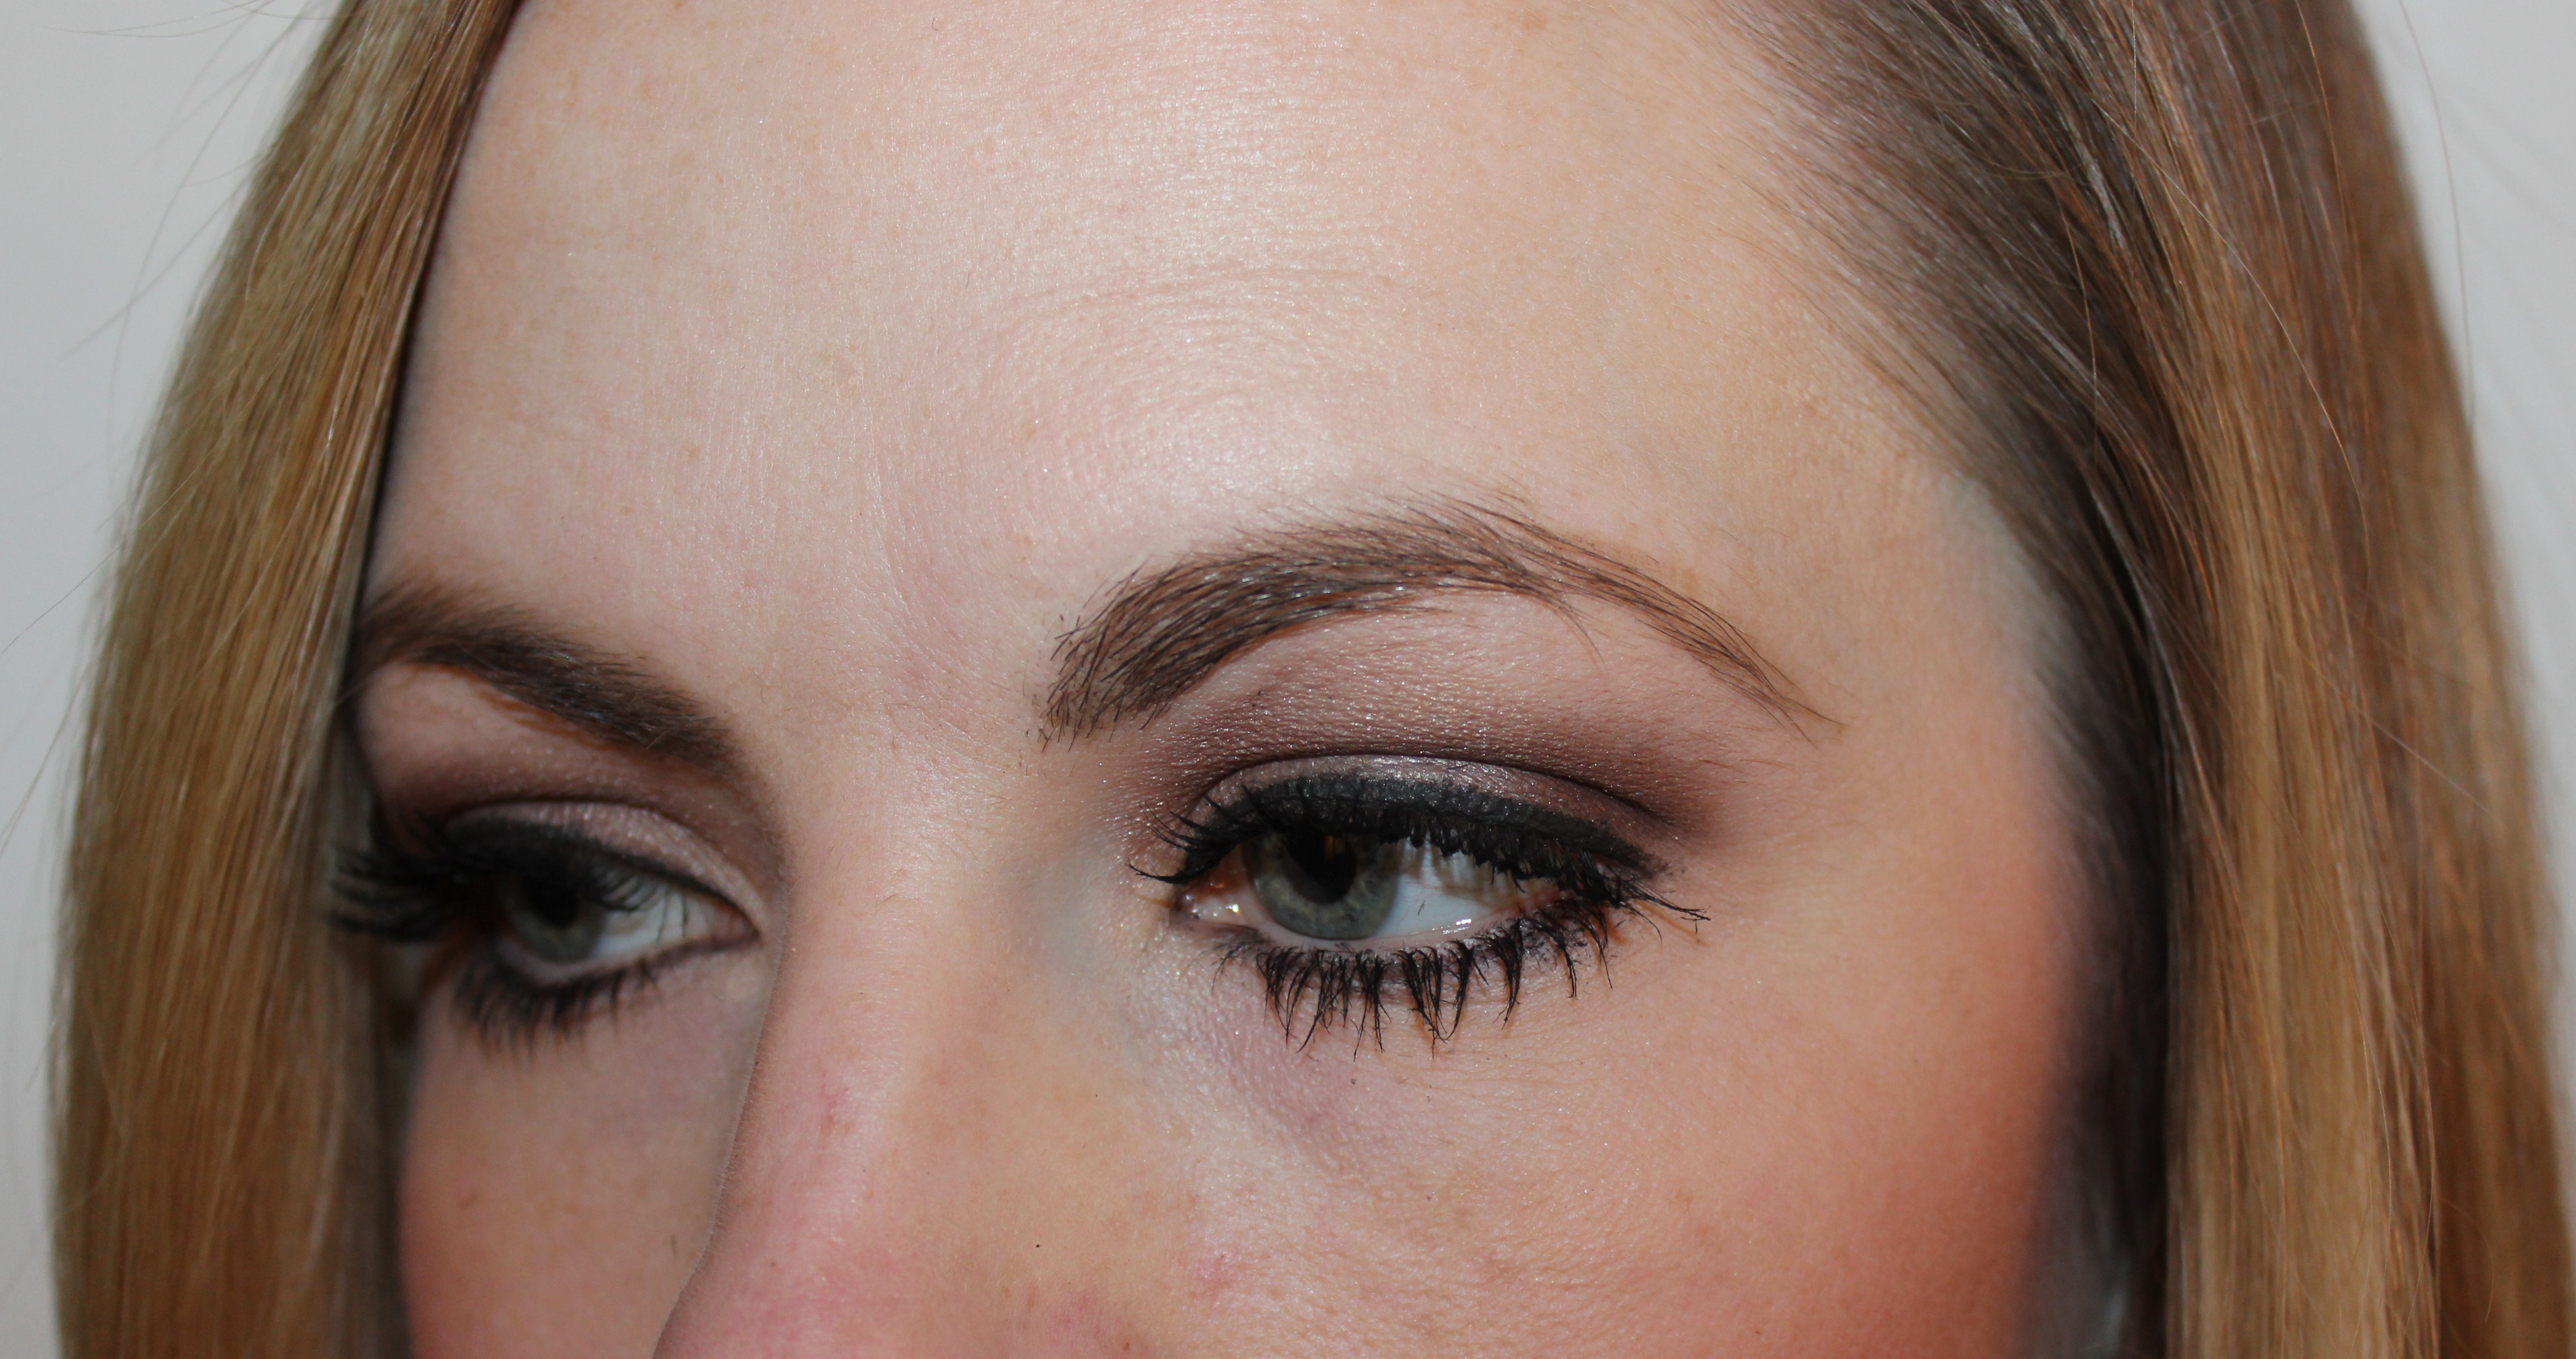
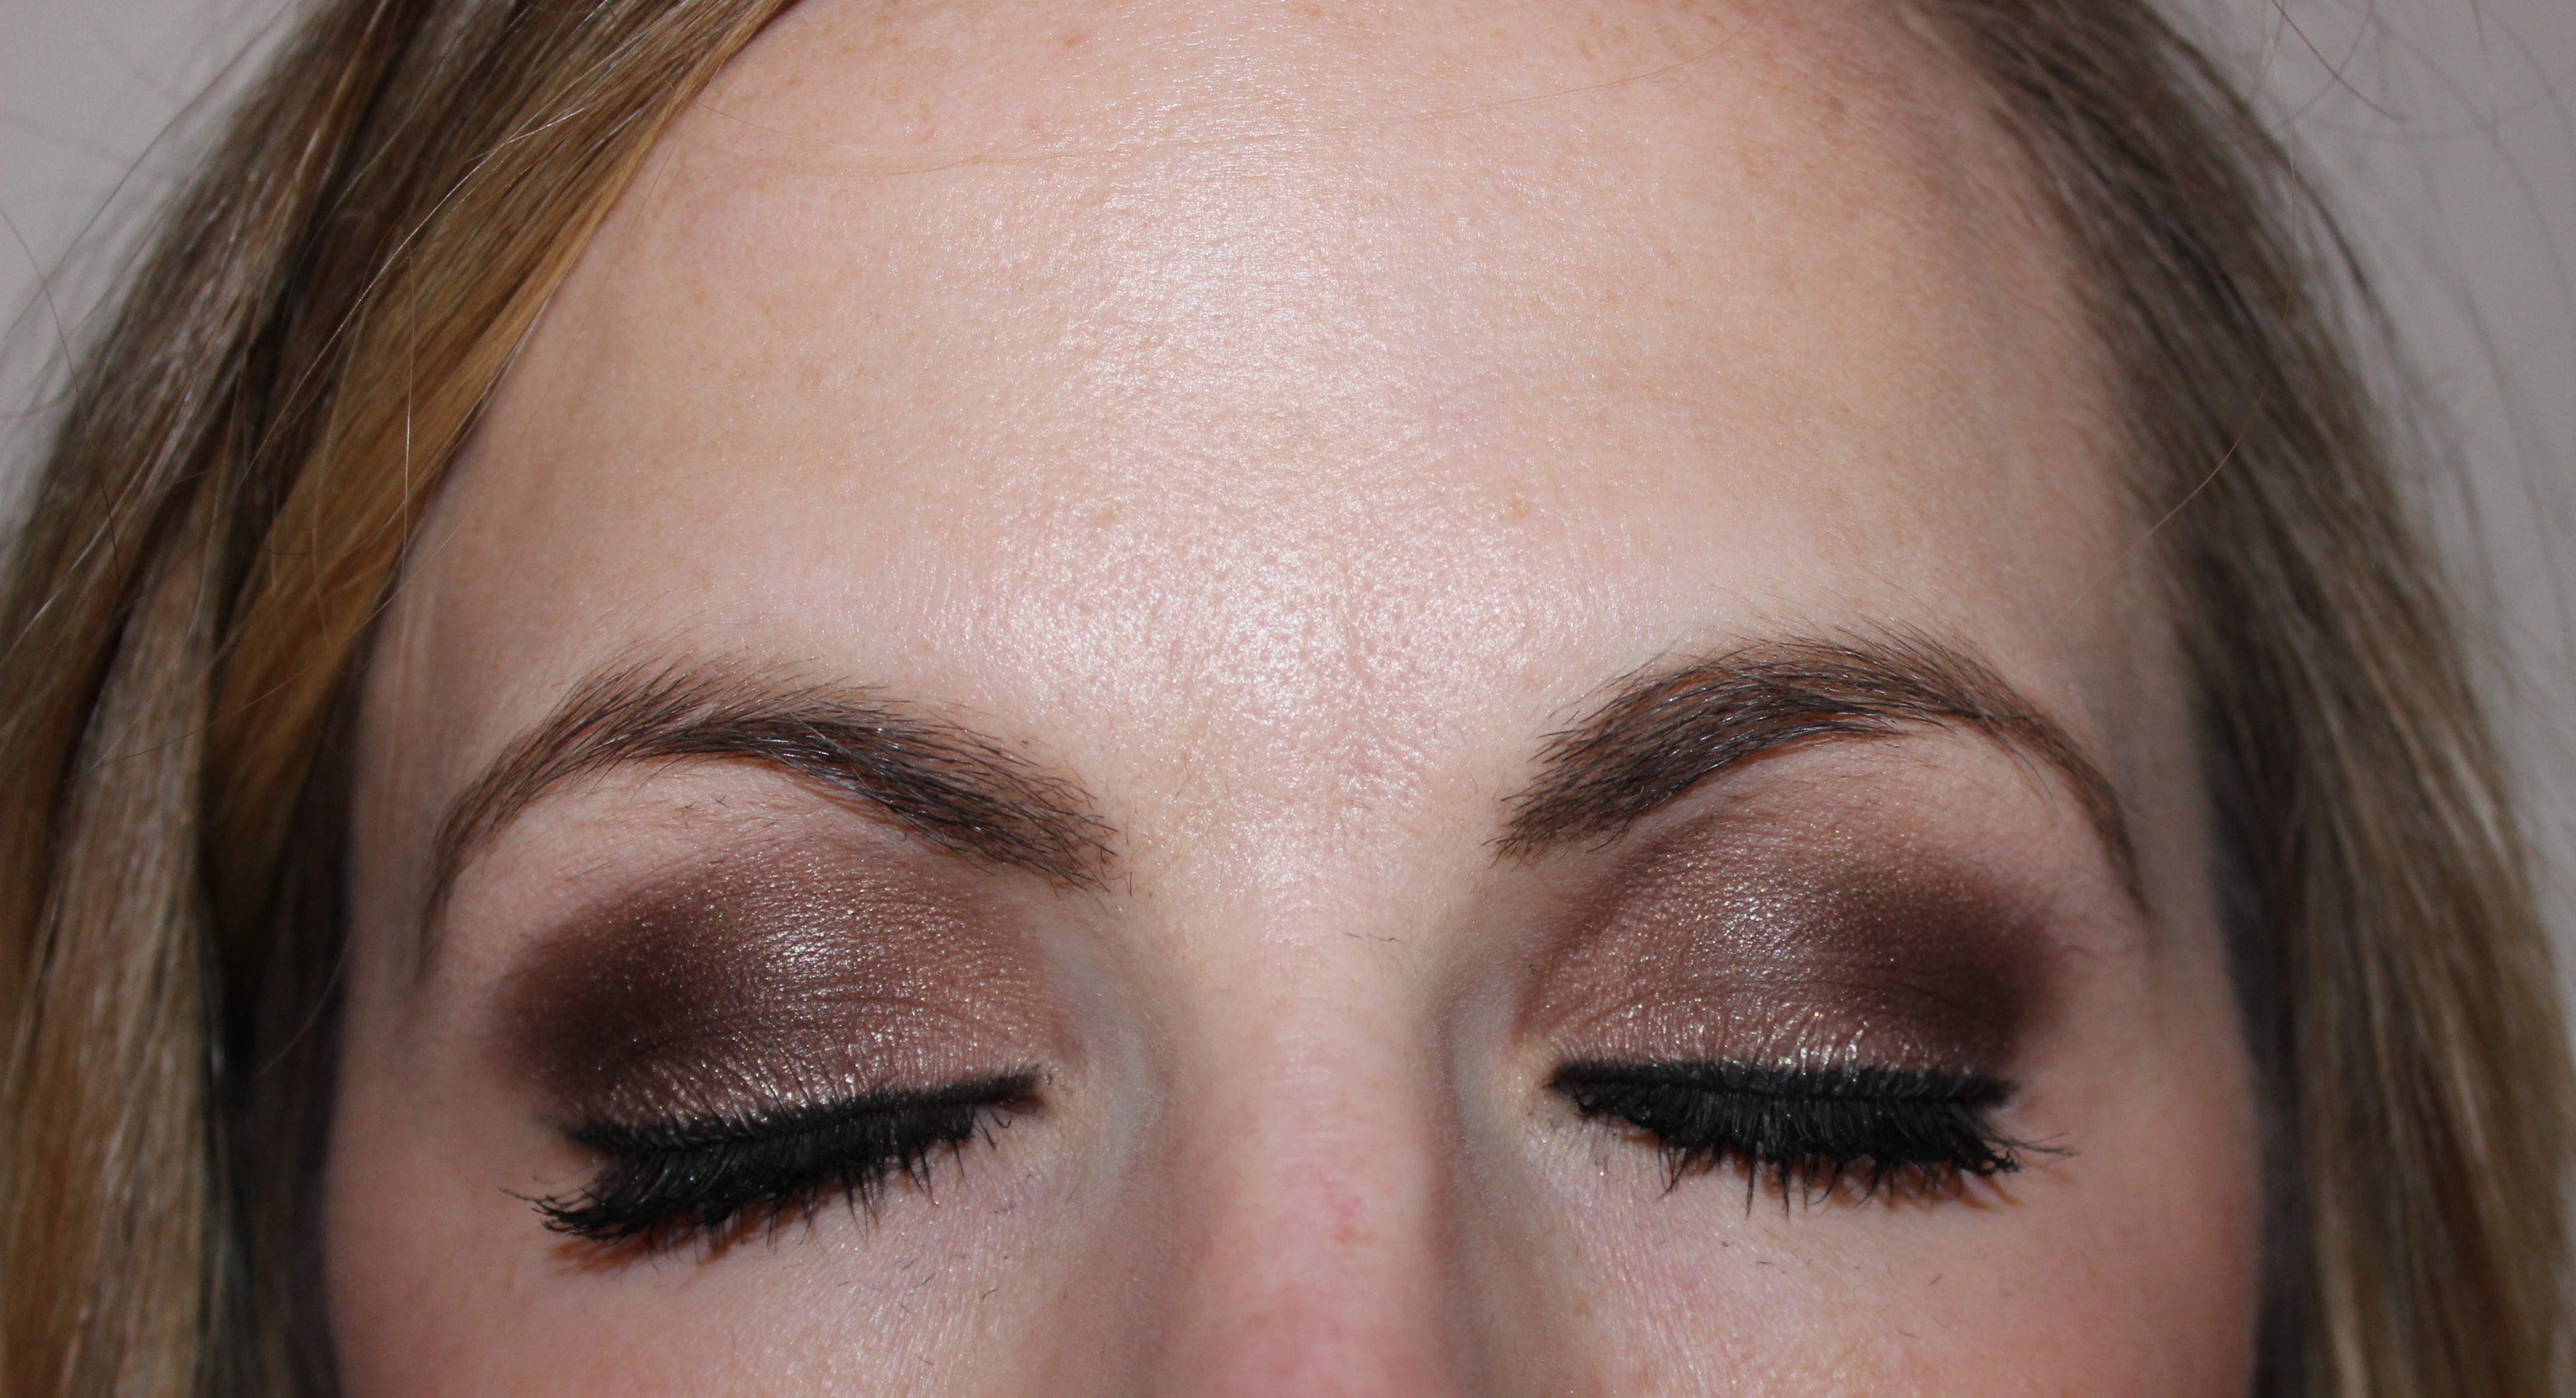
Here’s my hair & make-up before leaving for the holiday party…
Be You, Bravely.
The Foxy Kat
 Visit The Foxy Kat’s profile on Pinterest.
![]()


1 Comment
Pingback: Rodan + Fields | LASH BOOST – The Foxy Kat