
Happy Mani-Monday!
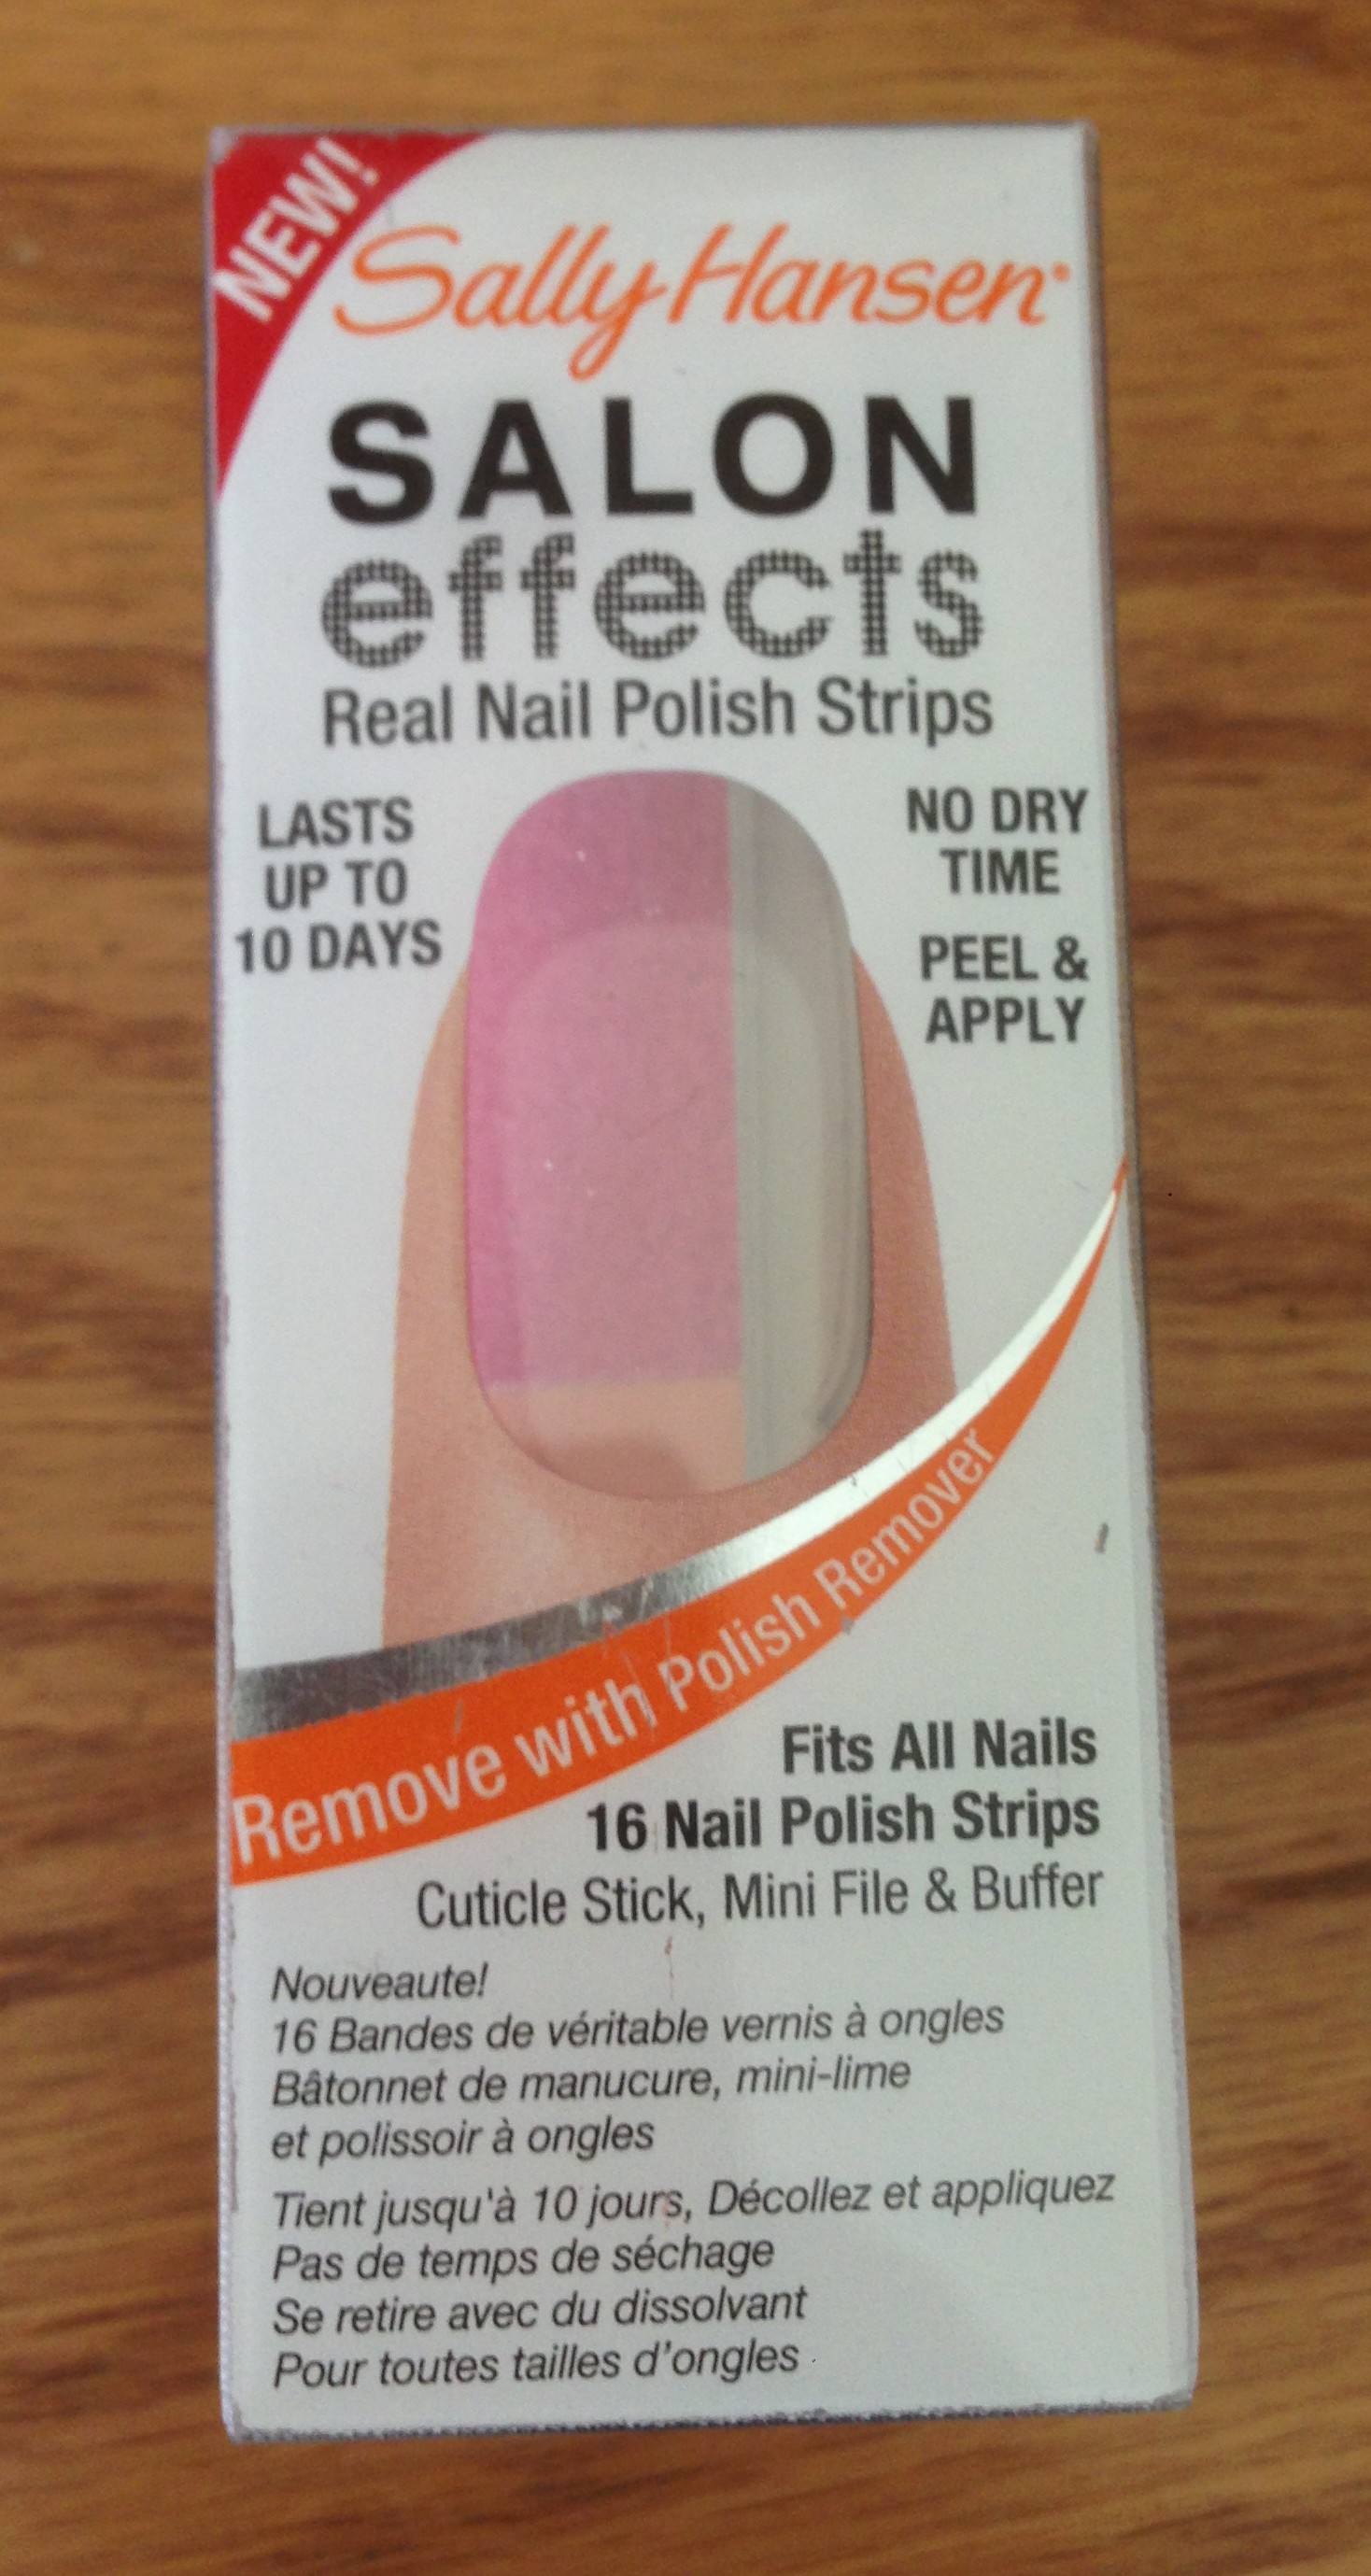
After last week’s post on Jamberry Nails, I decided that I need to give it one more try with my new found knowledge. The second time does get easier! I also purchased Sally Hansen’s Salon Effects a while back and wanted to see how they match up to Jamberry Nails. Below on the left is a sheet of the Jamberry Nail shields when you purchase them. On the right is an example of the Sally Hansen Salon Effects.
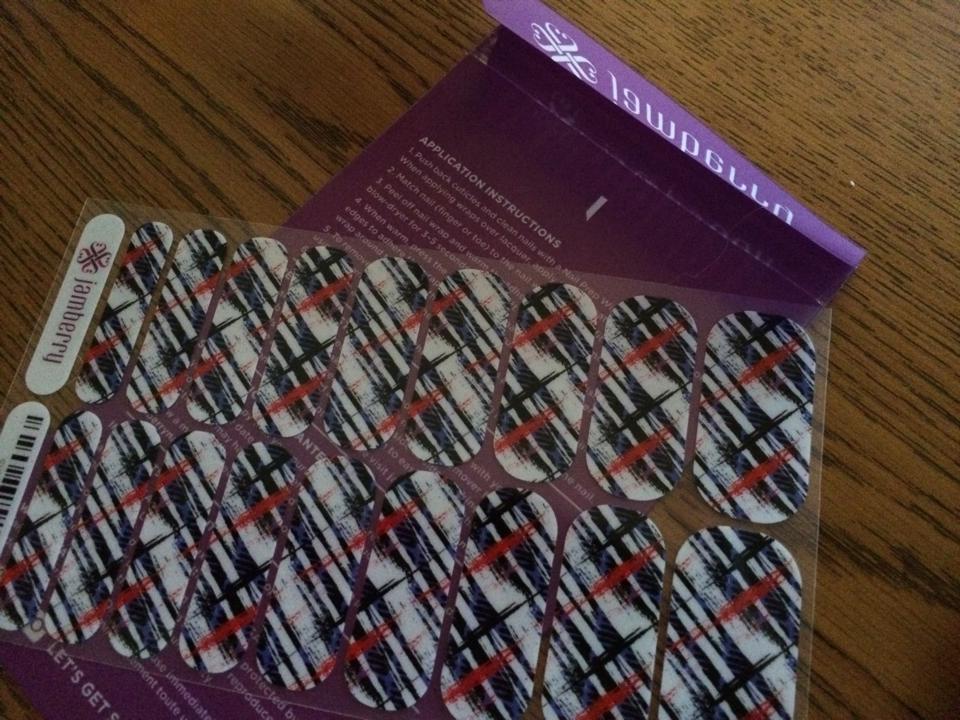
Jamberry Nails – Trial 2
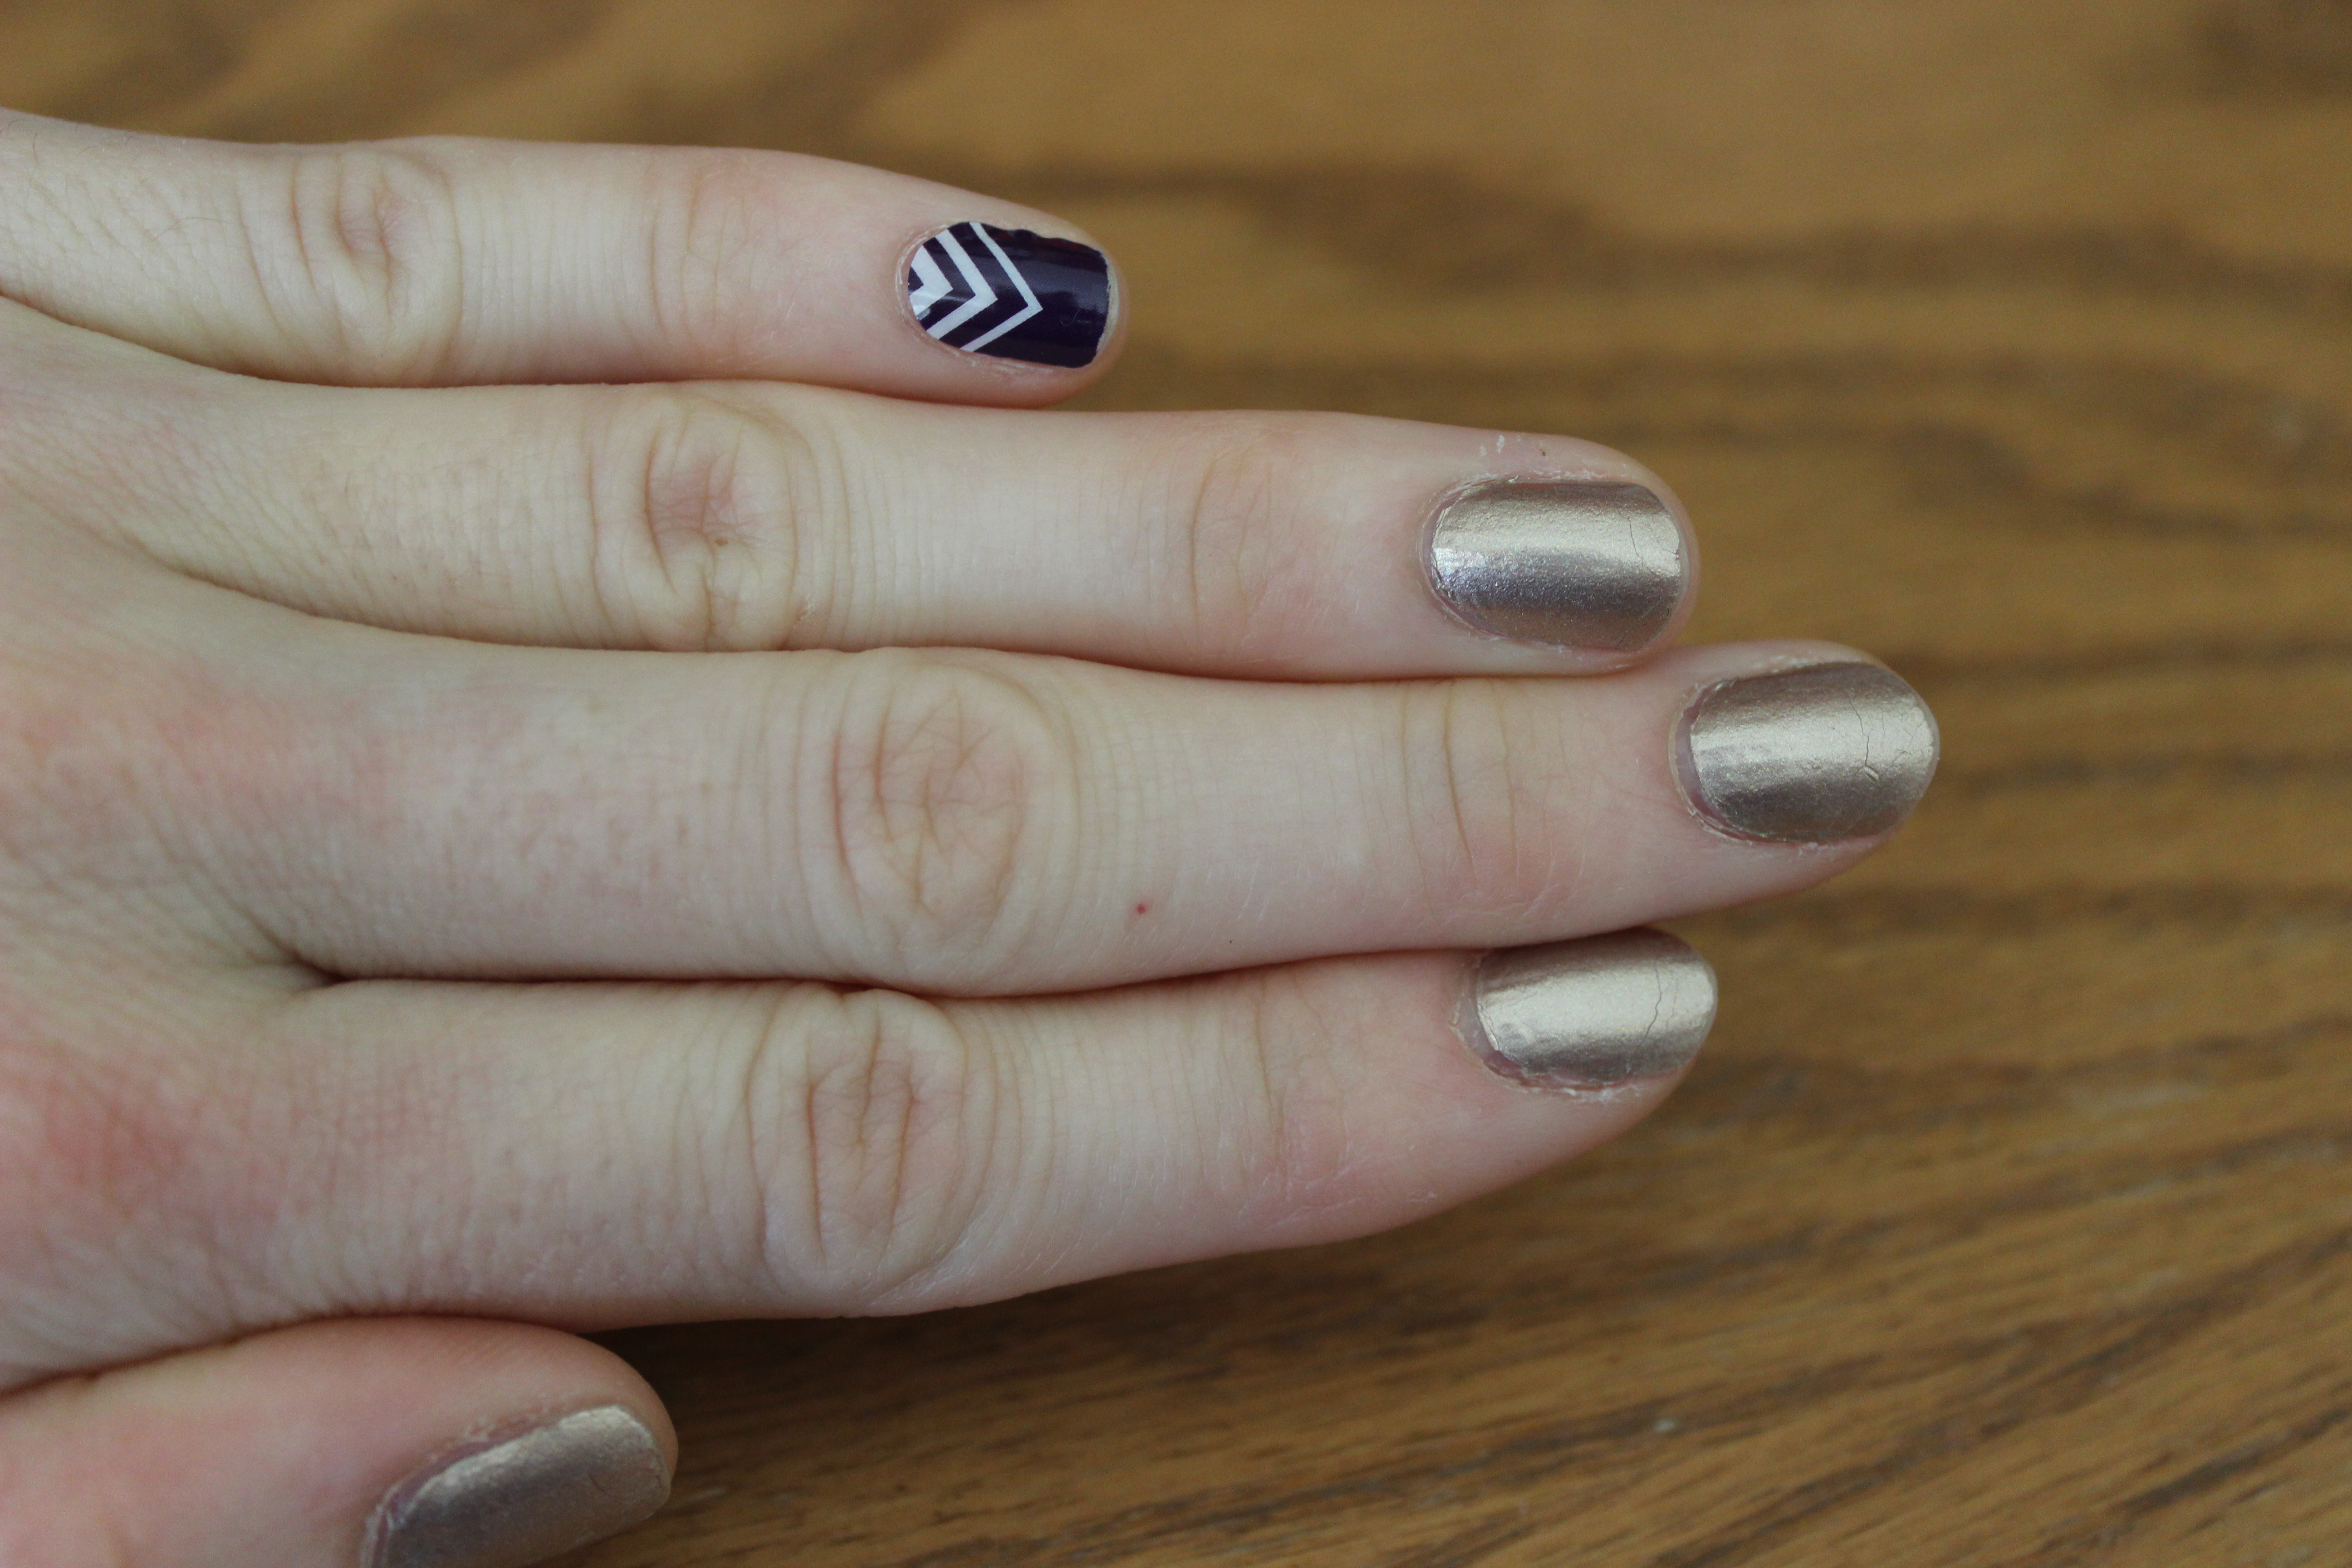
The second time applying Jamberry Nails, I found to be much easier. This time I was aware of how long to heat the shield and the best way to attach the shield. I found that applying at the bottom and stretching over the sides definitely helps to align it straight and reduce any rippling on the sides. I also used the proper size for my nail, so obviously that was a huge help. I even think that choosing the darker color was a great contrast to my skin color.
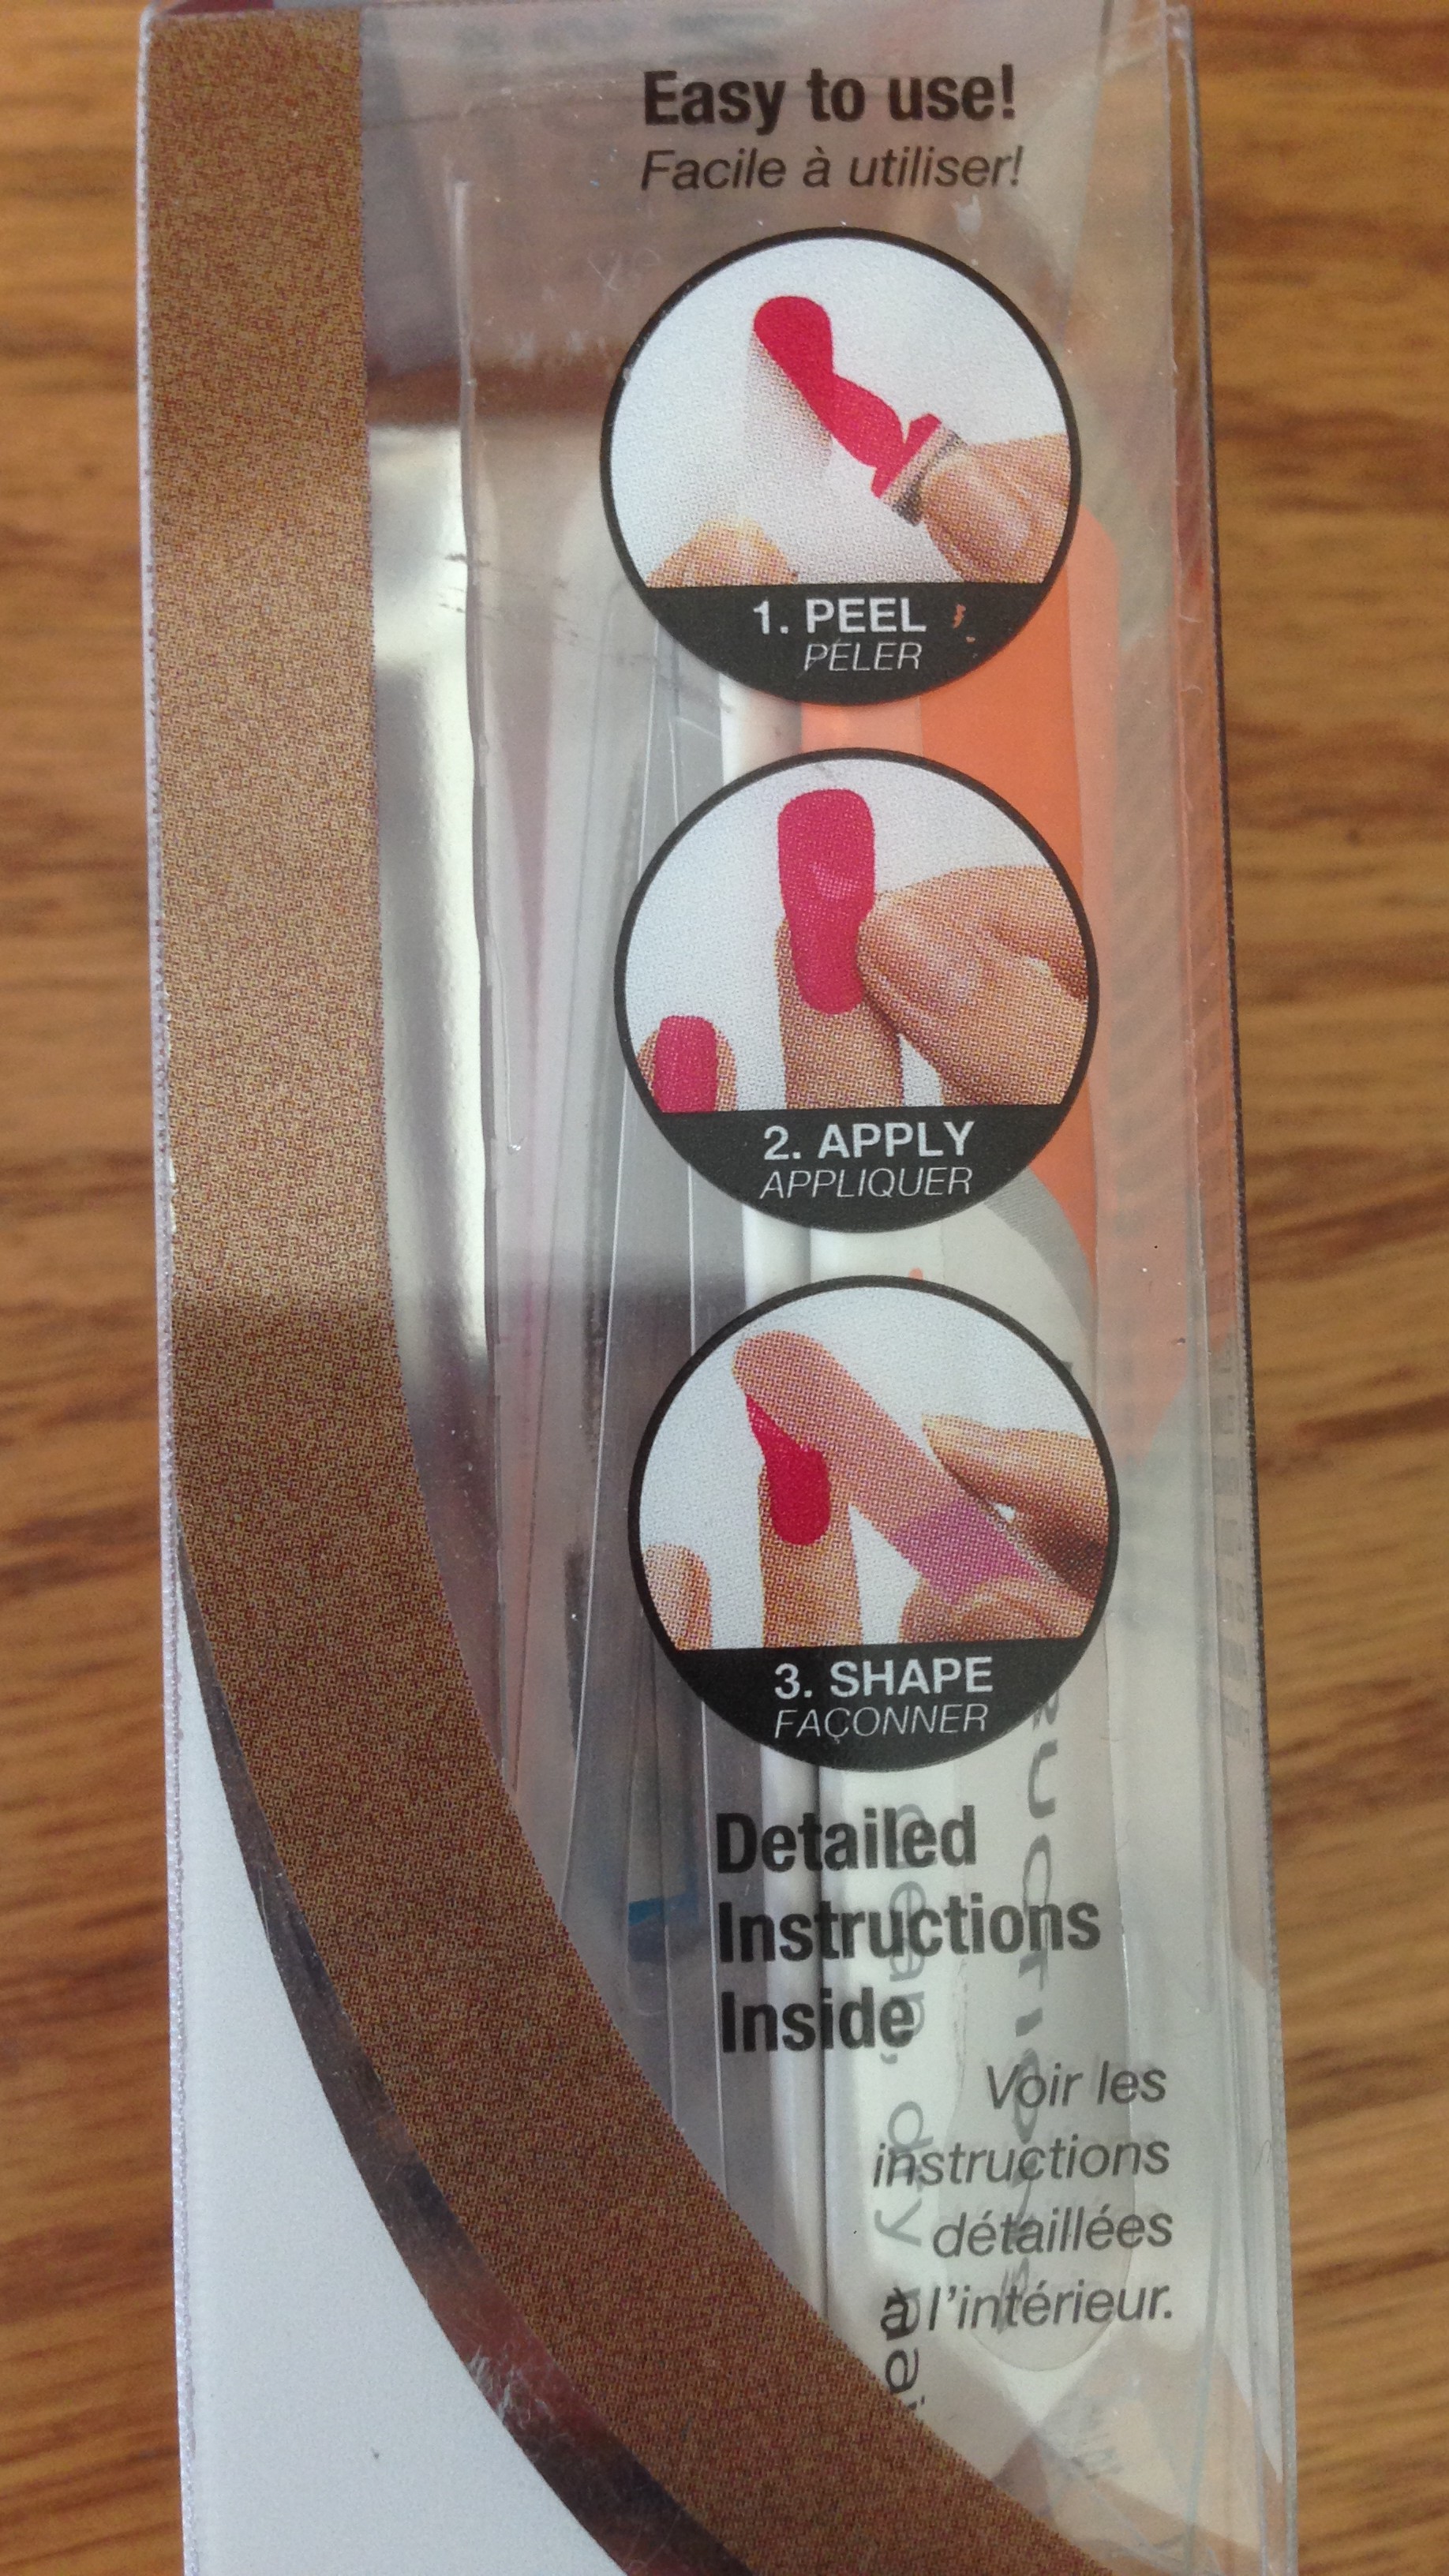
I noticed that Sally Hansen Salon Effects is very thin, almost like foils. They advertise that it’s just like real nail polish. In comparison to Jamberry Nails it is much thinner, which can be good and bad. For me, I almost always have to pull the sticker off my nail and align it again, which is very difficult to do with Sally Hansen’s product. If you don’t like the first placement you risk tearing the nail sticker, unlike Jamberry Nails. I thought that because Jamberry Nails is thicker, it’s also much easier to place on the nail. The good thing about being a thin sticker is that it was very easy to rub the Sally Hansen product off of the skin around my nail. Jamberry Nails needs to be cut or filed down at the end of the nail. Lastly, I thought that Sally Hansen looks more like a polish than a sticker (depending on the style), but you can also see more imperfections than you can on the Jamberry Nails. On Sally Hansen’s website, it says that they have 44 shades total (compared to Jamberry Nails 300 different styles).
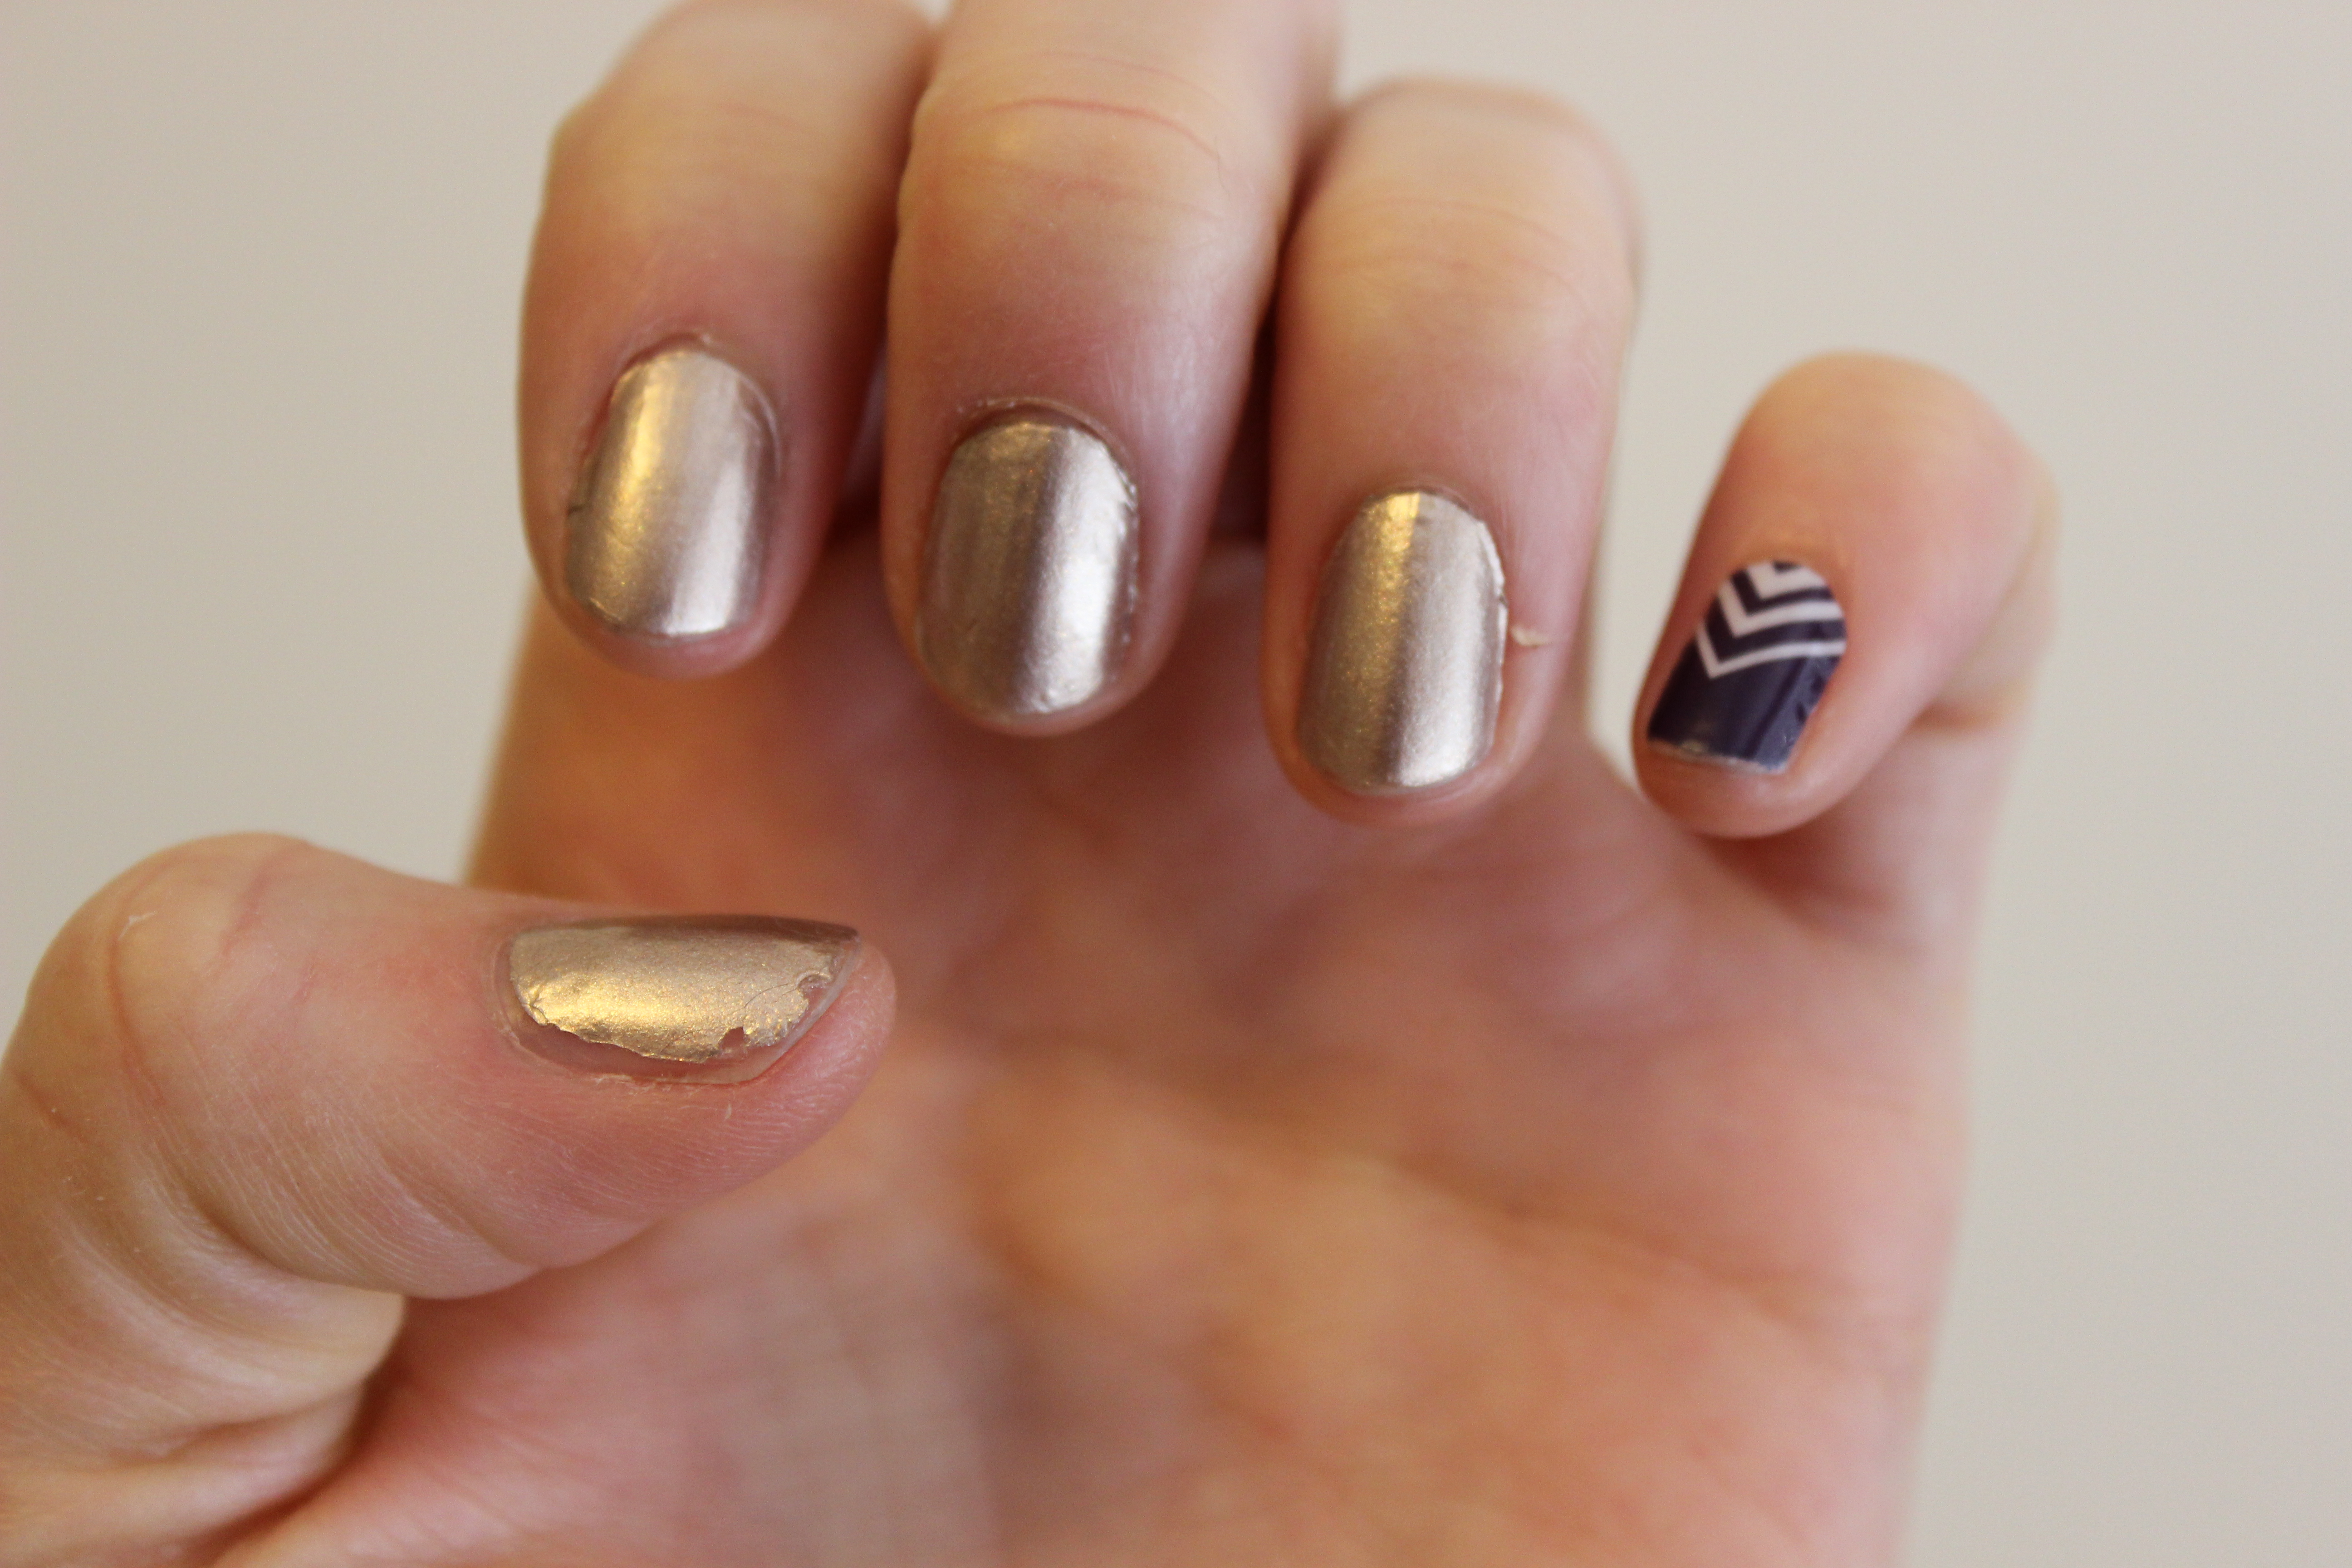
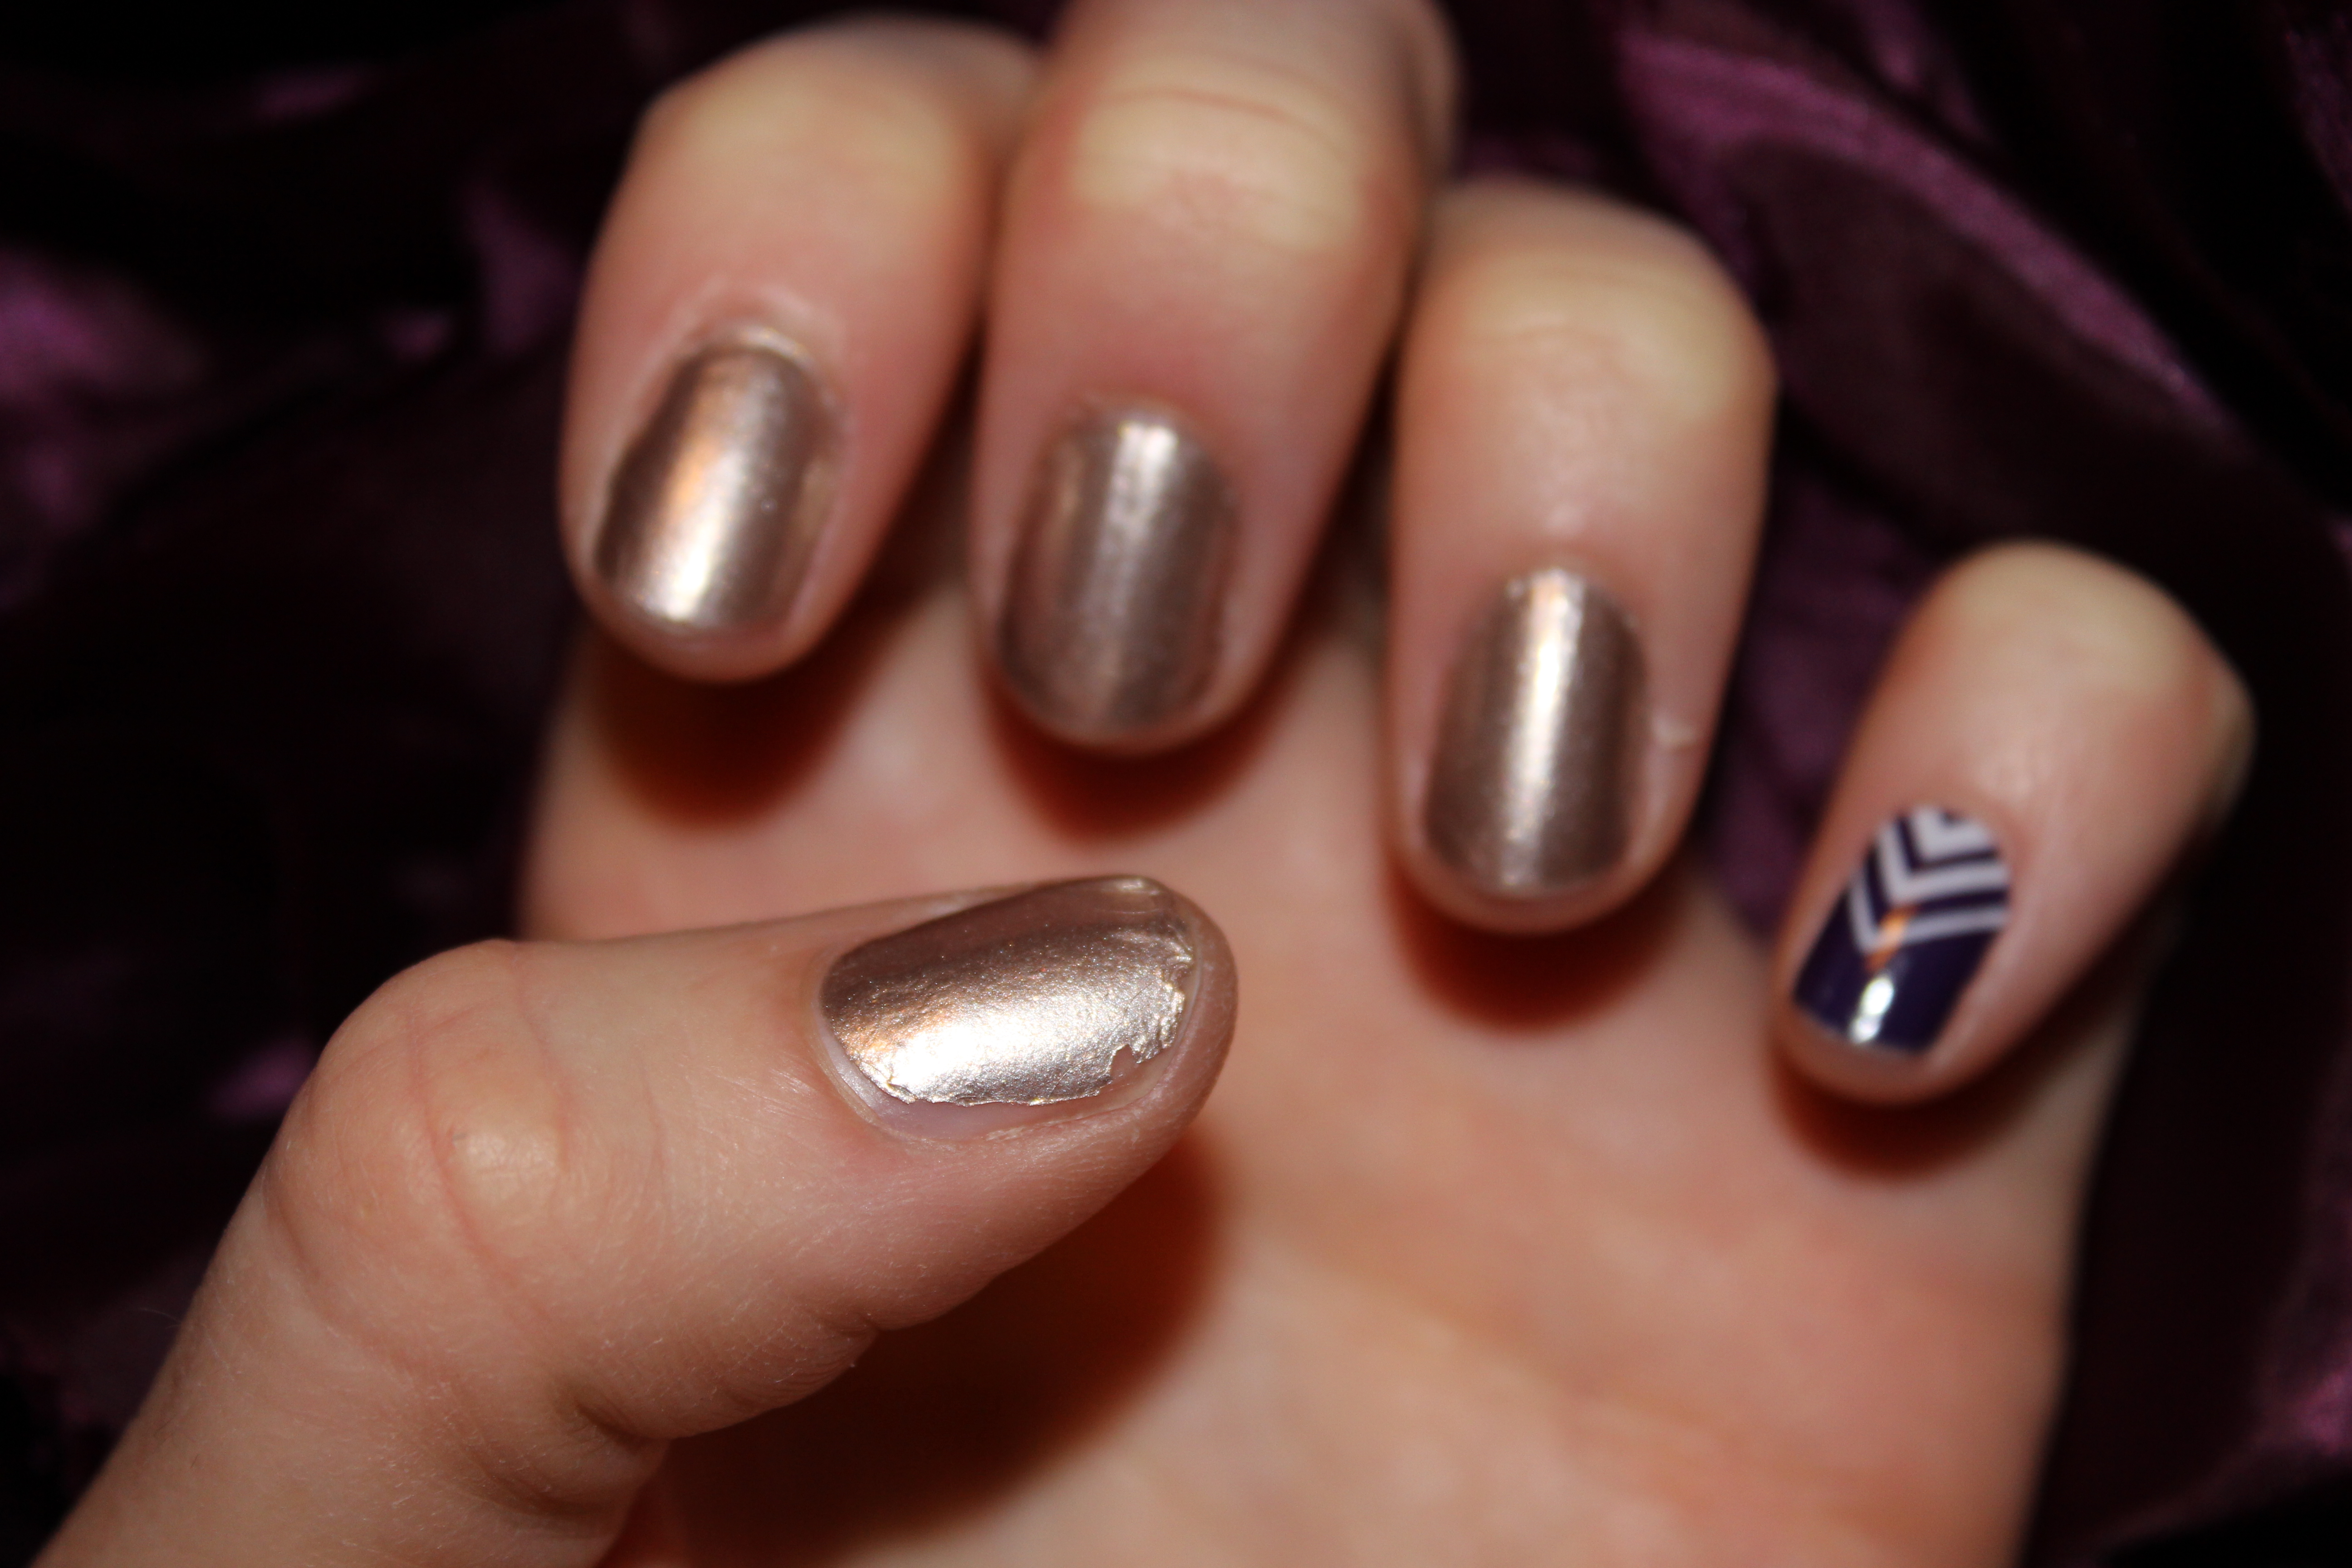
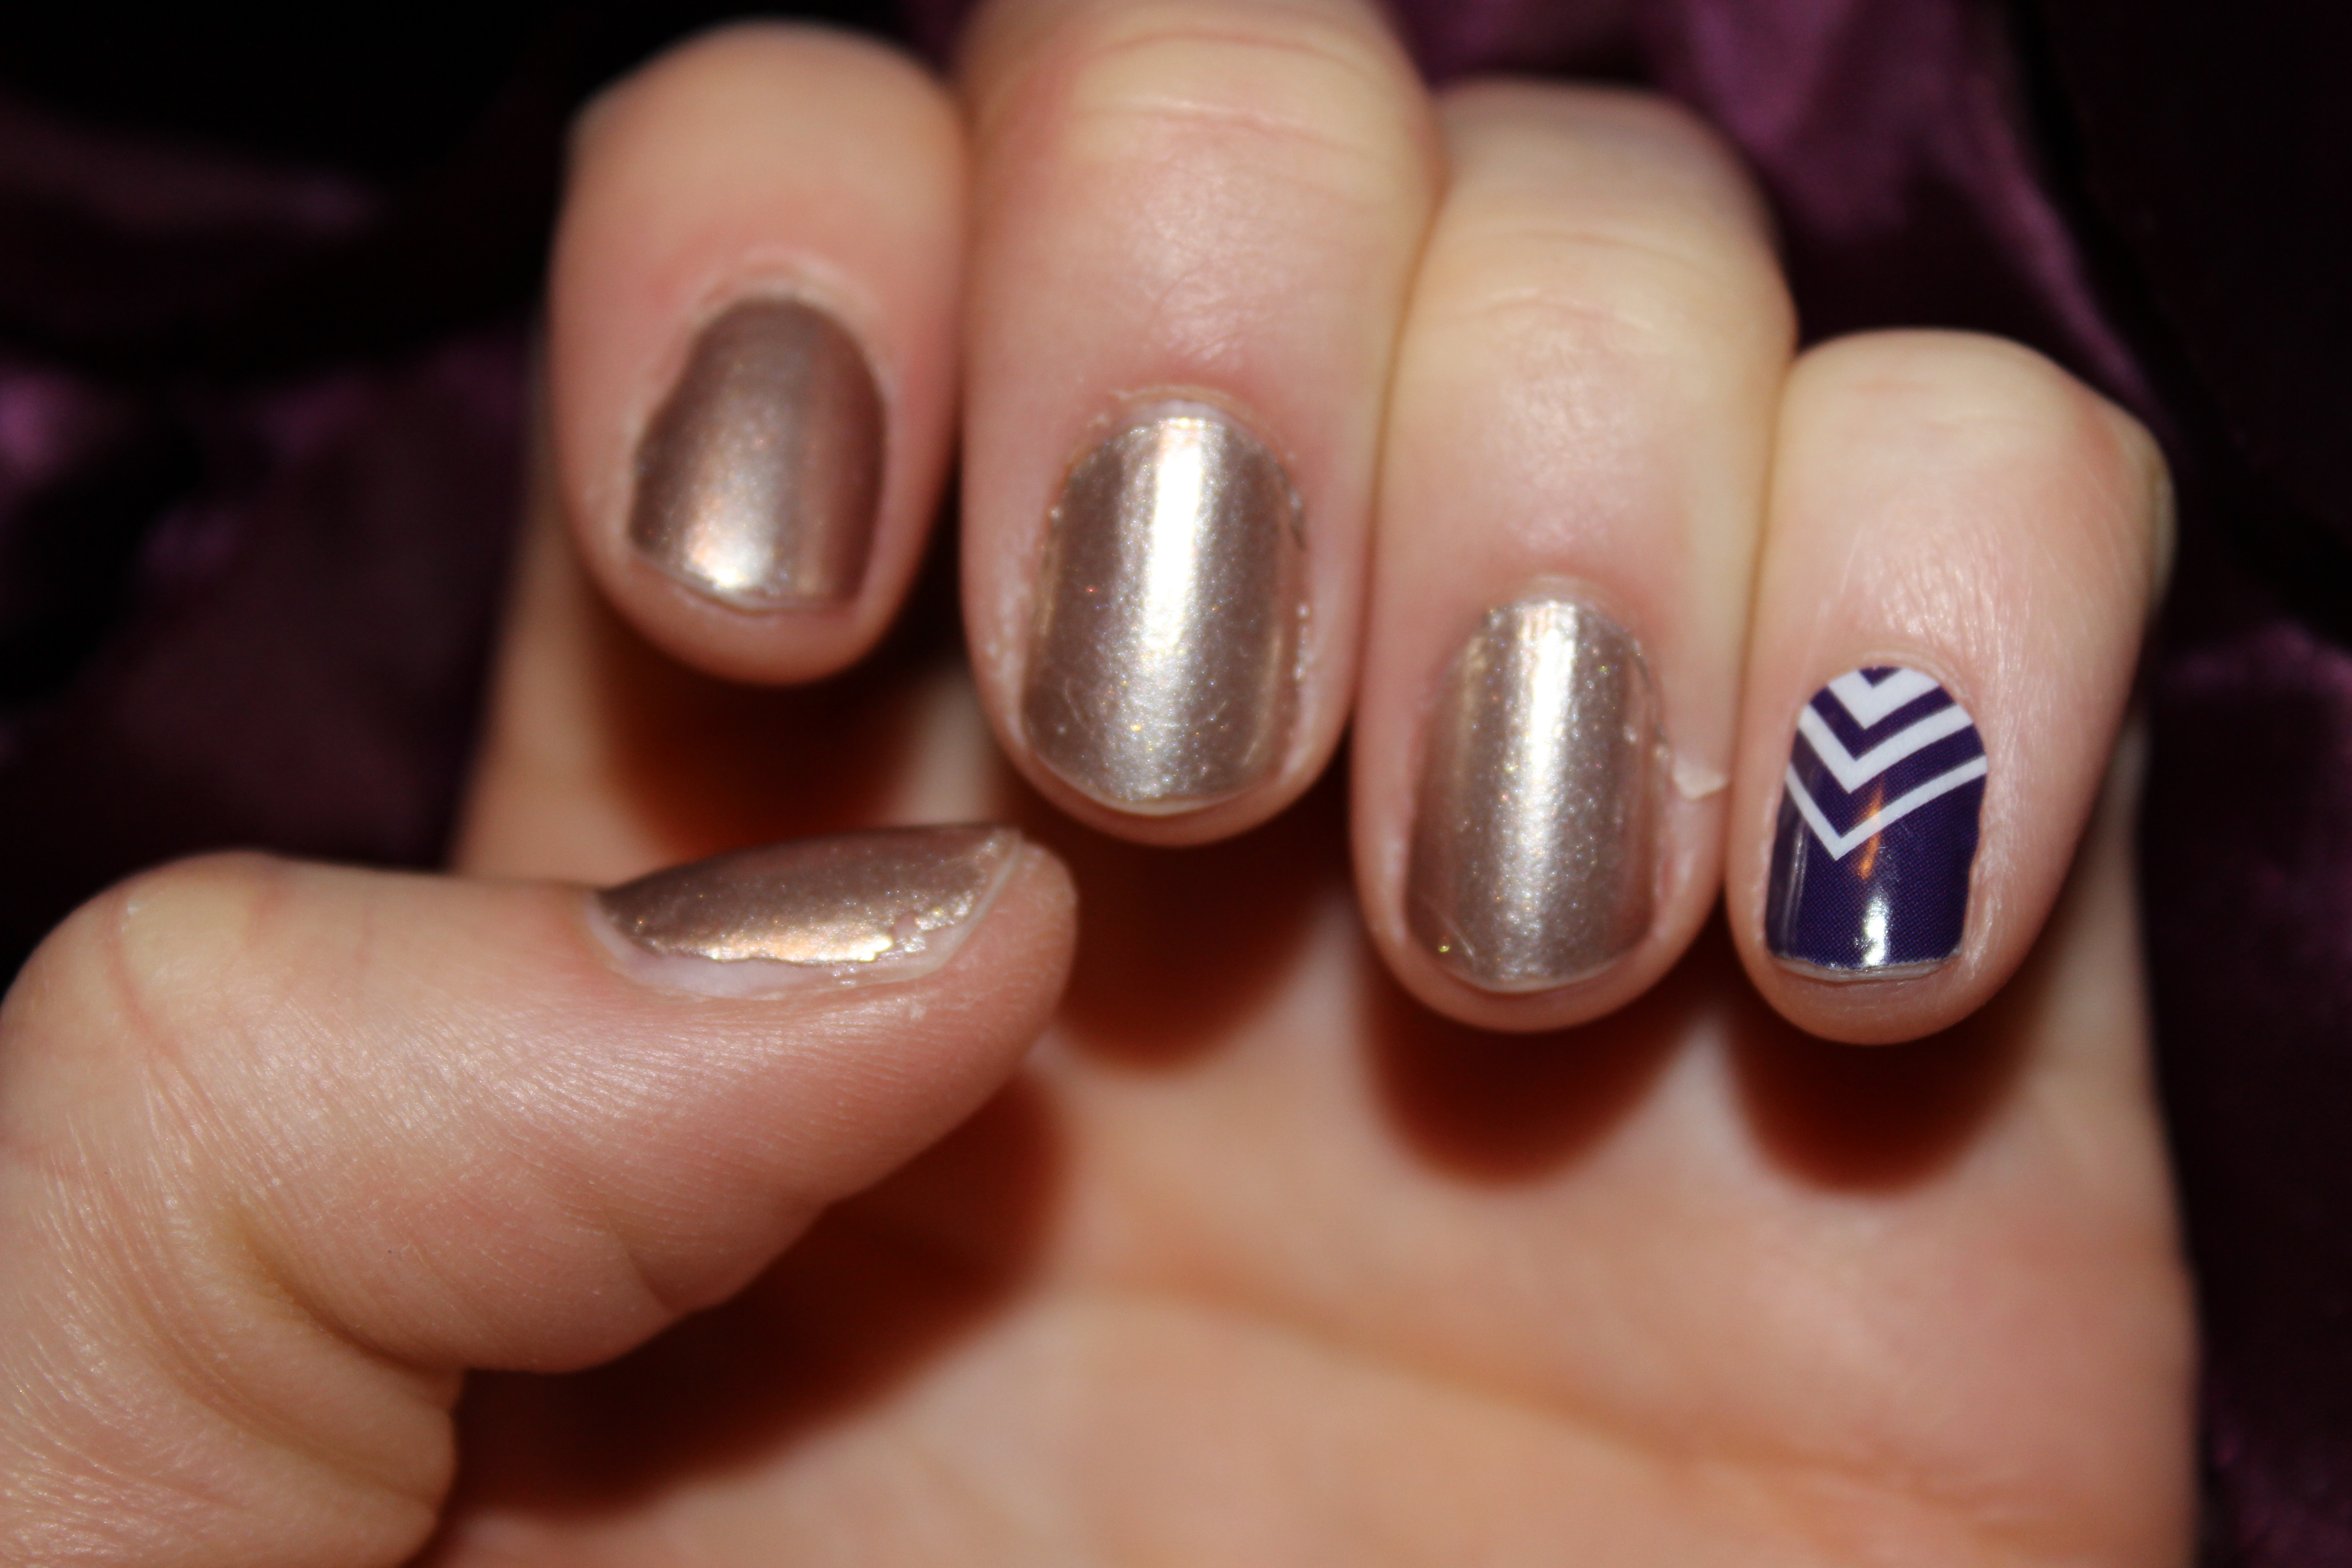
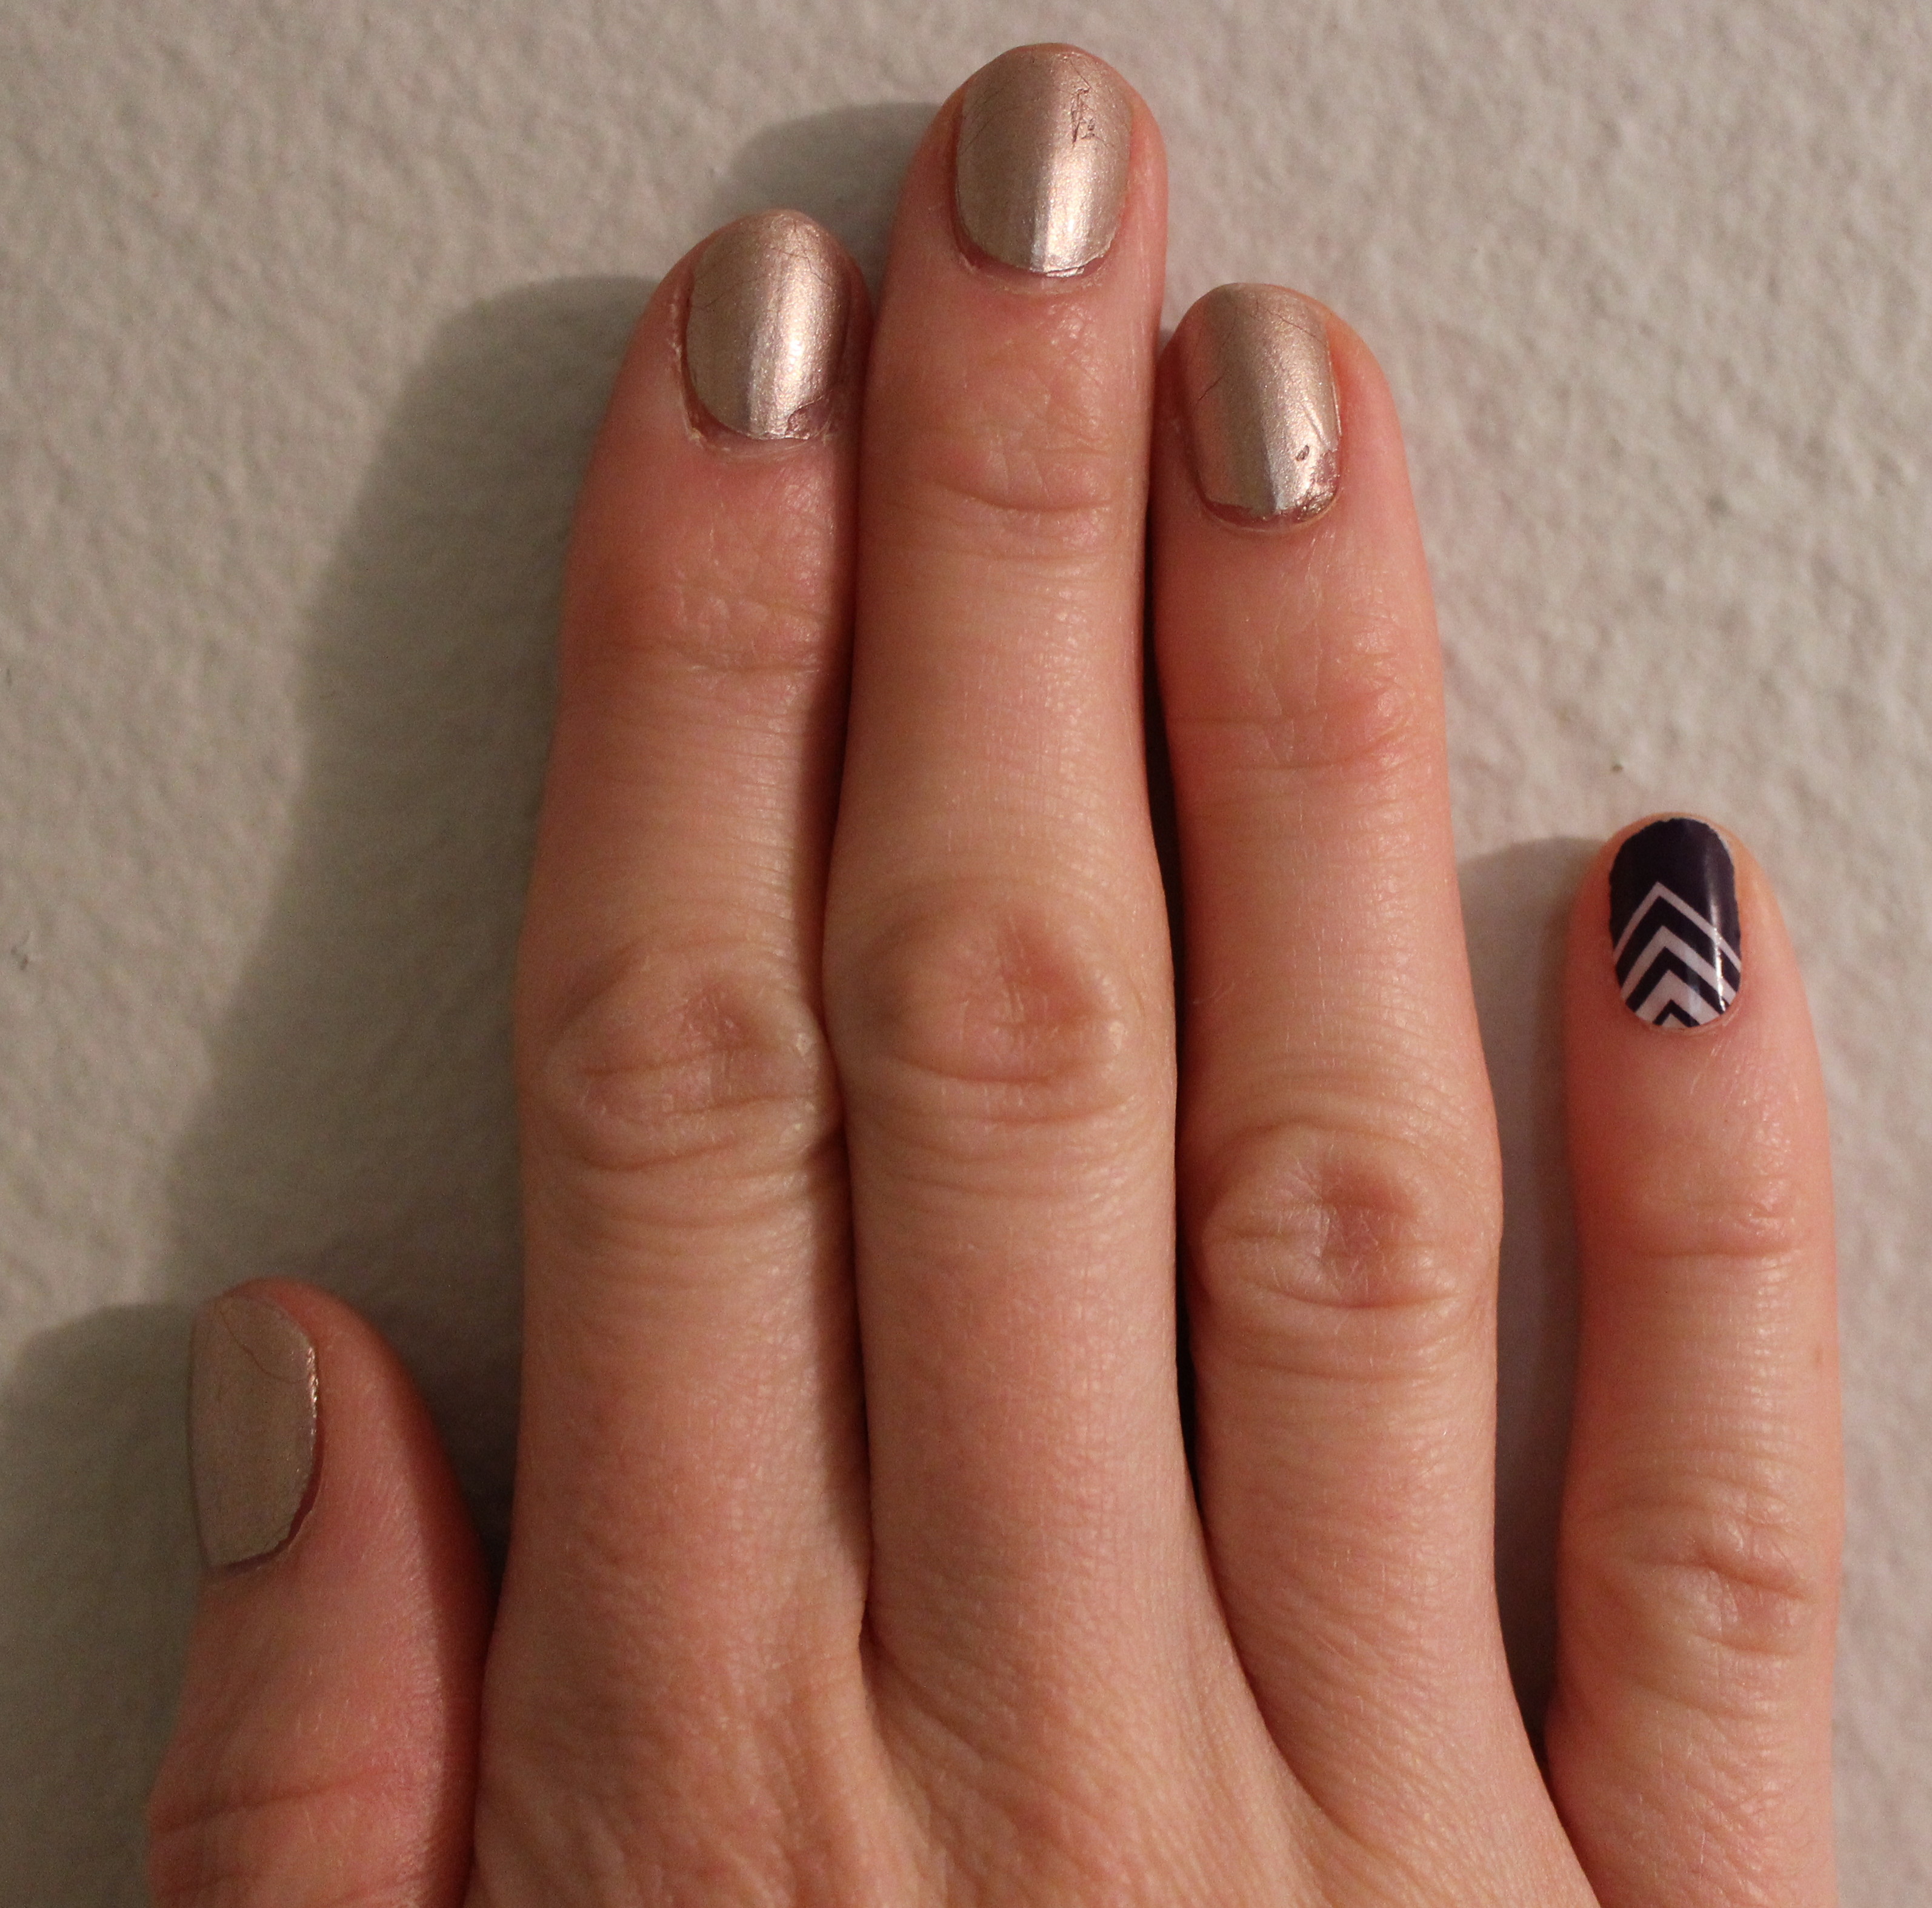
First Application – Day 1 – 8/25/14

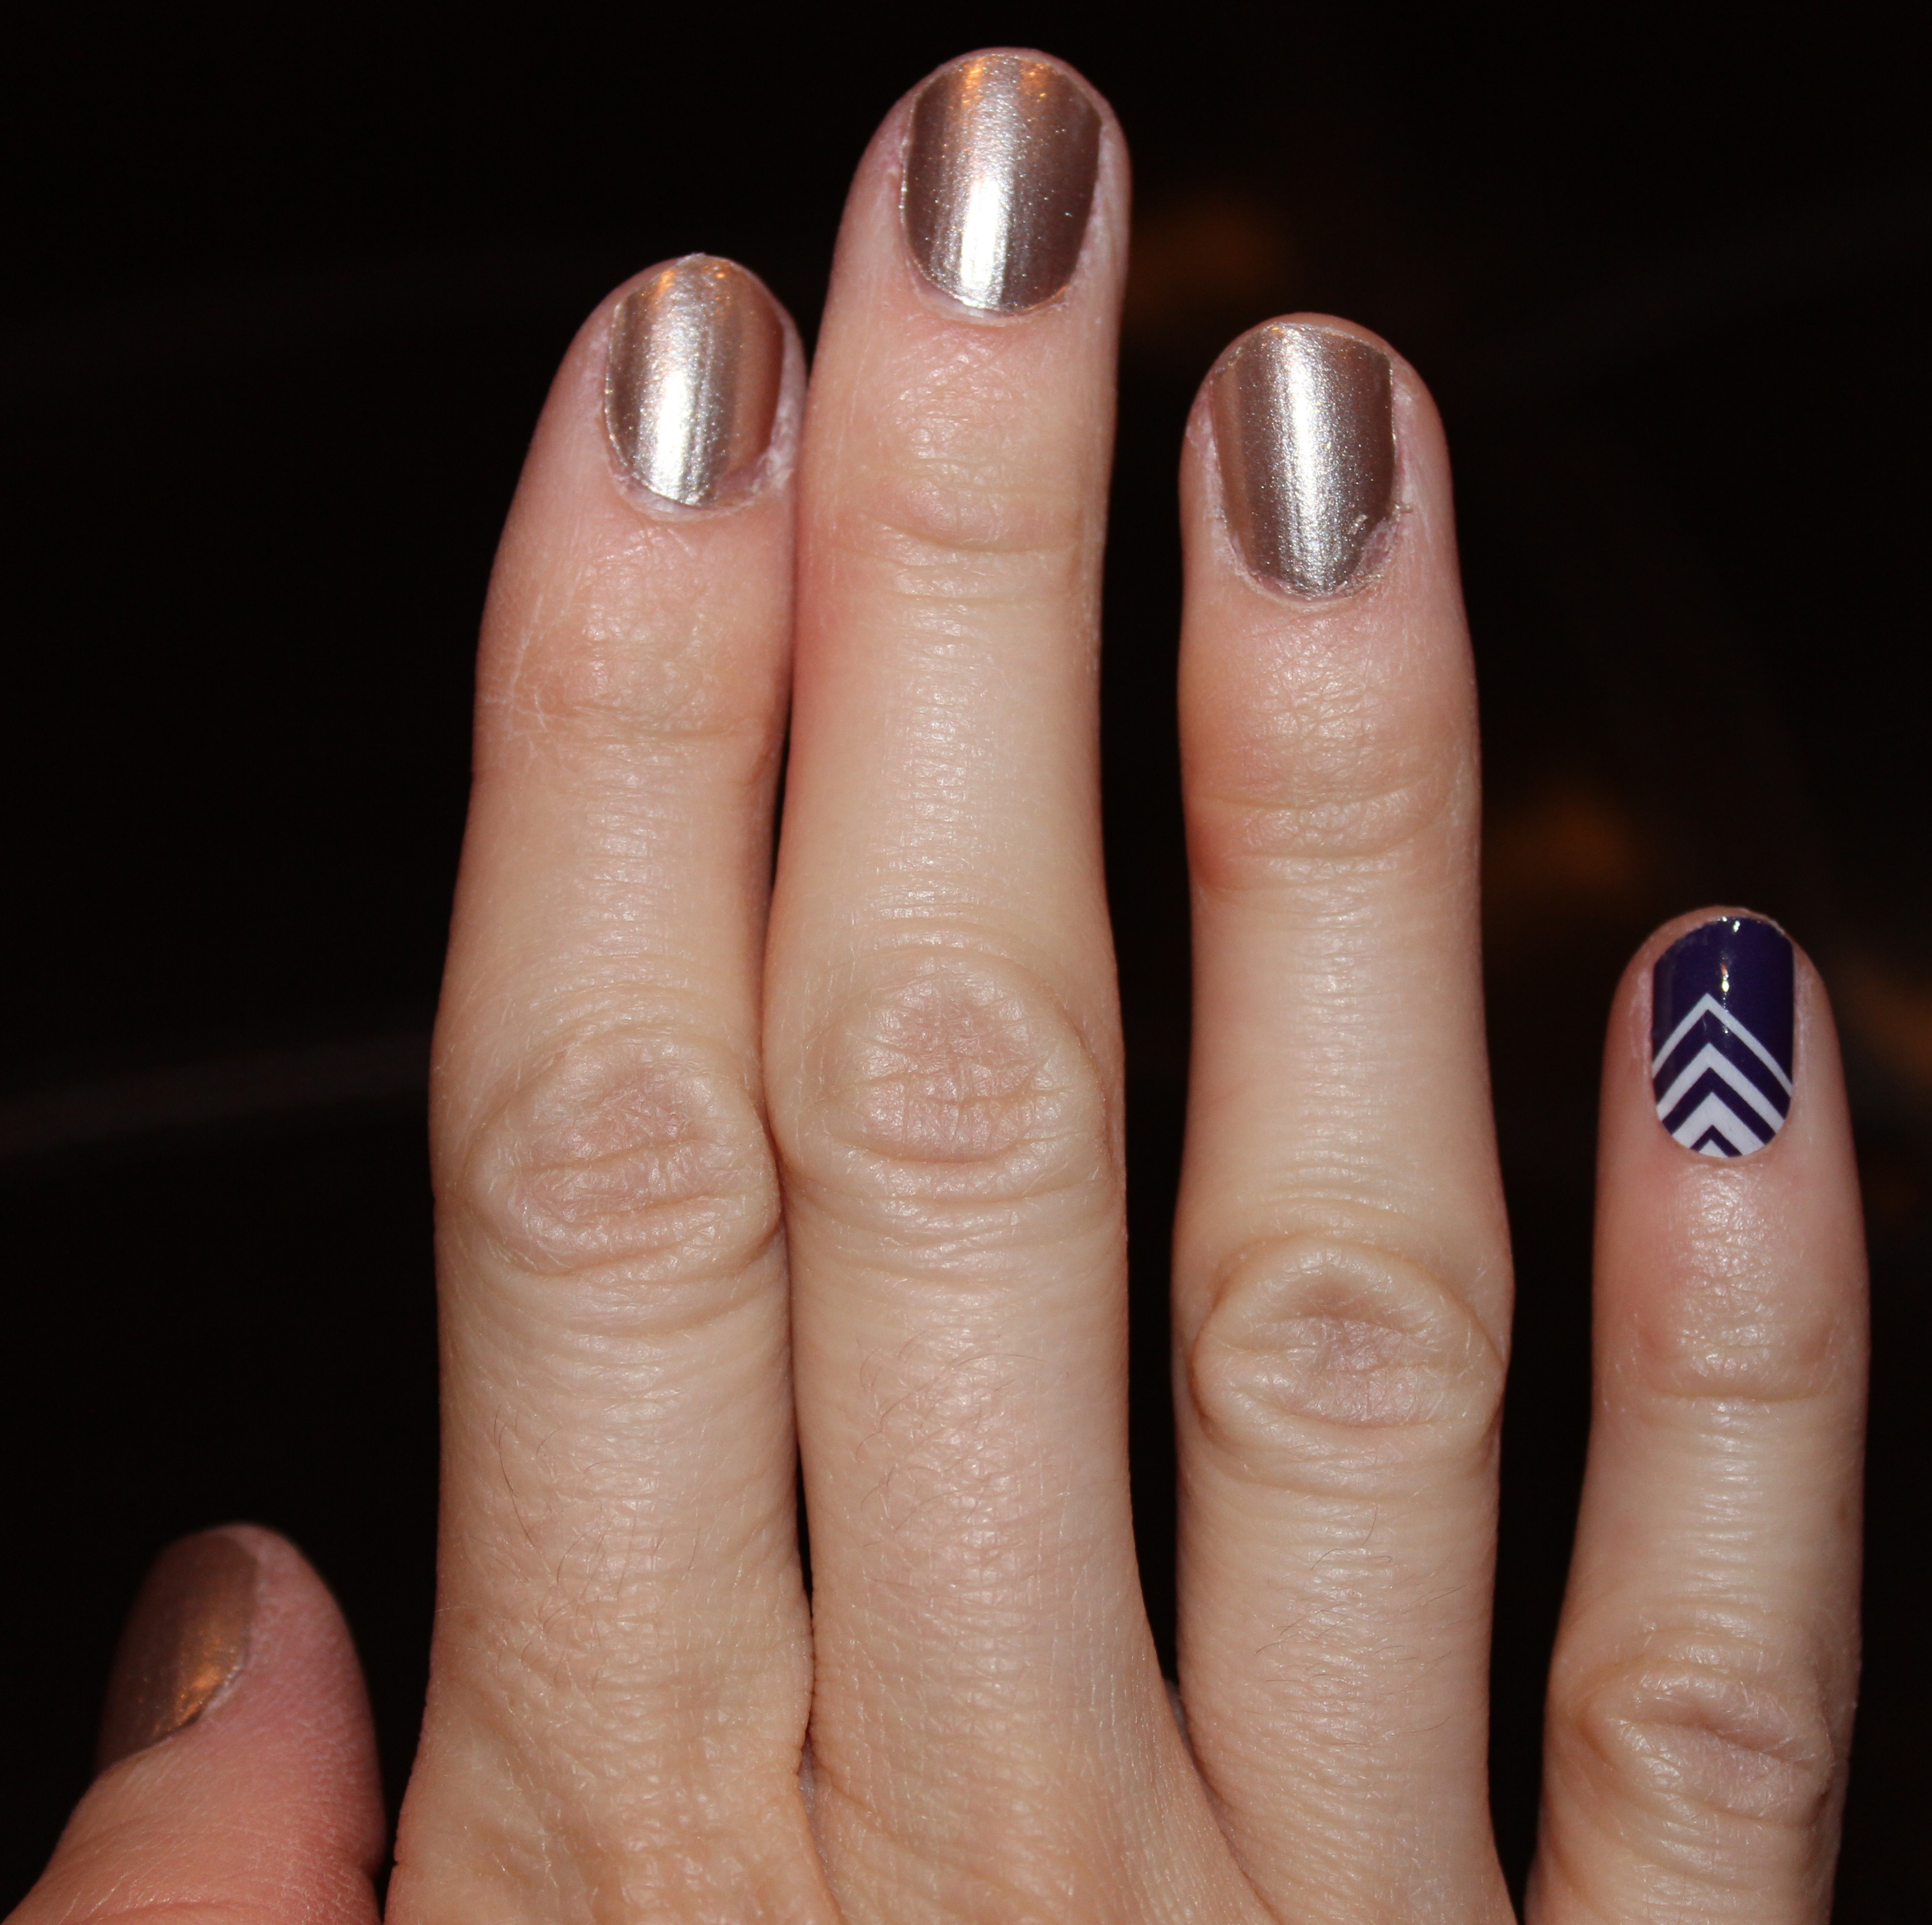
Day 2 – 8/26/14
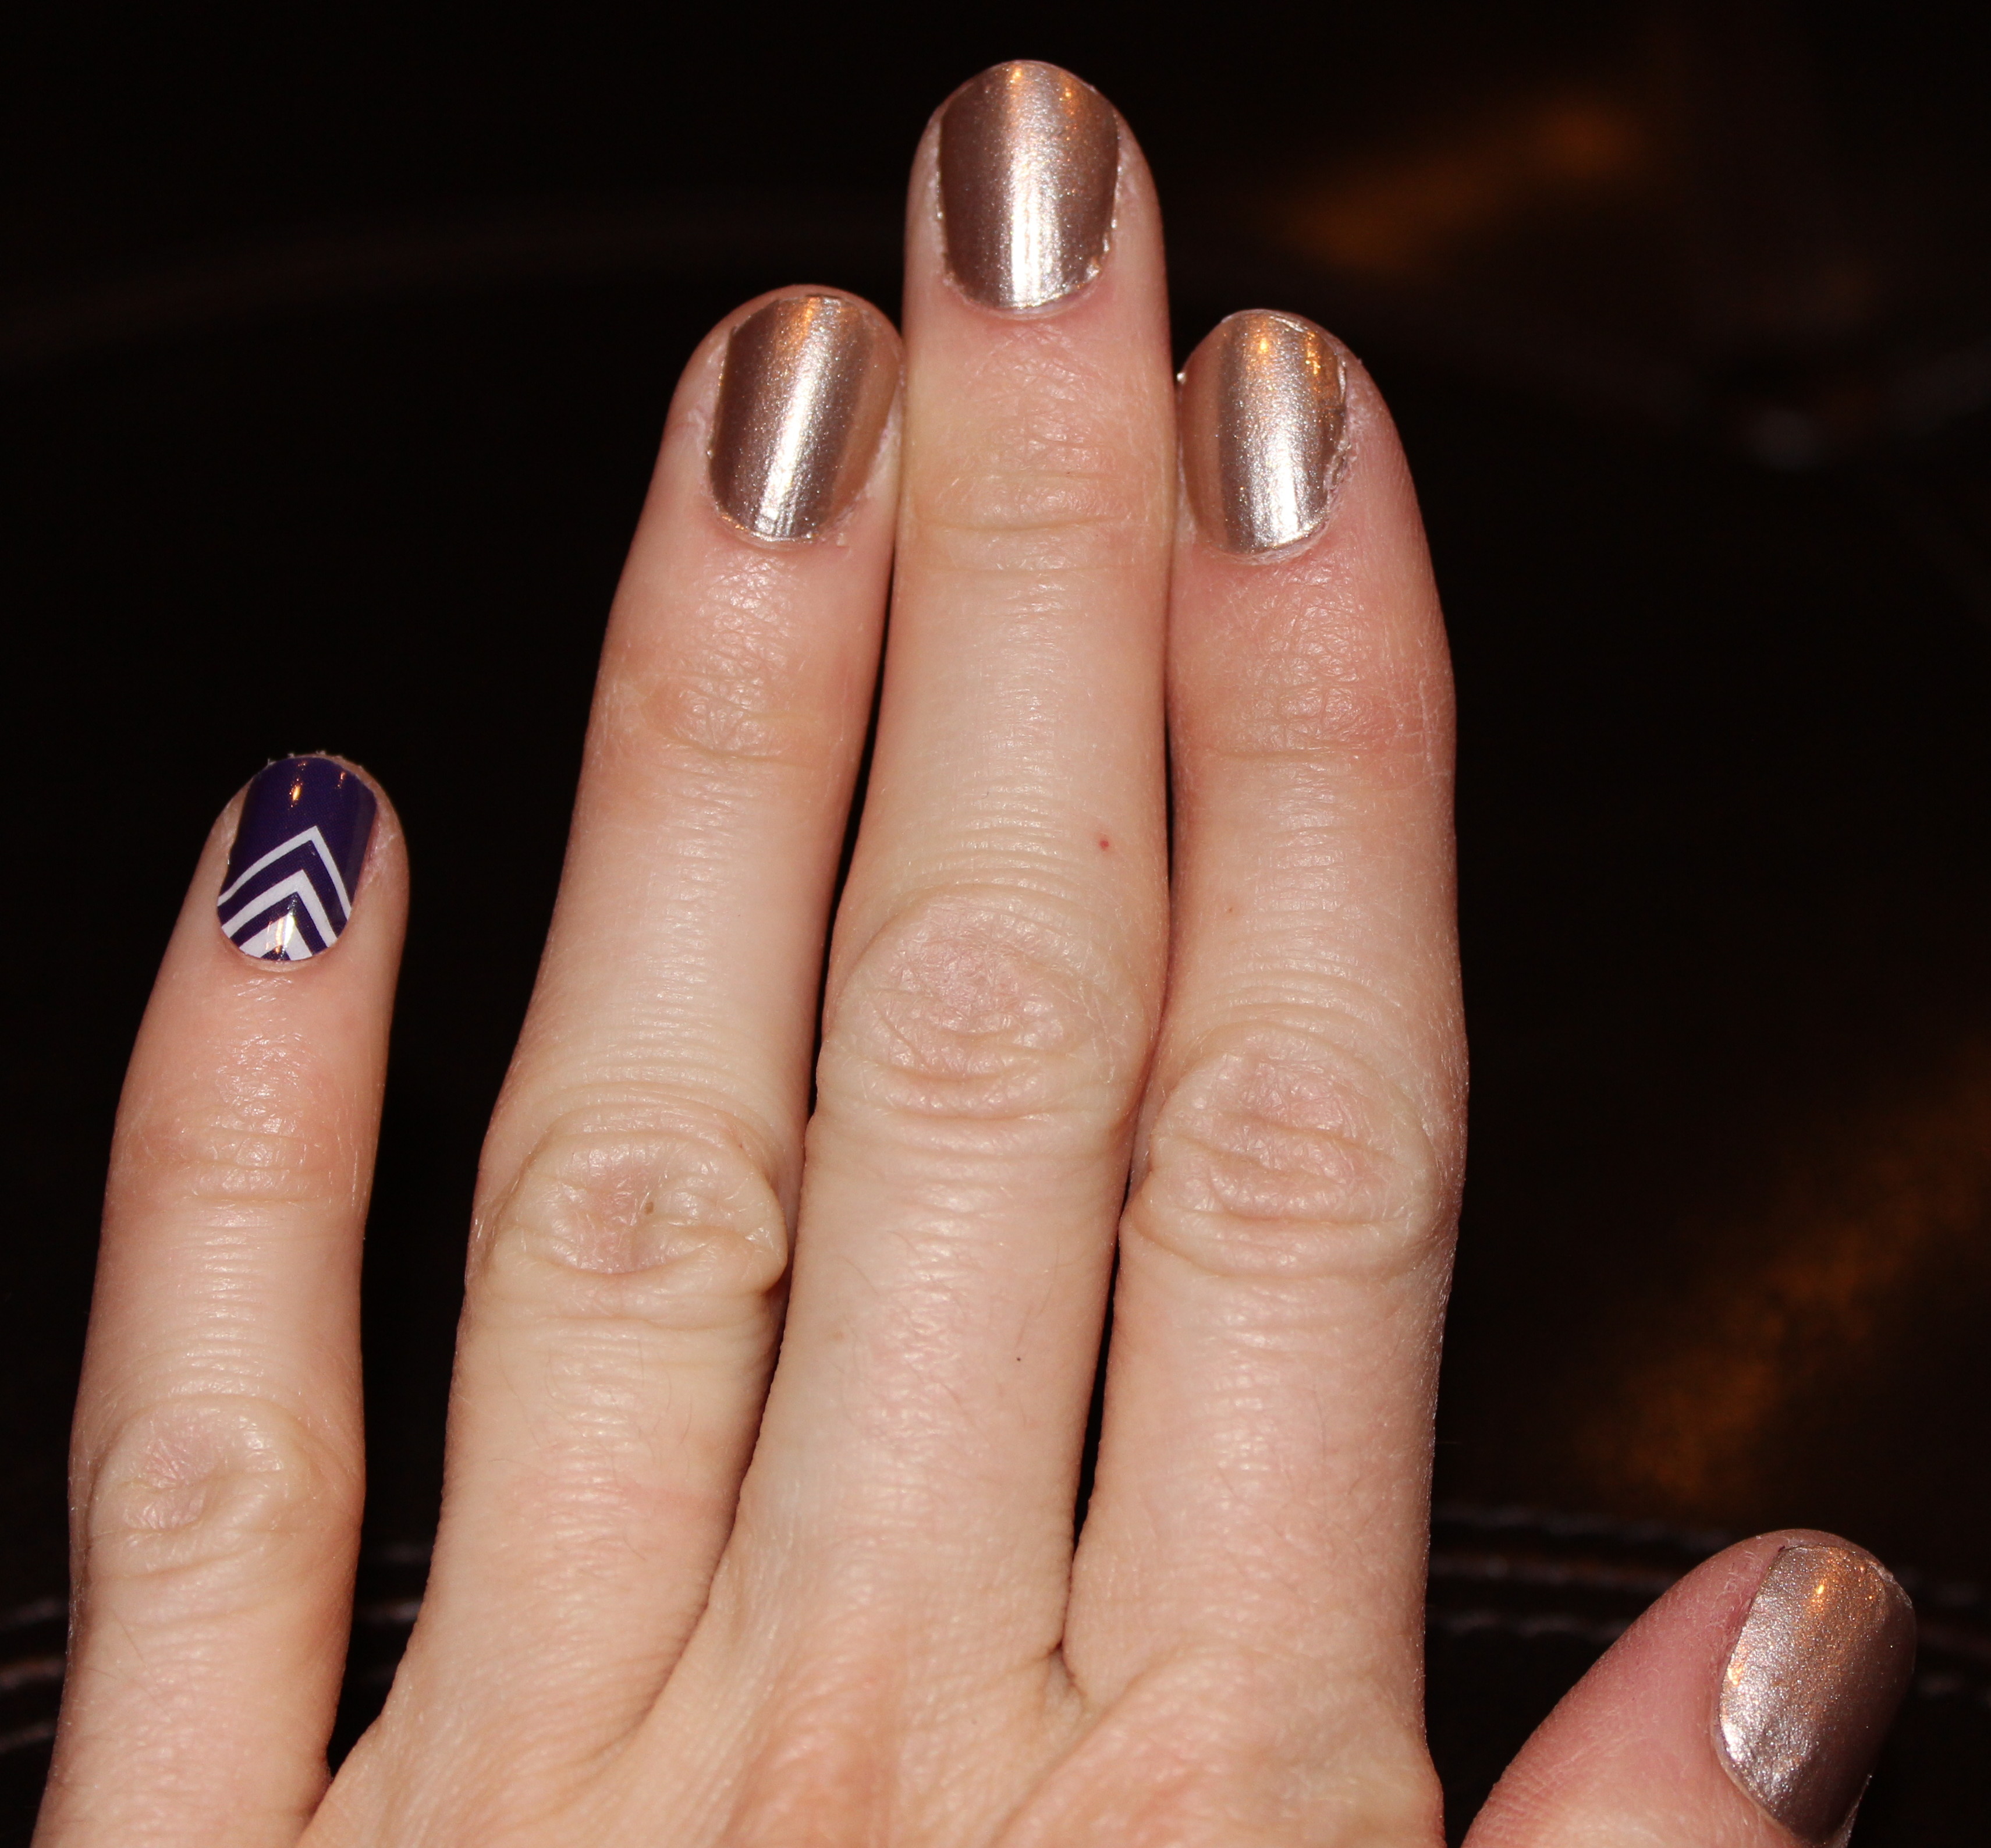
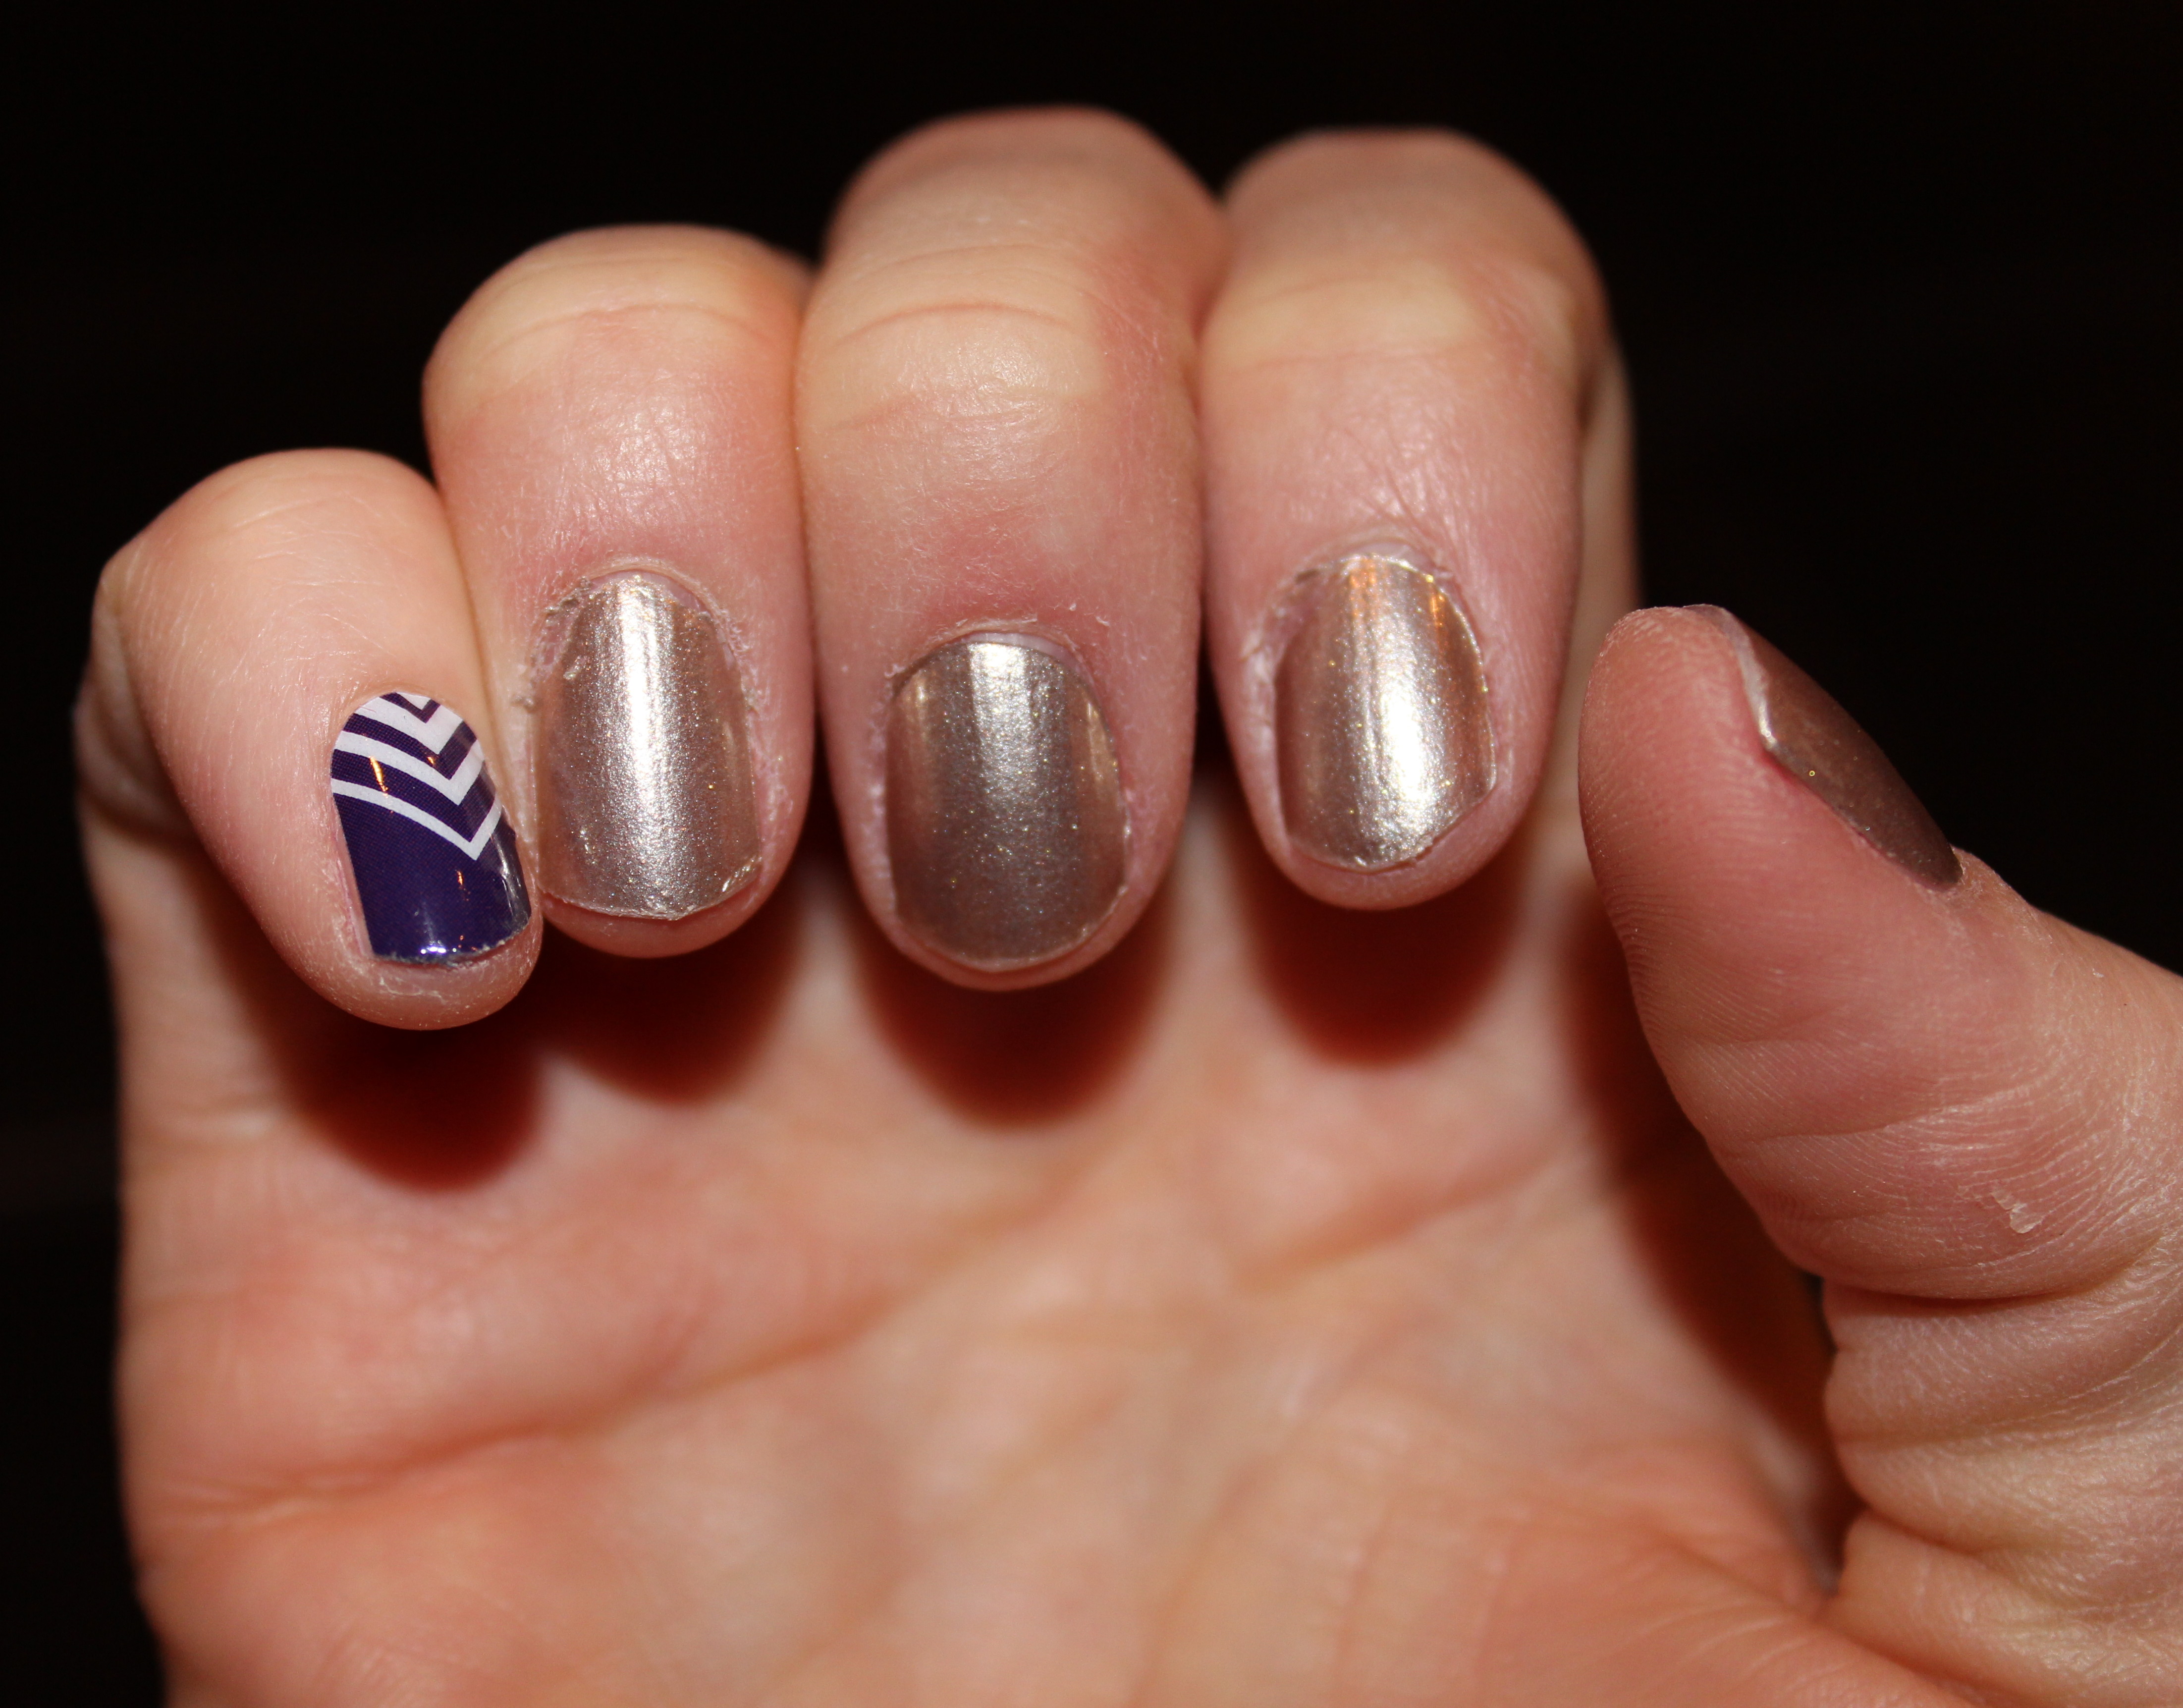
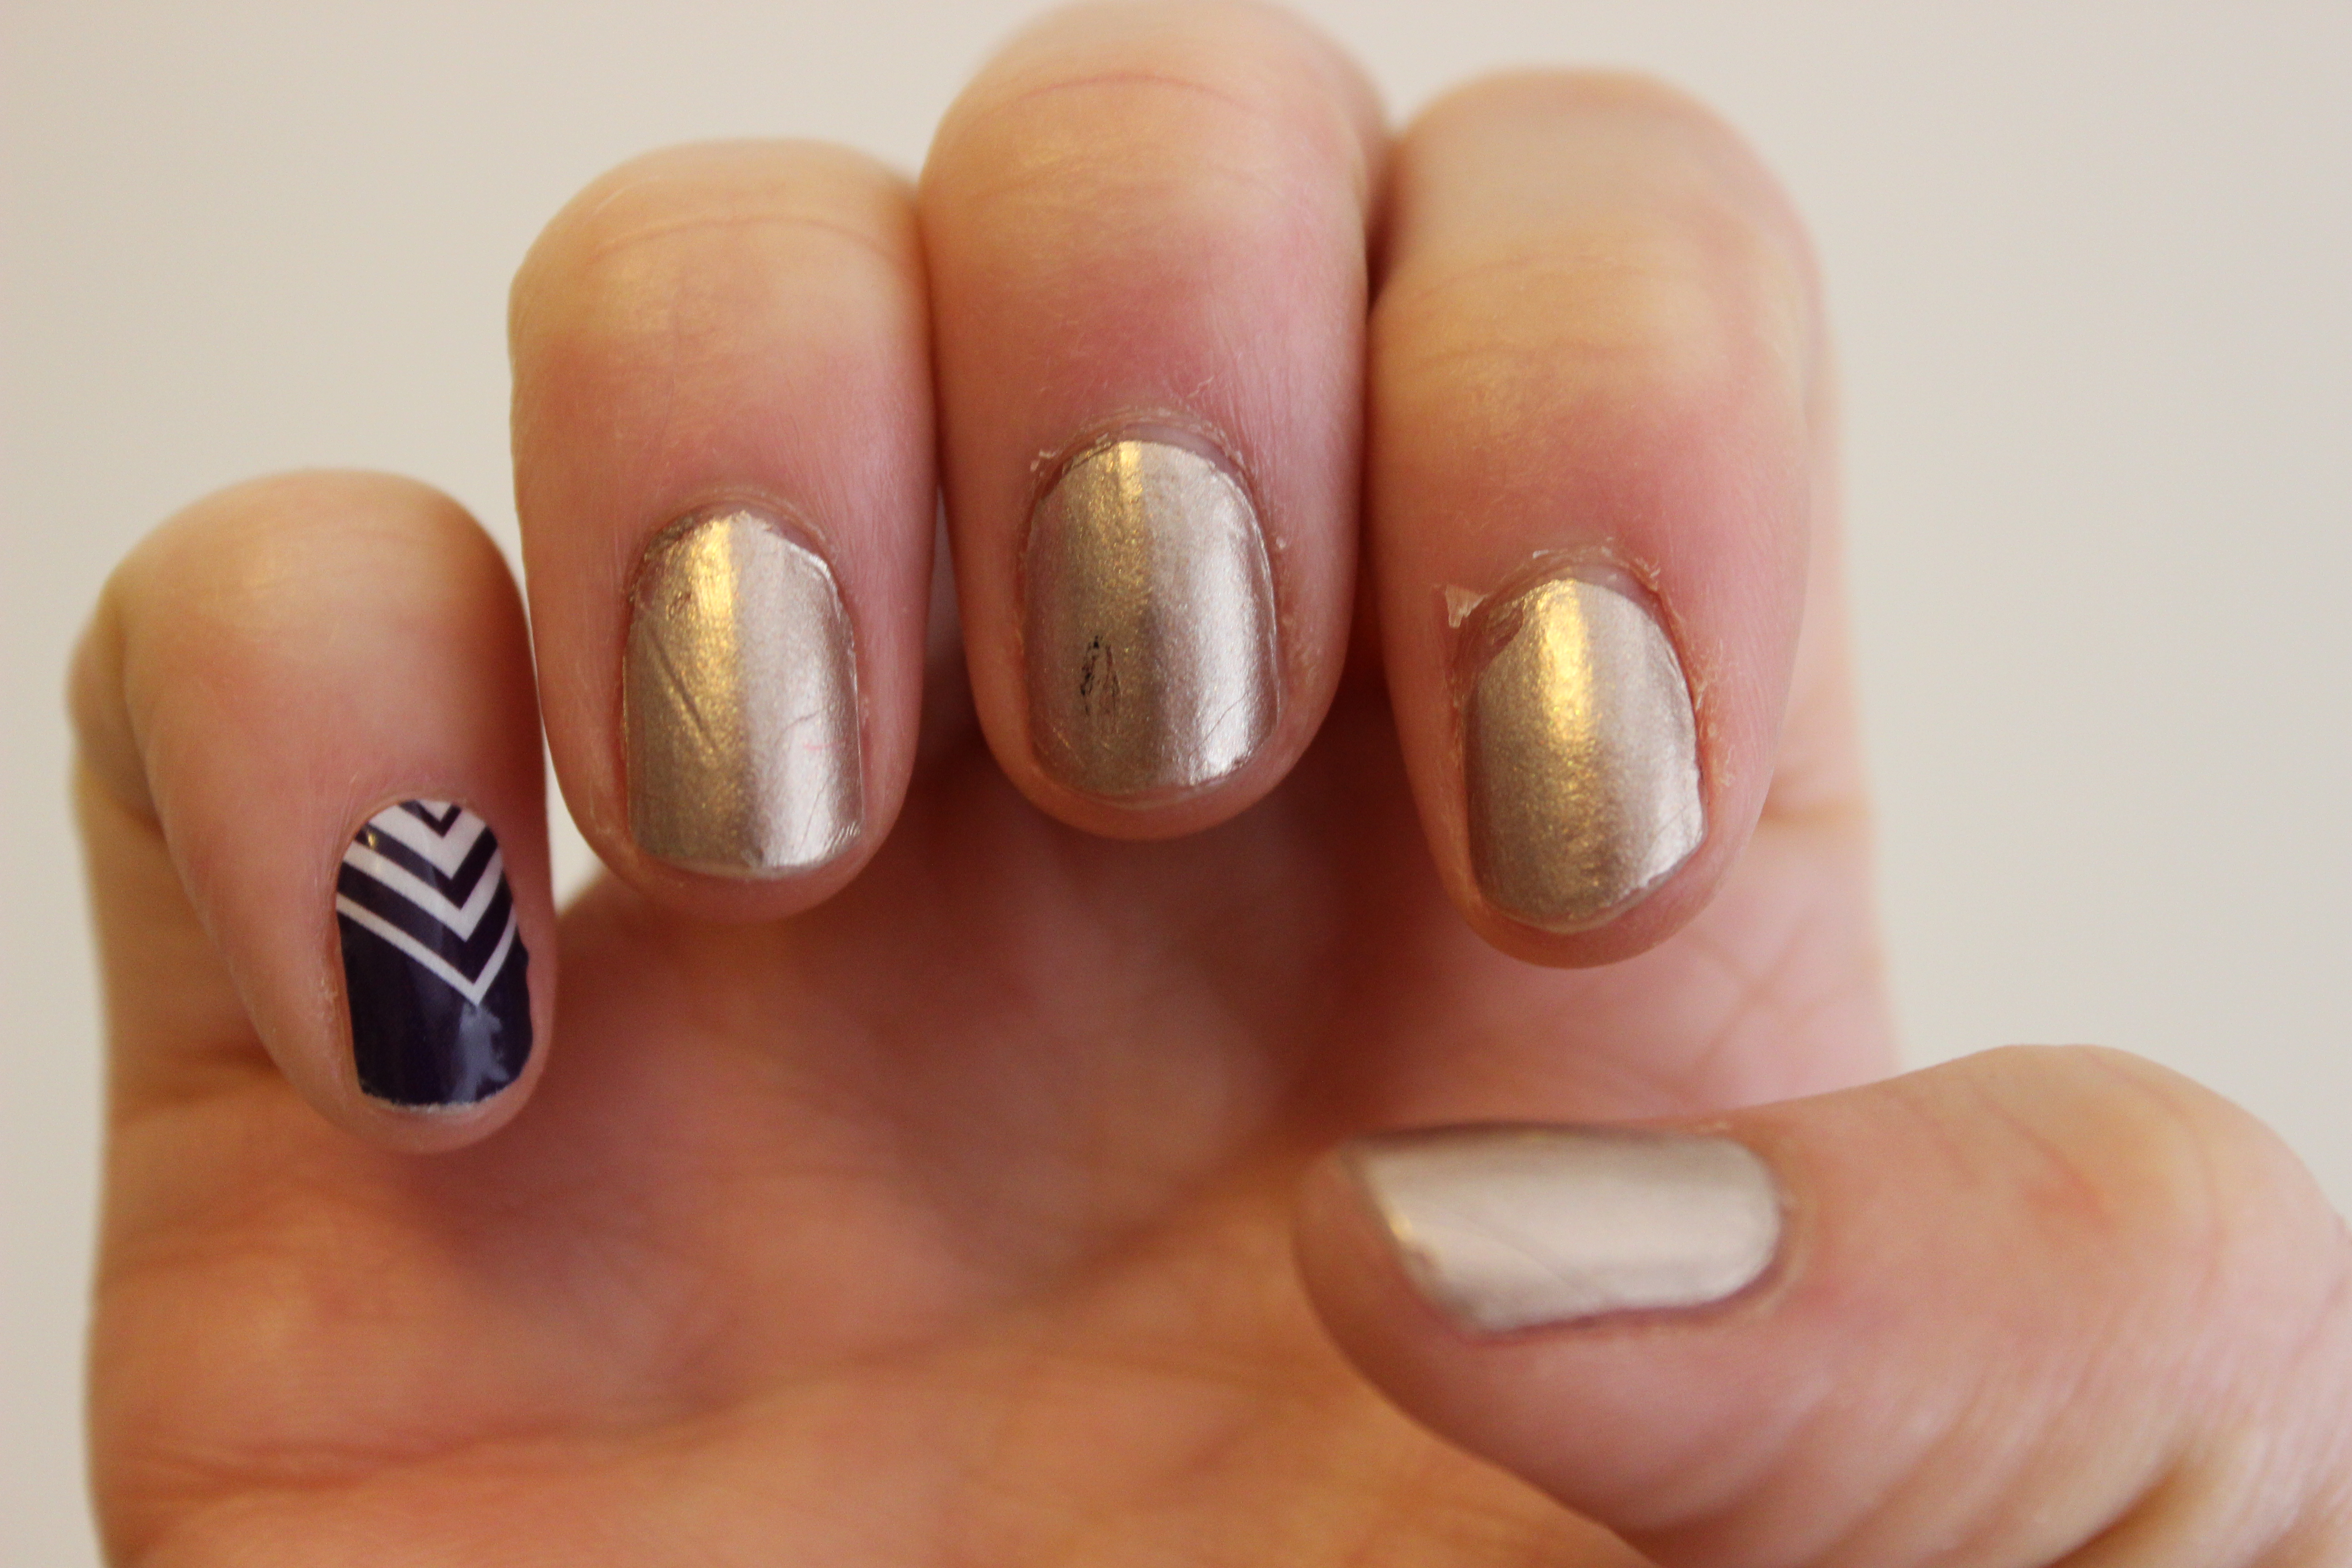
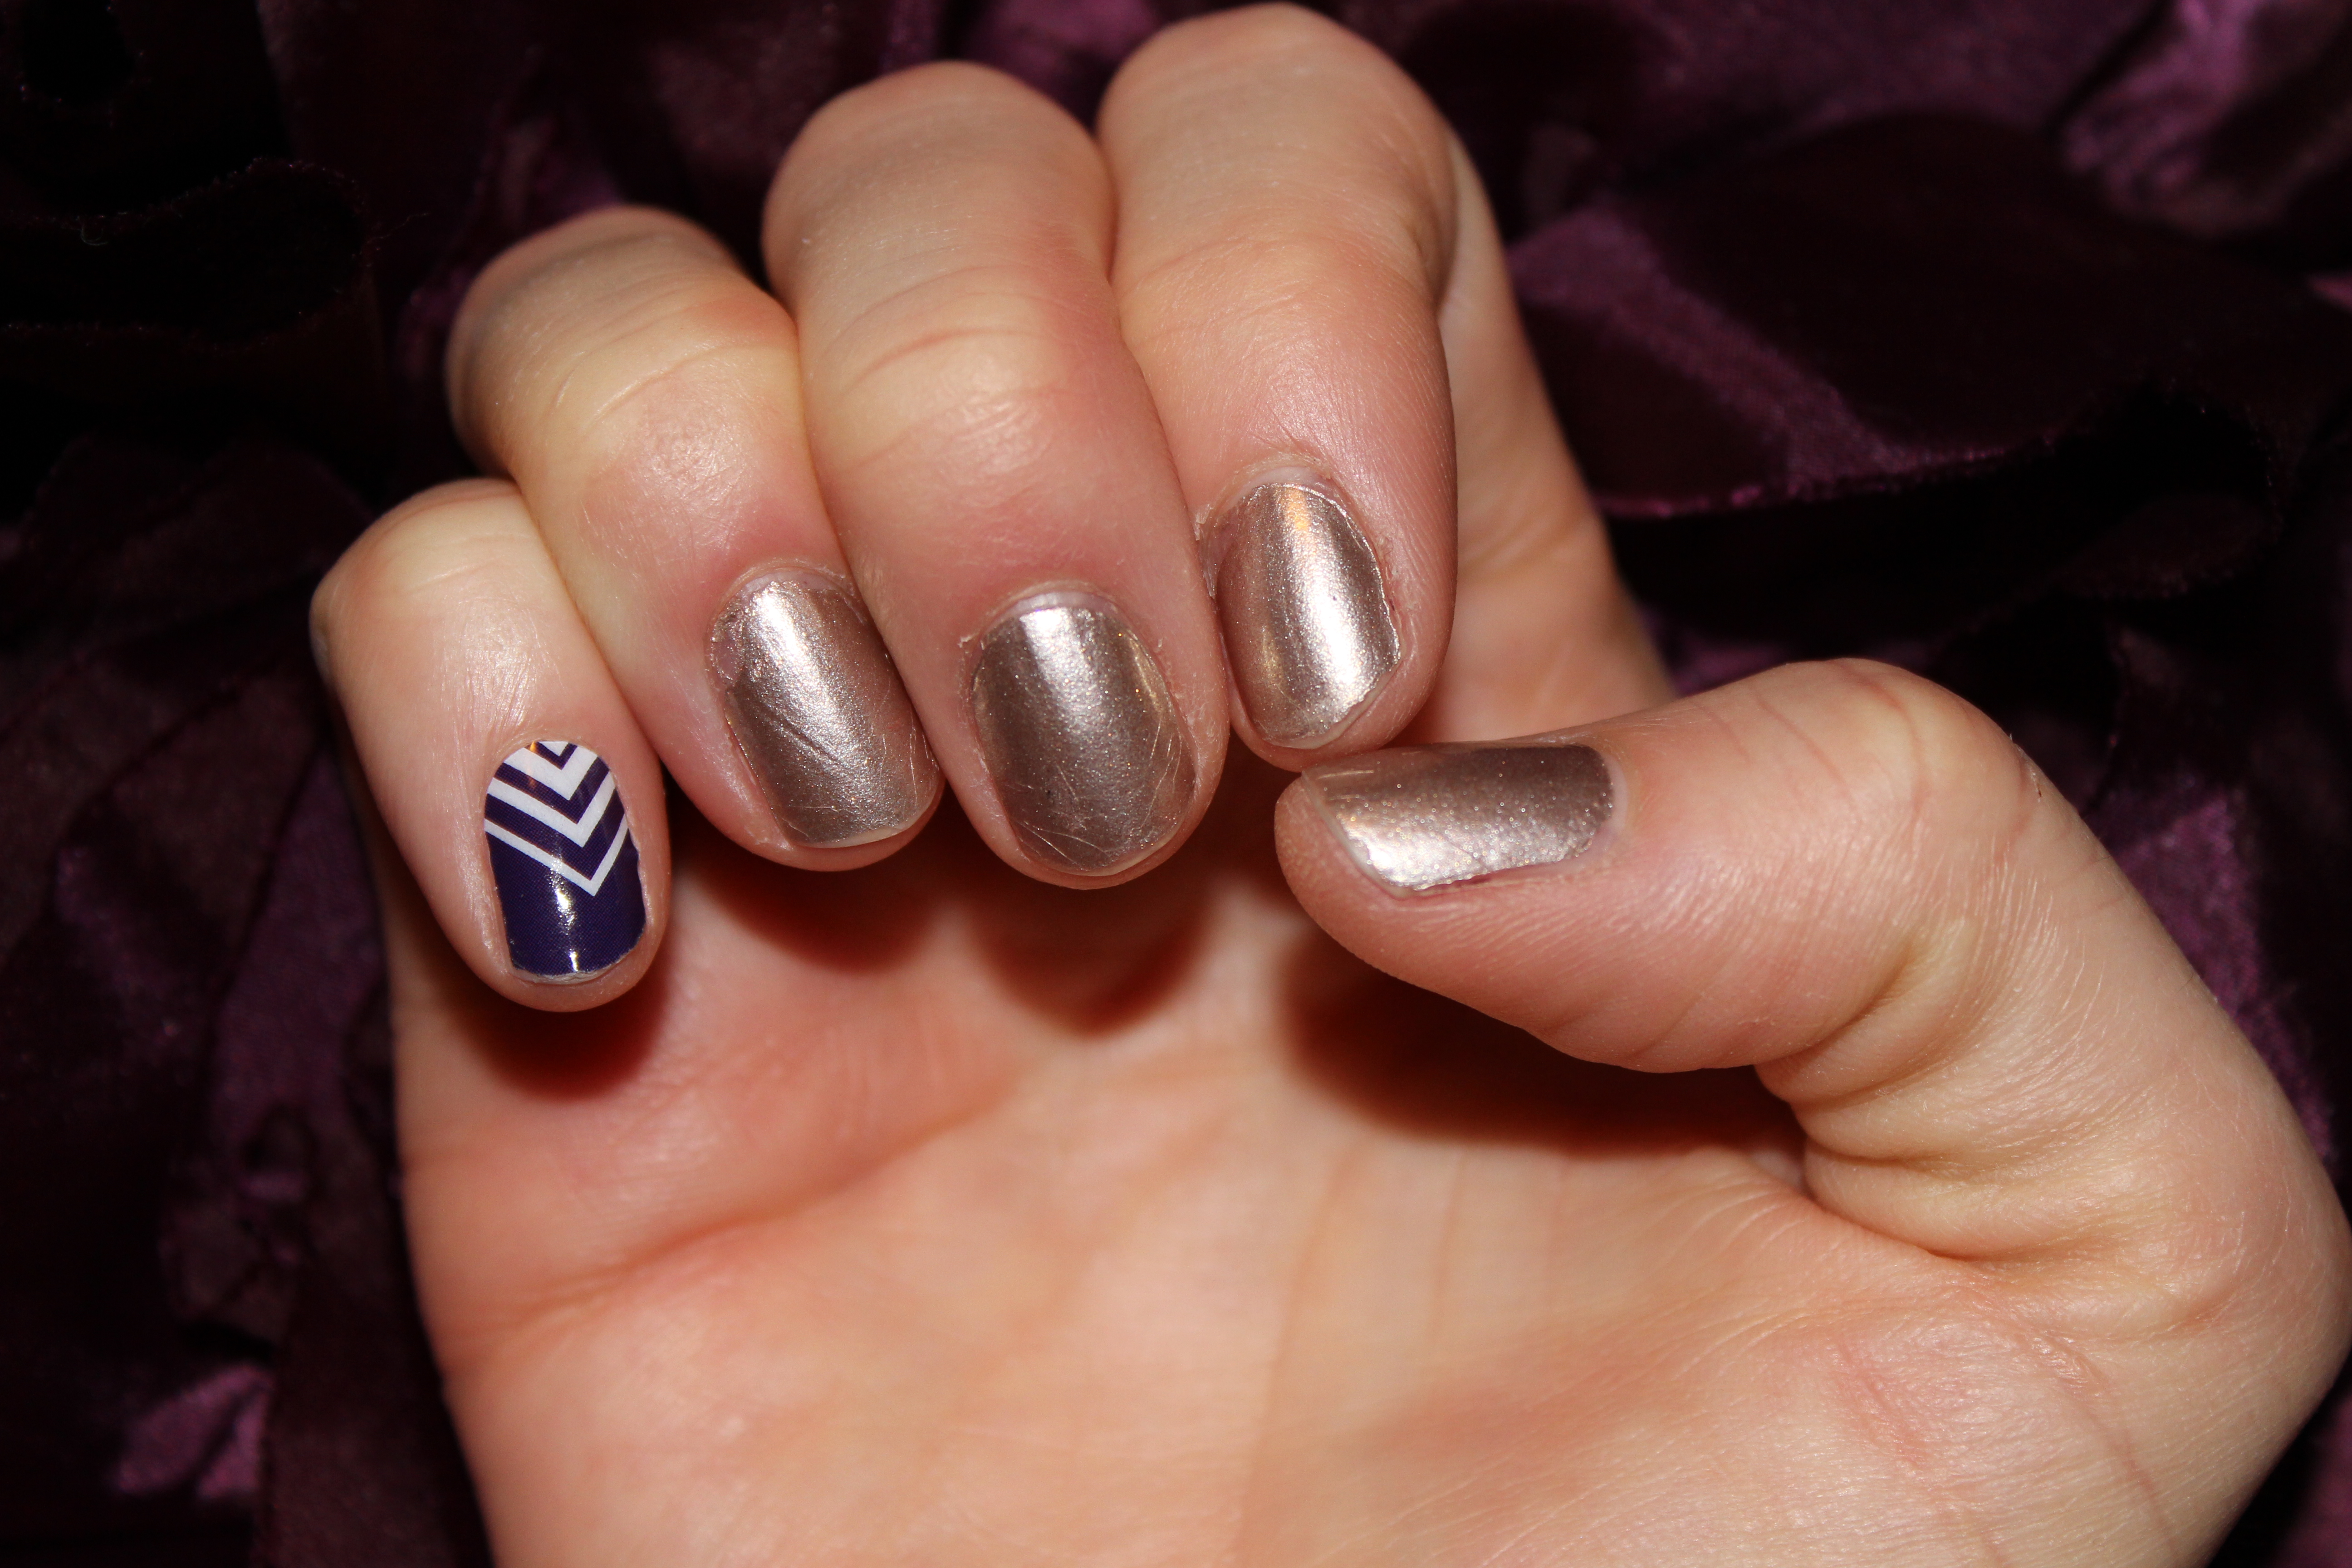
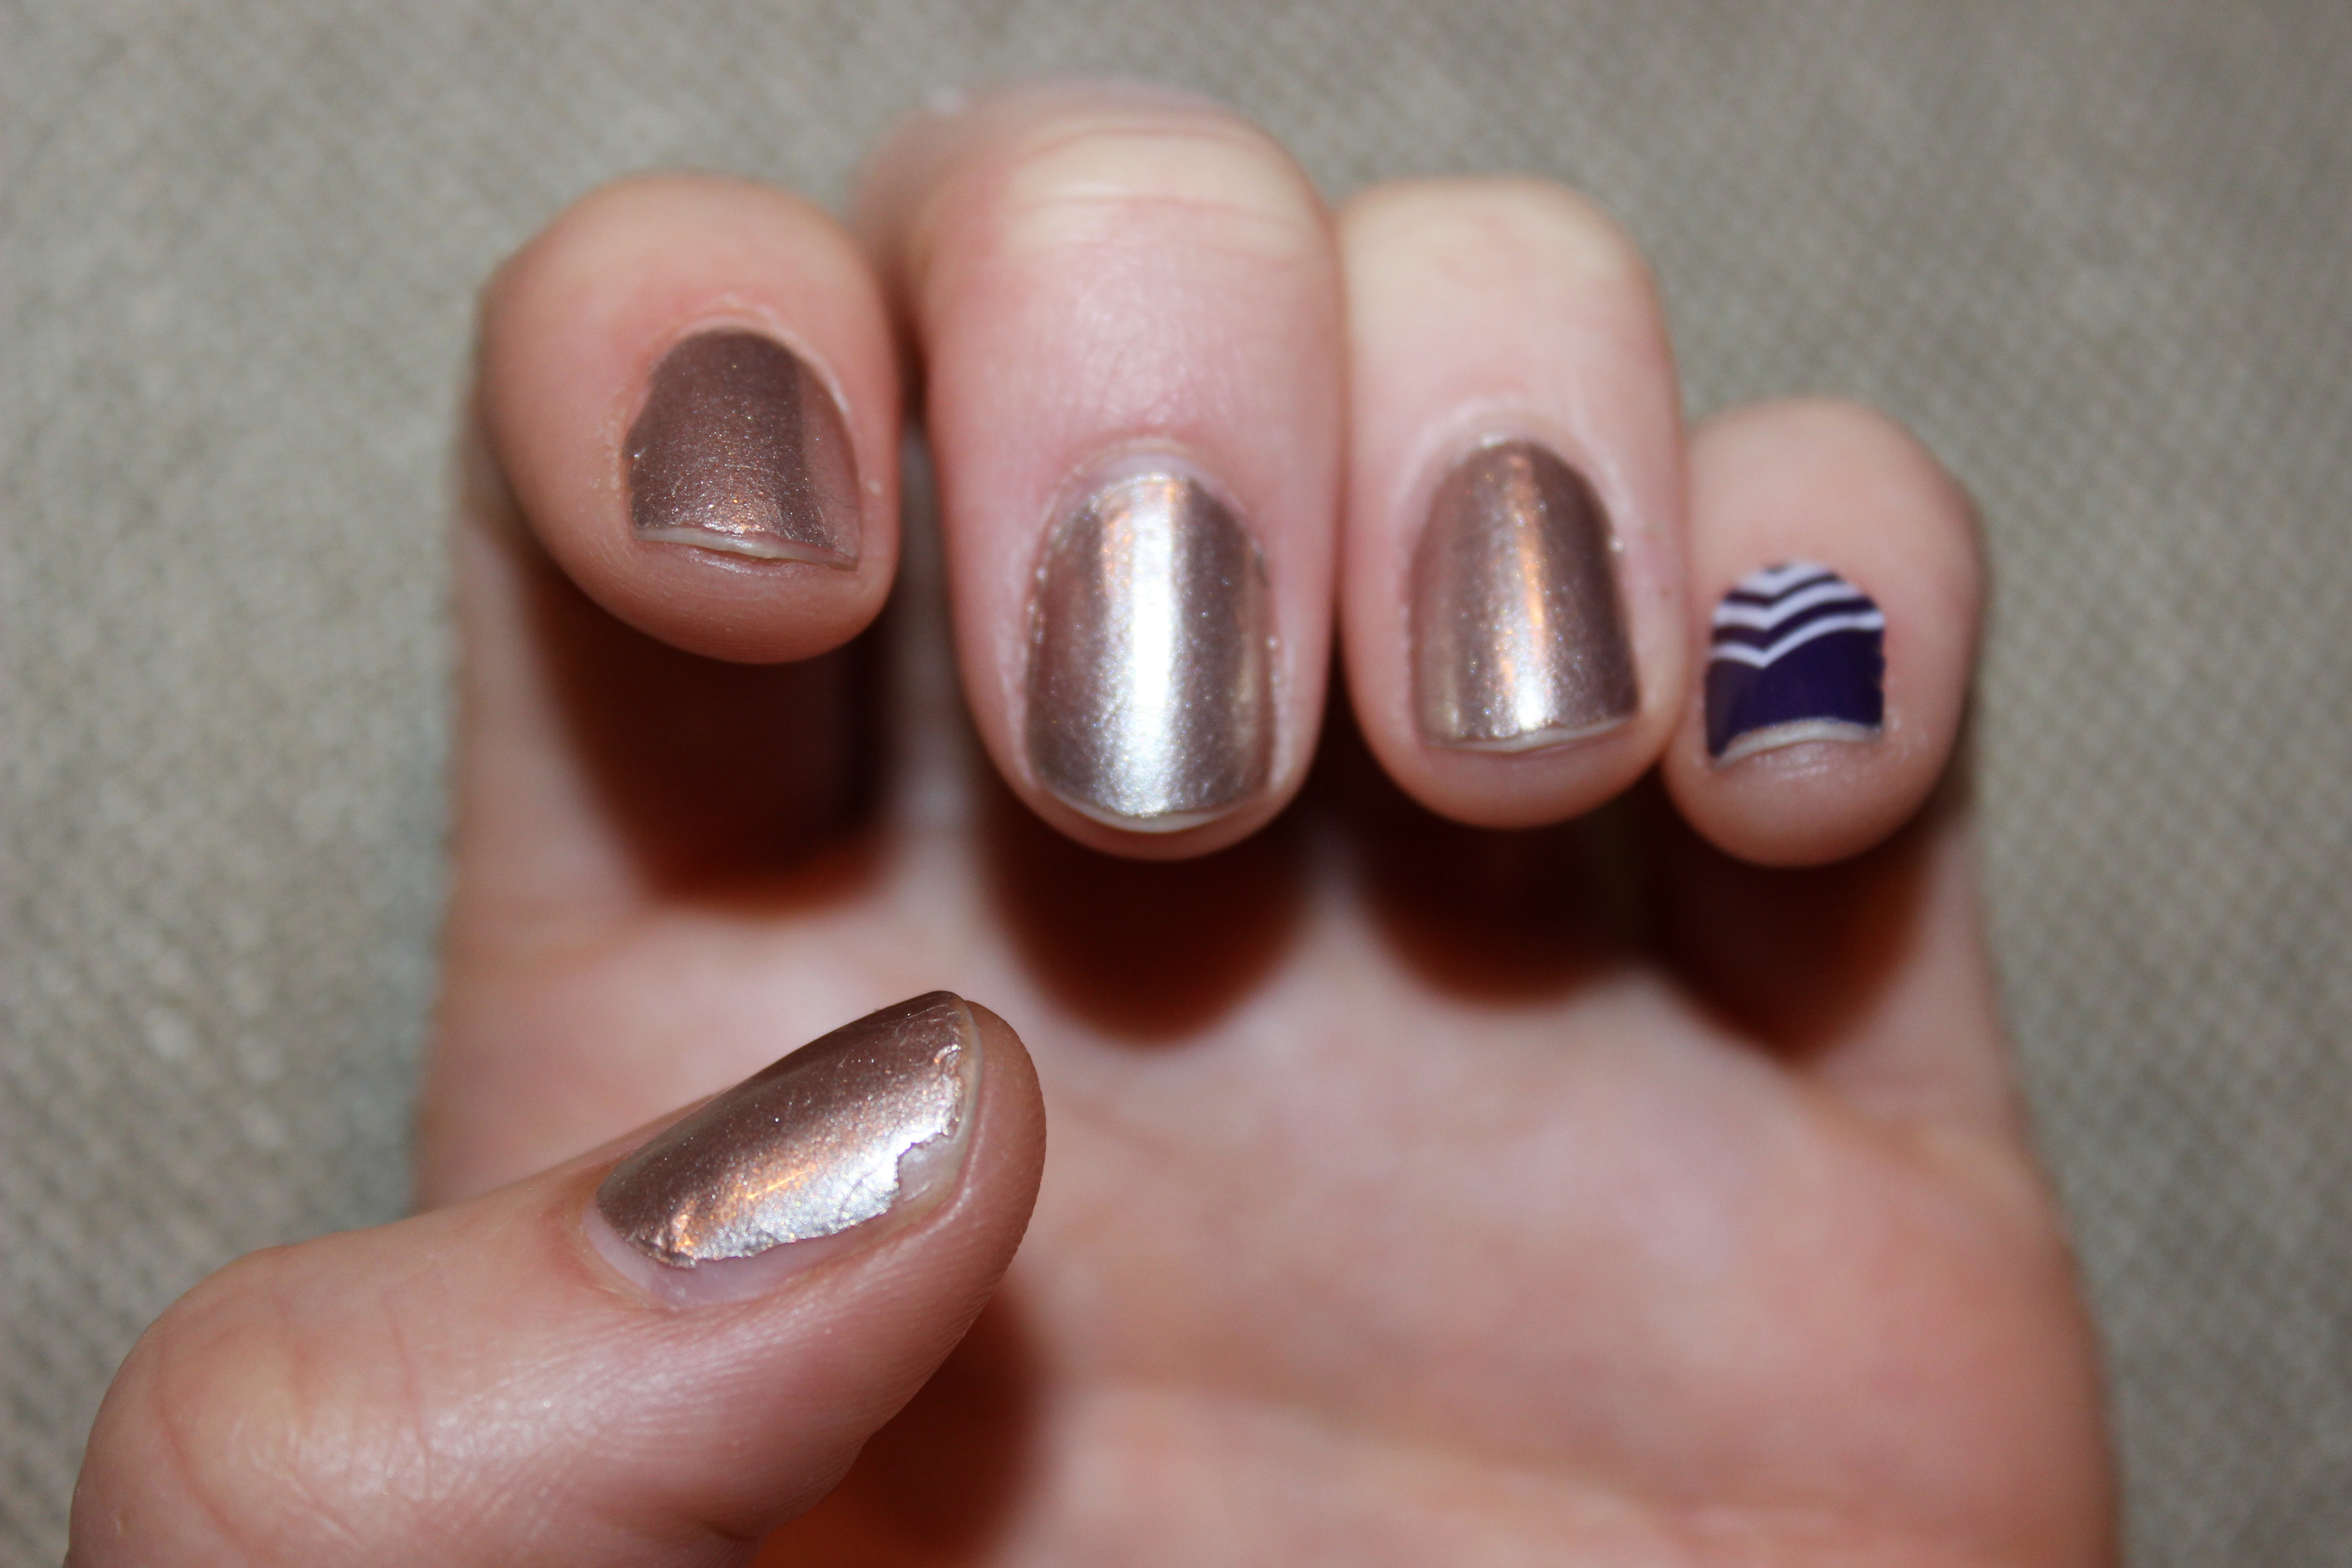
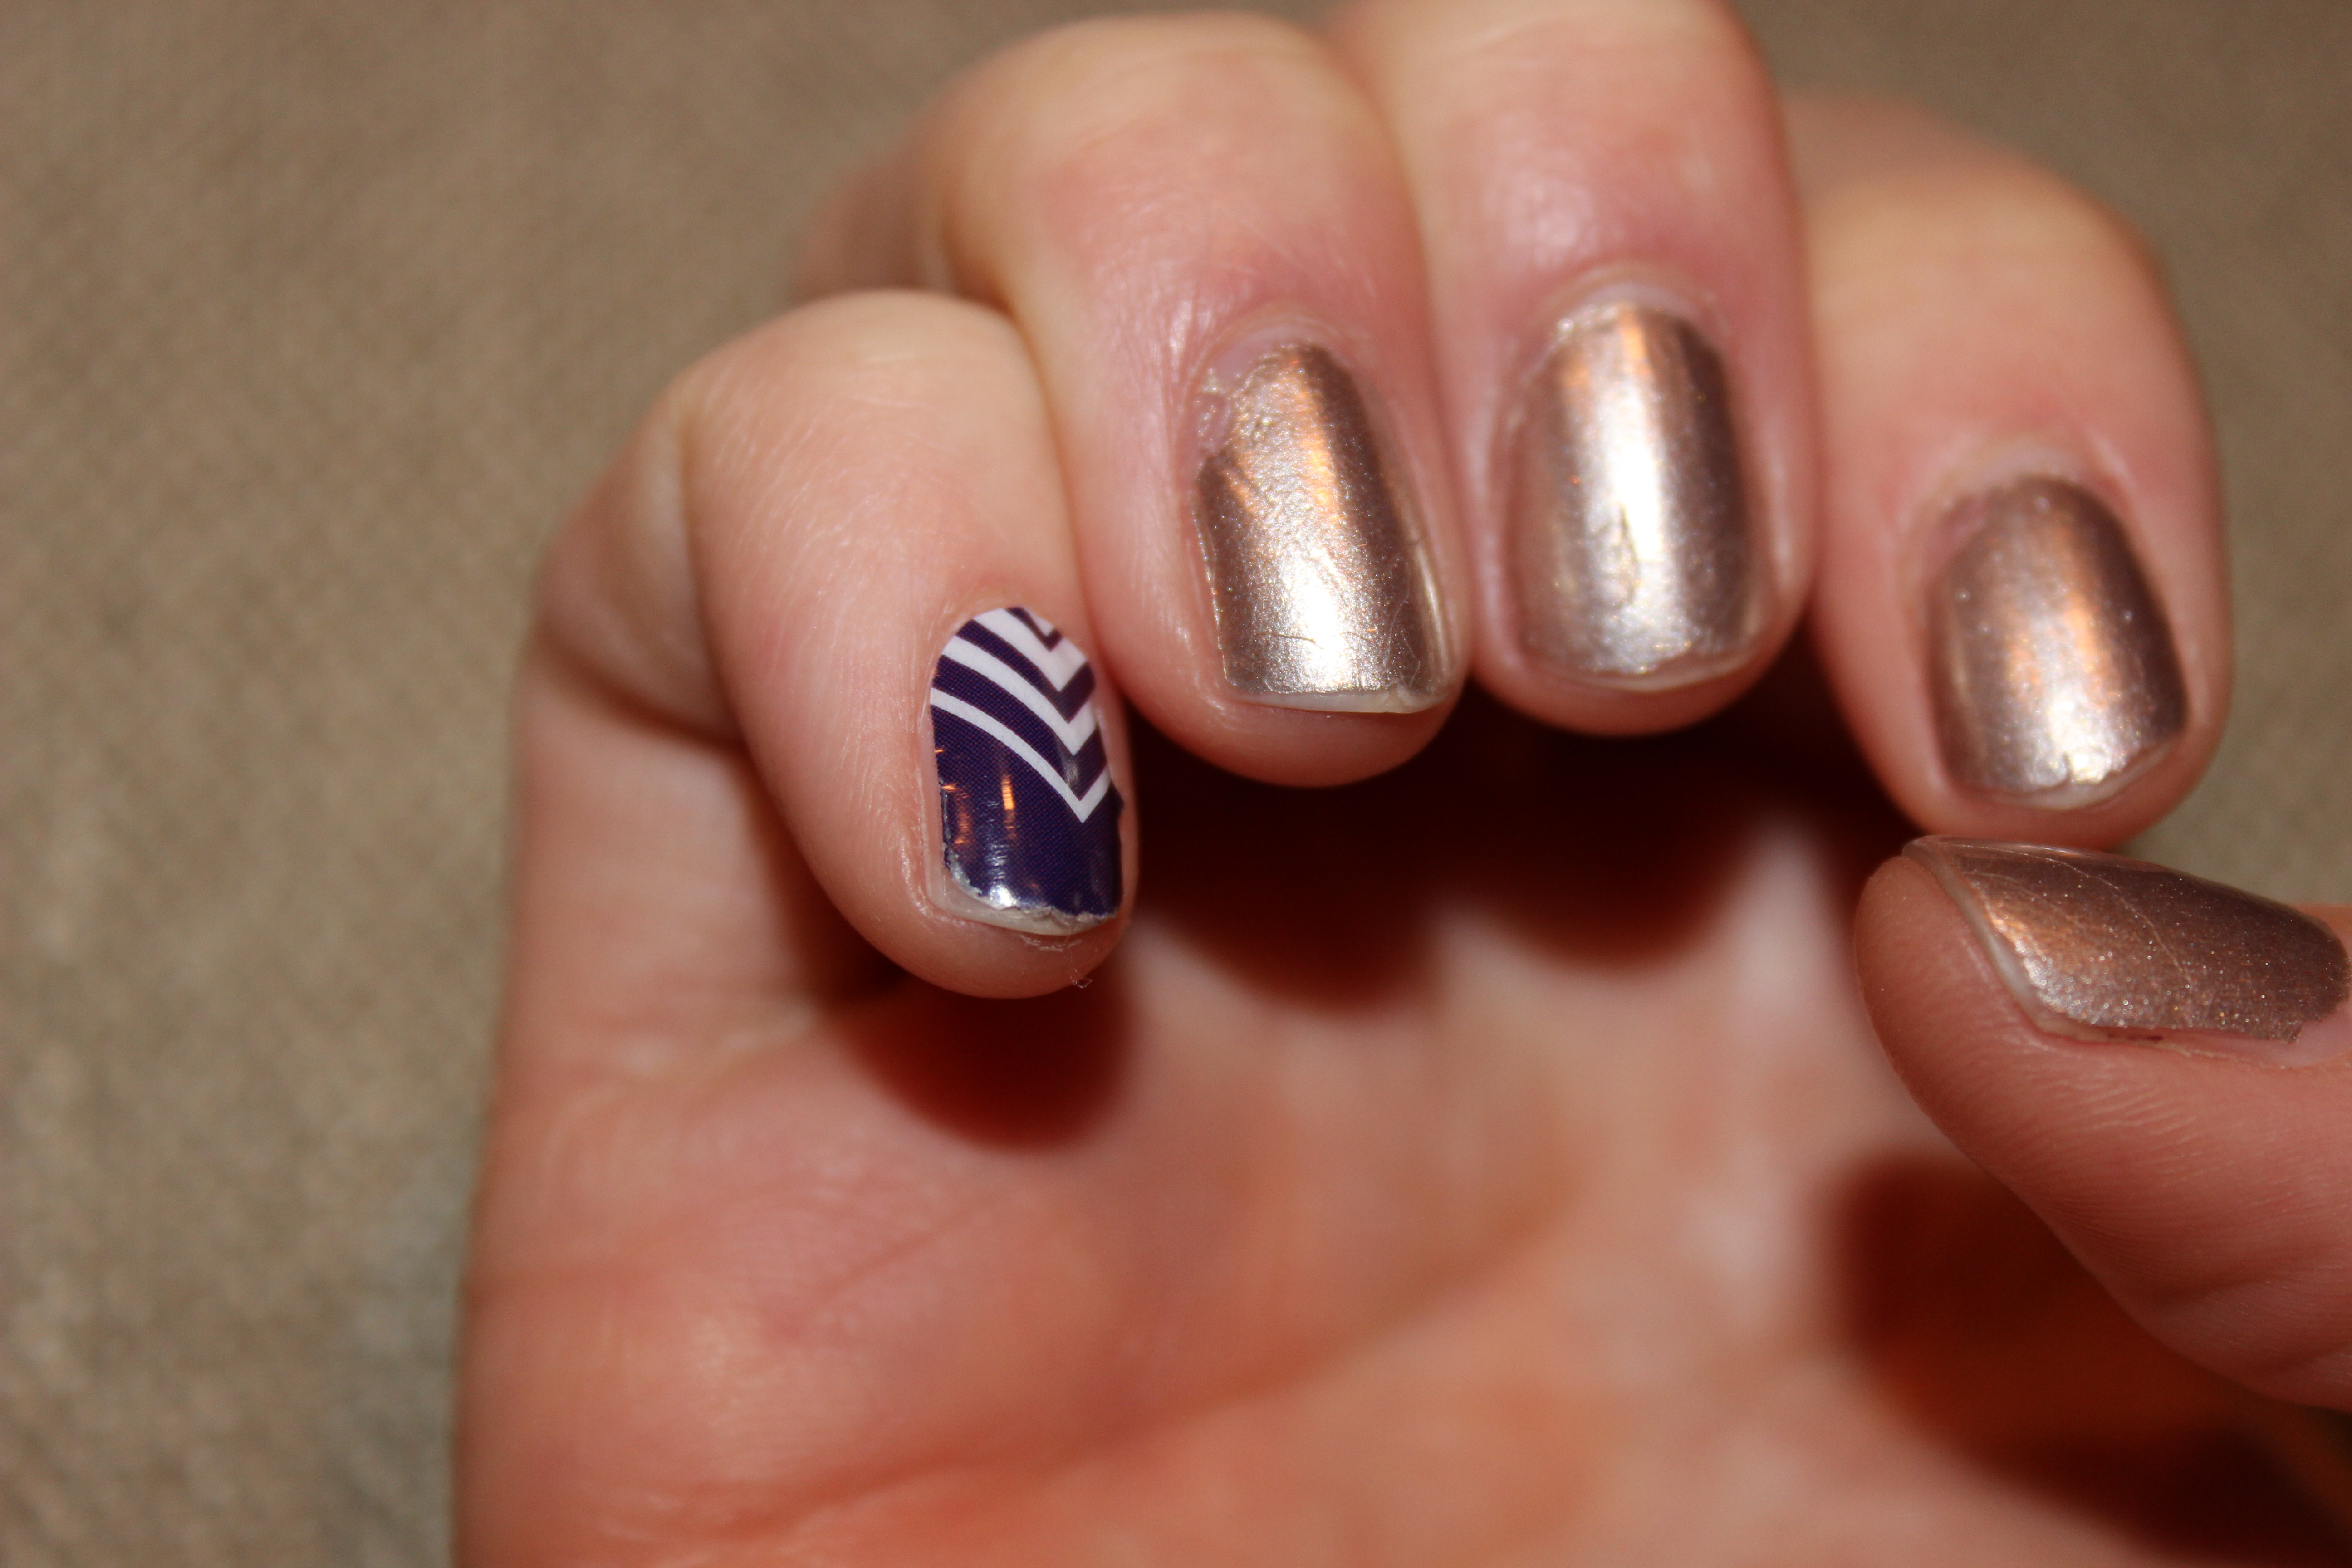
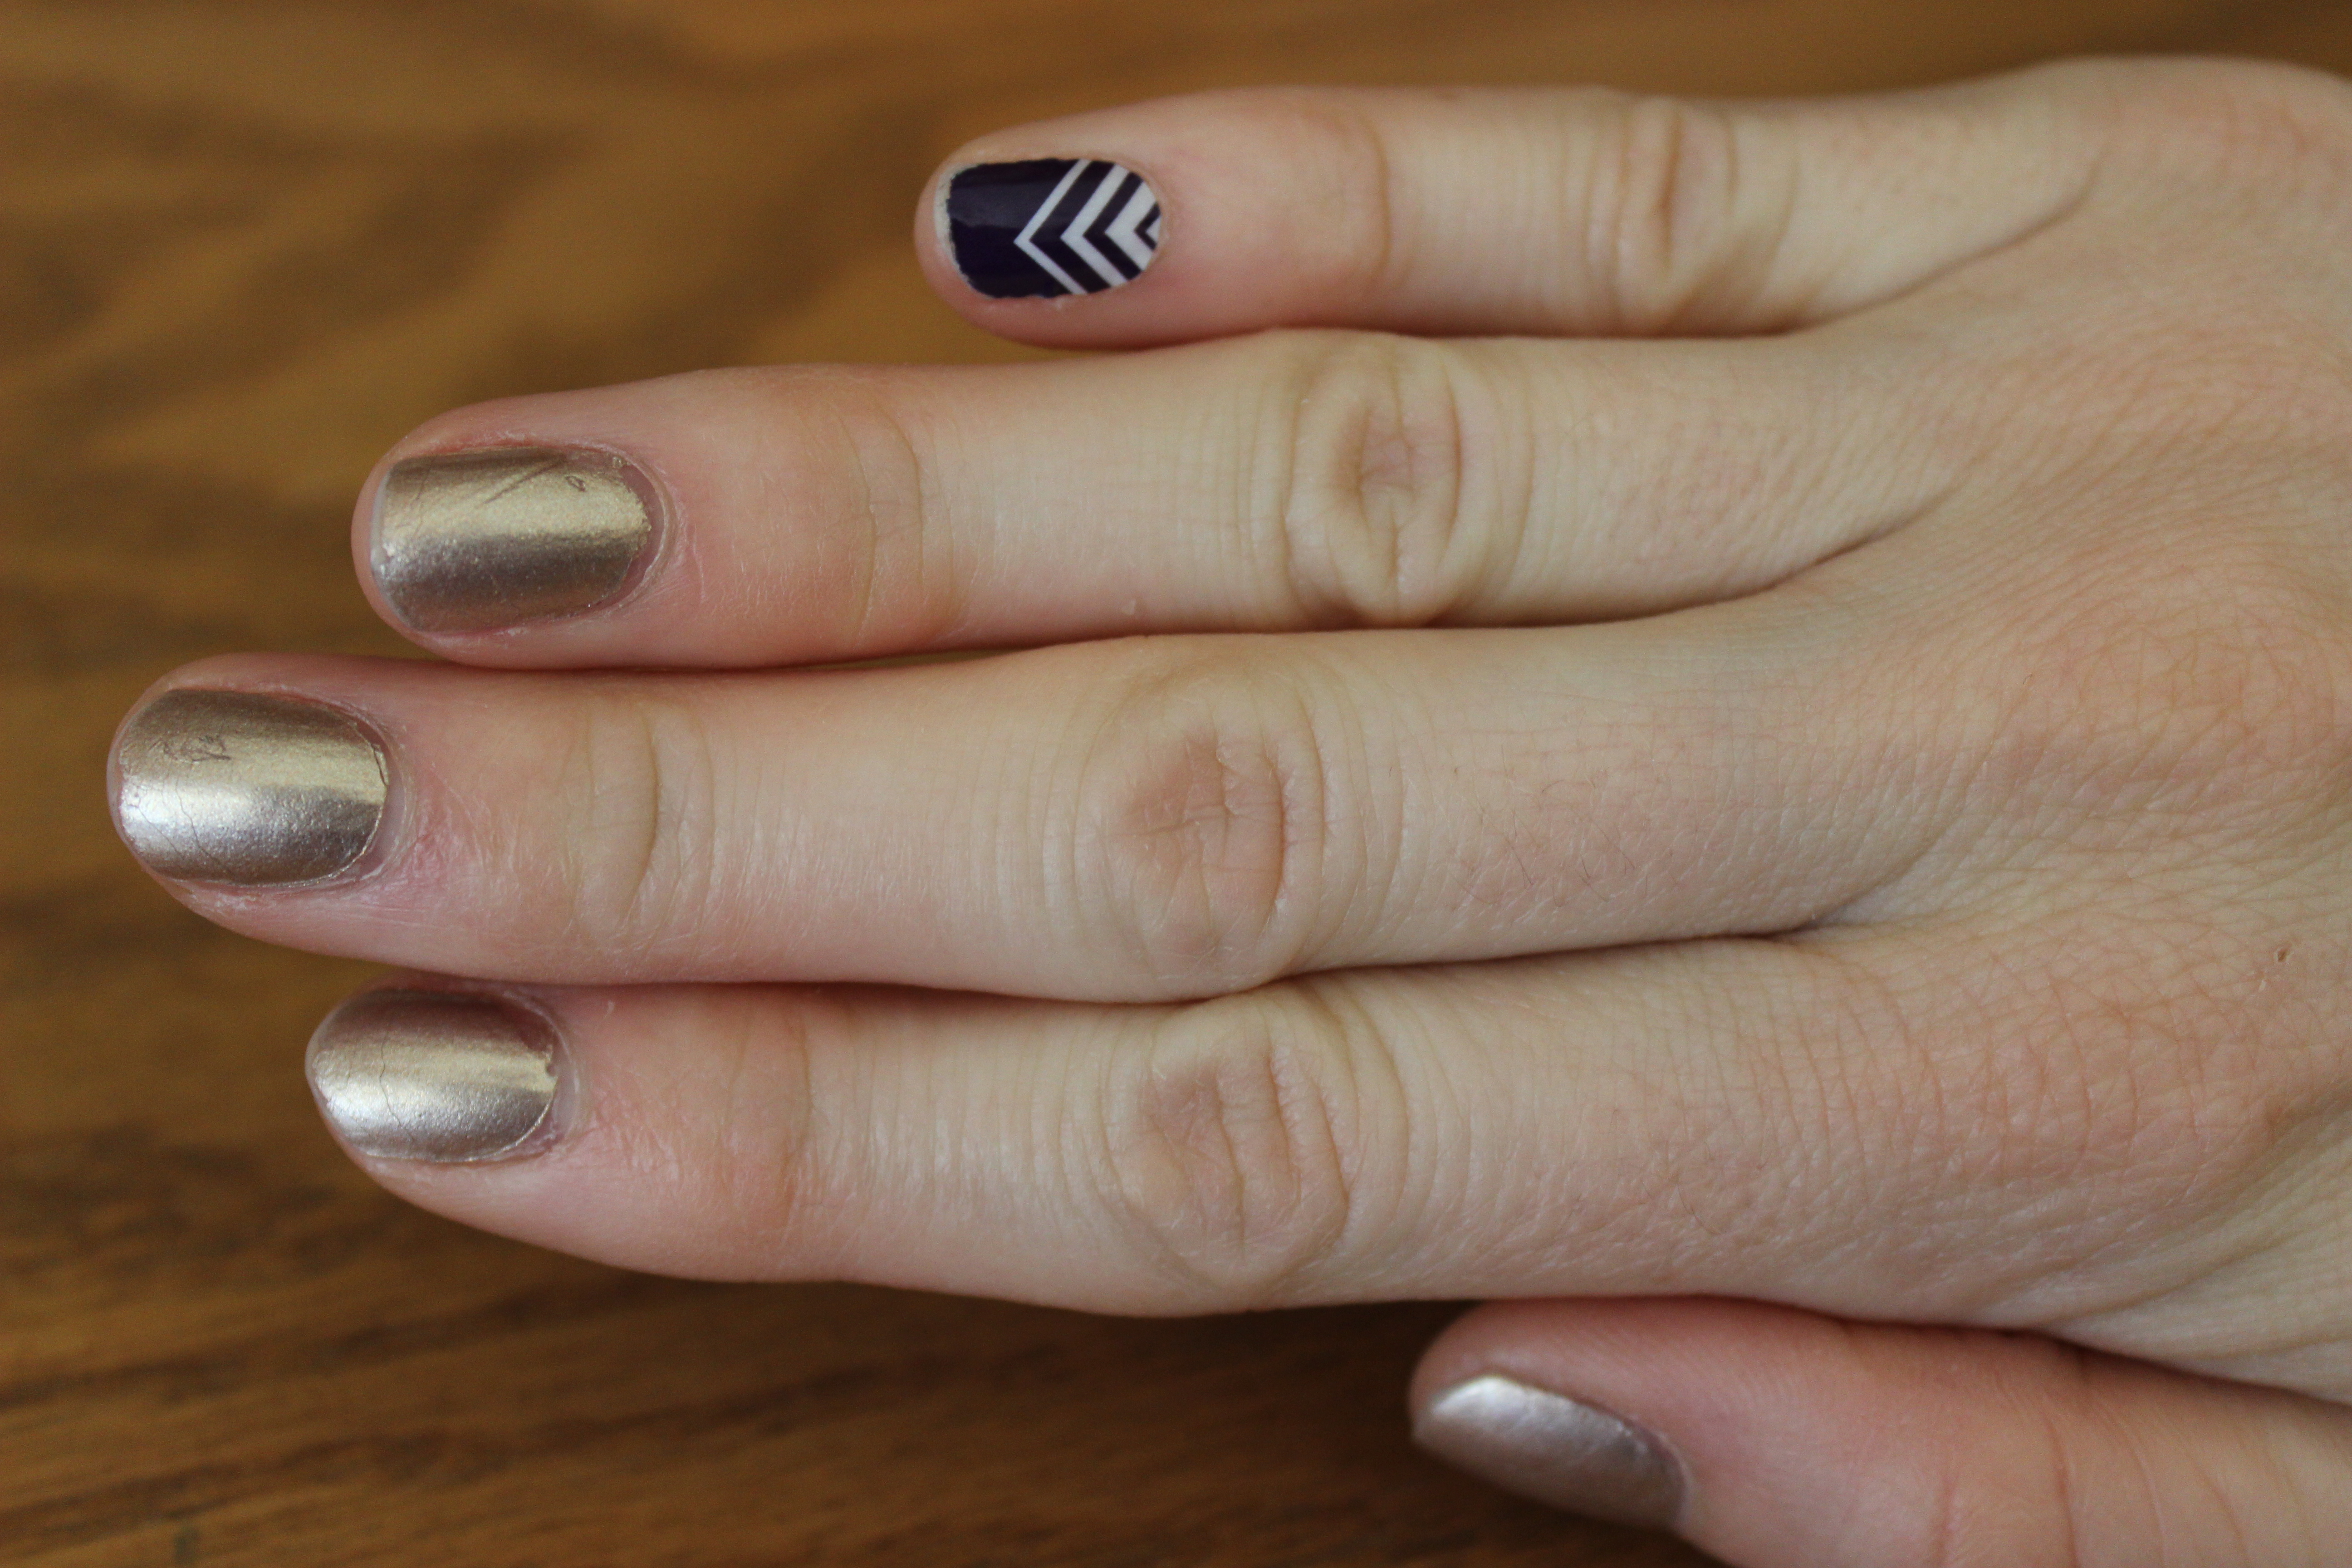
By day two, I noticed that the gold is smudged on my left thumb and is slightly wearing off on the tips of the other fingers. I’ve also noticed some crease marks in the gold, something that doesn’t happen with Jamberry Nails. The pink nails definitely look better at this point and seem to be staying on better as well. You can see the very edge of the tip of my pinkie nail, but I believe that’s because I didn’t pull the shield far enough over the edge of my nail or I filed the shield down too much. I loved the look of my nails today. I definitely felt cool with my nail art and gold nails 😉
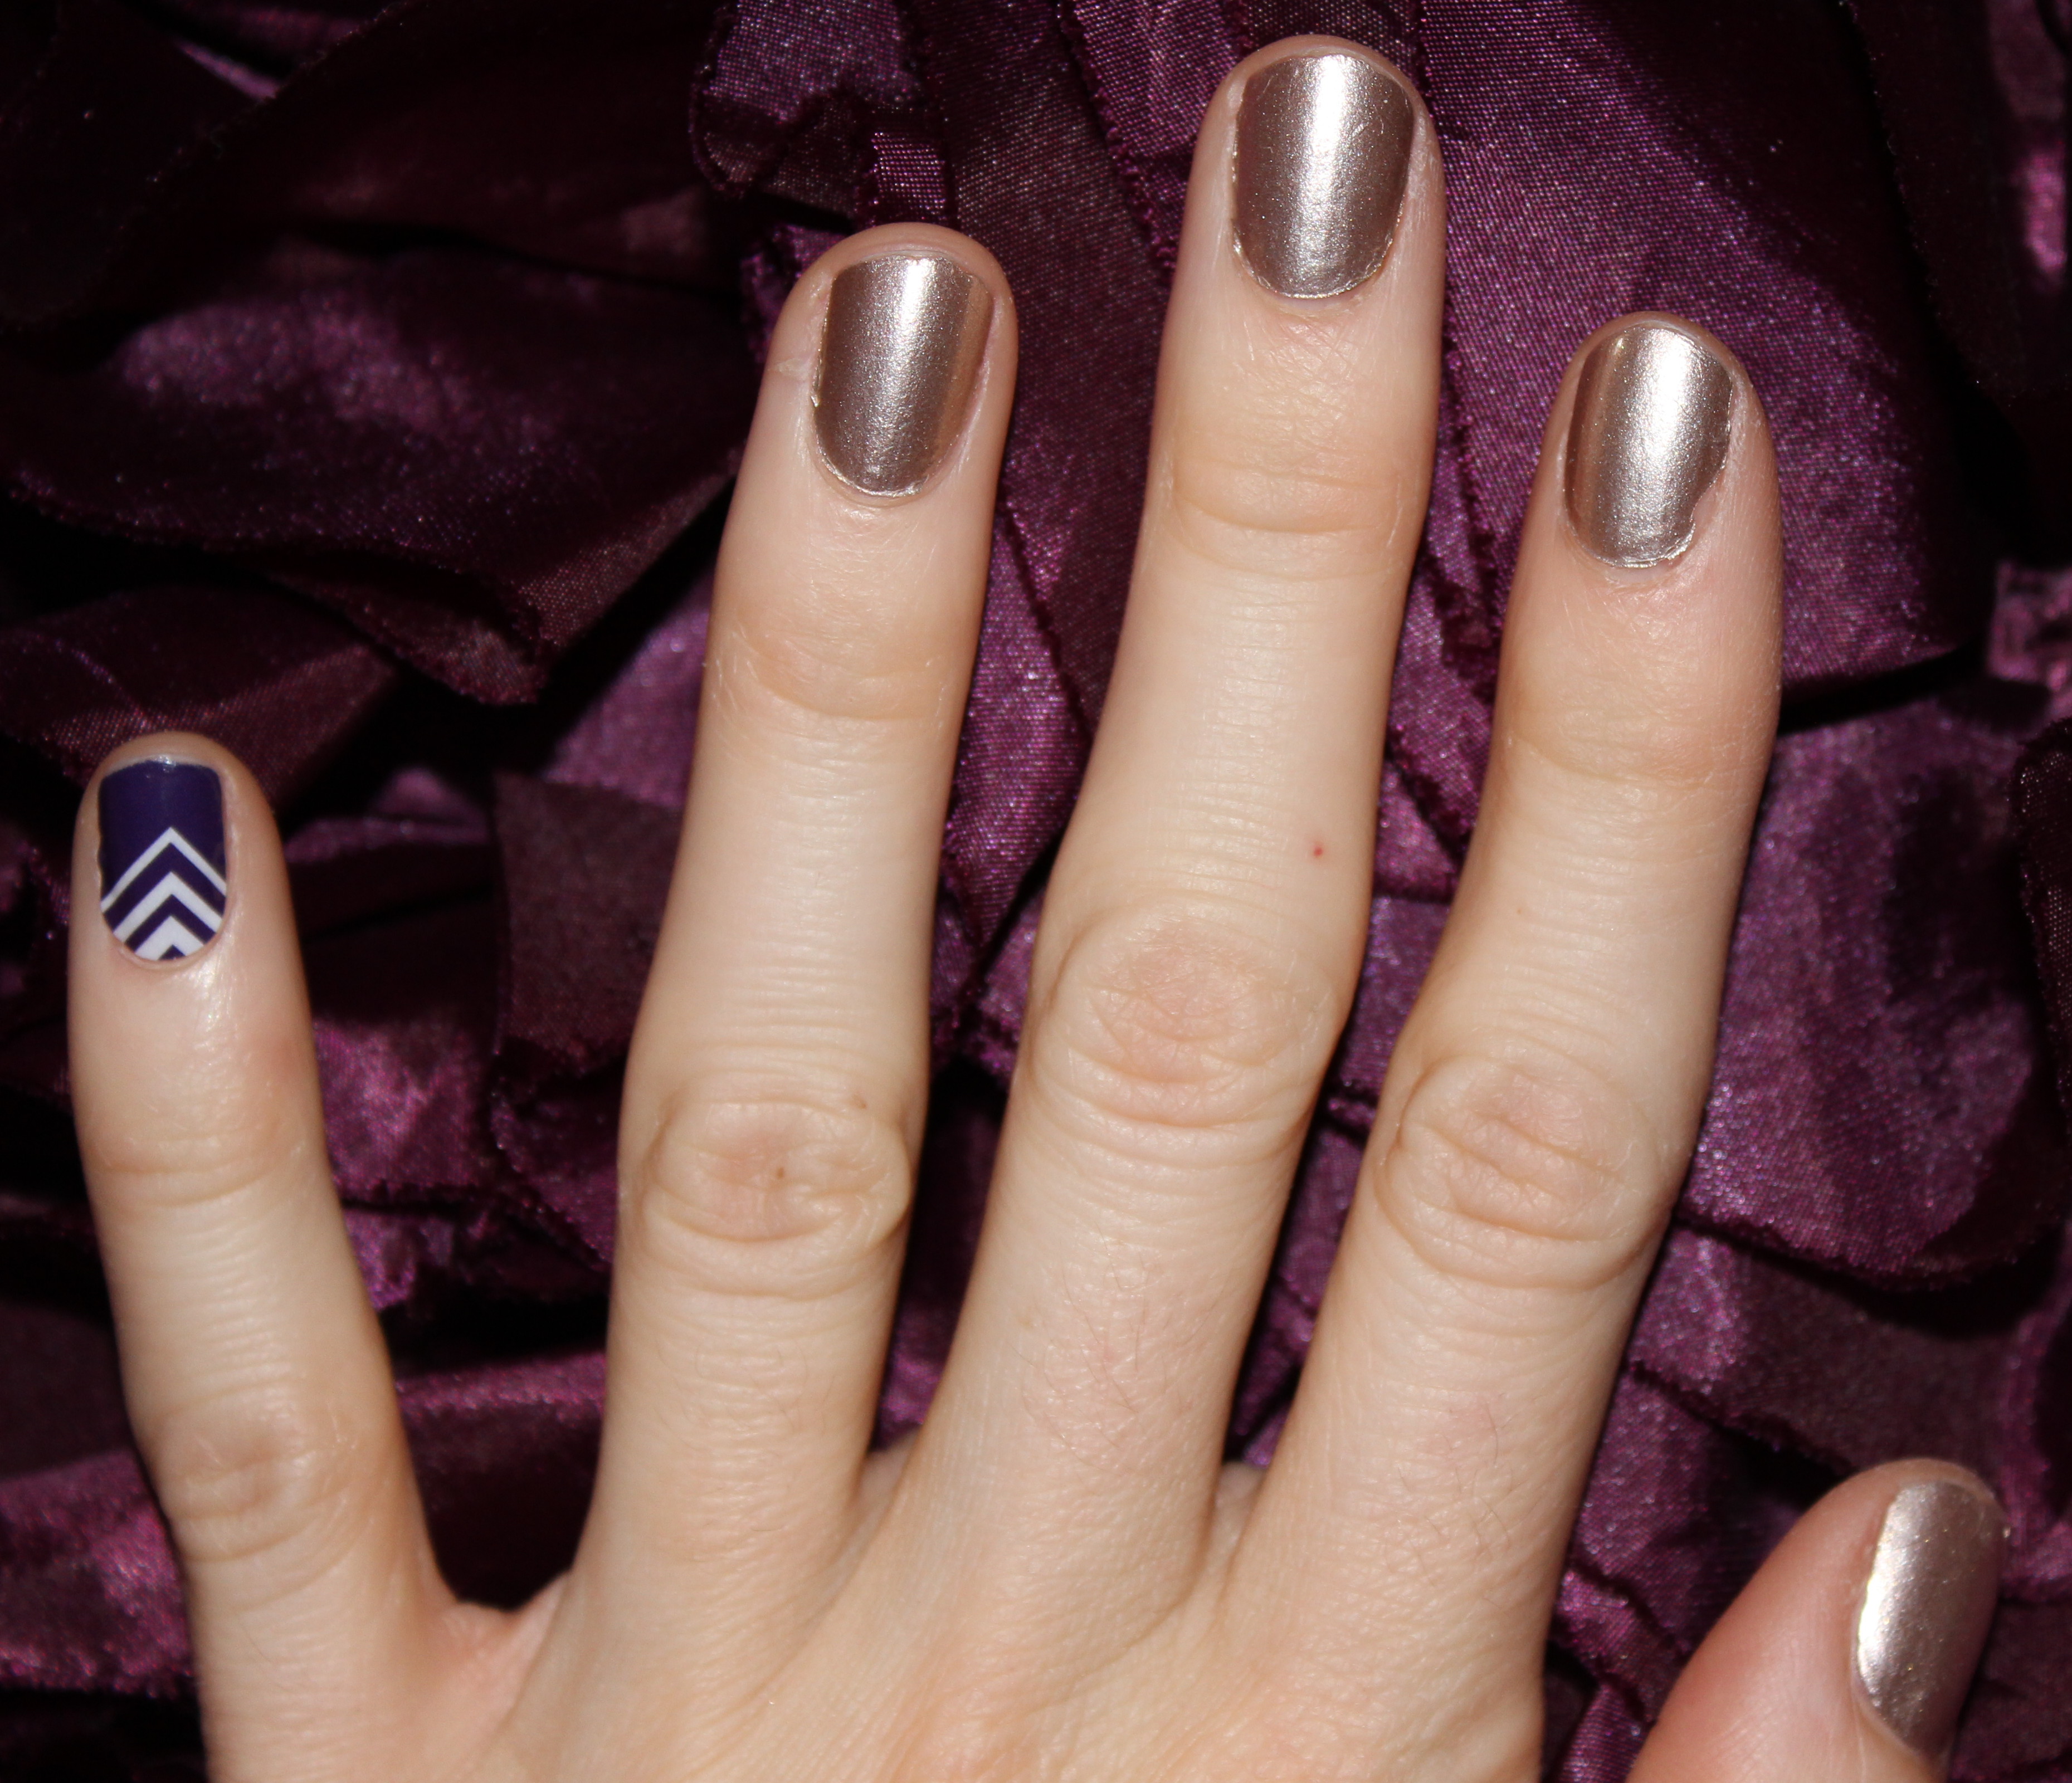
Day 3 – 8/27/14
Not much difference from Day 2 to Day 3 on the Jamberry Nails. I did notice that after I cleaned off my white board at work that my middle finger on my right hand rubbed off a little bit 🙁
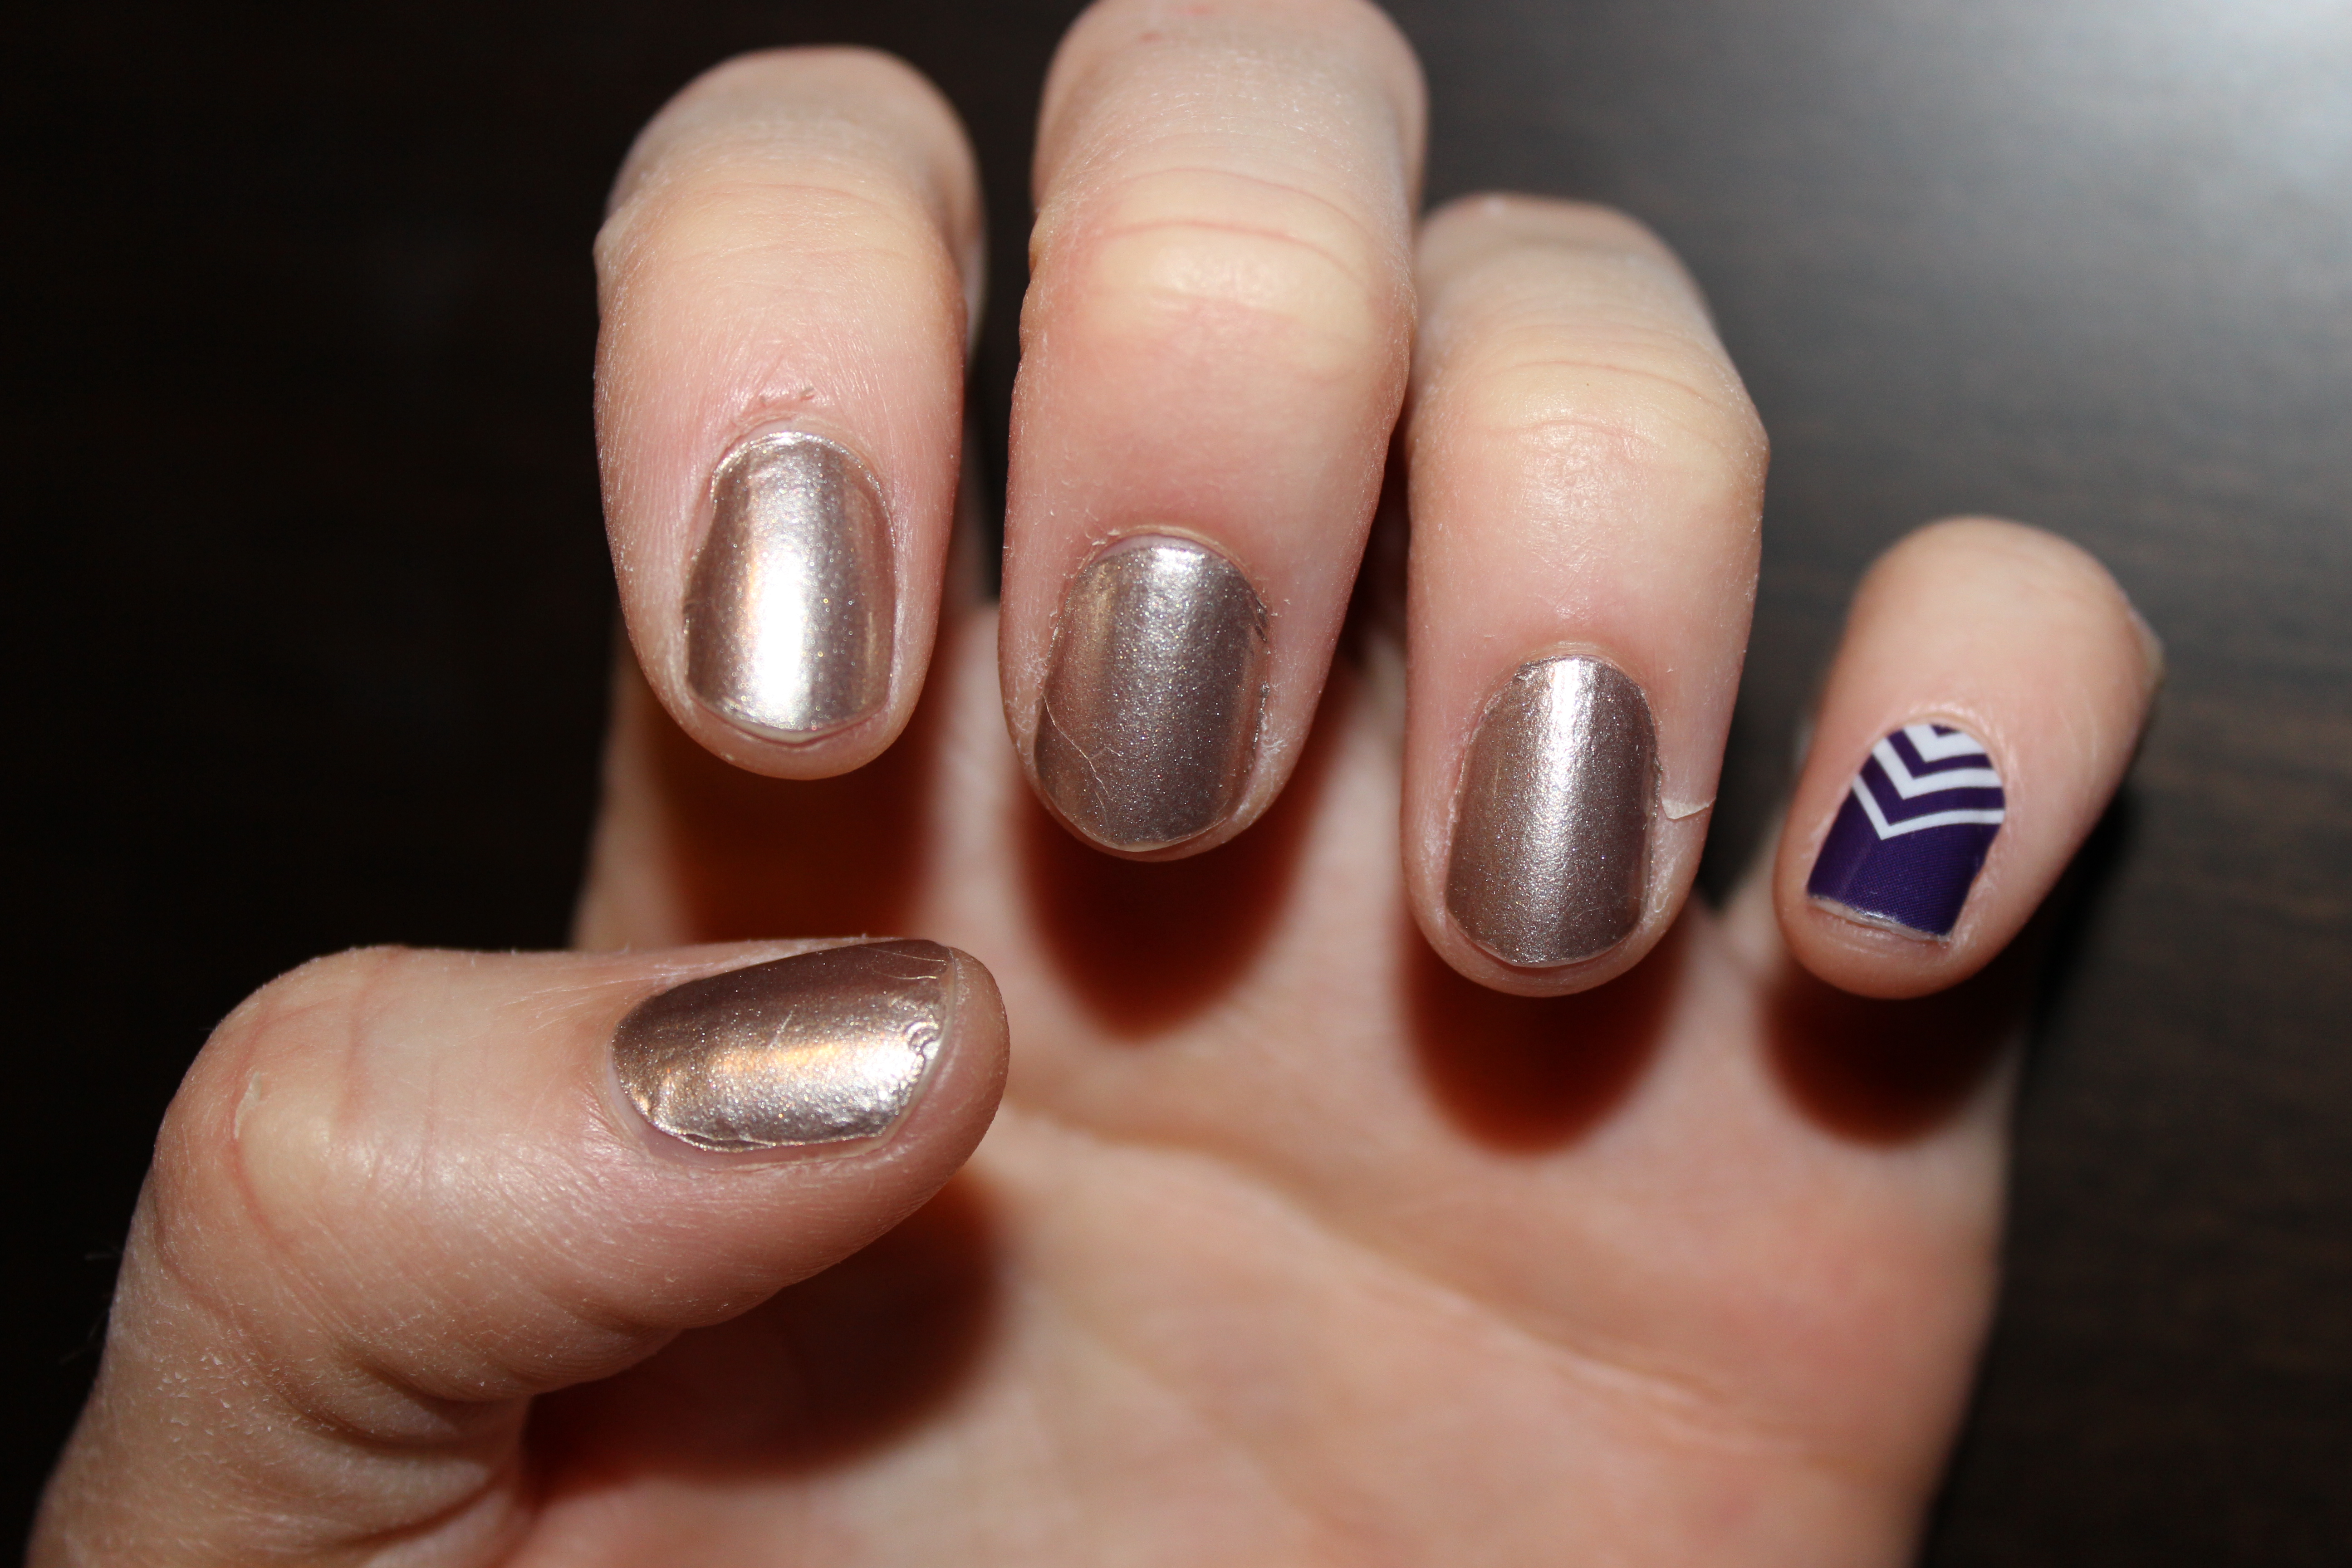
Day 4 – 8/28/14 – Today I noticed that the gold is slightly chipping, but that’s about it!
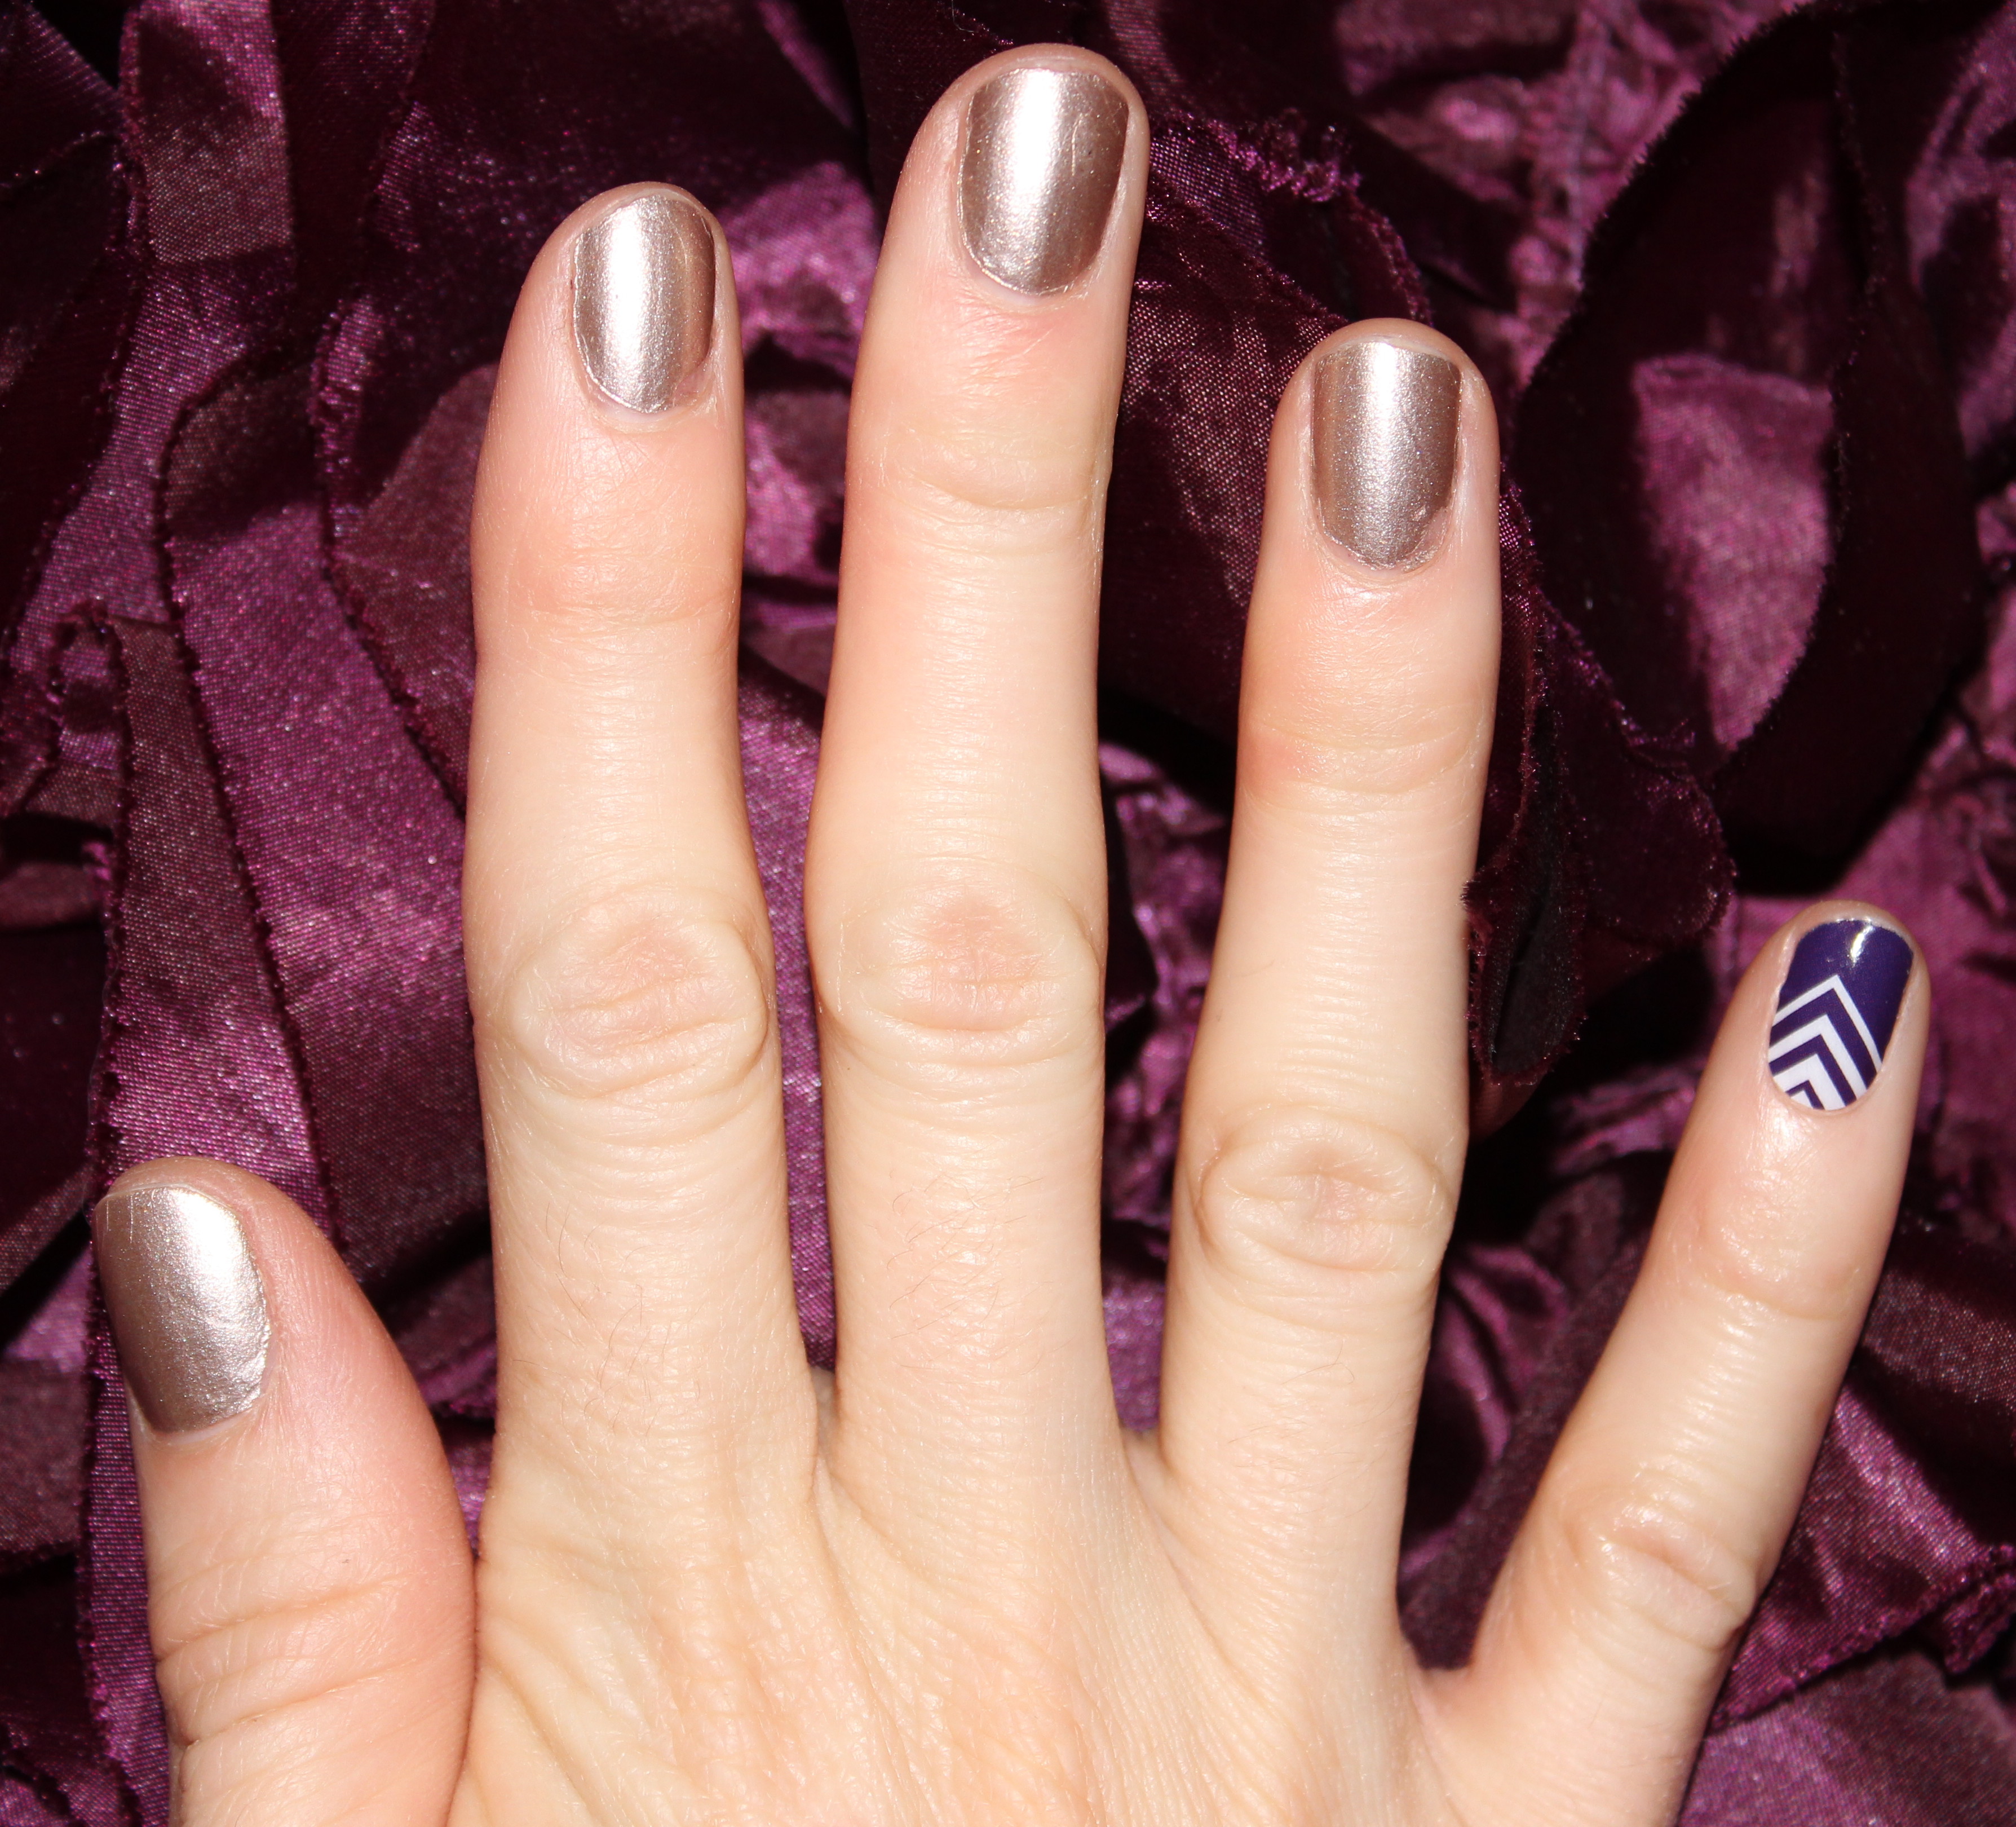
Day 5 – 8/29/14 – No real changes that I noticed from Day 4.
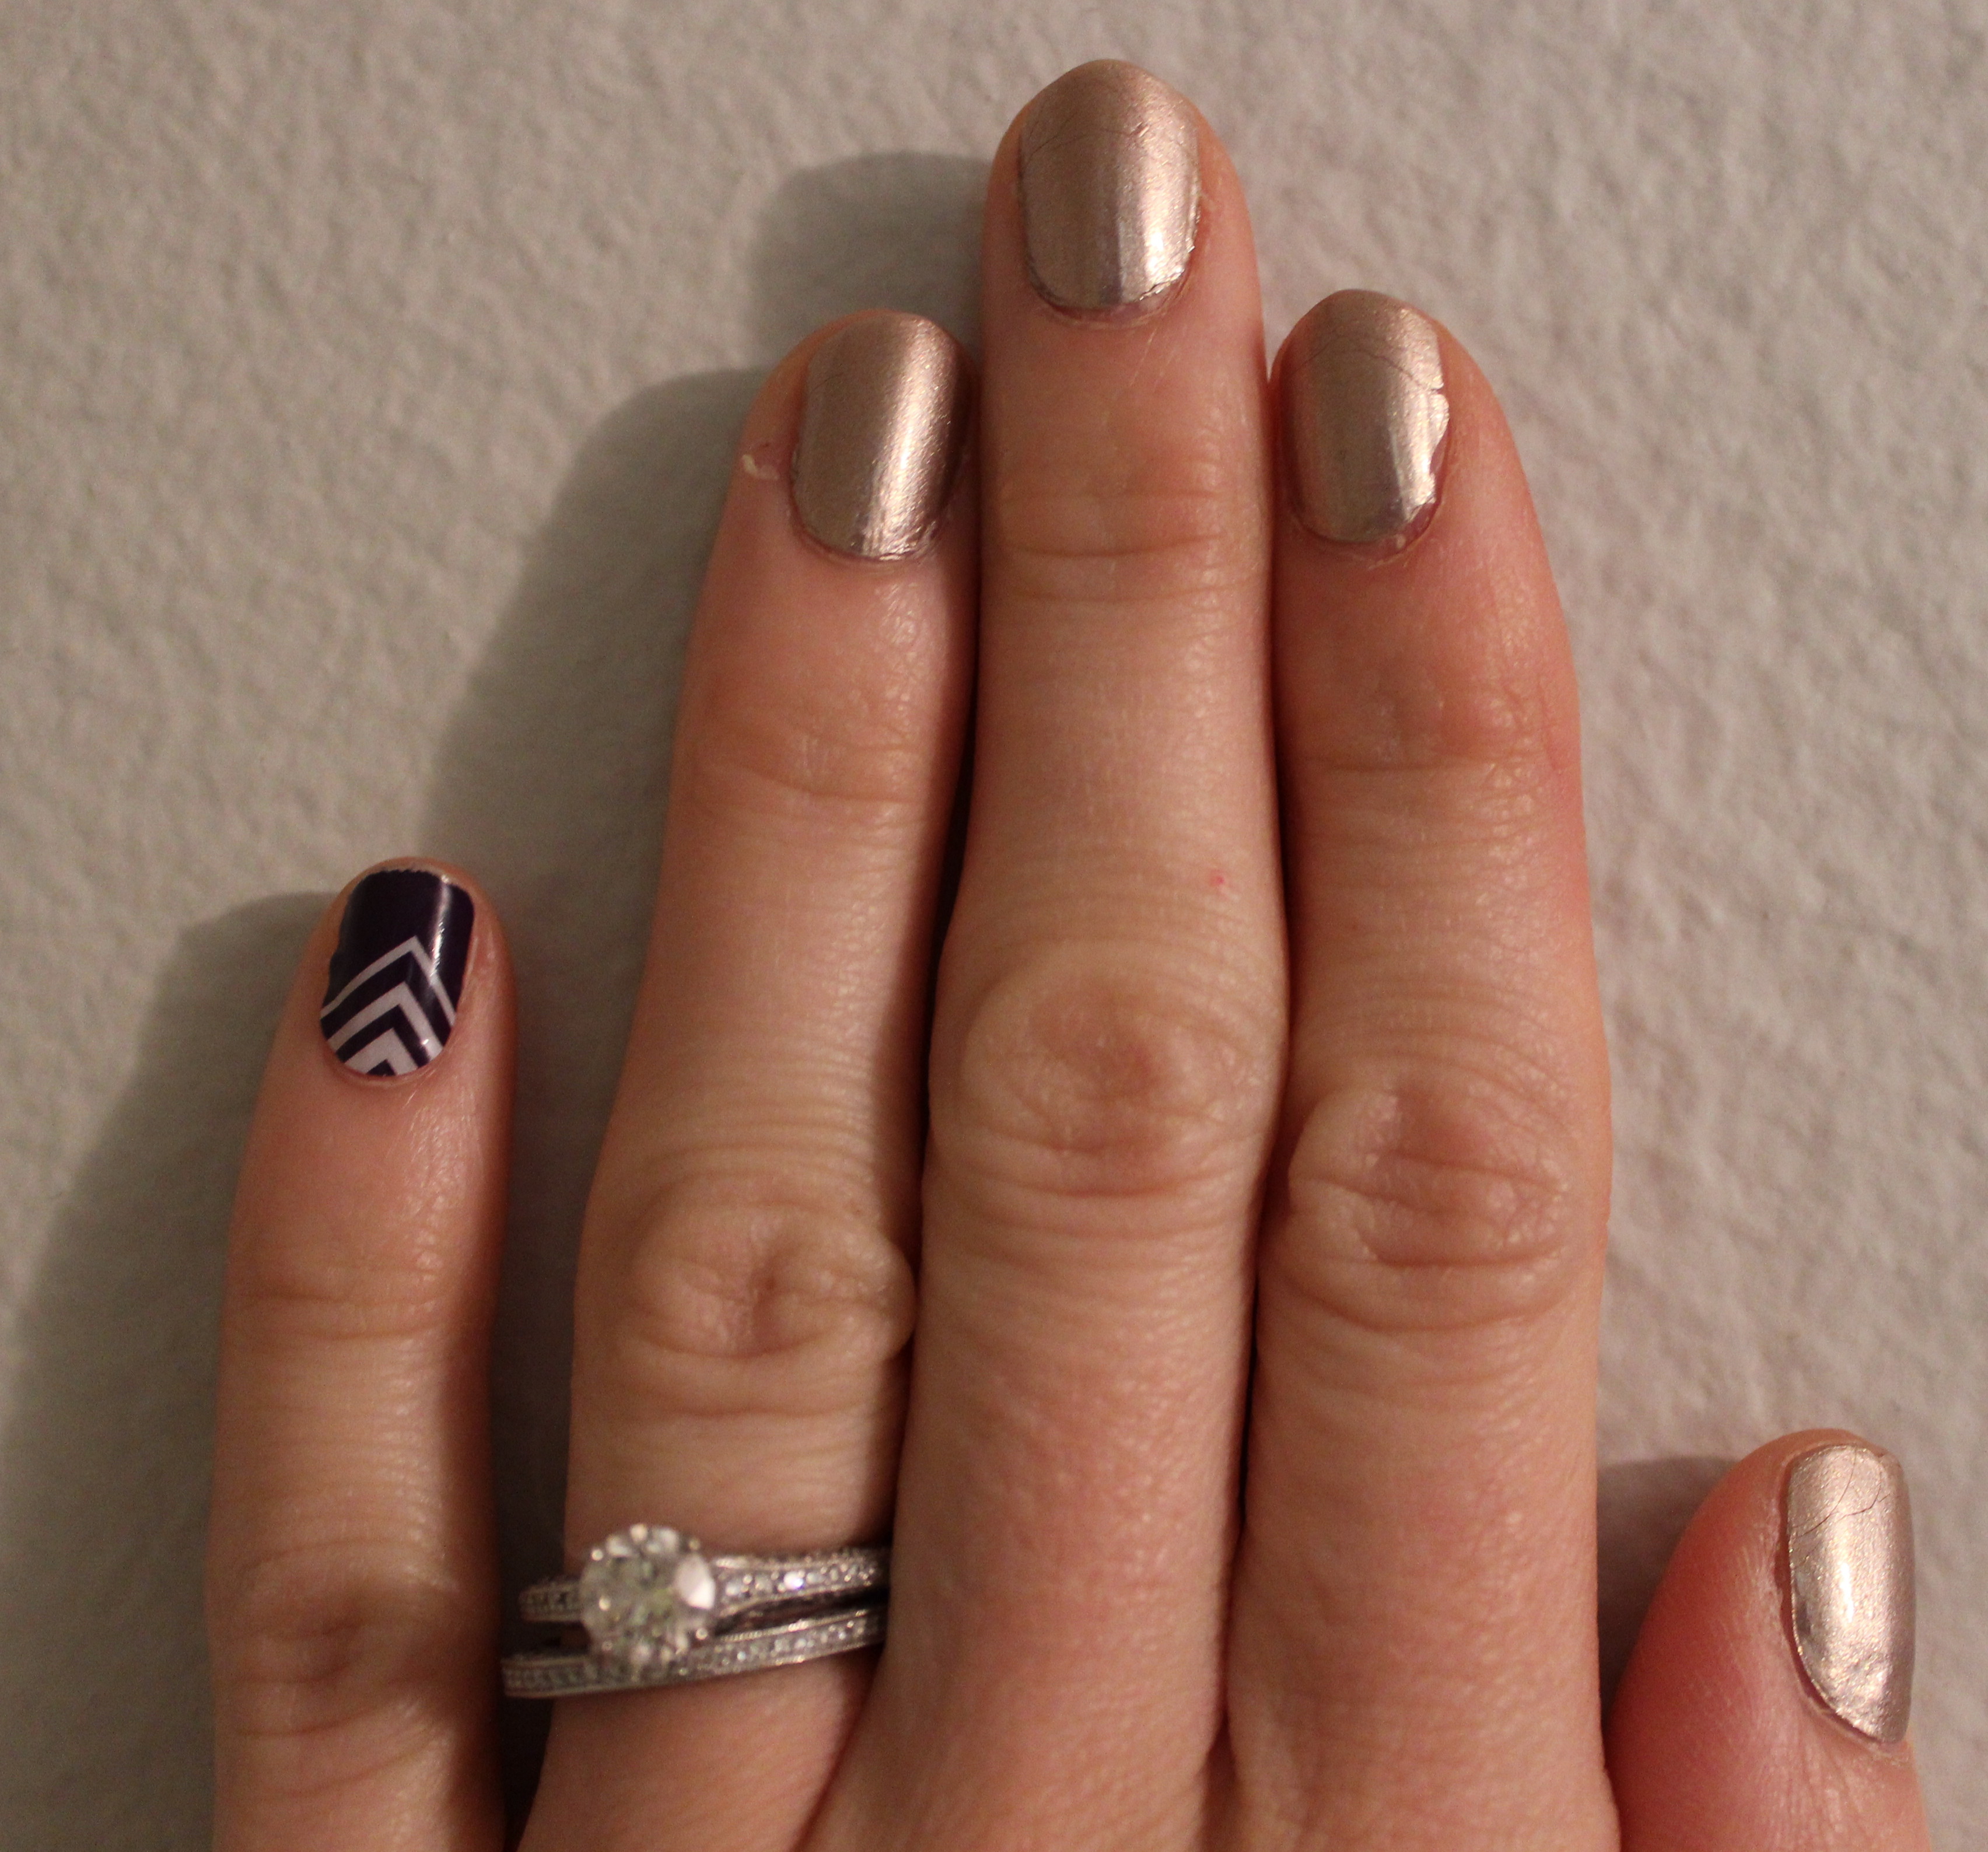
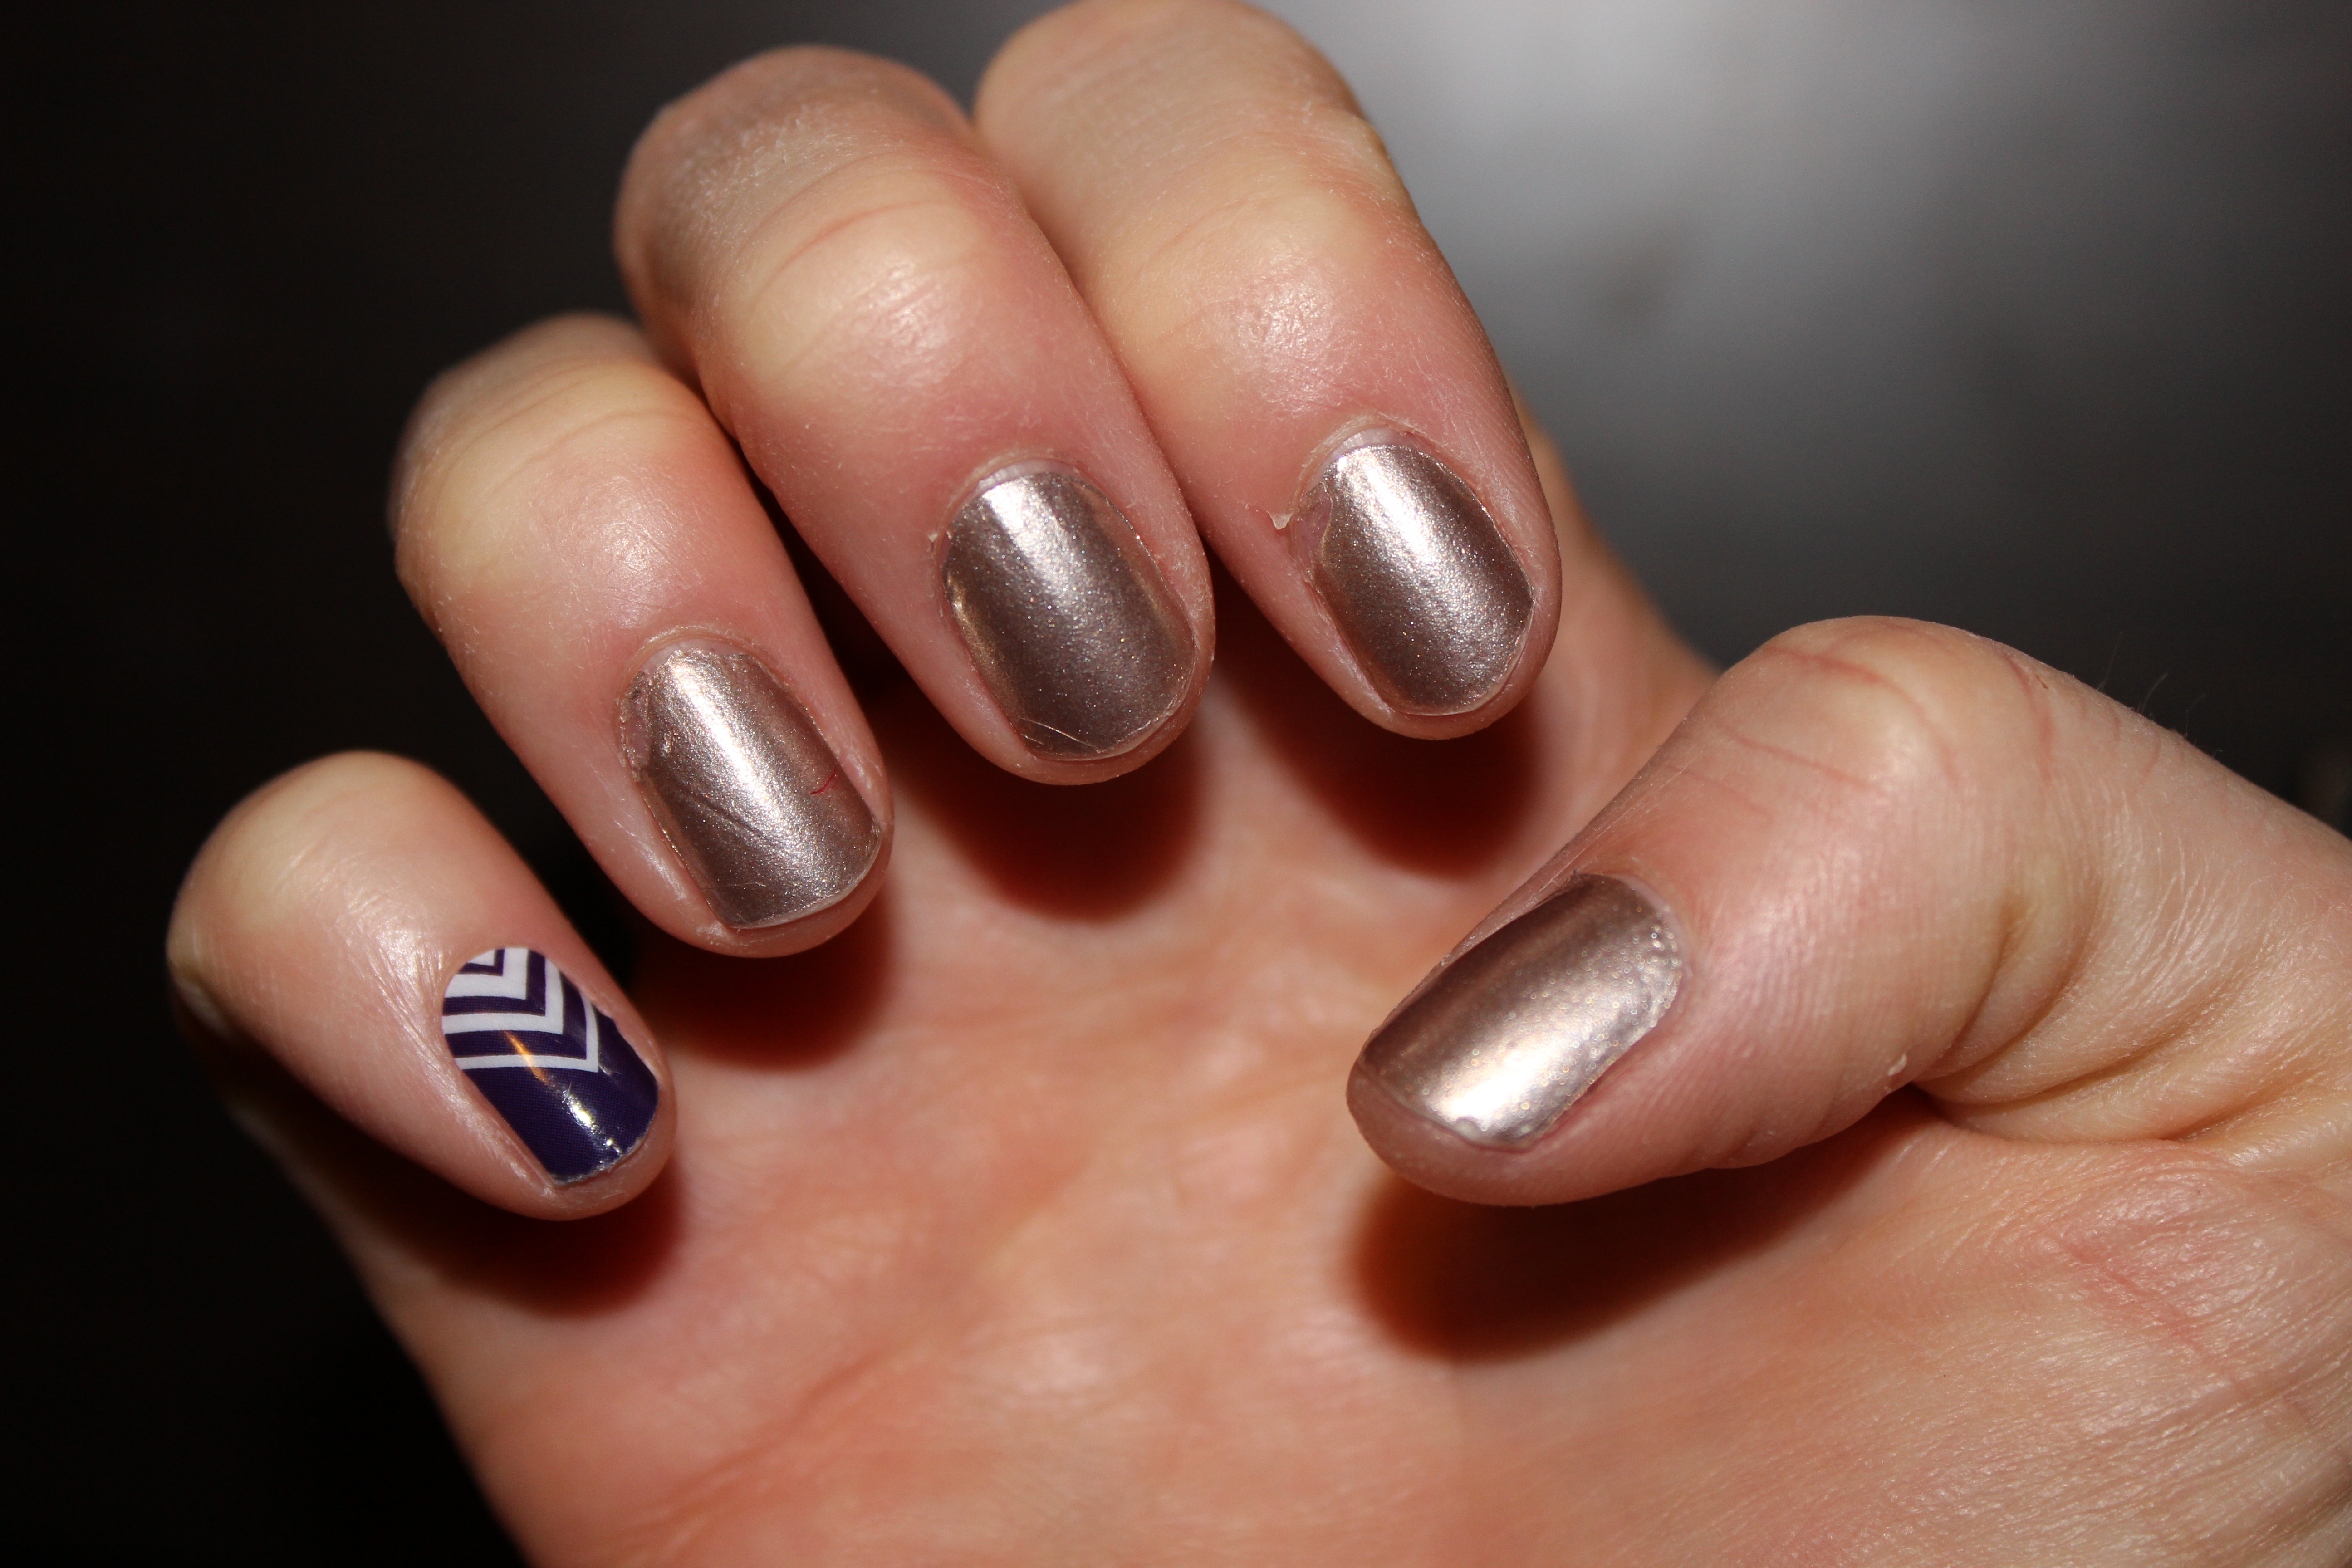
Day 7 – 8/31/14 – It’s been a full week and they still look decent!
Day 8 – 9/1/14
It’s been 8 days and both are still going strong. If you are opposed to a chipped nail, then I’d say it’s probably time to switch them out. They definitely last over a week and probably closer to 10 days, but for me I’m ready to switch up my polish. I noticed there is chipping on the edges and sides on the Sally Hansen Nail Effects as well as creases and cracks. The Jamberry Nails didn’t chip, but you can see that they wore away at the edge of the nail. I noticed that the sides were lifting slightly, but it wasn’t noticeable. To take off the Sally Hansen, you simply use nail polish remover. I was able to peel off the Jamberry Nails without causing any harm to my nails.
In my opinion….
I prefer Jamberry for nail art and love adding a shield to one nail as a standout to a regular manicure. The Sally Hansen Salon Effects are good for the person who likes to change up their nail color more regularly as it did last as long at the Jamberry Nails. Both seem like decent products, but I believe your dollar is going farther with Jamberry Nails.
For where to purchase…
You can purchase Sally Hansen Salon Effects at any drug store. I purchased mine at CVS. As for Jamberry Nails, feel free to browse the styles for purchase here and reach out to Amy with any questions through her Facebook page here.
Find Beauty in Something Unique Today,
The Foxy Kat
 Visit The Foxy Kat’s profile on Pinterest.
![]()


